Create and update a synchronization (email/file exchange)
Are you on the right help page?
If you connect Jiras...
...via HTTP(S) (server/data center, cloud, local), check out this page instead.
...via email or file exchange (server/data center behind a firewall), you're in the right place.
This help article shows how to create and set up a project synchronization using the configuration over email or file exchange. It explains configuration of both email and file exchange-based synchronizations on the master and slave sides of the configuration.
Once you have decided which synchronization partners are to be the master and the slave, you can start creating the synchronization. At this point, the master must complete the initial configuration. The slave can only configure their side of the synchronization after the master has configured their side.
Please read our introduction to a synchronization over email or file exchange, before you start creating this type of configuration.
Creating a new synchronization – master
Create a new synchronization at Project settings > Issue Synchronization > New synchronization > Server or data center (behind firewall) > Master.
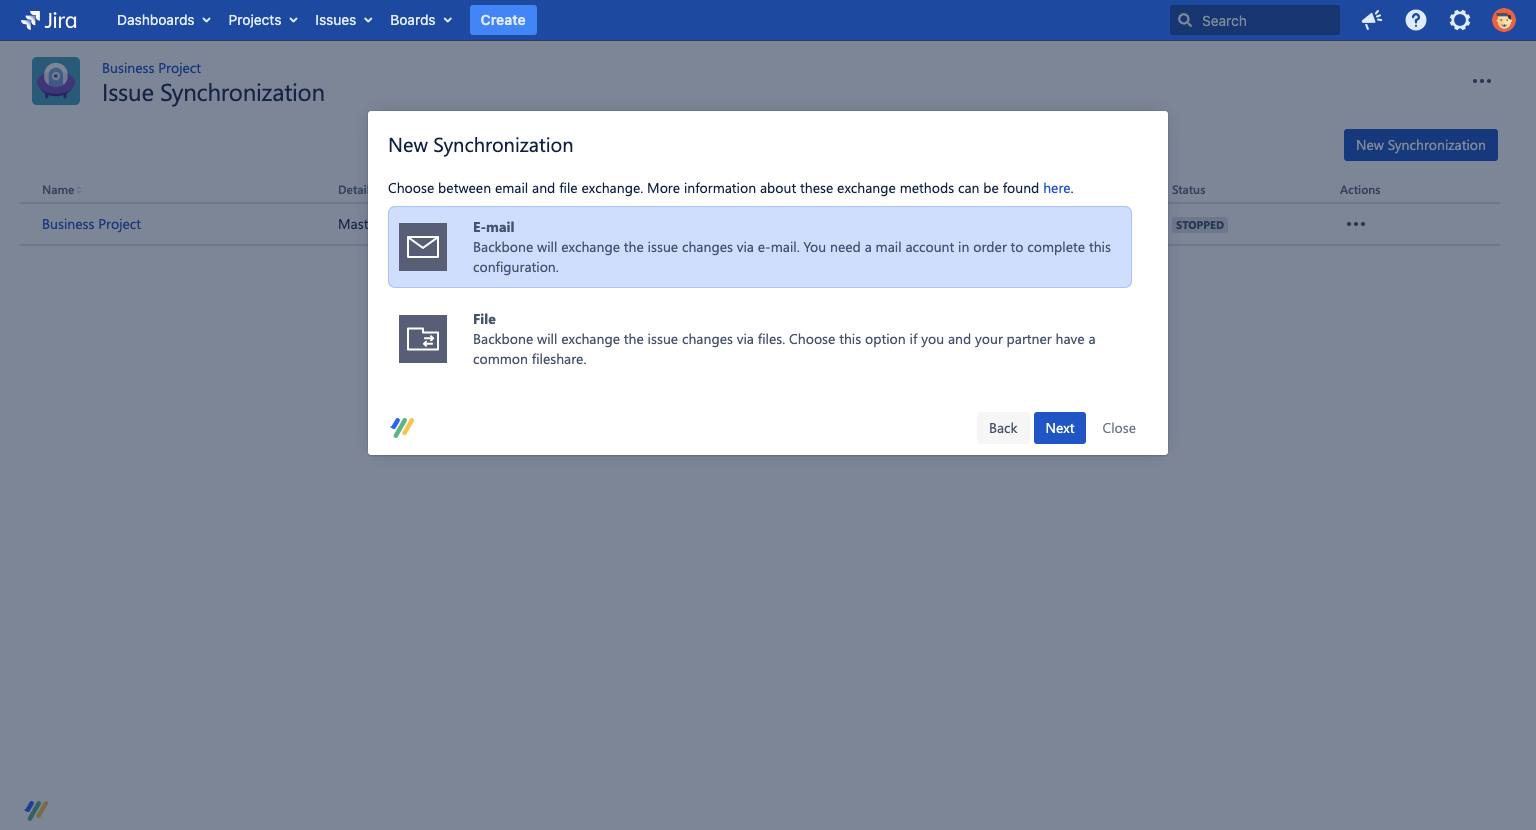
Now you must decide which protocol you want to base your synchronization on – either email or file exchanges.
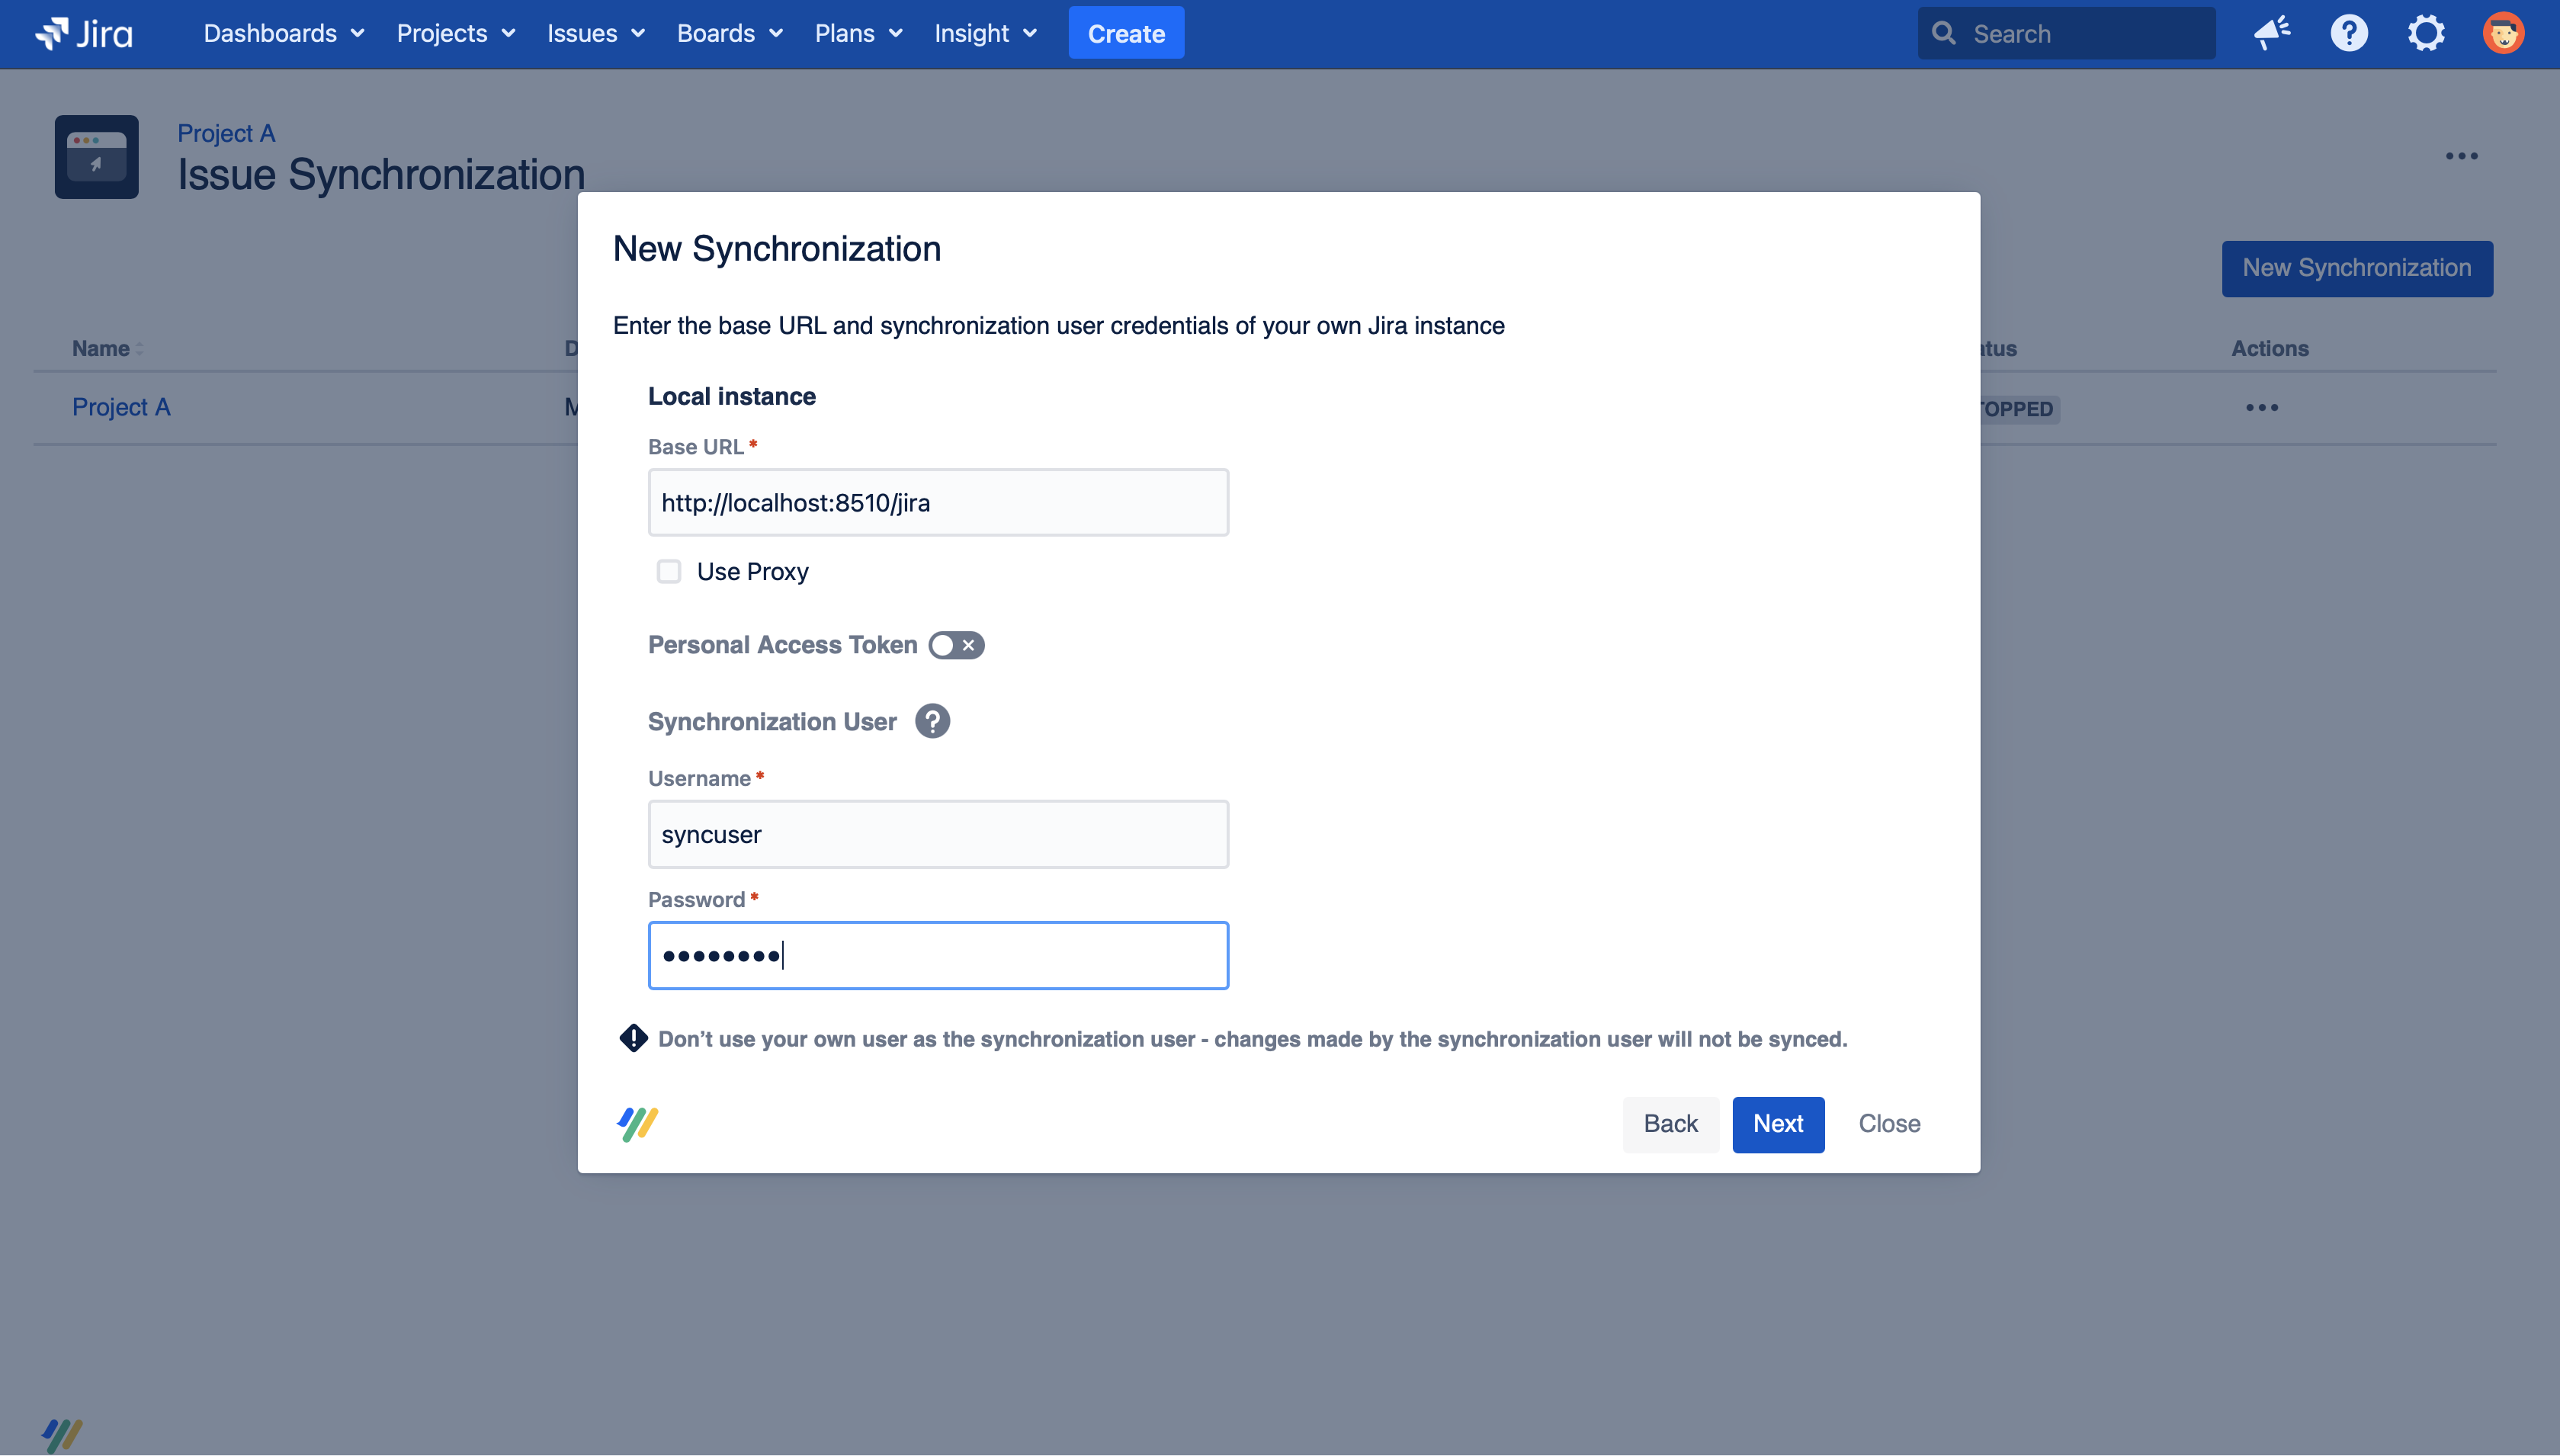
You now need to provide your synchronization user under whose name all changes synchronized to the partner project are made. Please note that once you have defined a synchronization user for a synchronization, you won't be able to edit the synchronization user.
If you want to connect your project with your partner via email, you need a mail account for both sides for receiving/sending emails.
If you want to connect via file exchange, you need some way to exchange files between your and your partner's Jira server.
Consult your synchronization partner before deciding between email and file-based protocols. You cannot switch between email and file channels once you have set up the configuration.
Email option is quicker to configure than the file exchange protocol, and requires less technical expertise. Unless you need to use the file exchange protocol for a particular reason, we advise using the email option.
Email-based synchronization – master
Firstly, you must complete the Receive E-Mails form. The ‘receive’ email address is the address that receives communications from your partner project.
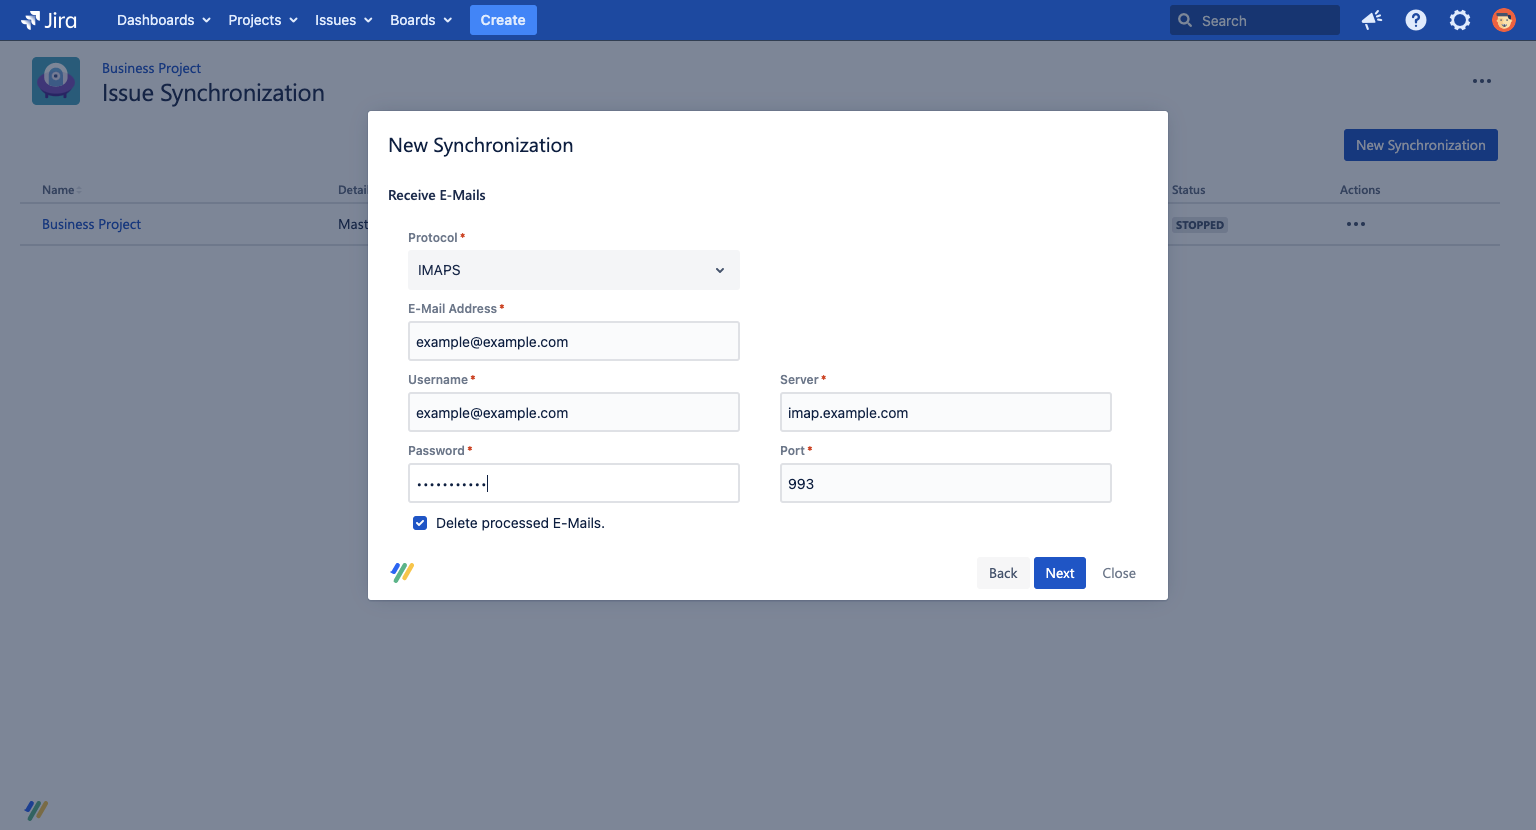
Fill in the ‘Username’ field with the username of your email account. For some providers, this is identical to the email address itself – however, this isn’t always the case. If you are unsure about what your username is, ask your mail administrator for more information. You can also ask your mail administrator if you need to find out your server address or an available port.
The next step is the Send E-Mails form. This is the email account used for sending emails to the slave side. We recommend keeping this the same as the receiving address. If you want to use the same address for sending and receiving, you can use the Copy Credentials button to copy the username and password over from the last menu.
On the encryption page, you get to choose if you want to encrypt messages or not. We recommend ticking this option to increase the security of your synchronization. Backbone uses PGP encryption.
After naming your configuration, a handshake file is created:
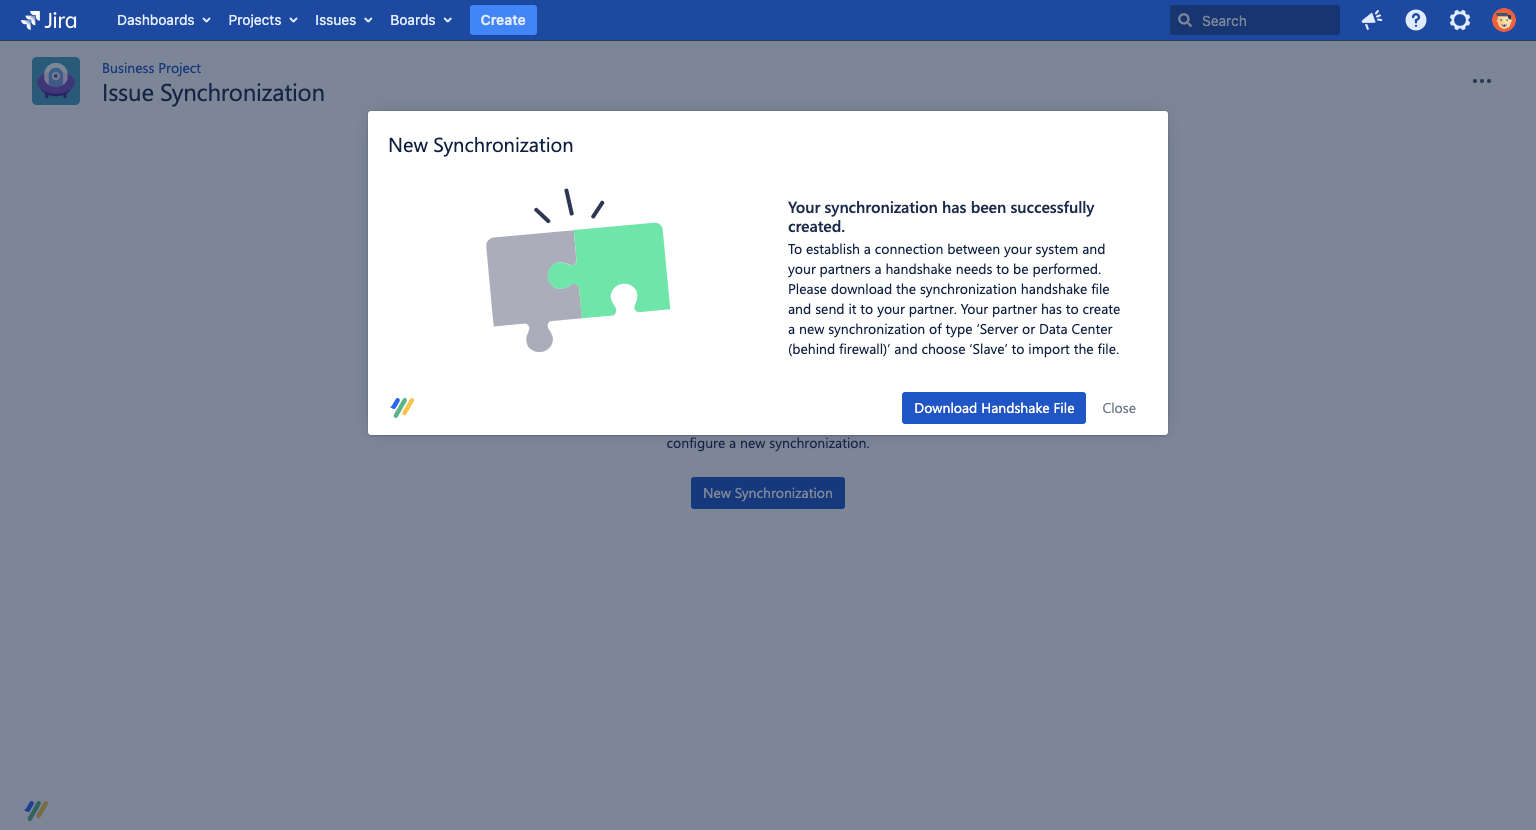
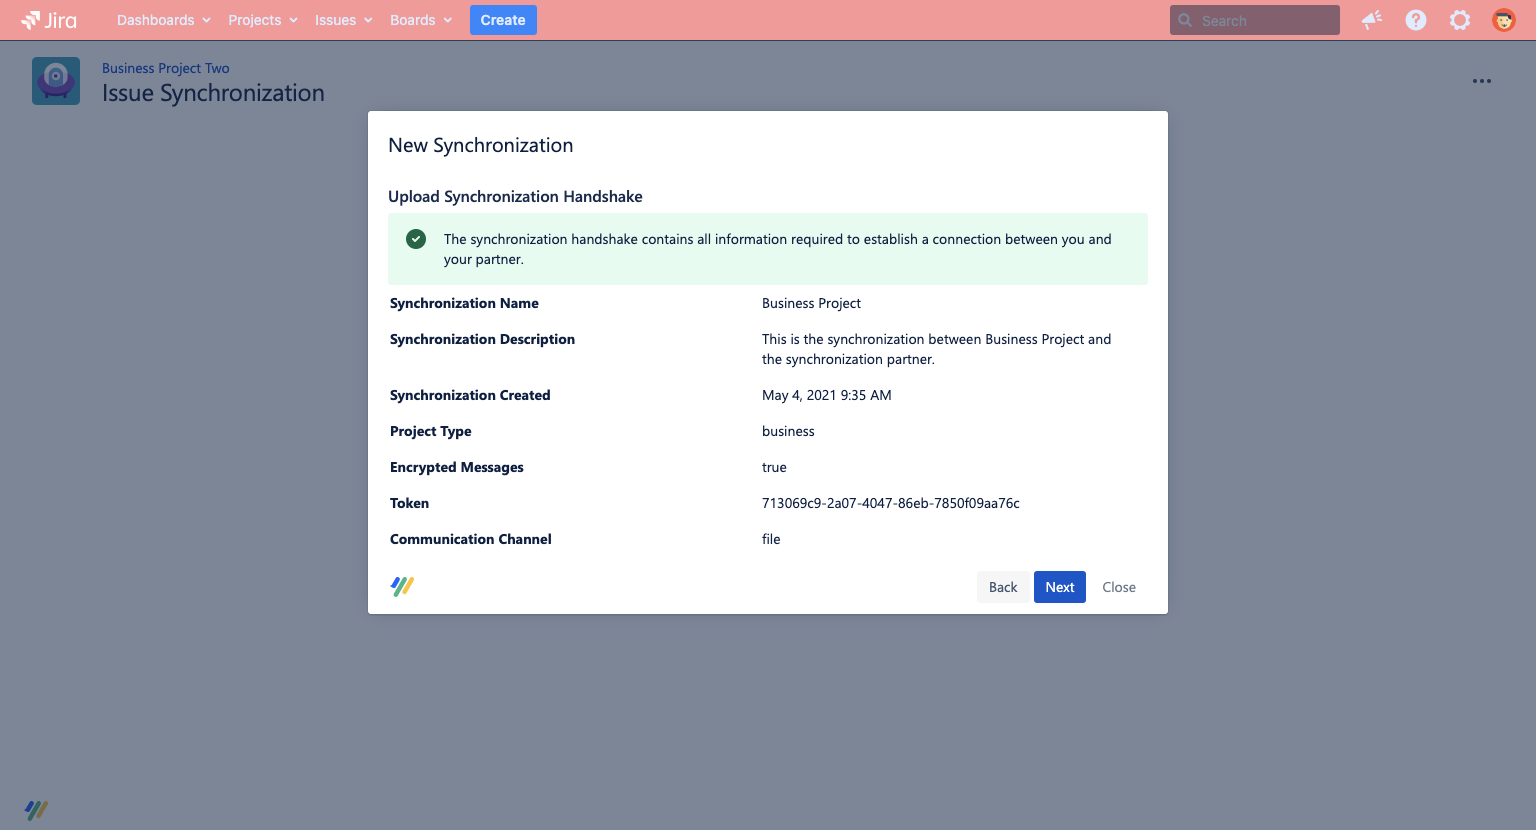
This file contains all the information needed to establish a connection between partners – including encryption keys, the synchronization’s name and description, and more. The handshake file must be securely delivered to the partner, who then uploads it to their Jira instance to confirm the synchronization. The synchronization will be in the status 'handshake' until the slave has uploaded the handshake file and Backbone has checked that it can connect to the other instance.
You should deliver the handshake file as securely as possible. If you want to send the file by email, we recommend that you encrypt the mail or the file.
Email-based synchronization – slave
After the master has delivered the handshake file to you, you must upload it and complete the configuration. Upload the handshake file at Project settings > Issue Synchronization > New synchronization > Server or data center (behind firewall) > Slave:
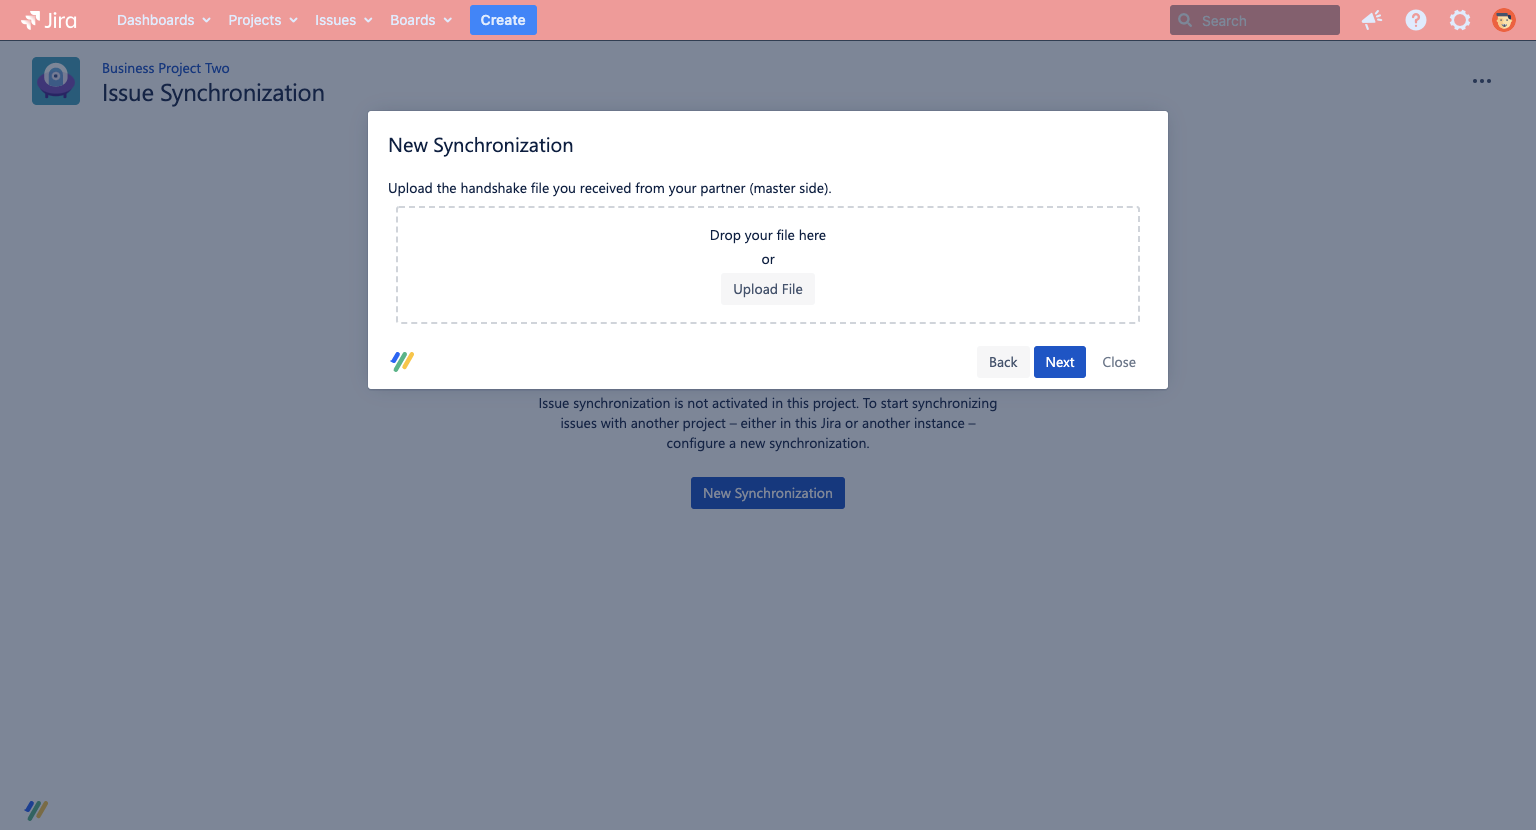
After uploading the handshake file, you will see its contents.
After filling in the Receive E-Mails and Send E-Mails menus and therefore creating the slave synchronization, your synchronization will be ready to configure. The 'handshake' status will remain for some time until Backbone has completed the connection test between the instances.
Congratulations, you've established a synchronization! Now, carry on and configure what issue types will be synchronized between the projects.
File-based synchronization – master & slave
Backbone generates an exchange directory for your file-based synchronization, one directory on the master side and one directory on the slave side. This directory is added under {JIRA_HOME}/data/backbone-issue-sync/exchange (the exact path is shown in the synchronization creation dialog). Each directory contains two subdirectories SEND and RECEIVE. Backbone will use these subdirectories to communicate with your partner, similar to an email client with an inbox and sent folder. This means, Backbone will place all messages it wants to send to the partner into the SEND directory, all messages from your partner are expected to go to the RECEIVE directory.
In order to let the messages flow automatically from the SEND directory to the RECEIVE directory of the other side, you need to setup some kind of file exchange, e.g. using a network folder. For example, this can be established using a symbolic link. In order to correctly setup the directories, we recommend that you remove the existing SEND/RECEIVE directories created by Backbone and replace them with symbolic links. The symbolic links need to point to the actual location where you receive messages from/send messages to your partner side. Please make sure that you temporarily move possibly existing files within this folder to a temporary folder. Here is an example using the symbolic link approach:
### Save existing files before! ###
> cd EXCHANGE_DIRECTORY
> rm -R SEND
> rm -R RECEIVE
> ln -s PATH_TO_PARTNER_RECEIVE_FOLDER SEND
> ln -s PATH_TO_PARTNER_SEND_FOLDER RECEIVE
Congratulations, you've established a synchronization! Now, carry on and configure what issue types will be synchronized between the projects.
Encryption
If you activate encryption, Backbone uses the PGP encryption protocol.
