Migration Path
To migrate Scroll Documents from Server or Data Center to Cloud, follow the steps outlined in this article.
Prerequisites
Confluence Server instance (contains the Scroll Documents you want to migrate)
Confluence Cloud instance with Scroll Documents installed
Confluence Cloud Migration Assistant 3.3.3 or above
Things To Keep in Mind
The history of Read Requests and Confirmations for your documents will not be available on Cloud after a manual migration. We will be providing a fix for this soon. Until then, please watch the following issue to be notified of any updates: DOCS-111
During Migration
Since Scroll Documents will be automatically migrated via the Confluence Cloud Migration Assistant, you will simply need to follow the Confluence Migration Guide -
Step-1: plan your migration
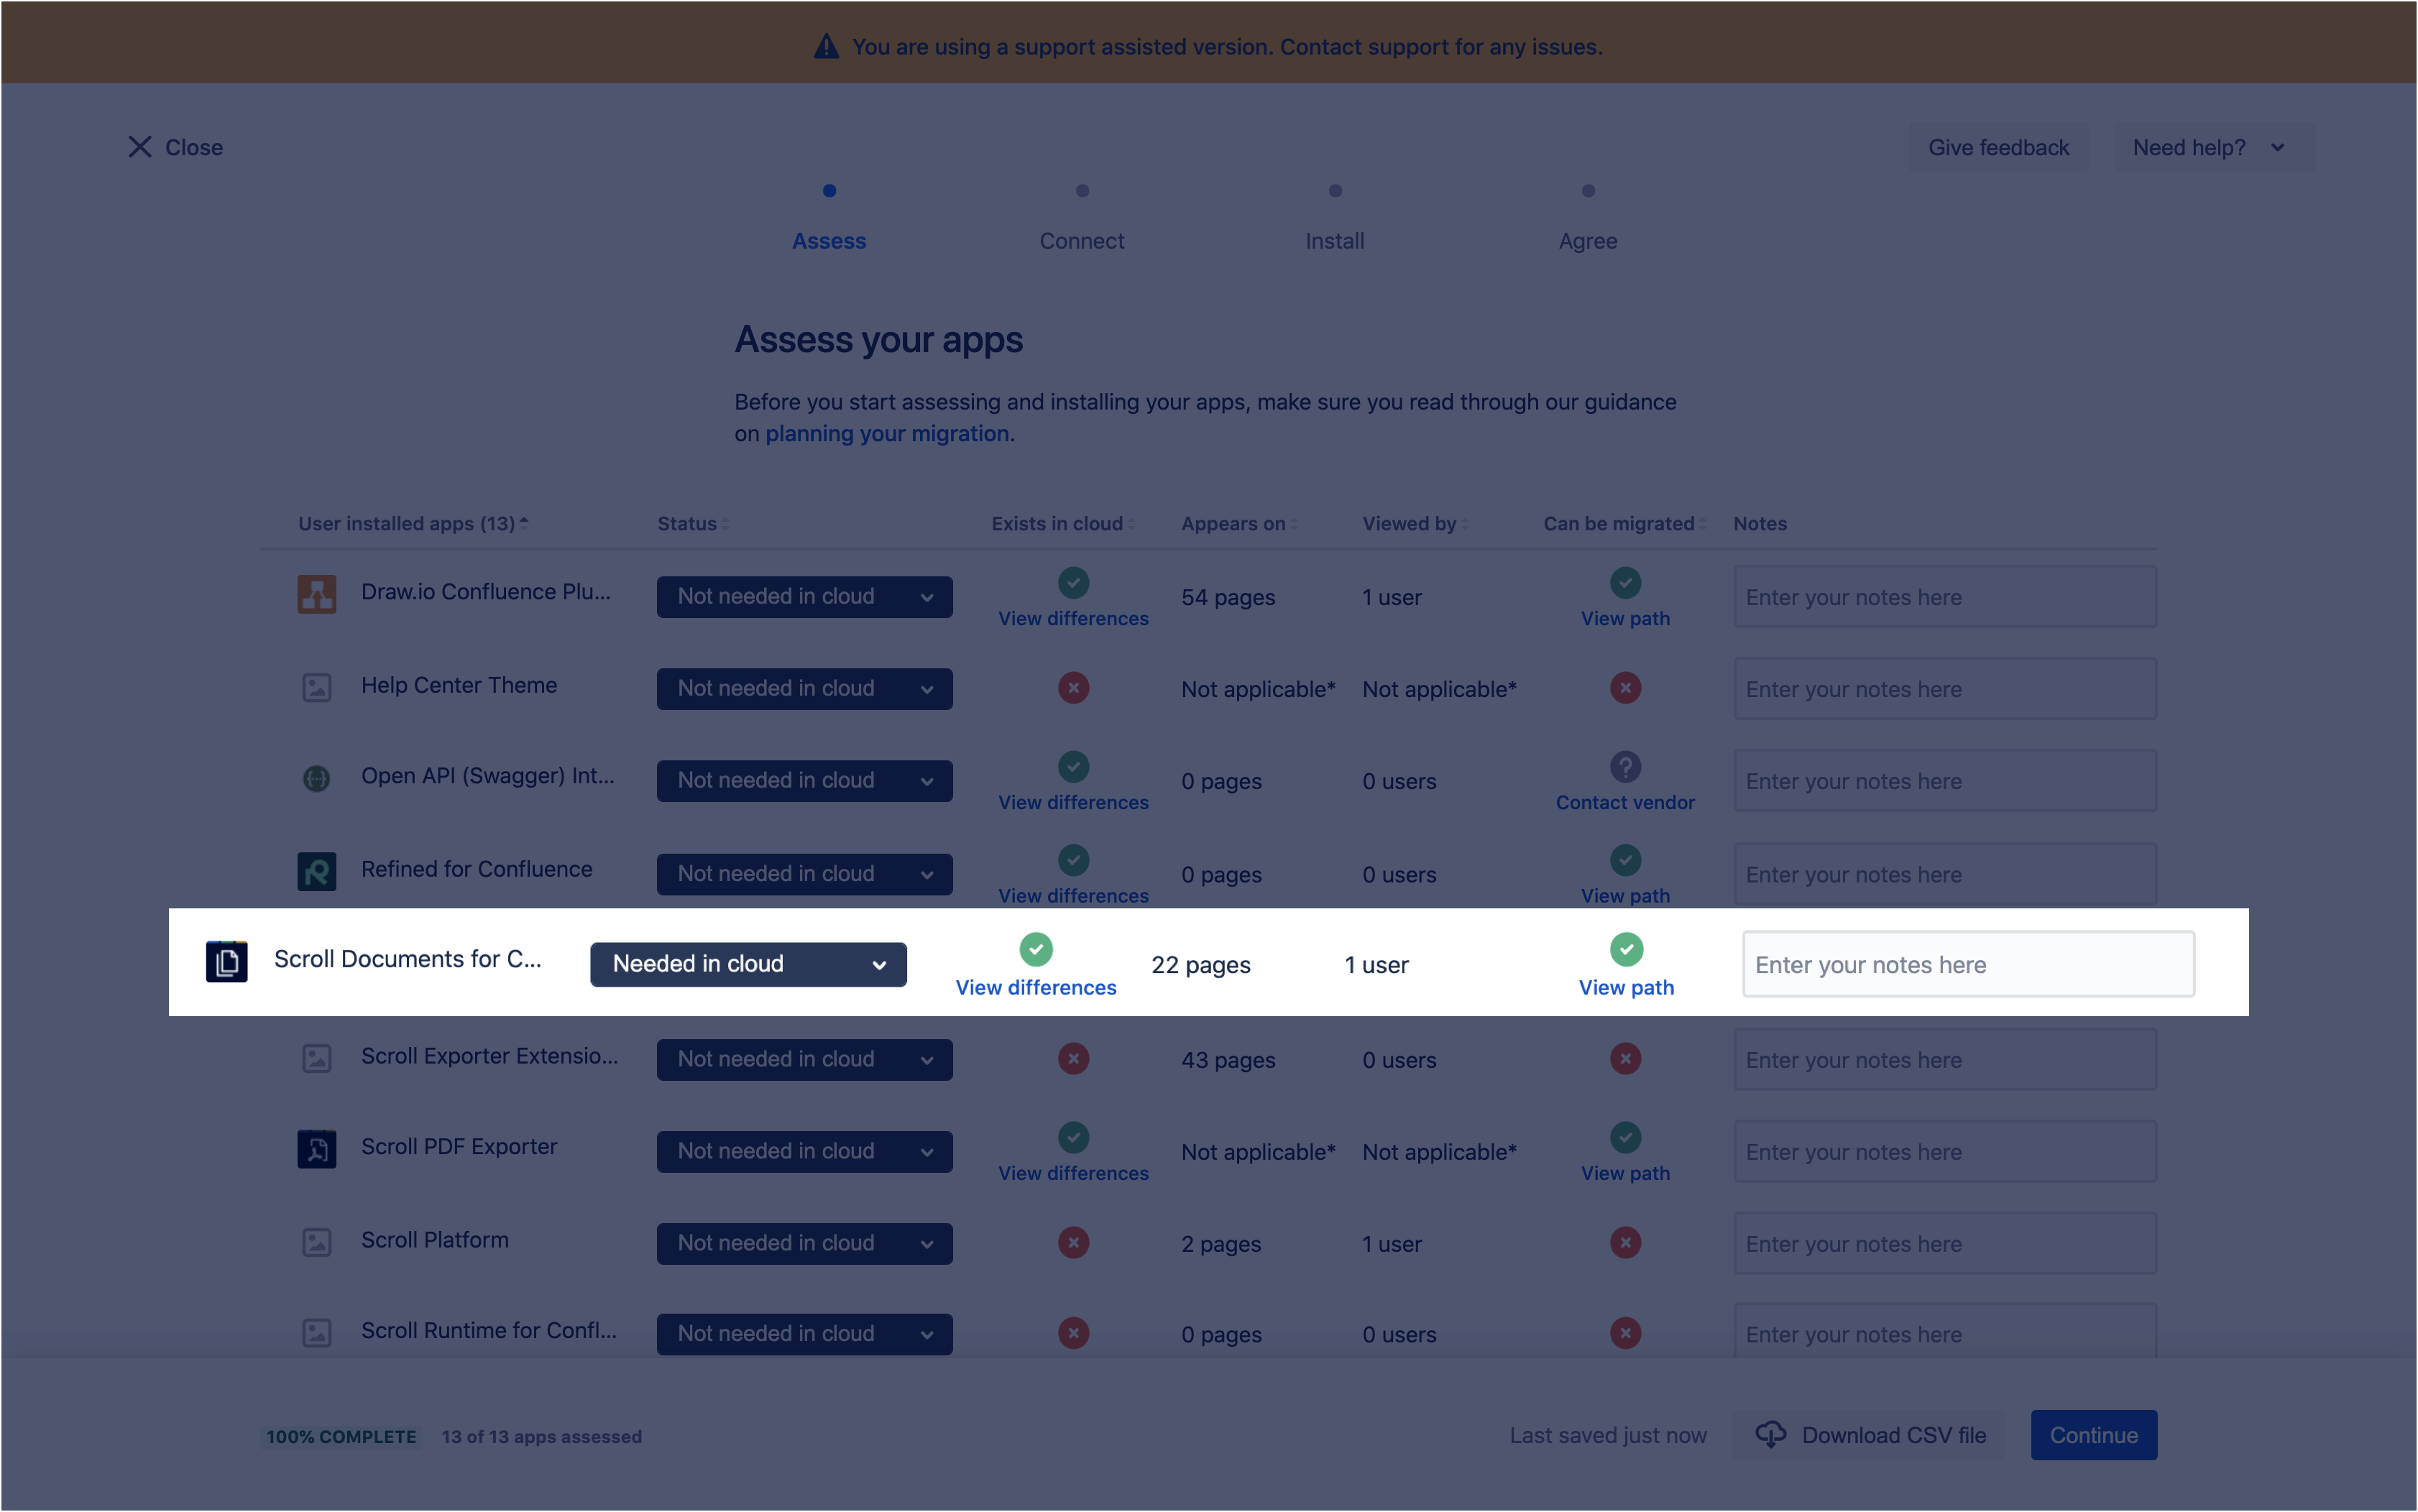
Step-2: assess and install apps
In this step, make sure that you mark Scroll Documents as Needed on Cloud
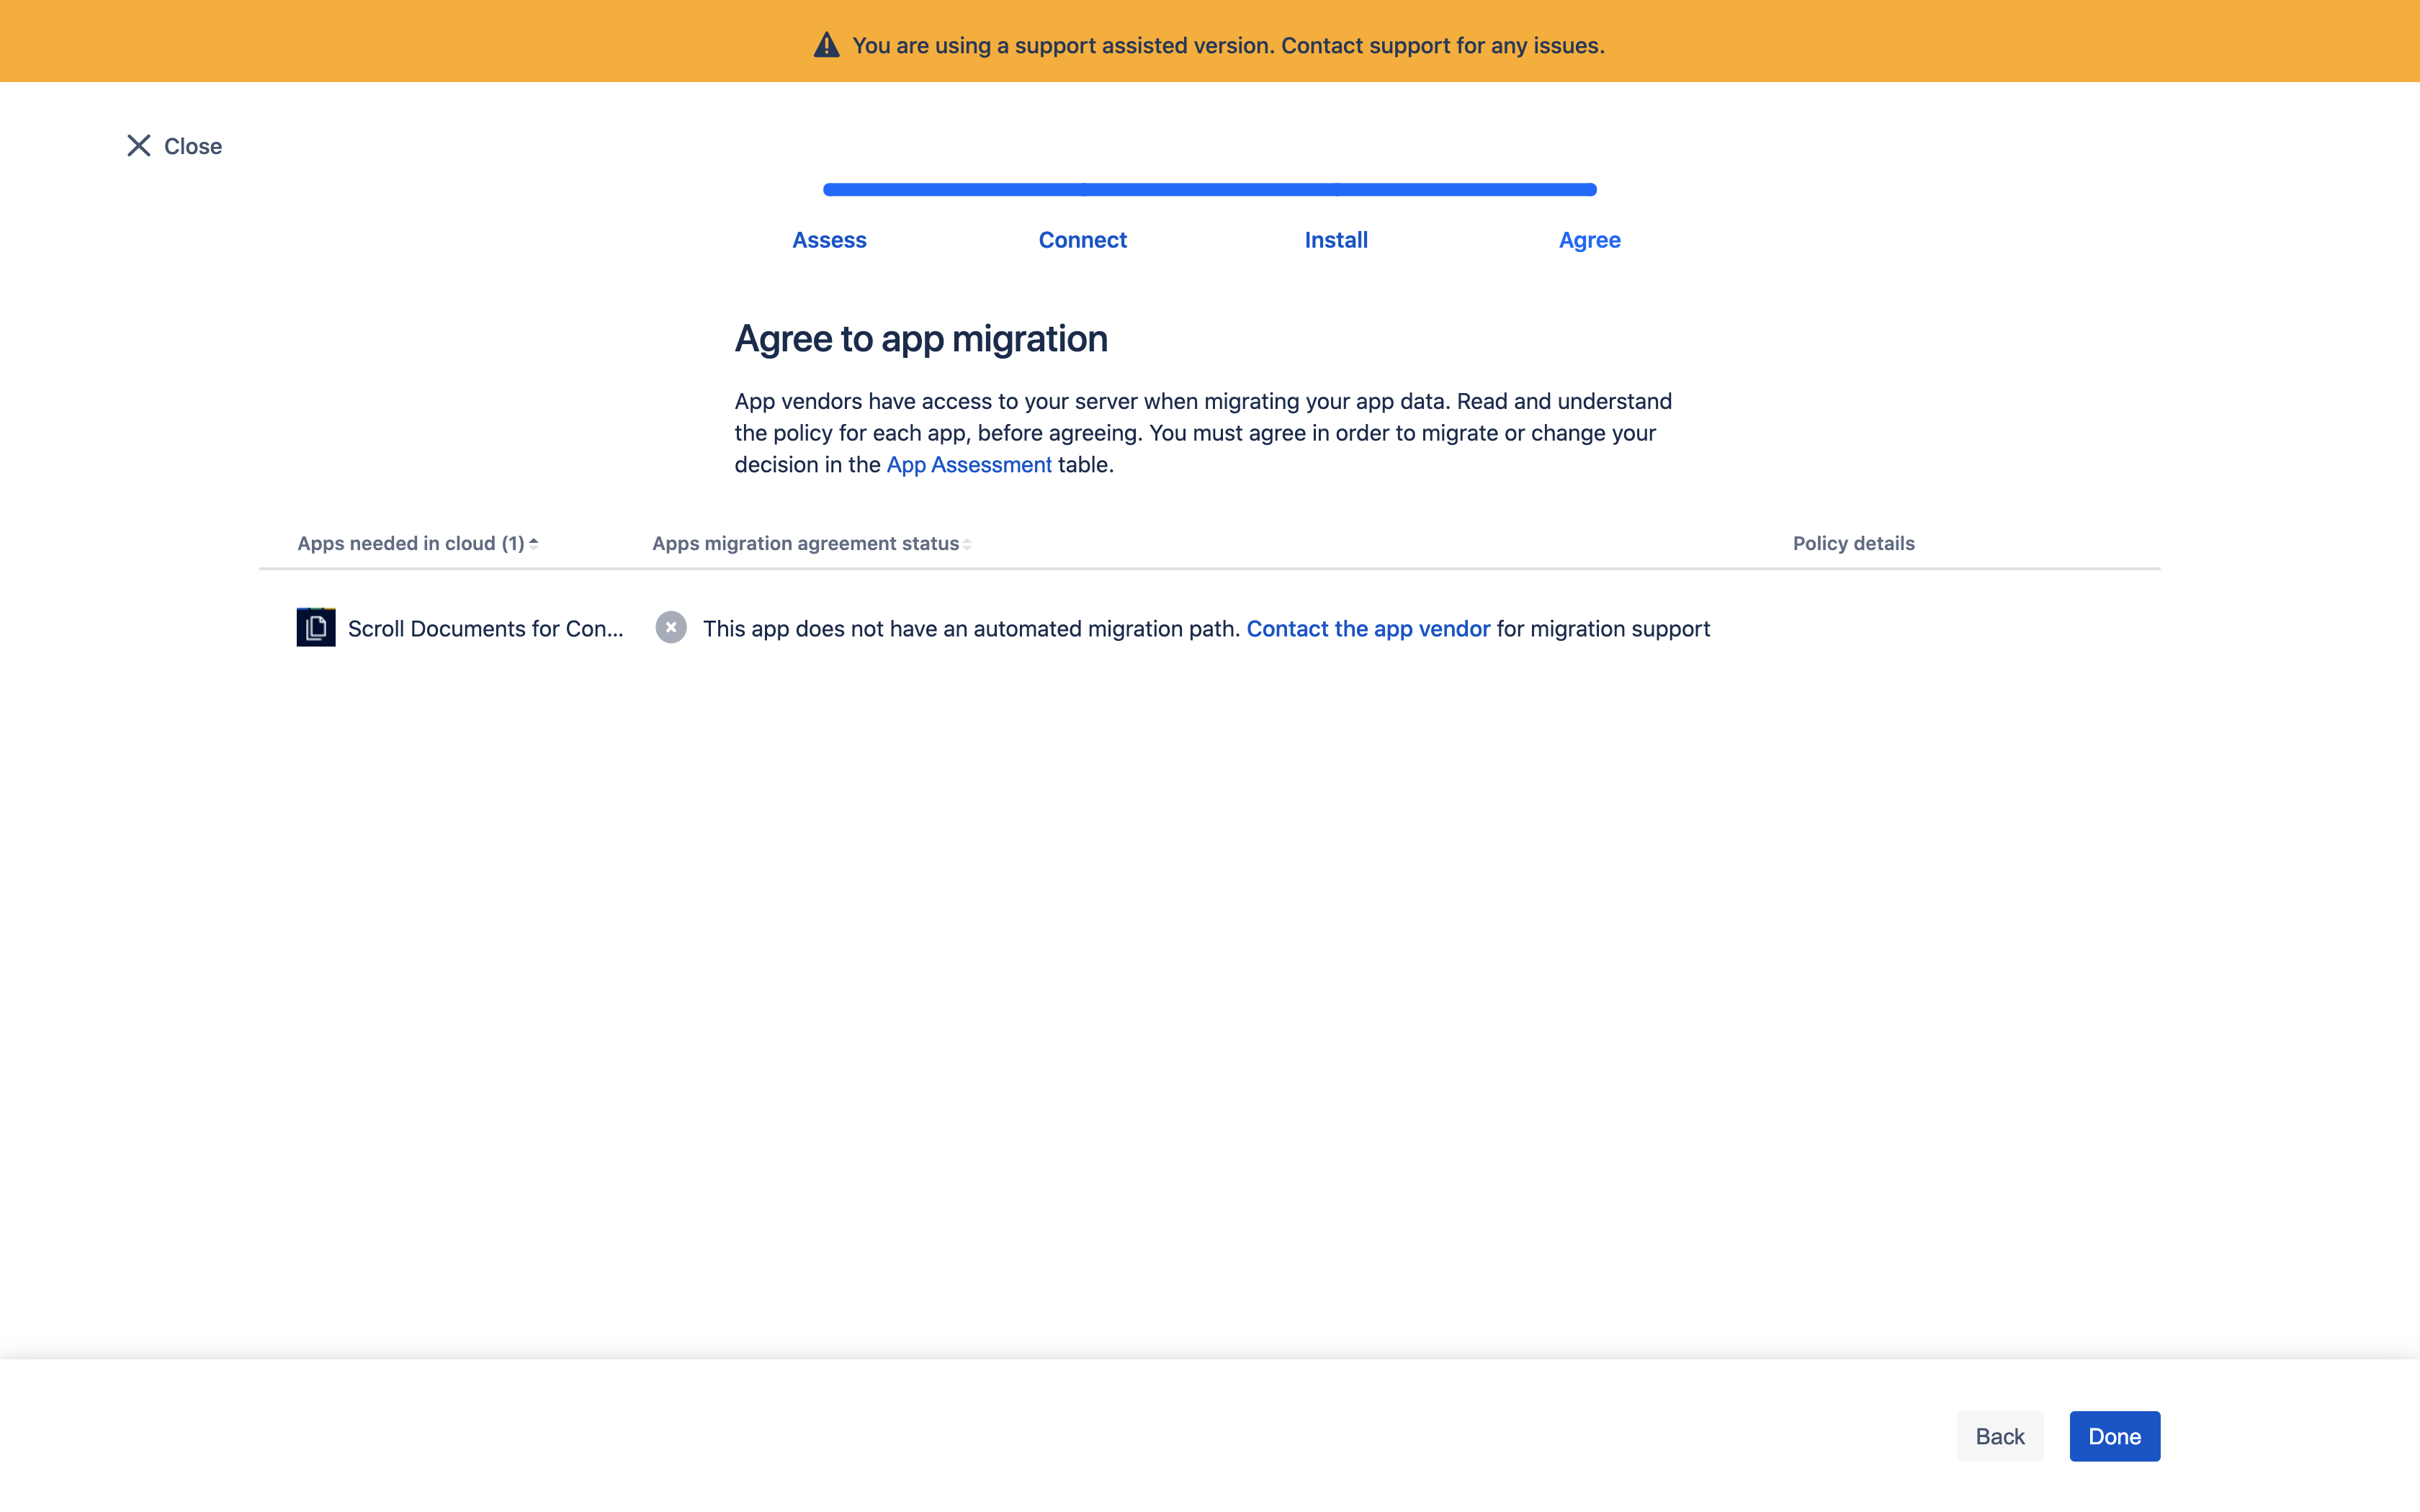
When you get to the final step, simply click Done
Step-3: manage your migration
In the Choose what to migrate step, make sure you select all spaces in which you have created documents.
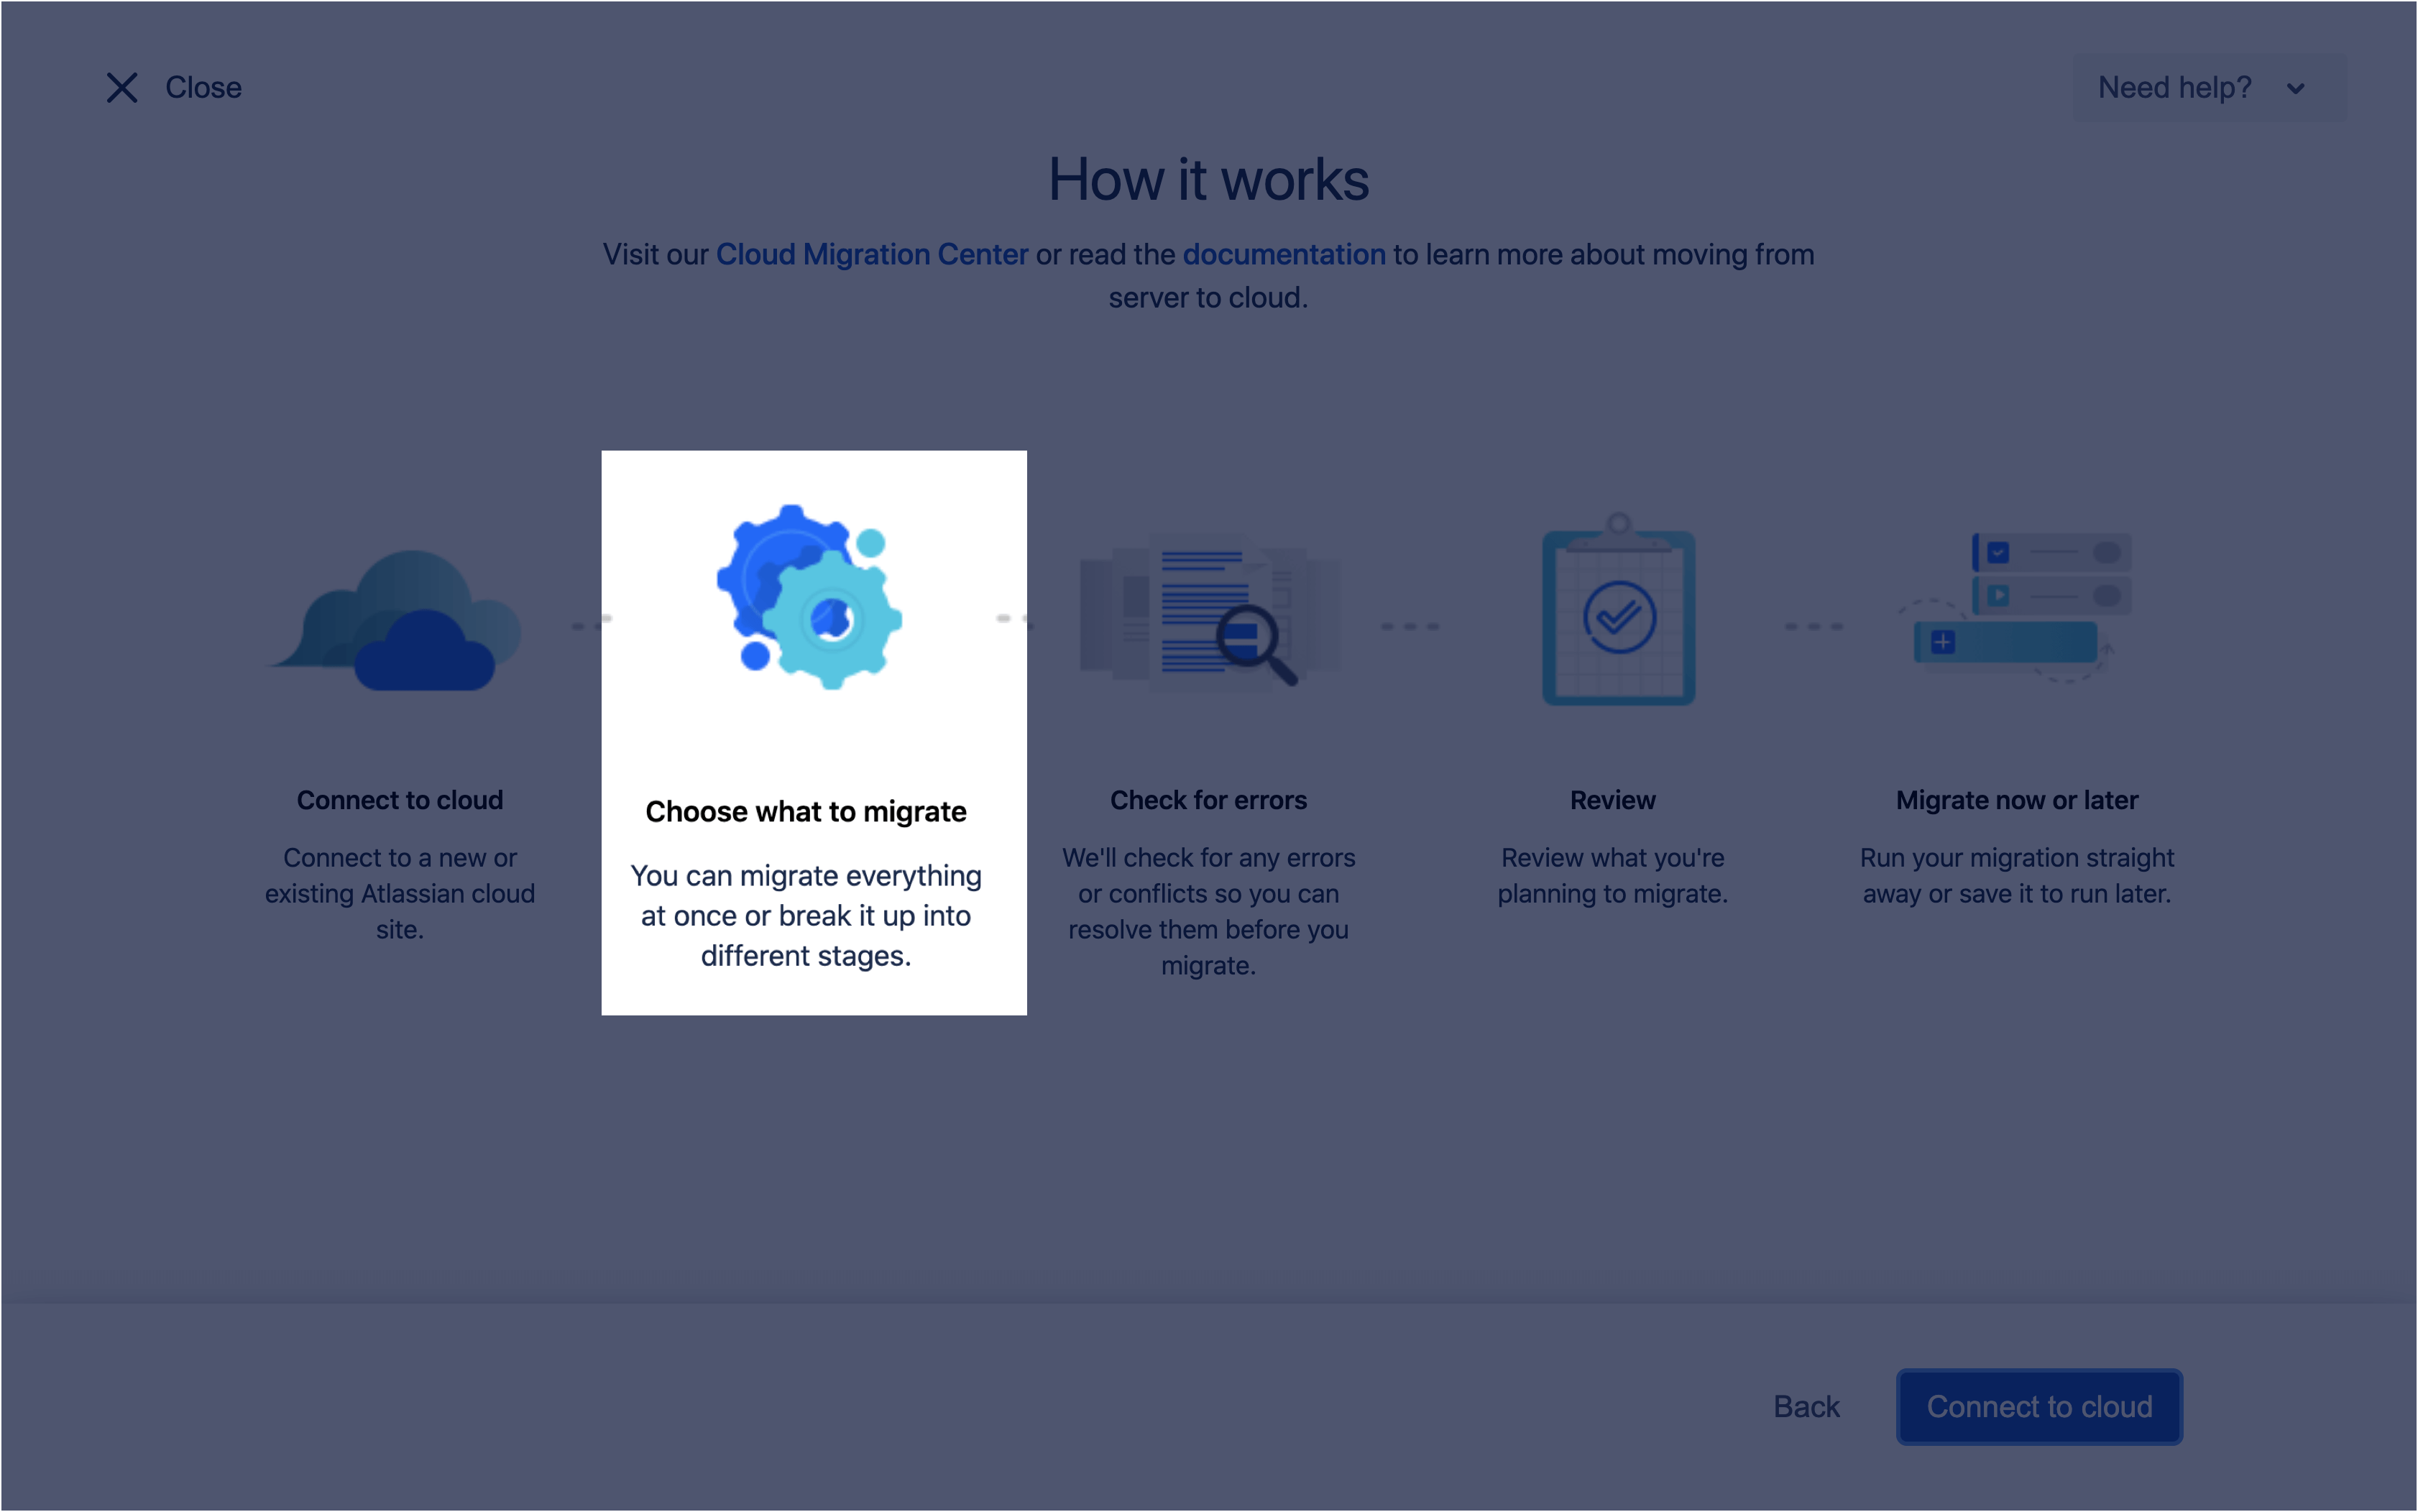
Once you have selected the spaces, proceed with the migration normally.
After Migration
Once you have successfully migrated, navigate to the corresponding spaces in your cloud site and confirm that all the documents and their versions are available. As a next step, you will need to set up the right permissions in each space to be able to create read requests.
Setup permissions for read requests
You can ignore this step if you do not use the Read Request feature
On cloud, you get more granular control over who can create, edit, and delete read requests in a space. You can control this by setting the right space permissions. Unfortunately, due to a bug in Confluence these permissions are not set automatically and therefore need to be added manually.
In your space, navigate to Space Settings → Permissions
Now you are in the Permissions screen. Click on the Add-on tab as highlighted in the screenshot
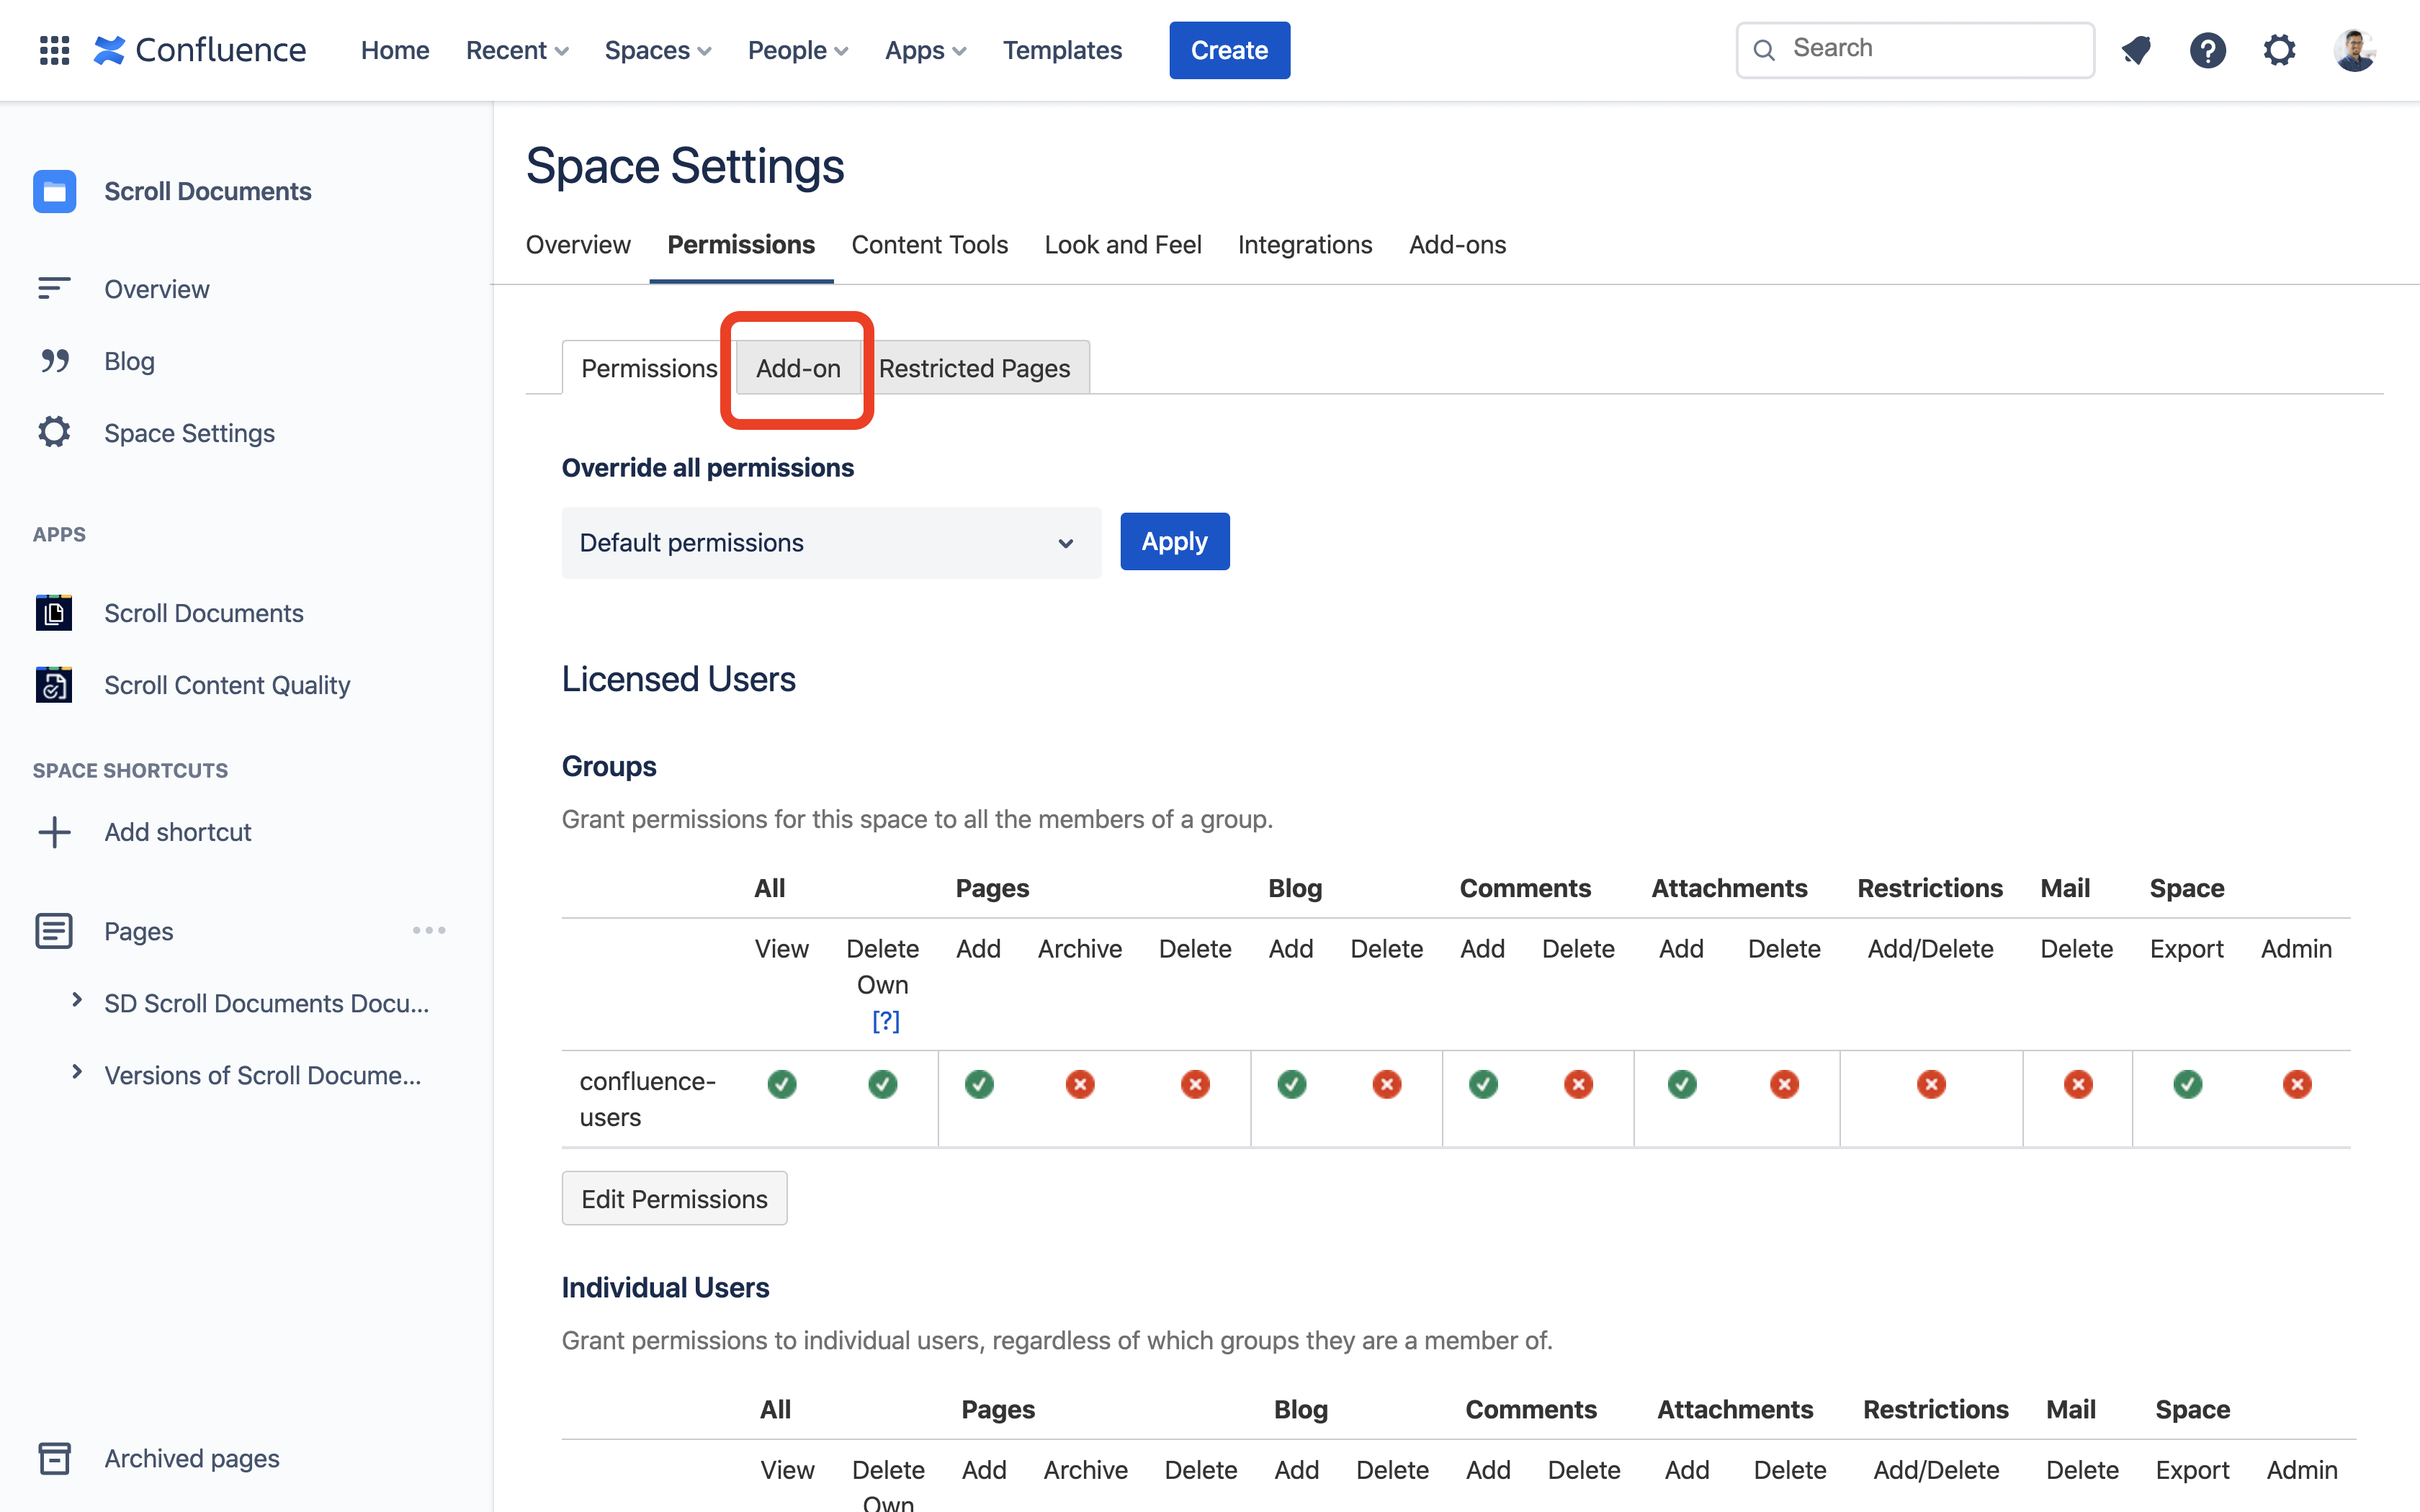
Provide the right permissions to the users and groups
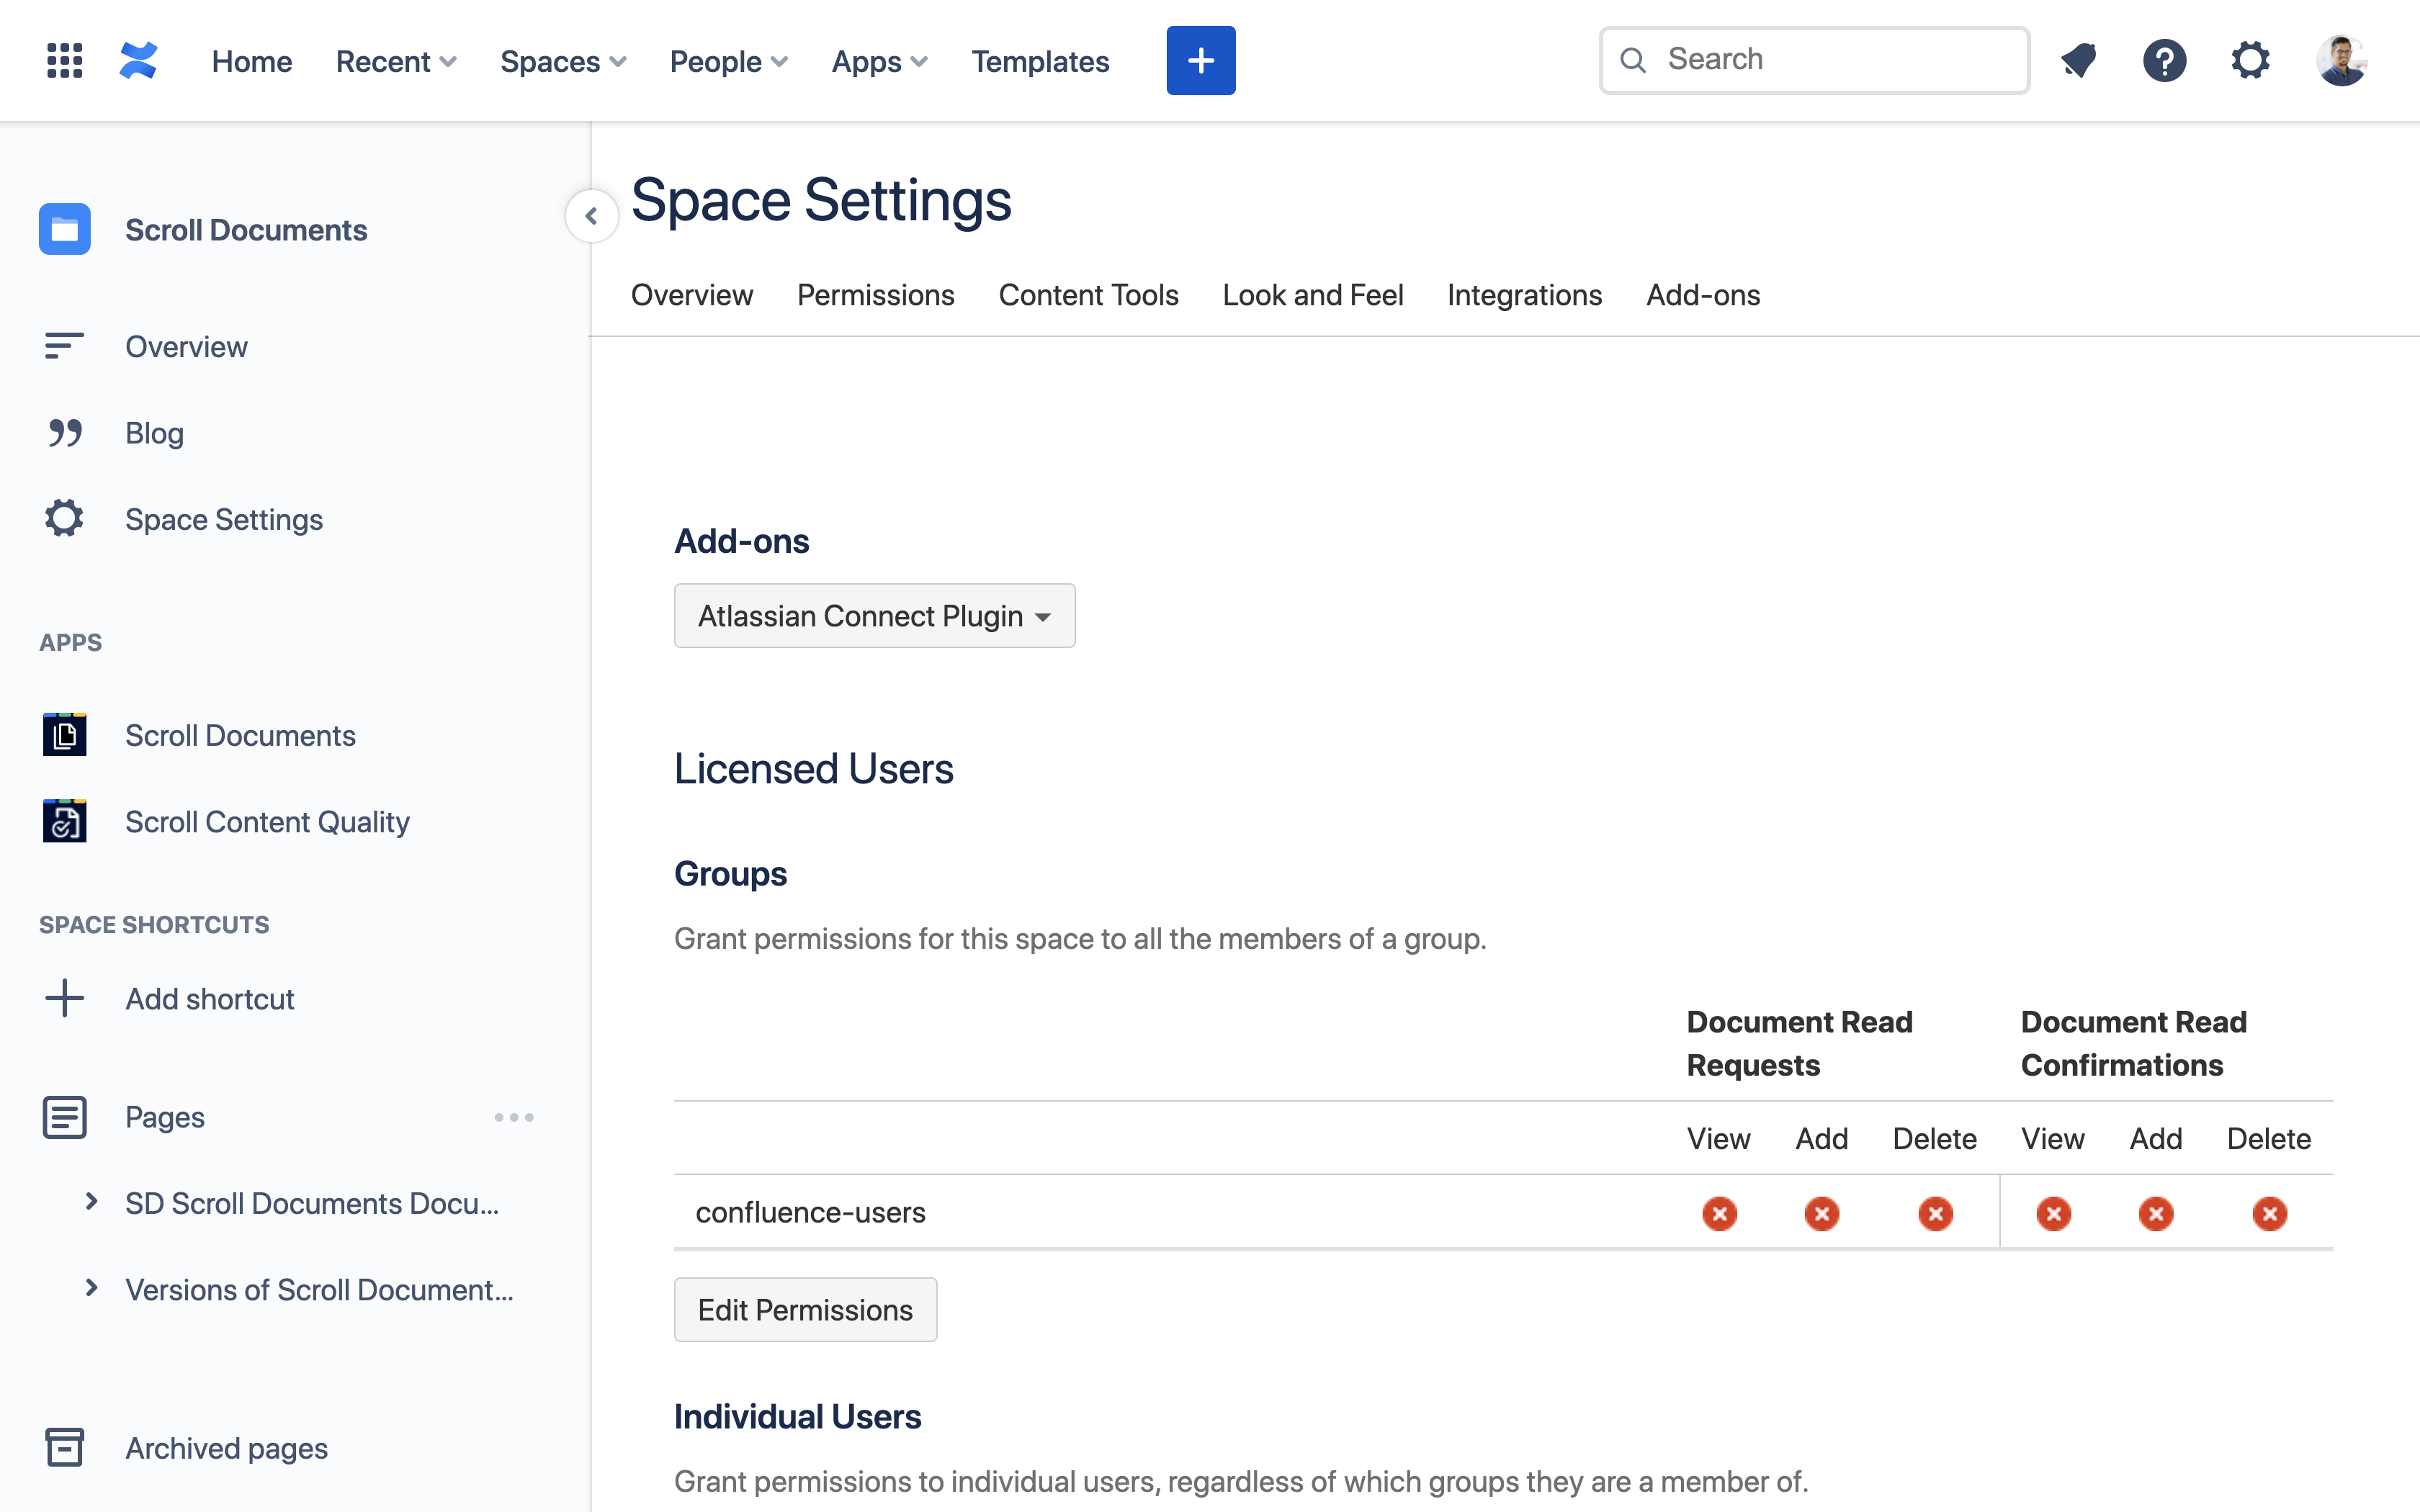
Note: Provide View/Add/Delete Document Read Confirmation permission to anyone you wish to send read requests. Otherwise they will not be able to respond to your requests.
If you plan to use Scroll Documents' read request feature on Cloud, note that only users who have made their email accessible to the app will receive email notifications when they are added as readers to a request.
Still Unclear? Reach Out to Us
If you need help with any of these migration steps, reach out to us via help@k15t.com.
