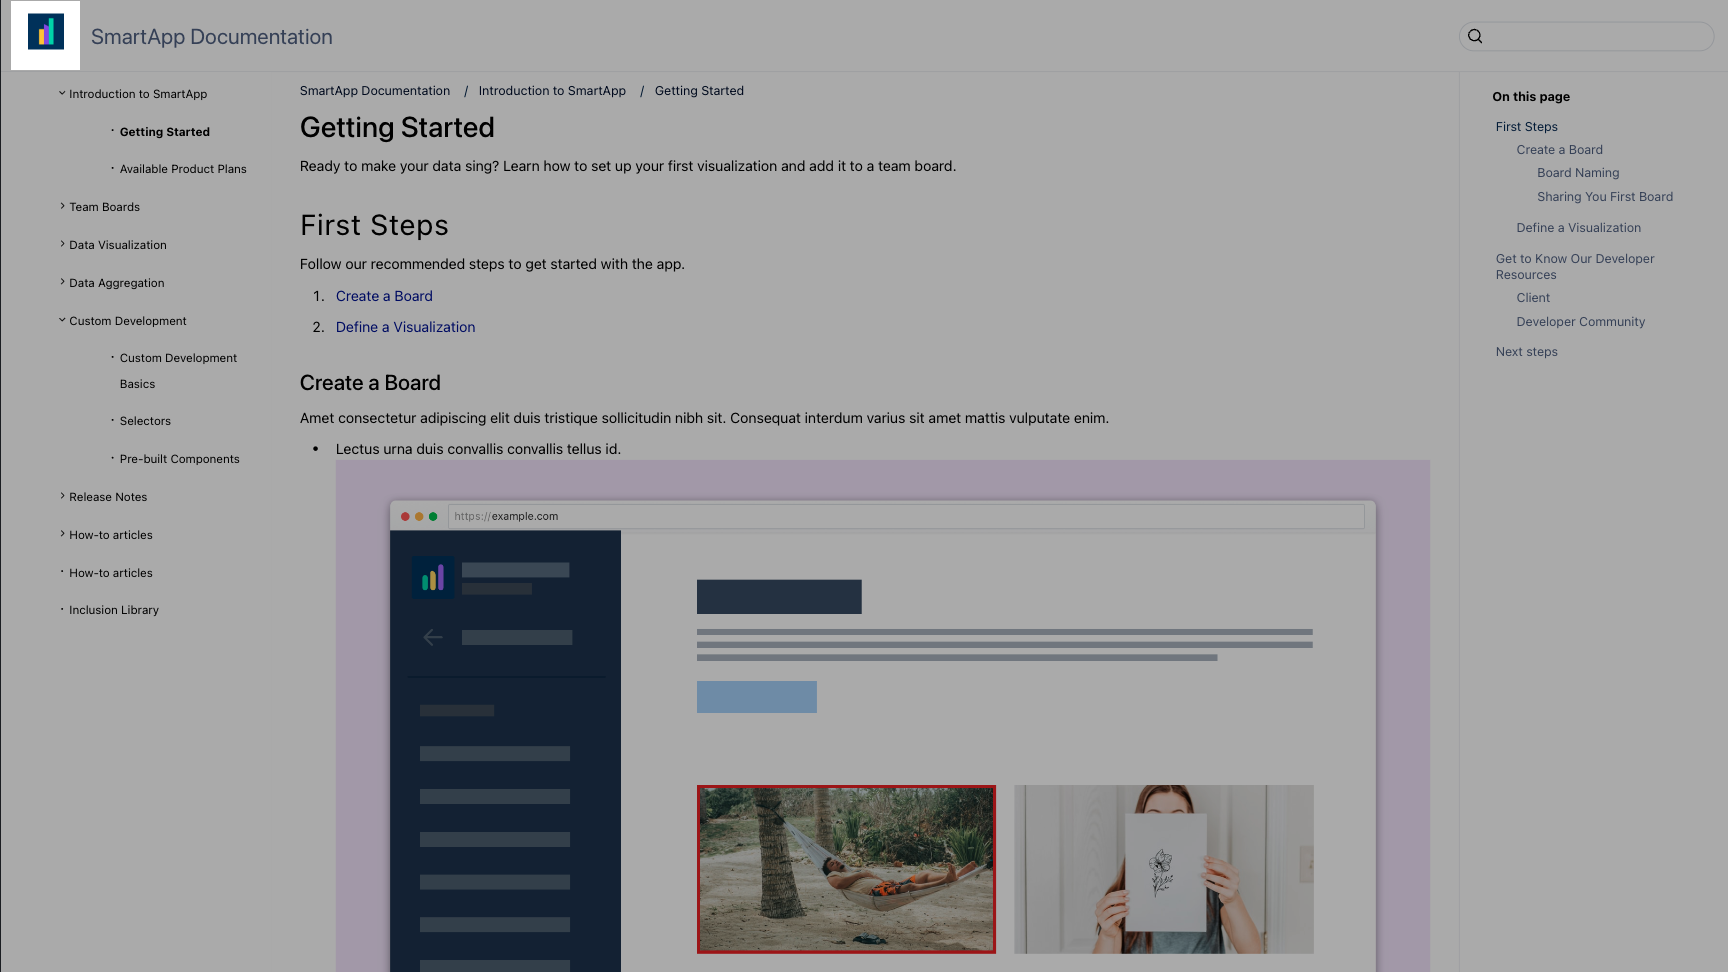
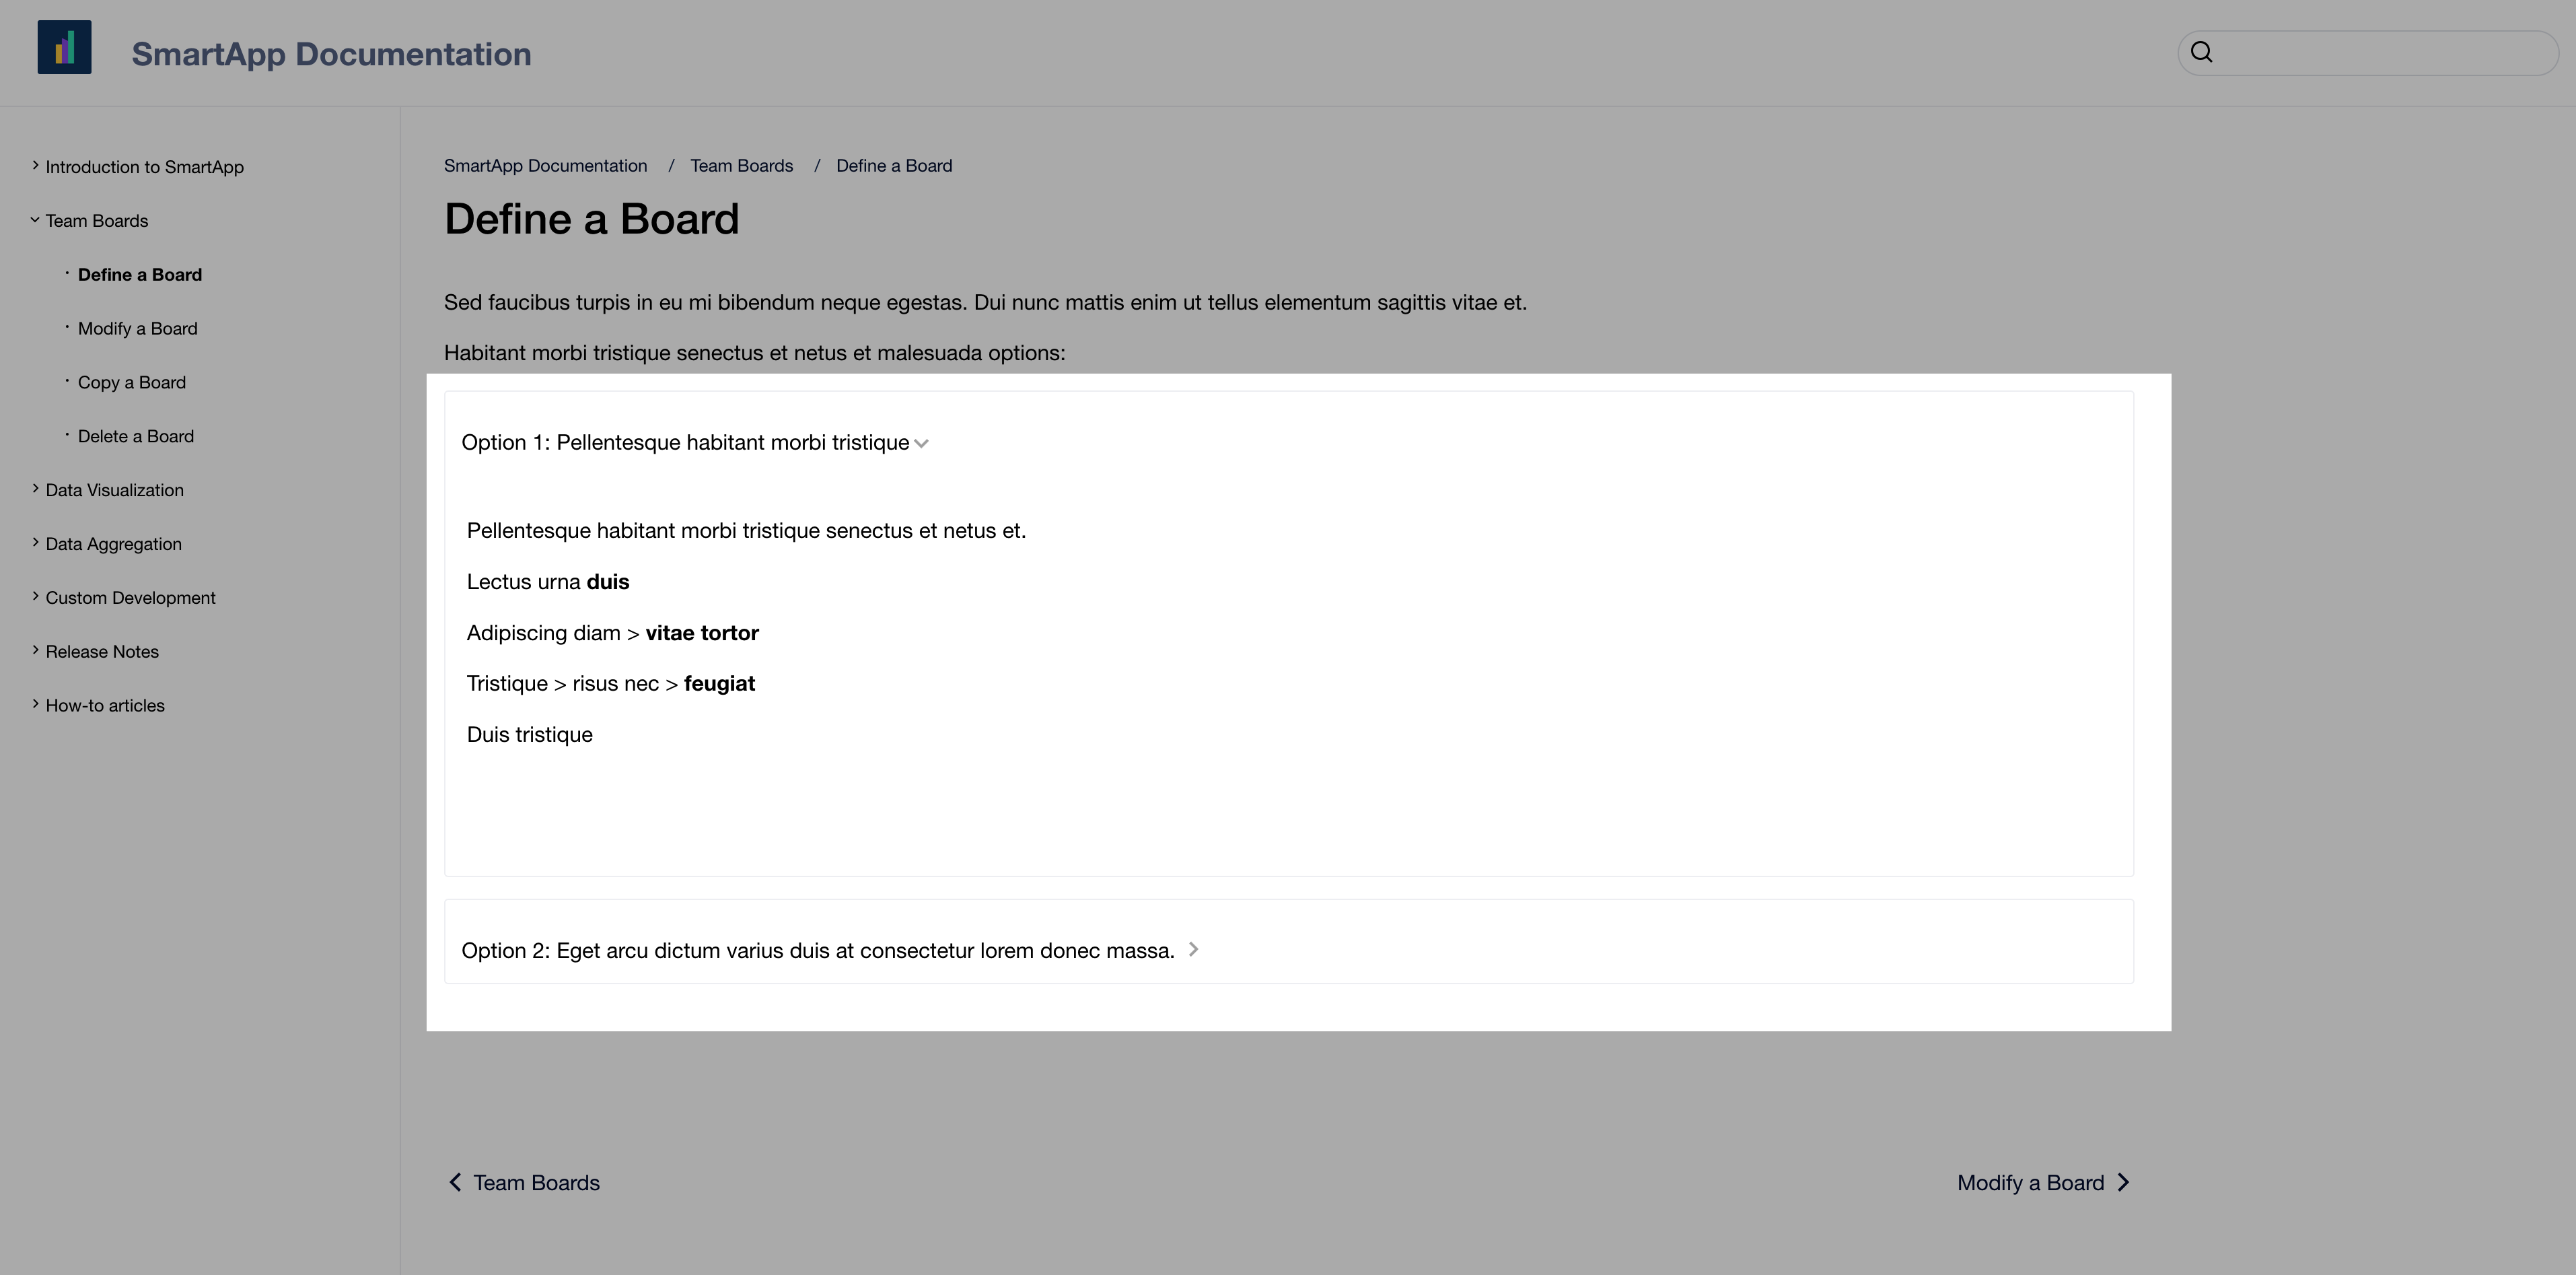
It remains possible to upload your defined custom.css file to the template so that you can further style and format the output of the export. This page contains some examples that can be used to bring about changes for different sections, such as:
Header Section Customization
Changing the Colour of the Header
To define a green header section, add one of the following code samples within the custom.css file
.png?cb=f644998d9e0aea4fb1ca5d6287f5bf08)
Using Colour Name
/* Customizing header color through CSS variable. See app.css in exported archive for all variables */
:root {
    --K15t-header-background: green;
}
Using HEX colour code
/* Customizing header color through CSS variable. See app.css in exported archive for all variables */
:root {
    --K15t-header-background: #95bb72;
}
Add Custom Image to Header
To add a custom image to the header, you can use two approaches.

Include an image as a data URL:
Add the following code within the custom.css file:
/* Include an image as a data URL: */
.exp-logo-image {
   background-image: url(data:image/gif;base64,<GIF_IMAGE_AS_BASE64_HERE>) !important;
}
Include an image uploaded to the template:
To set an image you can upload an image file to the template in the template editor and reference it in your custom.css file. To do this, add the following code within the custom.css file:
/* Include an image uploaded to the template: */
.exp-logo-image {
   background-image: url(../custom/images/uploaded-file-name.png) !important;
}
Change Positioning of Custom Image in Header
Align Custom Image and heading text vertically
Add the following code within the custom.css file:
/* Align logo and heading text vertically */
.exp-logo a {
  line-height: 1;
}
Align logo on left with same left margin as content has in mobile view
Add the following code within the custom.css file:
/*
 * Align logo on left with same left margin as content has in mobile view
 */
.exp-logo {
    justify-content: flex-start;
    padding: 0 0 0 calc(var(--exp-grid-step)* 2) !important;
}
Fix distance between logo and heading text (10px as example)
Add the following code within the custom.css file:
/*
 * Fix distance between logo and heading text (10px as example)
 */
@media (max-width: 768px) {
    /* Decrease grid cell for logo in mobile view to avoid margin on right of logo */
    .exp-grid-container {
        grid-template-columns: 0 0 0 var(--exp-html-navigation-cell-width)  auto auto auto auto 0 0 0 !important;
    }
}
.exp-document-title {
	margin-left: 2px; /* Adjust value */
}
Hide Document Title in the Header
To hide the Document Title from the HTML export output, add the following code within the custom.css file
.png?cb=9e6a6b0531b57dc1ac792d602d0f1ae9)
/* 1. Hide document title in header */
.exp-document-title {
    display: none;
}
Content Section Customization
Hide the Breadcrumbs and Extend Content Section Upwards
In order to hide the breadcrumbs and to extend the content section upwards to fill the available space, add the following code within the custom.css file
.png?cb=3e0f1b06d883b2134b1caf7d57d1cb02)
/* 2. Hide breadcrumbs and extend content section to upwards to take the available space */
.exp-breadcrumbs-wrapper {
    display: none;
}
.exp-content {
    grid-row: 2 / 5;
}
Hide the Page Title Heading in Content Section
To hide the page title heading in the content section, add the following code within the custom.css file
.png?cb=a38fcbe1e408653c236d4b792277588b)
/* 3. Hide page title heading in content section */
.article-heading {
    display: none;
}
Changing the Width of the Content Section
To increase the width, add the following code within the custom.css file
.png?cb=42abebccef12c7e4482f09f1a0fec92b)
/* Remove right sidebar and extend content area to occupy freed up space */
.exp-content {
    grid-area: 3 / 4 / 5 / 12 !important;
}

nav.exp-sidebar-toc {
    display: none;
}
Hide the Side Navigation Panel and Expand the Content Area
To hide the left side navigation panel and expand the content area into the available space, add the following code within the custom.css file
.png?cb=315d26fefa3c1d451e6c574c493b9c8a)
.exp-sidebar-navigation {
    grid-area: unset;
    display: none;
}

.exp-content {
    grid-area: 3 / 1 / 5 / 9;
}

.exp-breadcrumbs-wrapper {
    grid-area: 2 / 1 / 3 / 9;
}

.exp-post-navigation-prev {
    grid-area: 5 / 1 / 6 / 7;
}
Table of Content Section Customization
Changing the Heading Level Depth for the Table of Contents
To reduce the number of headings displayed, add the following code within the custom.css file
.png?cb=27124544cc2685c8abdad24fbc0e3a6c)
Hide Heading Levels 3 and 4 Entries
.exp-sidebar-toc .toc-list .toc-list {
    display: none;
}
Hide Heading 4 Level only
.exp-sidebar-toc .toc-list .toc-list  .toc-list {
    display: none;
}
Add Header Text to the Table of Contents
Adding "On this page" header to the Table of Contents, add the following code within the custom.css file
.png?cb=4ec6660918409c0e1532ecfd84e7cbaa)
.js-tocBot::before {
content: "On this page";
font-size: 1.25em;
}
Removing the Table of Contents
To remove the TOC, add the following code within the custom.css file
.png?cb=7558081d9a4c3f9c7b2b43ef61138365)
.exp-sidebar-toc {
   display: none;
}
Text Style Customization
Changing the Font
To set a different font you can use two approaches.
.png?cb=be1ca96fbd5b842dd374960e1609016d)
Setting a system installed font
By default, we set the following css custom properties with the following values:
:root {
    --K15t-font-family-code: 'PT Mono', Monaco, 'Andale Mono', 'Ubuntu Mono', monospace;
    --K15t-font-family-body: Roboto, Helvetica, Arial, sans-serif;
    --K15t-font-family-headline: Roboto, Helvetica, Arial, sans-serif;
}
If you just want to change the font, and the font is installed on your system, you can insert the line they want into a :root scope, and insert your custom font as the first font in the list. It is recommended to leave the other fonts after that, as they act as a fallback in case the font is not available.
To change the font of just Document Title in your export to Comic Sans, add the following code within the custom.css file
:root {
  --K15t-font-family-headline: "Comic Sans MS", Roboto, Helvetica, Arial, sans-serif;
}
To change the font of the Document Title, contents section, sidebar navigation and TOC in your export to Comic Sans, add the following code within the custom.css file
:root {
  --K15t-font-family-headline: "Comic Sans MS", Roboto, Helvetica, Arial, sans-serif;
  --K15t-font-family-sans: "Comic sans MS", Roboto, Helvetica, Arial, sans-serif;
}
Setting a custom uploaded font
To define a custom font you can upload a font to the template in the template editor and reference it in your custom.css file
@font-face {
  font-family: "CustomFont";
  src: url('../custom/fonts/Upload Font File Name.ttf') format('truetype');
}

:root {
    --K15t-font-family-body: "CustomFont", sans-serif;
}
Changing Heading Font Size in Tables
To reduce the heading level 2 style in table content, add the following code within the custom.css file
.png?cb=e6fb42f22d49208e7bf6a6910a8a7636)
main.exp-content table.confluenceTable tbody tr td h2,
main.exp-content table.confluenceTable tbody tr th h2,
main.exp-content table.confluenceTable thead tr td h2,
main.exp-content table.confluenceTable thead tr th h2,
main.exp-content table.confluenceTable tbody tr td h2 *,
main.exp-content table.confluenceTable tbody tr th h2 *,
main.exp-content table.confluenceTable thead tr td h2 *,
main.exp-content table.confluenceTable thead tr th h2 * {
    font-size: 1.25rem;
    line-height: 1.25em;
    margin-bottom: 0 !important;
}
Changing the Line Spacing for Text in Tables and/or Macros
To increase the line spacing for text in table content (and some macros - Expand, Info) add the following code within the custom.css file

/* Increase spacing of paragraphs inside of admonitions, expand macros and tables to match default spacing */
.confluence-information-macro p,
.expand-container p,
table p {
  margin-top: 12px !important;
}
Changing the Caption Text Format
To change the caption text to use italics and a smaller font size, add the following code within the custom.css file
/* Style image caption text */
.scroll-title-macro-caption {
  font-style: italic;
  font-size: 0.9em;
}
Changing the Caption Text Alignment
To align the caption text to the alignment chosen for the image on the Confluence page, add the following code within the custom.css file
/* Align image captions with images and improve caption position for left/right wrapping images */
.image-center-wrapper + .scroll-title-macro-caption,
.scroll-title-macro-caption:has(+ .image-center-wrapper) {
  text-align: center;
}
.image-right-wrapper + .scroll-title-macro-caption,
.scroll-title-macro-caption:has(+ .image-right-wrapper),
.image-right-wrap-wrapper .scroll-title-macro-caption {
  text-align: right;
  clear: both;
}

.image-left-wrap-wrapper .scroll-title-macro-caption {
  clear: both;
}
Macro Style Customization
Change the Background Colour of Admonition Macros
To change the Confluence Info Macro background colour, add the following code within the custom.css file
.png?cb=afde6a25ac6b7e75ac23b4f67db6a2db)
.confluence-information-macro-information {
	background-color: #50e2f2;
}
The code selector can be adapted for other Confluence Admonition macros such as;
-
Warning macro:
.confluence-information-macro-note -
Success macro:
.confluence-information-macro-tip -
Info macro:
.confluence-information-macro-information -
Error macro:
.confluence-information-macro-warning -
Note macro:
.scroll-panel-note
Remove the Icon for Admonition Macros
To remove the icon for the Confluence Info Macro, add the following code within the custom.css file
.png?cb=a01a7ead2184ea62e7f56667b2b8af5c)
.confluence-information-macro-information .confluence-information-macro-icon {
	display: none;
}
.confluence-information-macro-information .confluence-information-macro-body {
	padding-left: 0 !important;
}
The code selector can be adapted for other Admonition macros such as;
-
Warning macro:
.confluence-information-macro-note -
Success macro:
.confluence-information-macro-tip -
Info macro:
.confluence-information-macro-information -
Error macro:
.confluence-information-macro-warning -
Note macro:
.scroll-panel-note
Remove "Page:" text from Content by Label macro
To remove the "Page" Text from the Content by Label macro, add the following code within the custom.css file
.png?cb=046d2760ff49b2d1d321aeb3af962724)
.content-by-label > li > div:first-child {
	display: none;
}
Table Style Customization
Make Table header display as you scroll down the page
To define a sticky header for table content, add the following code sample within the custom.css file
.png?cb=c19da581e555423eeff1da56d654793a)
th {
    position: sticky !important;
    top: 0;
}
Video Output Customization
Define a fixed size for the output of all video player elements
To define a fixed size for video content, add the following code sample within the custom.css file
video {
   width: 600px;
}
Only affect videos that are wider than a certain size and keep smaller videos in their original size, add the following code sample within the custom.css file
video {
   max-width: 600px;
}
