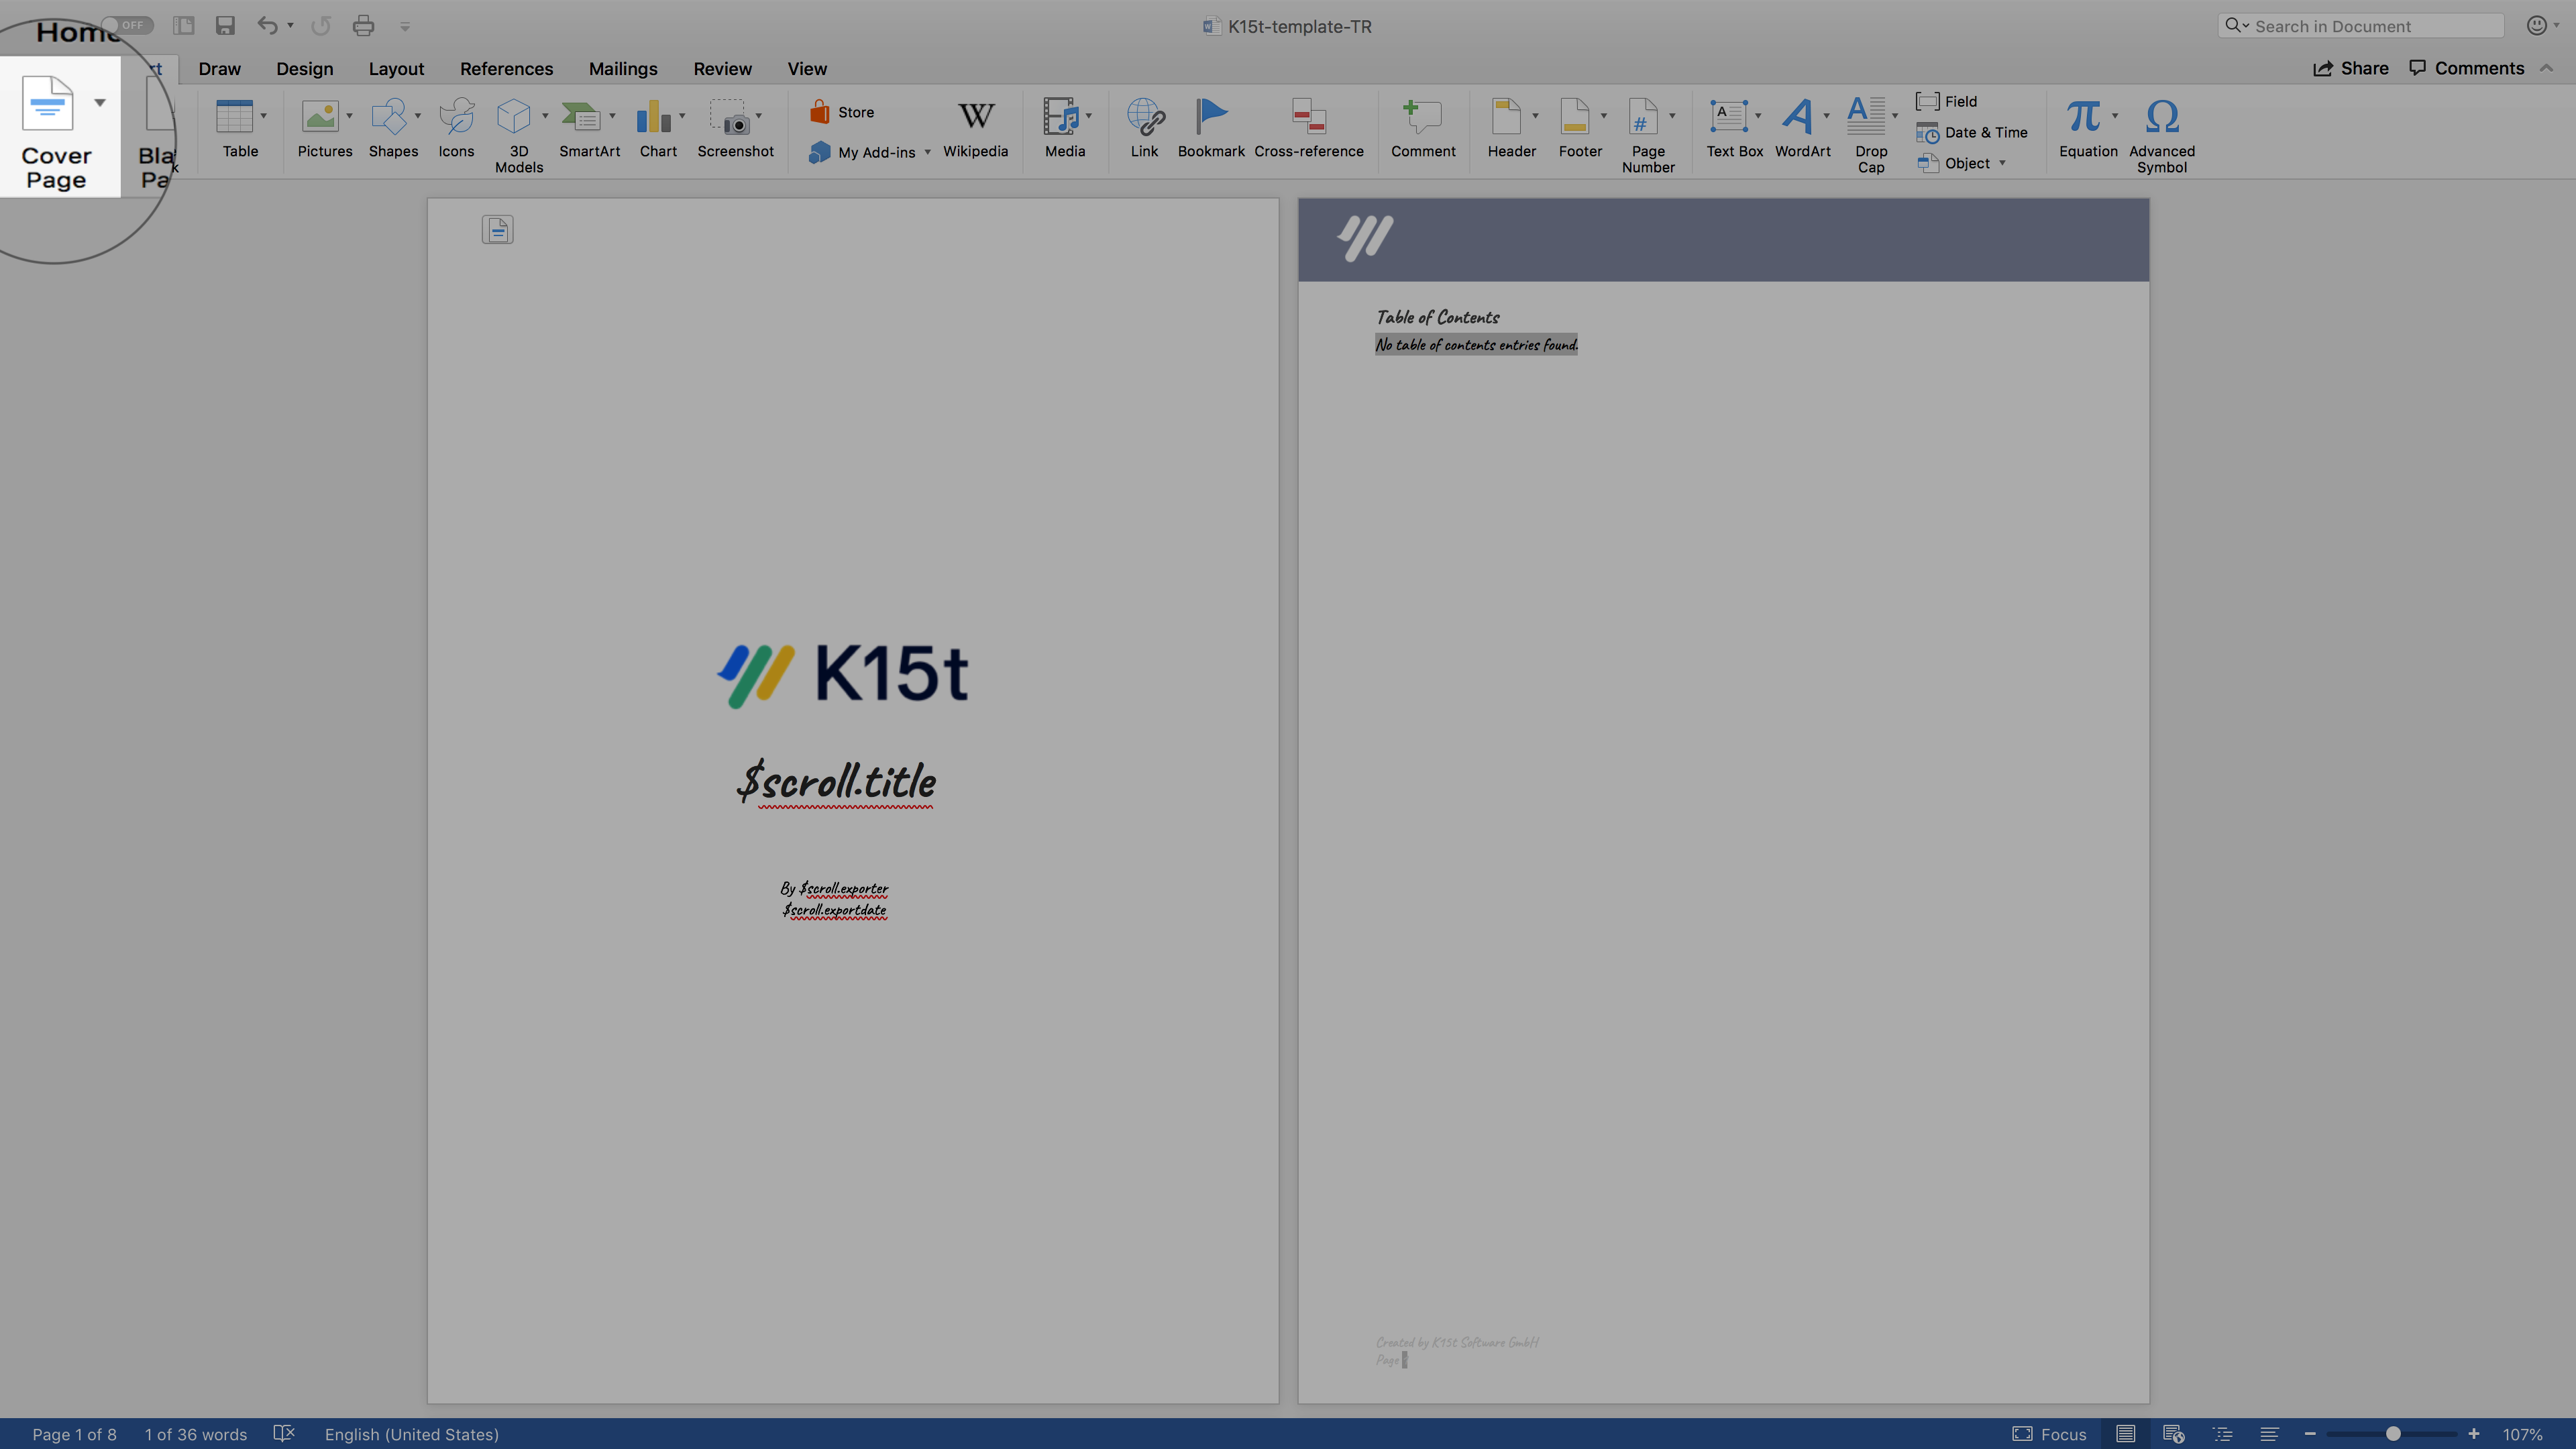
The title page is the first page of your exported document. This article explains how to add one in your Word template.
Insert the title page
In your Word template, simply select Insert > Cover Page and then pick the title page to insert:

It is then possible to design your own title page, if you do not want to keep one of the built-in cover pages provided by Word.
Get your exported Confluence content in the right place
By default, Scroll Word Exporter places your exported Confluence content at the beginning of the document. Of course, in this case, you would not want to the content to begin before this structural element.
To avoid this happening, insert the placeholder $scroll.content in the position where you want the content to start.
Add more information using placeholders
The built-in title pages from Word define different information displayed on the title page, such as:
-
Name of the company
-
Document title
-
Document subtitle
-
Name of the author
-
Date created
-
Abstract of the document
Basically all these fields are placeholders for information that should be entered. Scroll Word Exporter adapts this concept and allows you to reference Confluence metadata using placeholders. A placeholder is basically a simple text which starts with $scroll. followed by the information which should be rendered at this position. For a full list of available placeholders see using placeholders.
In our example we can add the required information on the title page:
-
Name of the company – enter your company name as static text where it should be rendered
-
Document title – enter the placeholder $scroll.title where the title should be rendered
-
Name of the exporter – enter the placeholder $scroll.exporter.fullName where the full name of the person exporting the document should be rendered.
-
Date created –enter the placeholder $scroll.exportdate where the date of the export should be rendered.
