With Backbone, you can define workflow mappings based on
work item
status, allowing you to sync statuses between
work items
. This guide will demonstrate how to map the workflows between two synchronized
work items
.
When you start configuring your workflow mappings, it's important to choose the correct one for your needs. You can always switch from default to advanced, but the other way around is not possible without needing to create a new workflow mapping.
Recommended editor
It is recommended to use the default editor as it’s easier to use and maintain. However, when you have certain transitions in your workflows that can be executed in multiple ways, and you need to define which exact path should be taken, we recommend the advanced editor. This is because you can't select which transitions between states should be made in the default editor.
Default Editor
Let's create a workflow mapping with the default editor:
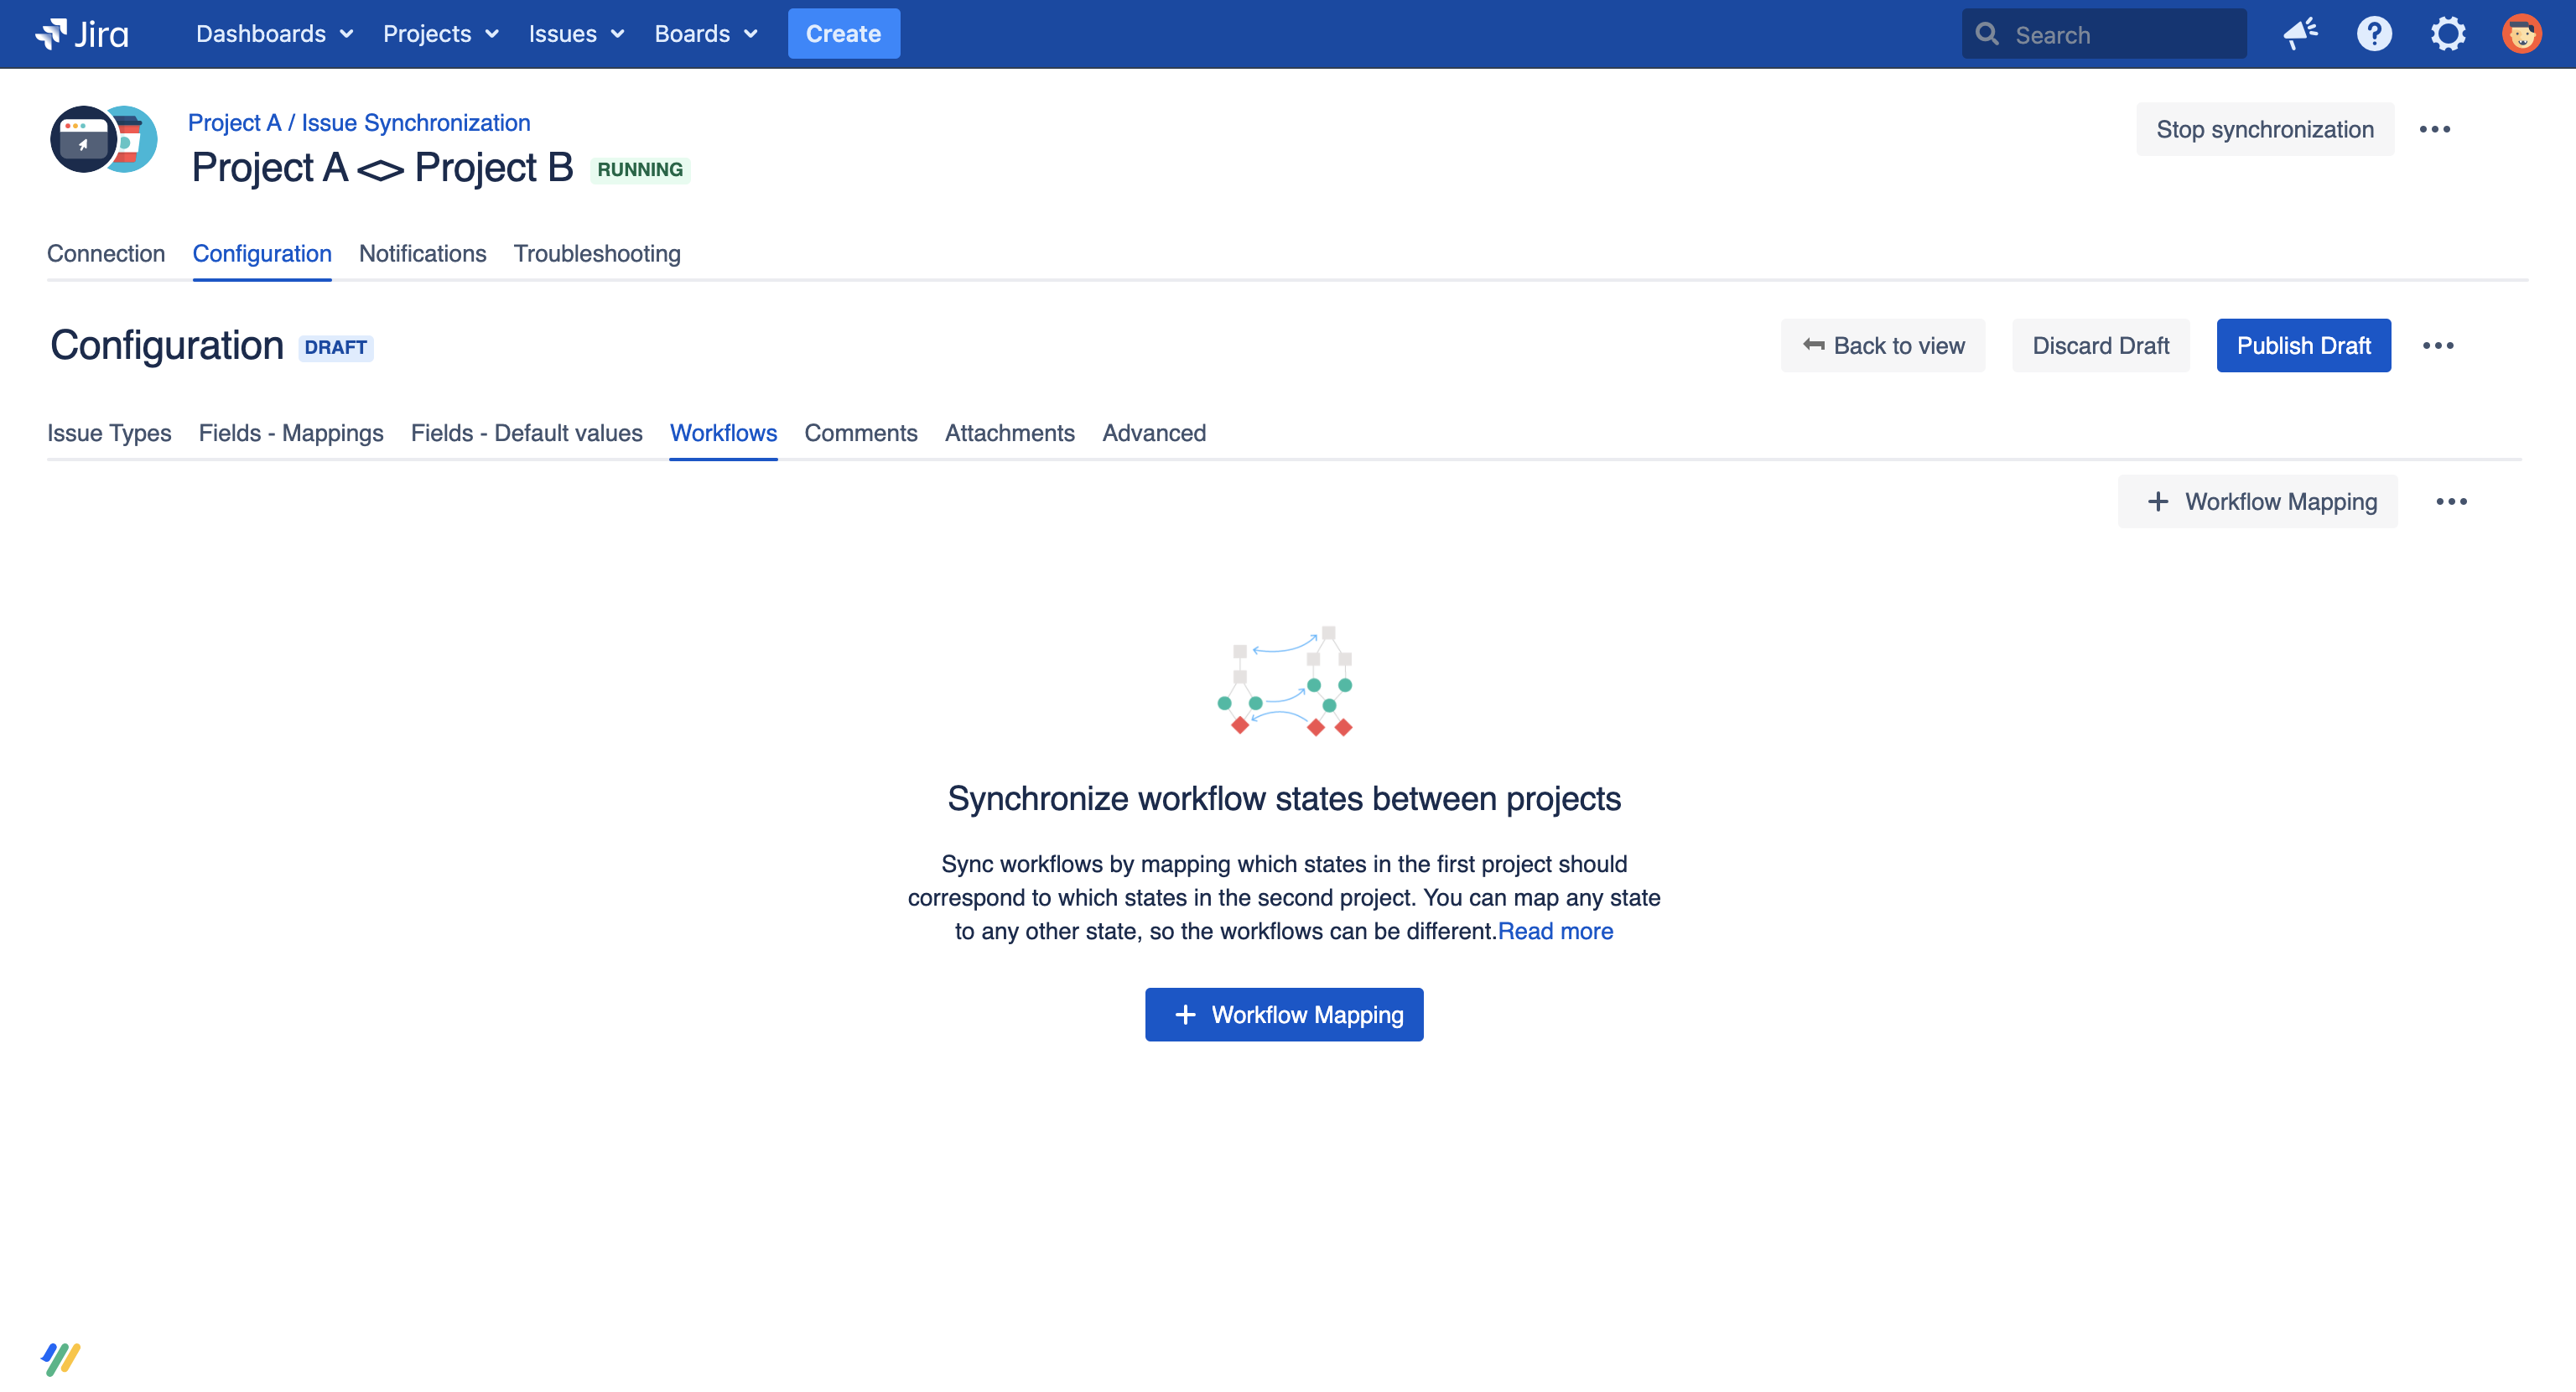
To get started, open the synchronization configuration and click Workflows > New workflow mapping;
If you see a different view (with two columns for the two projects), this means that you've already created workflow mappings for this project with the advanced editor – you won't be able to switch back to the simple editor without losing these.
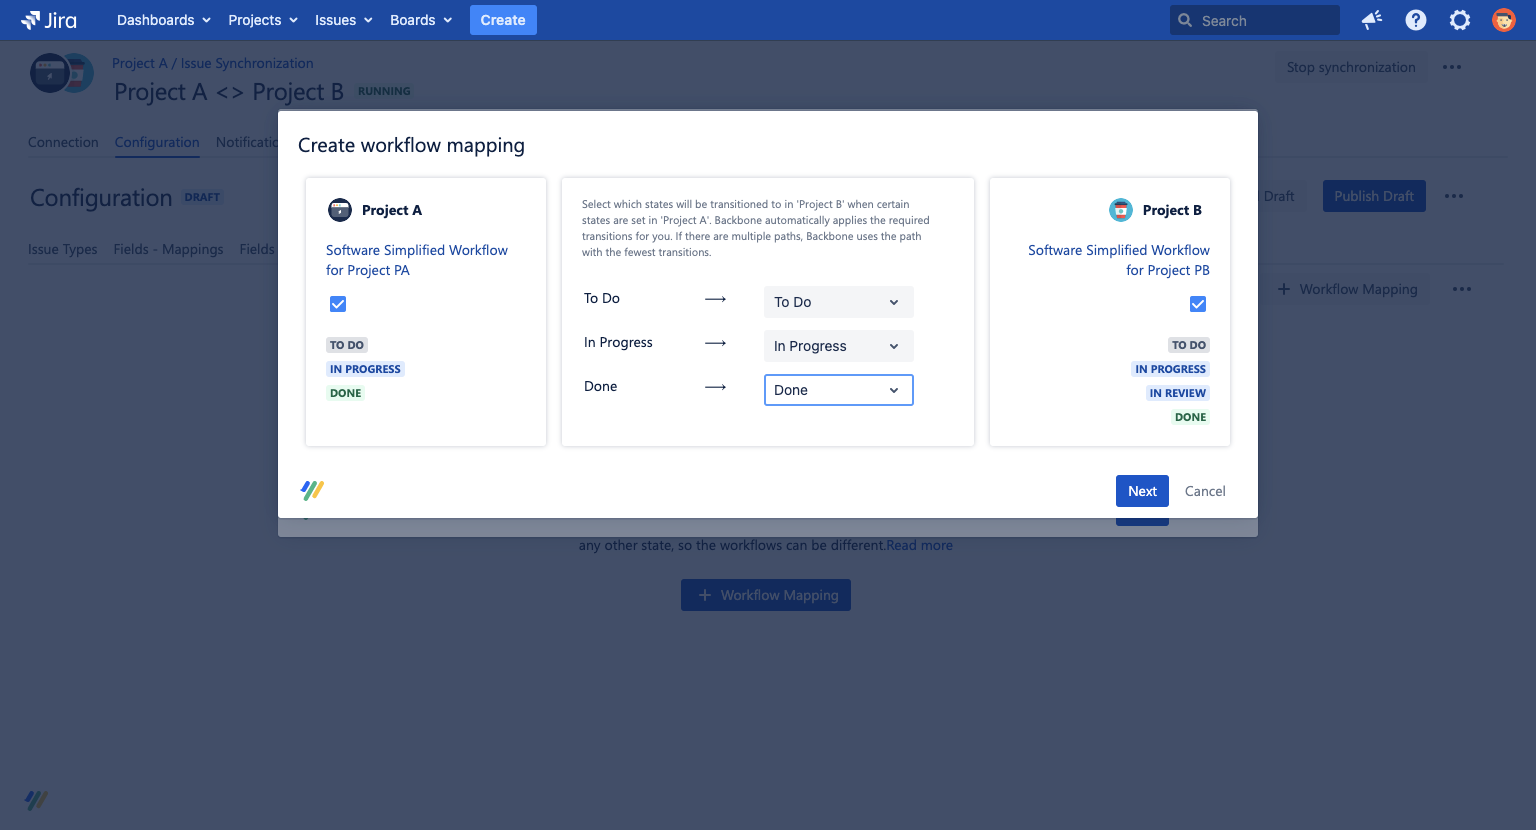
Select which workflows you want to map, and what
work
types you want to map the workflow for.
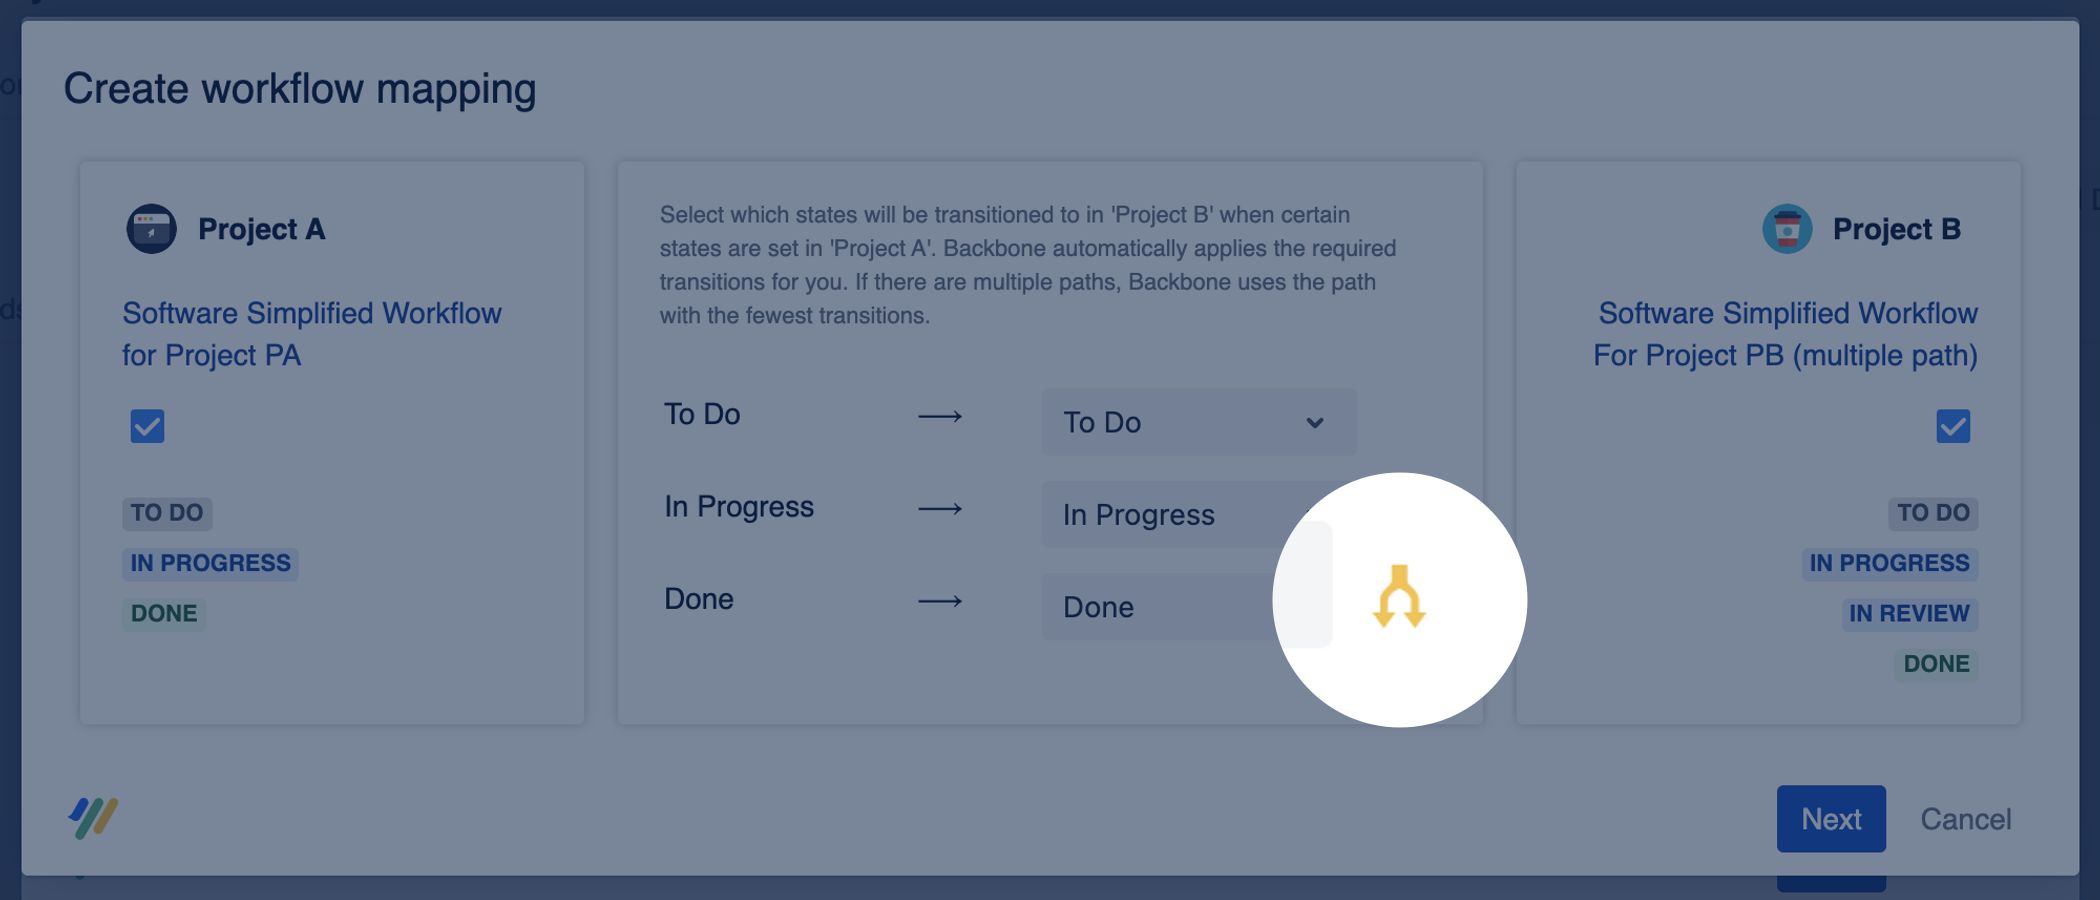
Now, you can use the editor to map what workflow state the partner project should be triggered to when your project sends them a certain workflow state: In this example, when Project A sends Project B its current workflow status, Project B's workflow status will transfer to the same status. If there is more than one path between two statuses, Backbone will always select the shortest path. If there are multiple possible shortest paths, you can select which Backbone should take by clicking the path selection button:
On the next screen, map what workflow status your project should transition to when the partner project sends a workflow state. You can configure this in the same way as step 3.
Advanced Editor
The advanced editor lets you map workflow states between projects, and also select specific transitions between those states.
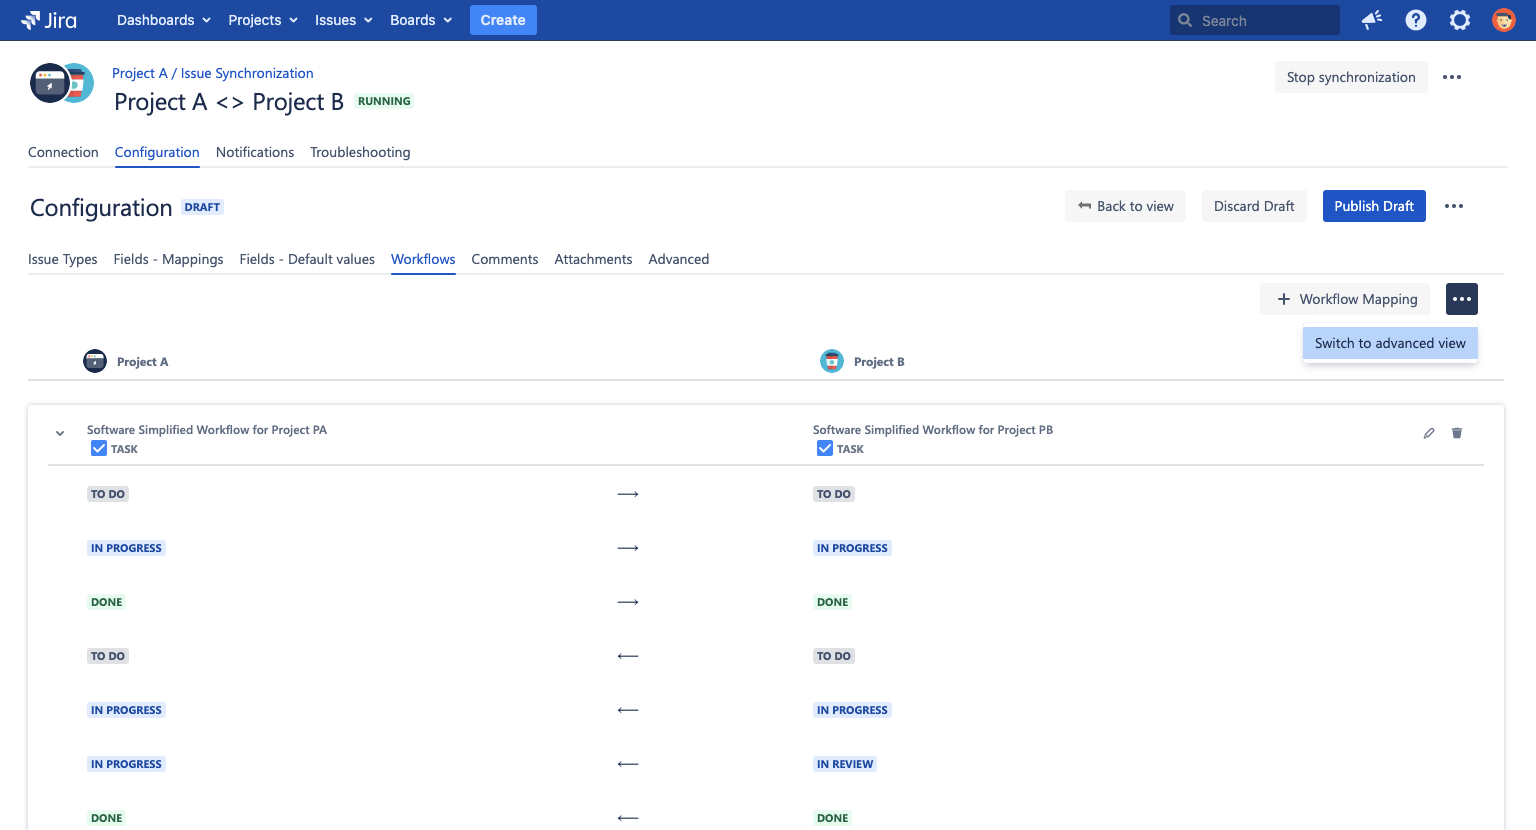
If you need to use the advanced editor, switch by clicking ... > Switch to advanced view:
If you want to create a workflow mapping for all
work
types belonging to a project's default workflow, then click Default workflow mapping +.
If you want to create a workflow mapping for (a) specific
work
type/s, click + New workflow mapping.
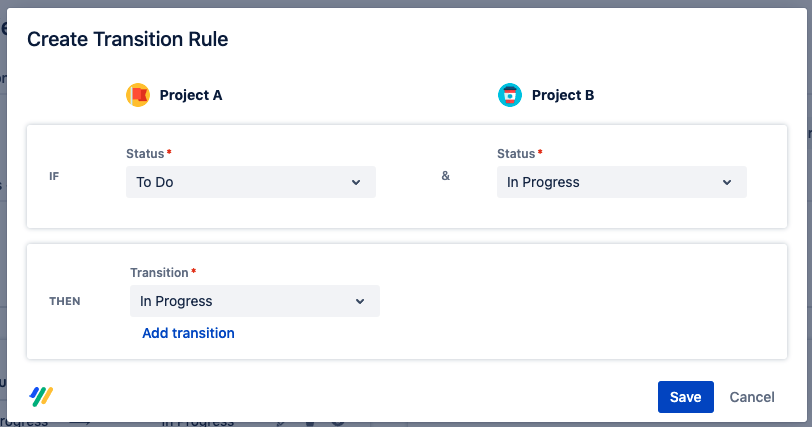
To define a workflow mapping, simply click + then you can define transition rules for your project. When you define a transition rule, you can define what transition for project's workflow should be triggered when the workflow status in the partner project changes. The condition is always a combination of the local status and the status of the partner project. Whenever the status in the partner project changes, Backbone will search for a matching condition and perform the selected transition (or transitions). The list of transitions to select depends on the selected local status.
Transition rule example
Here, if Project A is in status To Do, and Project B's workflow status changes to in Progress, then Project A's workflow status transitions to status In Progress.
JavaScript errors detected
Please note, these errors can depend on your browser setup.
If this problem persists, please contact our support.