Protect Site With SAML Single Sign-On
Setting up SAML 2.0 with an identity provider will enable single sign-on for your Scroll site.
Once logged in one of your applications, your users will be able to access your Scroll site without having to log in again (as long as their session is not expired).
Choosing SAML as your site’s protection method is ideal if you already have an existing user directory that you can integrate with. You will avoid managing additional user credentials just for your Scroll site and you will be able to provide a much more seamless navigation experience for your site’s visitors.
How SAML Single Sign-On Works
After setting up SAML single sign-on for your Scroll site, any user accessing your site will get to a login page. From there, access to the site is handled in the following way:
A user attempts to log in.
Scroll Sites sends a SAML request to the identity provider of your choice.
Your identity provider checks the user’s credentials.
Your identity provider sends a response to Scroll Sites to verify the user’s identity.
Scroll Sites accepts the response and logs the user into the Scroll site.
What You Need to Know Before Setting up SAML Protection
Before setting up SSO protection, please make sure that you have an account with an identity management service or access to an identity management tool that supports the SAML protocol.
SAML is an open standard for single sign-on (SSO). The setup of SAML SSO in Scroll Sites will involve two parties:
The relying party or service provider – in this case Scroll Sites.
The authenticating party or identity provider – in this case the tool or service you select to manage the identities.
The tool or service you choose as an identity provider will need to support the SAML protocol. This could be a service like Okta, OneLogin or Salesforce, a self-built solution or an Active Directory System with a connection through SAML.
Please note that some identity providers are currently not supported as they only allow to sign the response or assertion, not both. Both signatures are required for a successful setup in Scroll Sites.
The only exceptions to this rule are Auth0 or Google, which will work if only the response is signed.
Setting up SAML Protection
Requirement: setting up an identity provider
Before you can enable SAML protection for your Scroll site, you will need to make sure that you have a working setup with an identity provider of your choice. This includes:
An account with an identity management service or access to an identity management tool (e.g. self-built) that supports the SAML protocol. Find a list of all products services that support SAML.
An existing directory with users and/or groups of users.
From the identity management tool you will then be able to connect Scroll Sites as an application.
The setup in your identity provider tool
Please note that the setup process and terms used in this guide might differ from the ones used in your tool of choice.
Connecting Scroll Sites as an application
To establish a link between your identity provider and Scroll Sites, you will first need to create a new app integration in your identity provider setup.
When connecting or adding Scroll Sites as an application, ensure the following:
Select SAML/SAML 2.0 as the sign-on method.
If asked for an app or display name, choose a name that helps you identify the application and that is meaningful to your end-users (the name will also be used in your login page).
Assign the app to users or user groups to define who will be able to access the Scroll Sites site. You might need to create those users or user groups first and create the assignation to the app from there.
Pasting the SAML values
You will need to paste a set of values provided by Scroll Sites into your identity provider configuration (more on where to find these values under The setup in Scroll Sites):
Relying Party identifier (in some tools it might also be called Service Provider Entity ID or Audience ID).
Assertion consumer service URL (ACS URL).
Besides pasting these values, you will need to make sure that the configuration in your identity provider includes the following settings:
Setting | Value |
|---|---|
Single Sign-On URL | Same as Assertion consumer service URL |
Recipient | Same as Assertion consumer service URL |
Response | Signed |
Assertion Signature | Signed Exception: Auth0 and Google won’t allow you to sign both response and assertion. For those IdPs, the assertion can be left unsigned. |
Login URL | Your Scroll Sites URL |
Depending on your identity provider, you might be able to further customize and style the appearance of the login page. Please refer to your identity provider for more information.
The setup in Scroll Sites
Starting the SAML setup
To set up protected access with SAML SSO:
From the Confluence sidebar, click Apps > Scroll Sites.
From the Scroll Sites sidebar on the left, click Domains & Security.
In the Domains & Security screen, find the domain that is connected to your site.
If you plan to connect your site to a custom domain, we recommend to set up that custom domain and connect it to your site before you proceed with the setup of SSO protection.
From the domain’s card, click the arrow icon in the far right of the card next to Site access. This will expand all site access options.
Click the button Set up single sign-on. A dialog will open.
Copying the SAML values
Copy the values that Scroll Sites generated for you:
Relying party identifier (might also be called Entity ID or Audience ID in your identity provider configuration).
Assertion consumer service URL (ACS URL).
Paste the values into your identity provider setup.
Once the values are pasted, come back to the SSO setup dialog in Scroll Sites and click Next. You will see an empty metadata editor.
Pasting the identity provider metadata
Get the Identity Provider metadata that your Identity Provider provides to you and paste it into the empty metadata editor in the Scroll Sites SSO setup dialog.
The metadata is usually provided as an XML file from your configuration setup screen.
Make sure you download and open the XML file and copy the metadata from the file, not directly from the view in your browser. Browsers will typically leave out parts of the metadata that are needed by Scroll Sites.
Click Set up. The dialog will close if there are no errors with your metadata.
From the domain’s card, select Protected: Single sign-on as the site access option.
Click Confirm in the Changing site access dialog.
Removing SAML Protection
To remove protected access:
From the Confluence sidebar, click Apps > Scroll Sites.
From the Scroll Sites sidebar on the left, click Domains & Security.
In the Domains & Security screen, find the domain that is connected to your site.
From the domain’s card, click the arrow icon in the far right of the card next to Site access. This will expand all site access options.
Select any other access option, e.g. Public.
From the Domains & Security screen, click Publish changes.
The login page is now removed from your site and your site is publicly accessible again (no login required).
Accessing a Site with Single Sign-On
After successful setup of SAML single sign-on, any user who accesses your site and is already logged on in related applications, will be seamlessly redirected to your site.
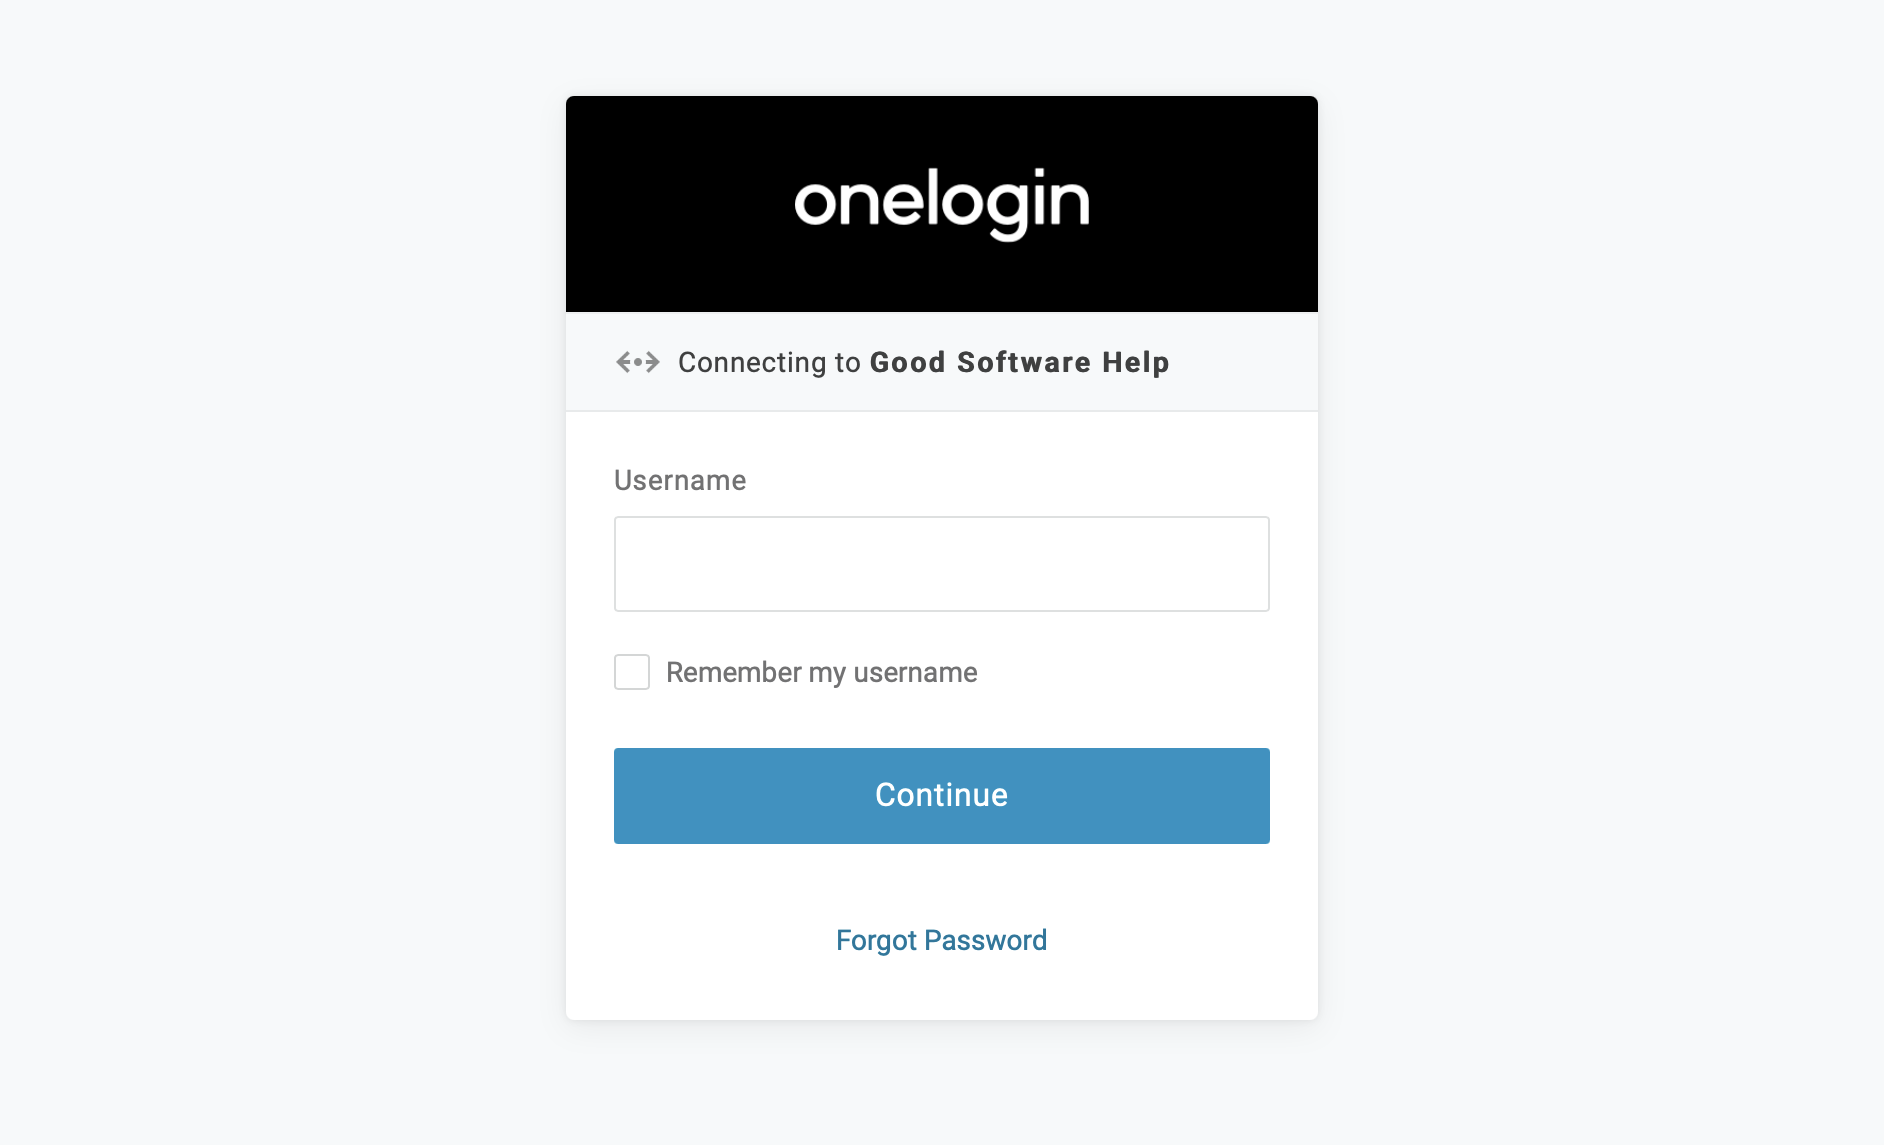
All other users will be directed to a login page and asked to enter valid credentials (usually a username/email and password) to access your site. Users who attempt to log in without valid credentials will not be able to access your site and see an error message.
The login page is provided and styled by your identity provider and might look as follows:
Accessing a protected site will work exactly the same way when using the in-app help parameter.
Once your user accesses the site, Scroll Sites will store a session cookie with signed values in their browser.
The session cookie is deleted after the browser session is completed or the browser closed. Independent of the duration of the browser session, the signed values will expire after one hour. After that, the user will need to log in again to access the site.