Get Started
If you’re reading this article, it means that you have decided to take Scroll Documents for a spin, and we could not be more excited!
This is a practice tutorial, here you’ll learn how to:
create a document,
edit a version,
save a version,
compare a version,
and finally publish a version.
Before You Begin
Pre-requisites
To complete this tutorial you will need the following:
A Confluence instance with Scroll Documents installed. Learn how to install Scroll Documents.
A new or existing Confluence space. We highly recommend creating a new space for this tutorial.
The following space permissions -
All - View
Pages - Add
Attachments - Add
Important terms
In Scroll Documents, the top-level page of your documentation is known as the root page. This may vary depending on the scope of your documentation in Confluence. E.g.
If your documentation consists of only a single page, then this page is considered as the root page.
If your documentation is organized in a page tree within a space, then the top-level page of the tree is considered as the root page.
If an entire space represents your documentation, then the space home page is considered as the root page.
In case you add any pages below the document root page in the future, Scroll Documents will consider them a part of the documentation, and will be subject to versioning.
1. Create a New Document
In this part we will create a new document using a pre-defined Product Documentation template, that ships out-of-the-box with Scroll Documents. This template is a great example of how you can organize your documentation, and helps you get started with the app quickly.
To get started, follow the steps below:
Navigate to the space that you created in the pre-requisites step or any other space of your choice.
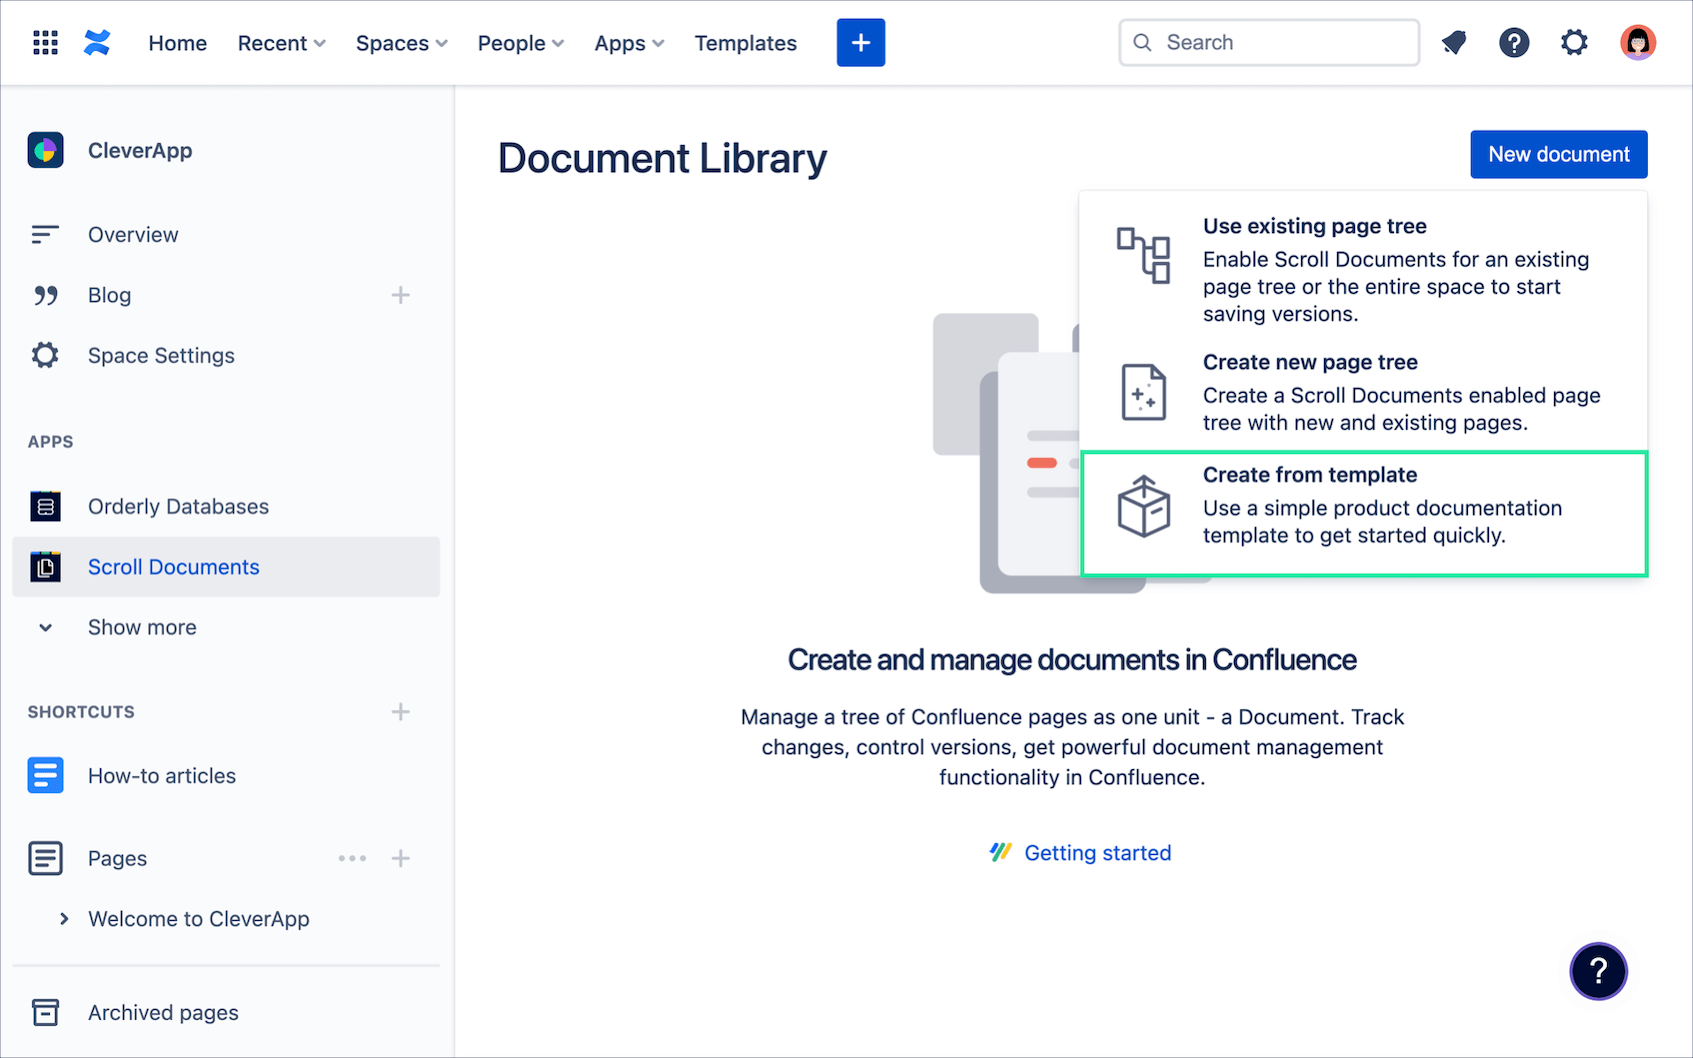
In the space sidebar, click Scroll Documents from the Apps section to open the Document Library
From the Document Library, click New document.
Select Create from template.
5. In the Create from template dialog, make sure that the Product Documentation template is selected > click Next.
6. Leave the default values as is in the Document details form > click Save.

Well done!
You have now created your first document based on the Product Documentation template.
2. Save a New Version
After the document is created, you should land in the Document Manager. The Document Manager is where you manage your documentation and all its versions. It is like the “command center” for your document within your space.
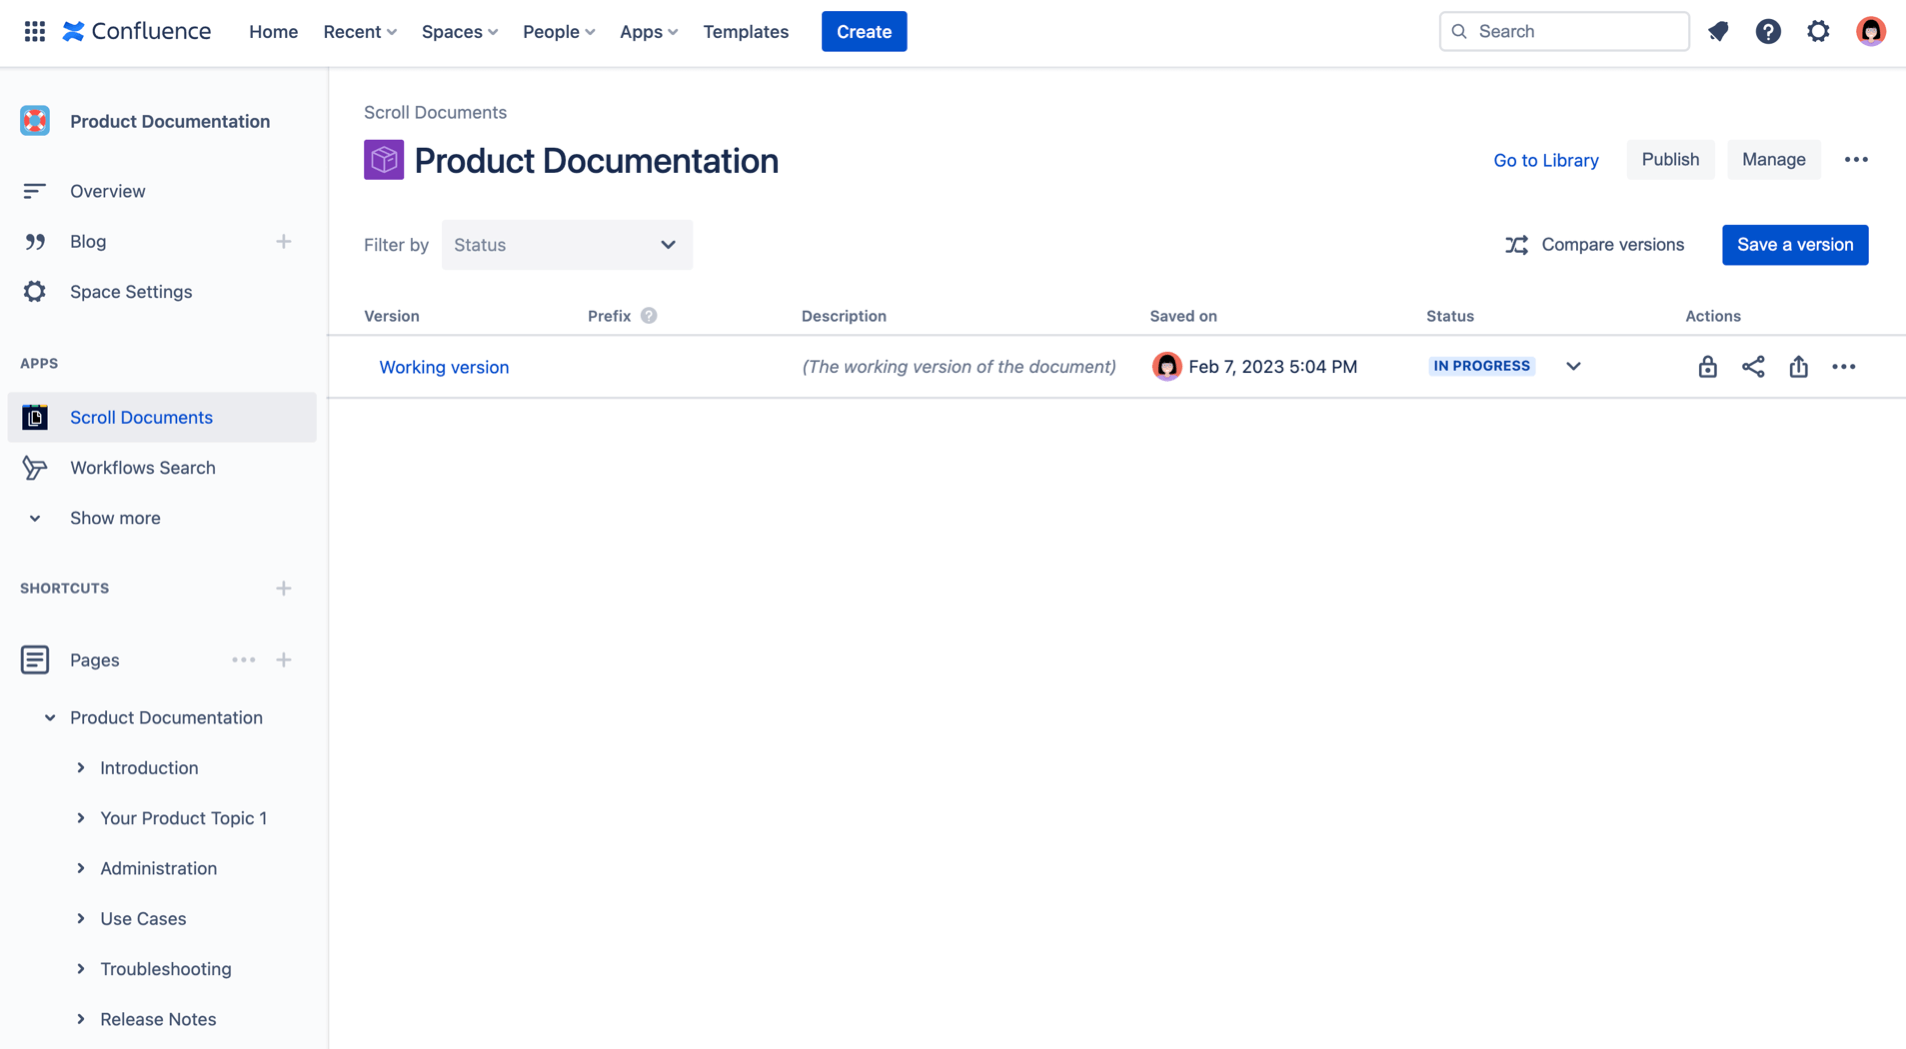
A Scroll Document always starts out with a Working version. You will learn more about the Working version in the next section. For now, let’s start by saving the initial state of your documentation.
We highly recommend saving the initial state for all your documents. Saving a version when you start out with a document is a good way to create a baseline for your content. It enables you to compare future versions of your content to the initial state.
To save your first version, follow the steps below:
Click Save a version.
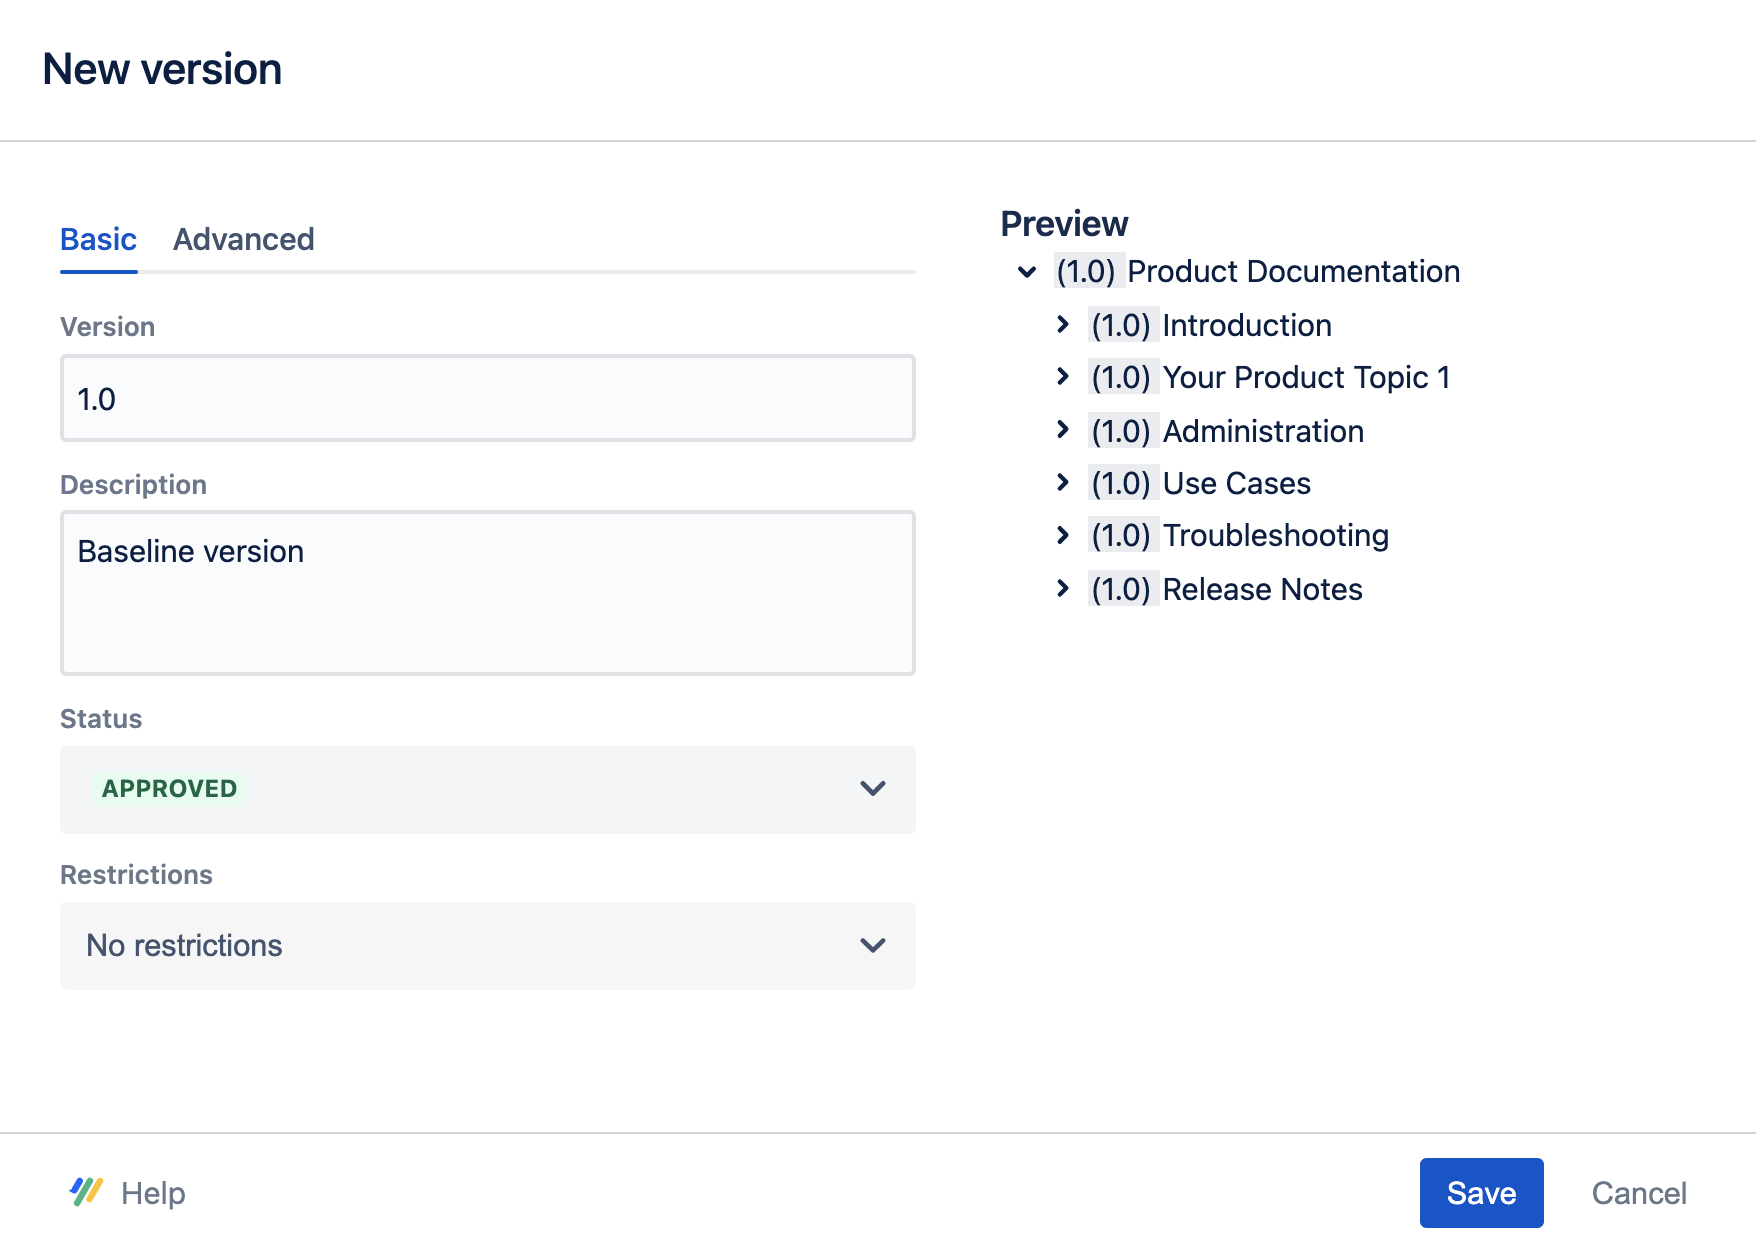
In the New version dialog, update the values of the following fields:
Version: “1.0”
Description: “Baseline version”
Click Save.
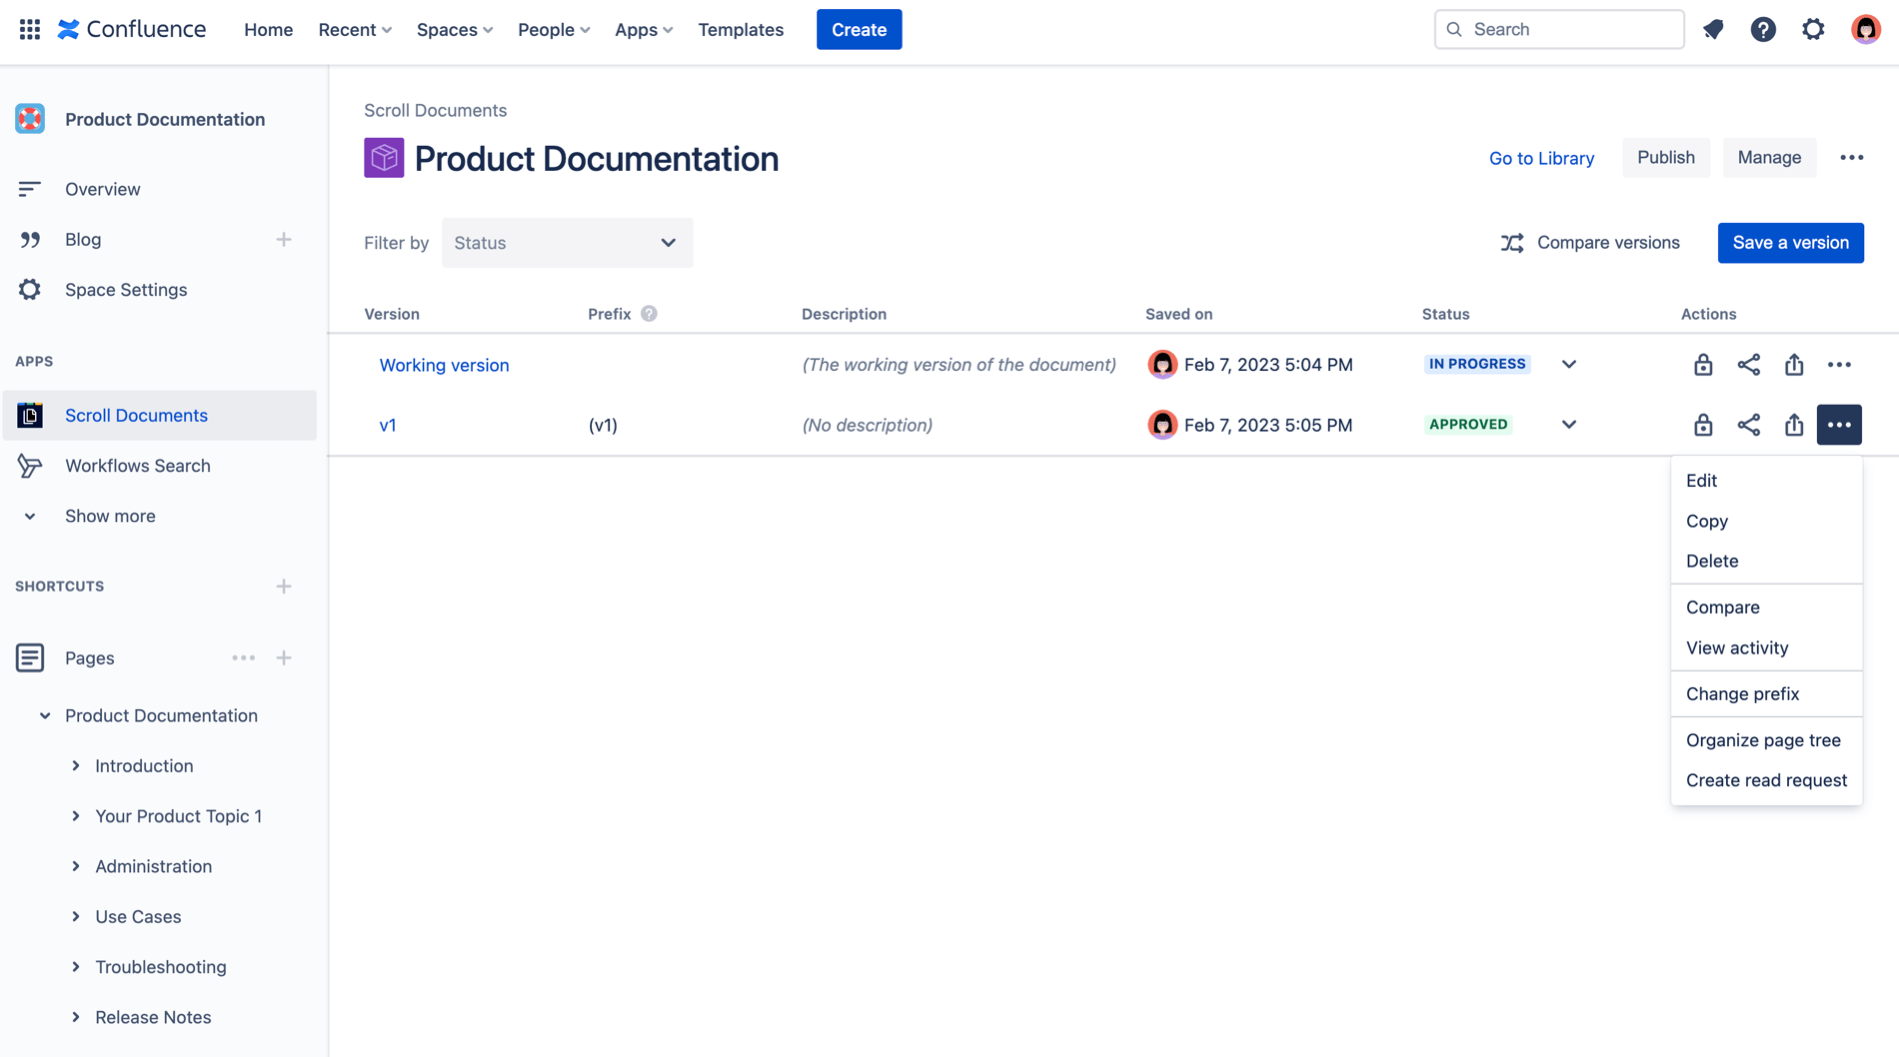
The new version appears in the version history table along with the Working version. The versions are automatically sorted according to the version name.
Great!
You have now saved your first version.
3. Edit the Working Version
Now that you have saved a baseline version, you are ready to update the Working version of your documentation.
Think of your working version as the continuously progressing version of your document. Use this version to prepare changes to your document and save a version once complete.
In this section, you’ll learn how to:
3a. Add a new page to the working version
To add a new page to your Working version of your document, follow these steps:
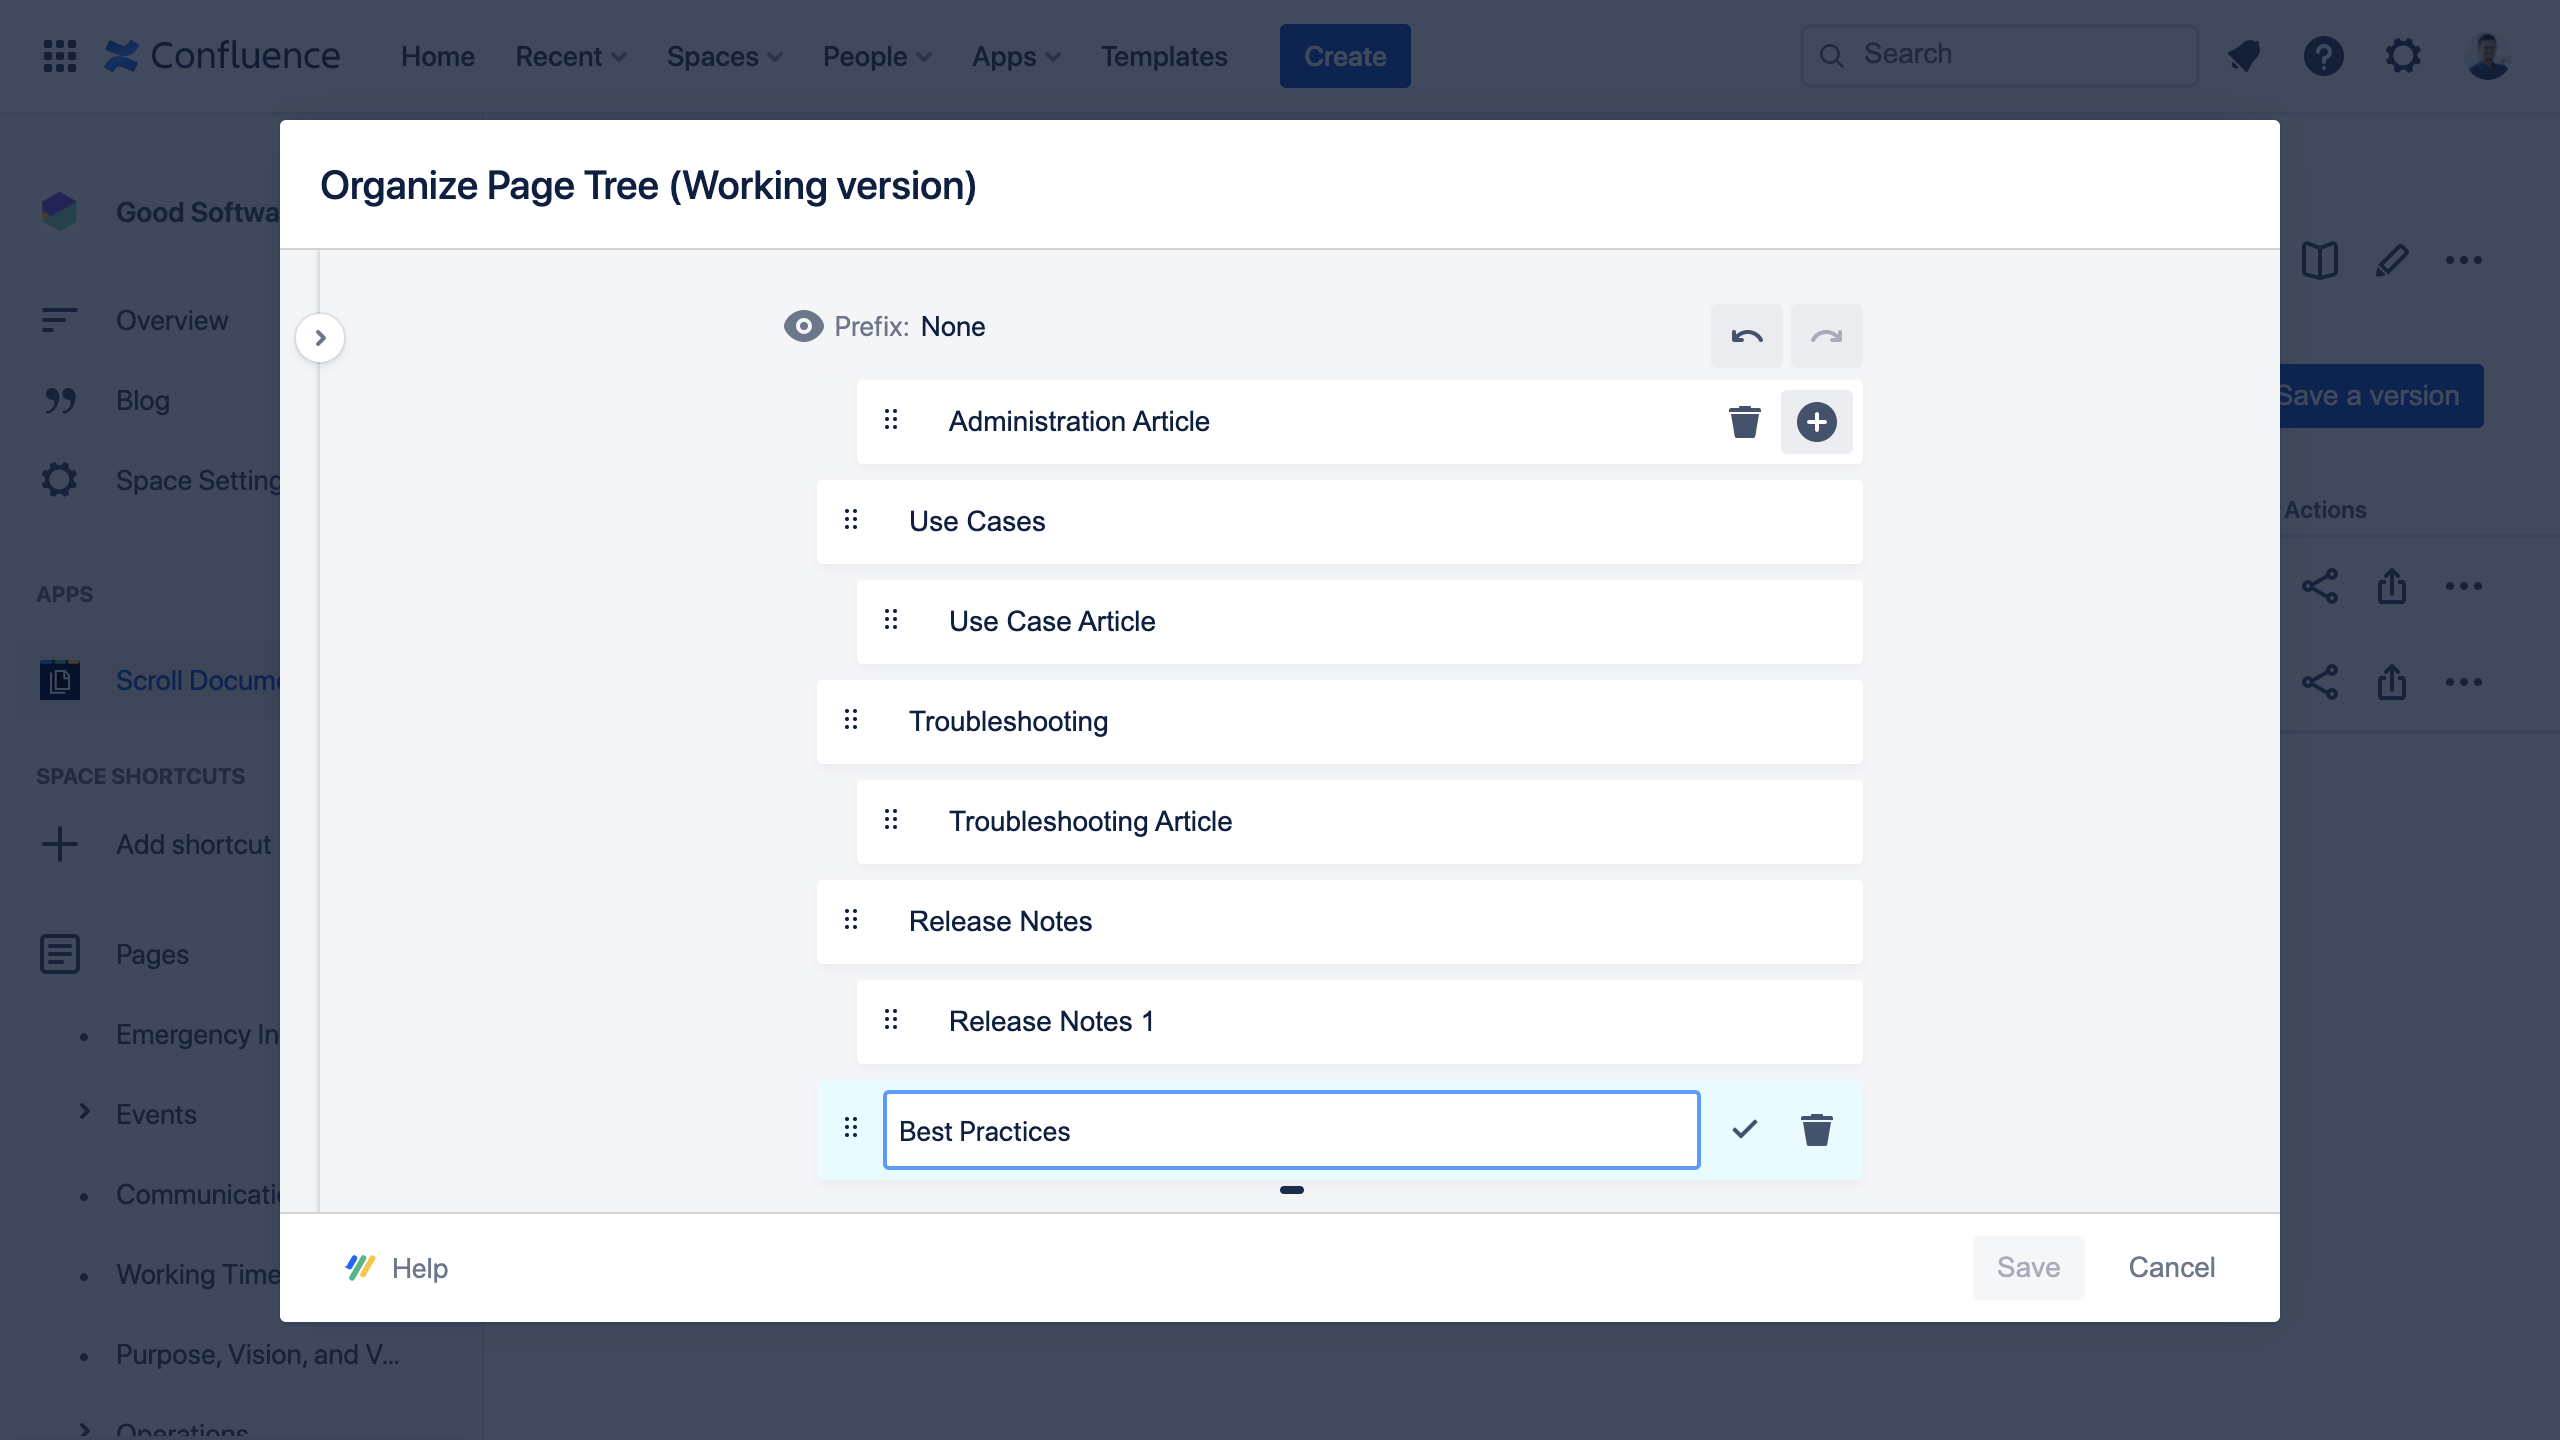
1. From More page tree actions (•••) in the Working version select Organize Page Tree.
2. In the Organize Page Tree dialog, click on the plus ![]() to add a new blank page, let’s name it “Best Practices” and press enter on your keyboard.
to add a new blank page, let’s name it “Best Practices” and press enter on your keyboard.
3. Click Save to finish adding the page.
If you look at your space sidebar on the left, you can see how the new page has been added to your documentation page tree.
3b. Add content to the new page
Now that you have added a new page to your documentation, it’s time to add some content to it. You will add content to the pages of your documentation using the Confluence editor.
To add content to your new page, follow these steps:
Click the Working version link in the version history table. This will redirect you to the root page of your documentation.
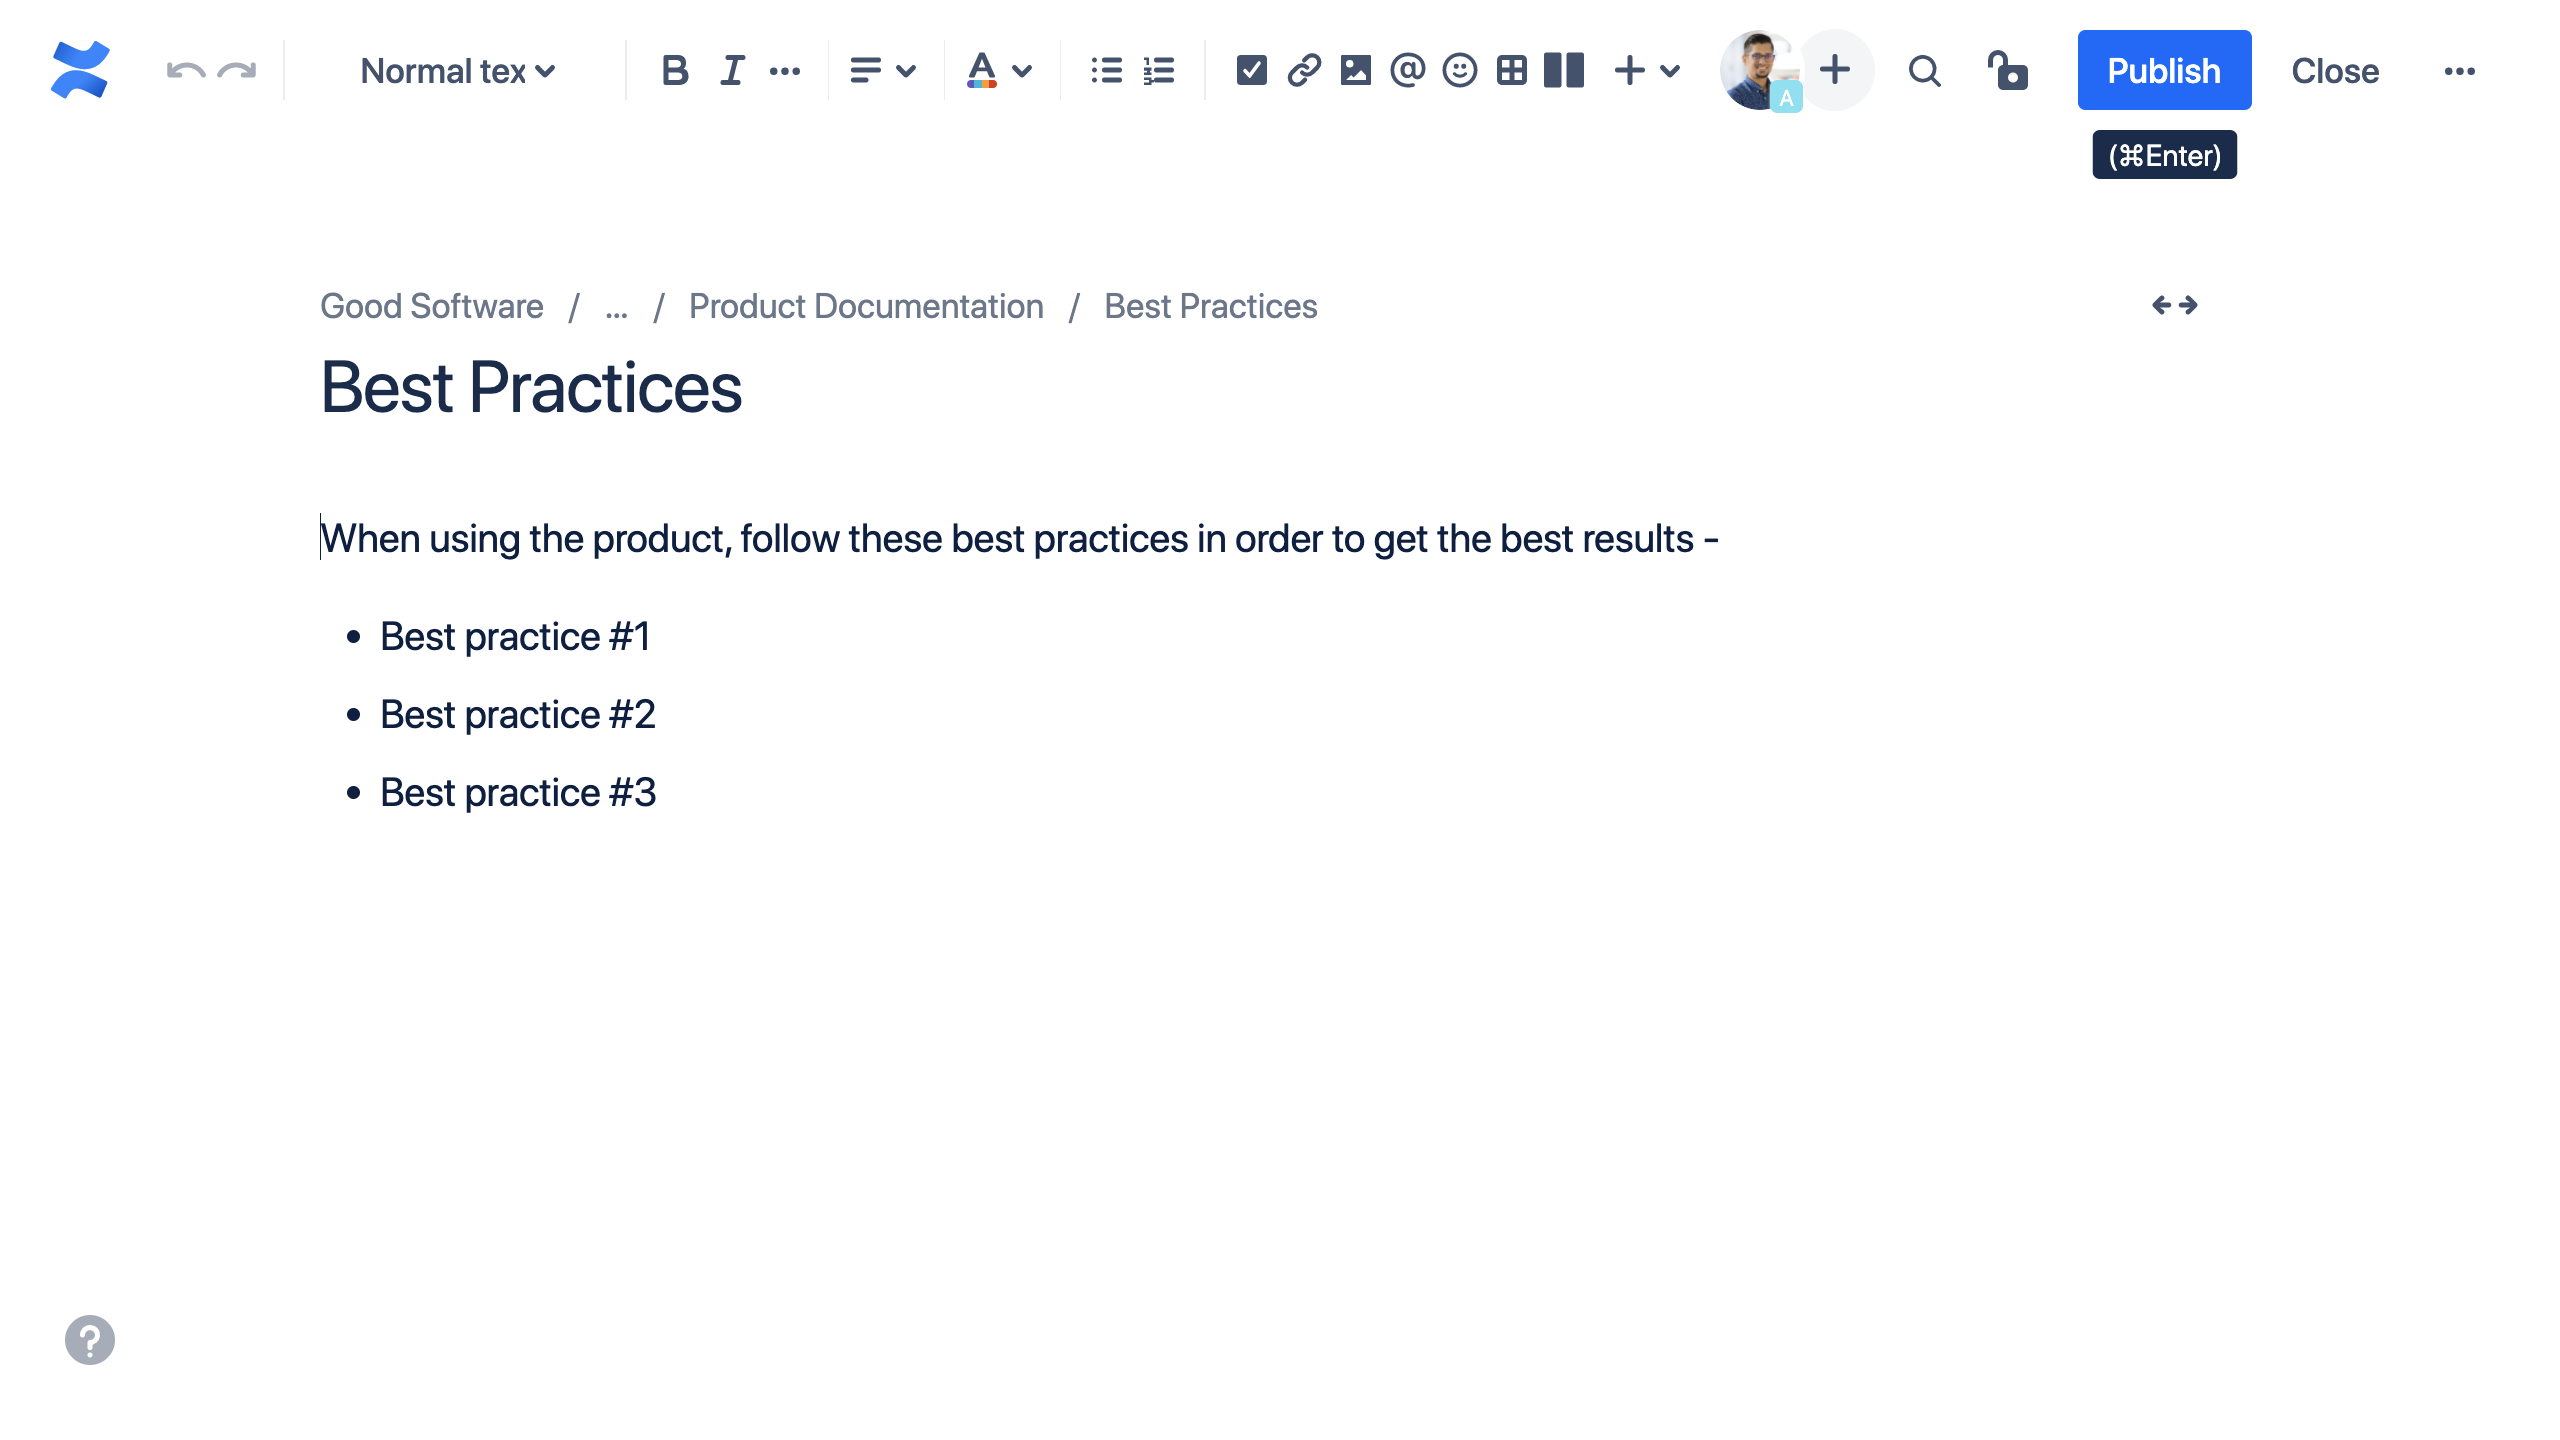
From the page tree on the left, open the new page titled - “Best Practices”, that you had added earlier.
Click Edit in the top right of the page to edit the content on the page in the Confluence editor.
In the editor, feel free to add any content to the page and when ready, click Publish.
Great job!
You have successfully added a new page to your documentation.
4. Compare Versions
Now, before publishing a version, you may want to make sure that there were no unwanted changes that have sneaked into your documentation.
You can do this by comparing the Working version of the documentation to the baseline version that you had saved earlier.
To compare two versions, follow these steps:
Click Document Toolbox, on the top-right of the page.
 Info: Think of the Document Toolbox as a quick actions menu for your Scroll Document. It contains, among other features, shortcuts to the most important actions you will need when authoring your documentation.
Click Manage (the cog icon) in the Document Toolbox in order to navigate back to the Document Manager.

Click Compare versions located next to Save a version, this opens the comparison tool.

Scroll through the content, or use the Previous/Next buttons at the bottom to navigate through the changes between the two versions.
When ready, click X to close the dialog.
(Optional) Click Save a version to save a new version.
Nice!
Now you know how to compare versions before a release.
5. Publish a Version
Now that you're familiar with editing, comparing, and saving versions, let's explore how to share your work with others. Scroll Documents lets you publish a specific version of your document within Confluence itself. You have two options for publishing:
Publish your content to a separate space.
Publish your content to a specific page within your existing authoring space.
Below, we’ll show how to publish to a dedicated target space. To publish a version, follow the steps below:
First, you have to create a dedicated target space.
Ensure you have Add page permissions in both spaces.
Go to the Document Manager of your document.
Click on Publish.
Choose Publish to Confluence.
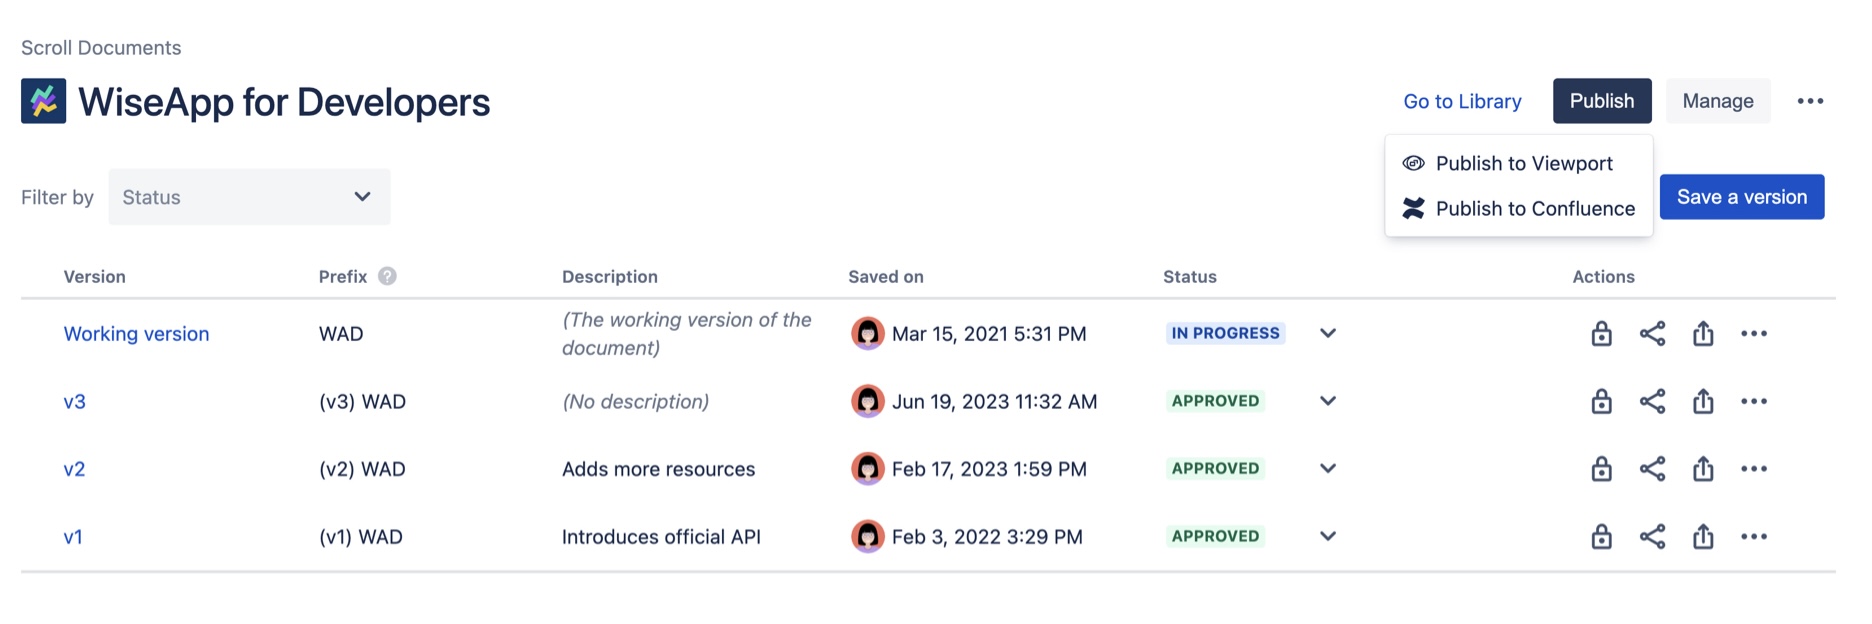
Select the version to publish, and click Next.
Search for and select the target location.
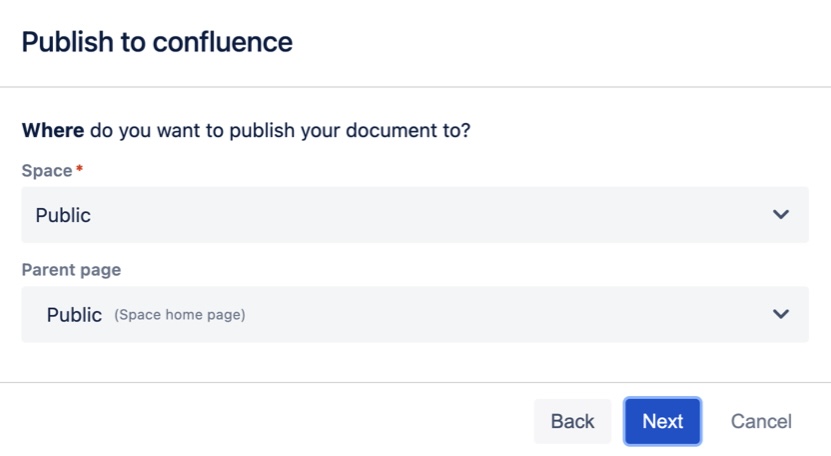
Choose the parent page in the target space where the content will be added.
(Optional) If needed, add a prefix to avoid page title conflicts.
If there are no conflicting page titles, and you choose not to add a custom prefix, existing version prefixes will be removed from the published page titles.
(Optional) Select if you want to publish page labels.
Click on Publish.
Great!
You have successfully published your first version.
Troubleshooting
Encountered an issue? No problem! Check out our comprehensive Troubleshooting section for common issues and their resolutions. If your issue is not listed there, do not hesitate to reach out to our dedicated support team.
What’s Next?
Now that you are familiar with the basics of Scroll Documents, you can try out some of the more advanced features:
Got existing documentation in Confluence?
Want to deliver and publish your Documents?
Want to manage several languages of your Document?
Want to manage variants of your Document for different audiences?