This article will guide you through the steps required to draw your first image map.
Draw an Image Map
Scroll ImageMap supports JPEG, PNG, and GIF image formats.
-
Create a page and insert an image that you want to add an image map too
-
Save the page, re-edit the page, and remove the image
-
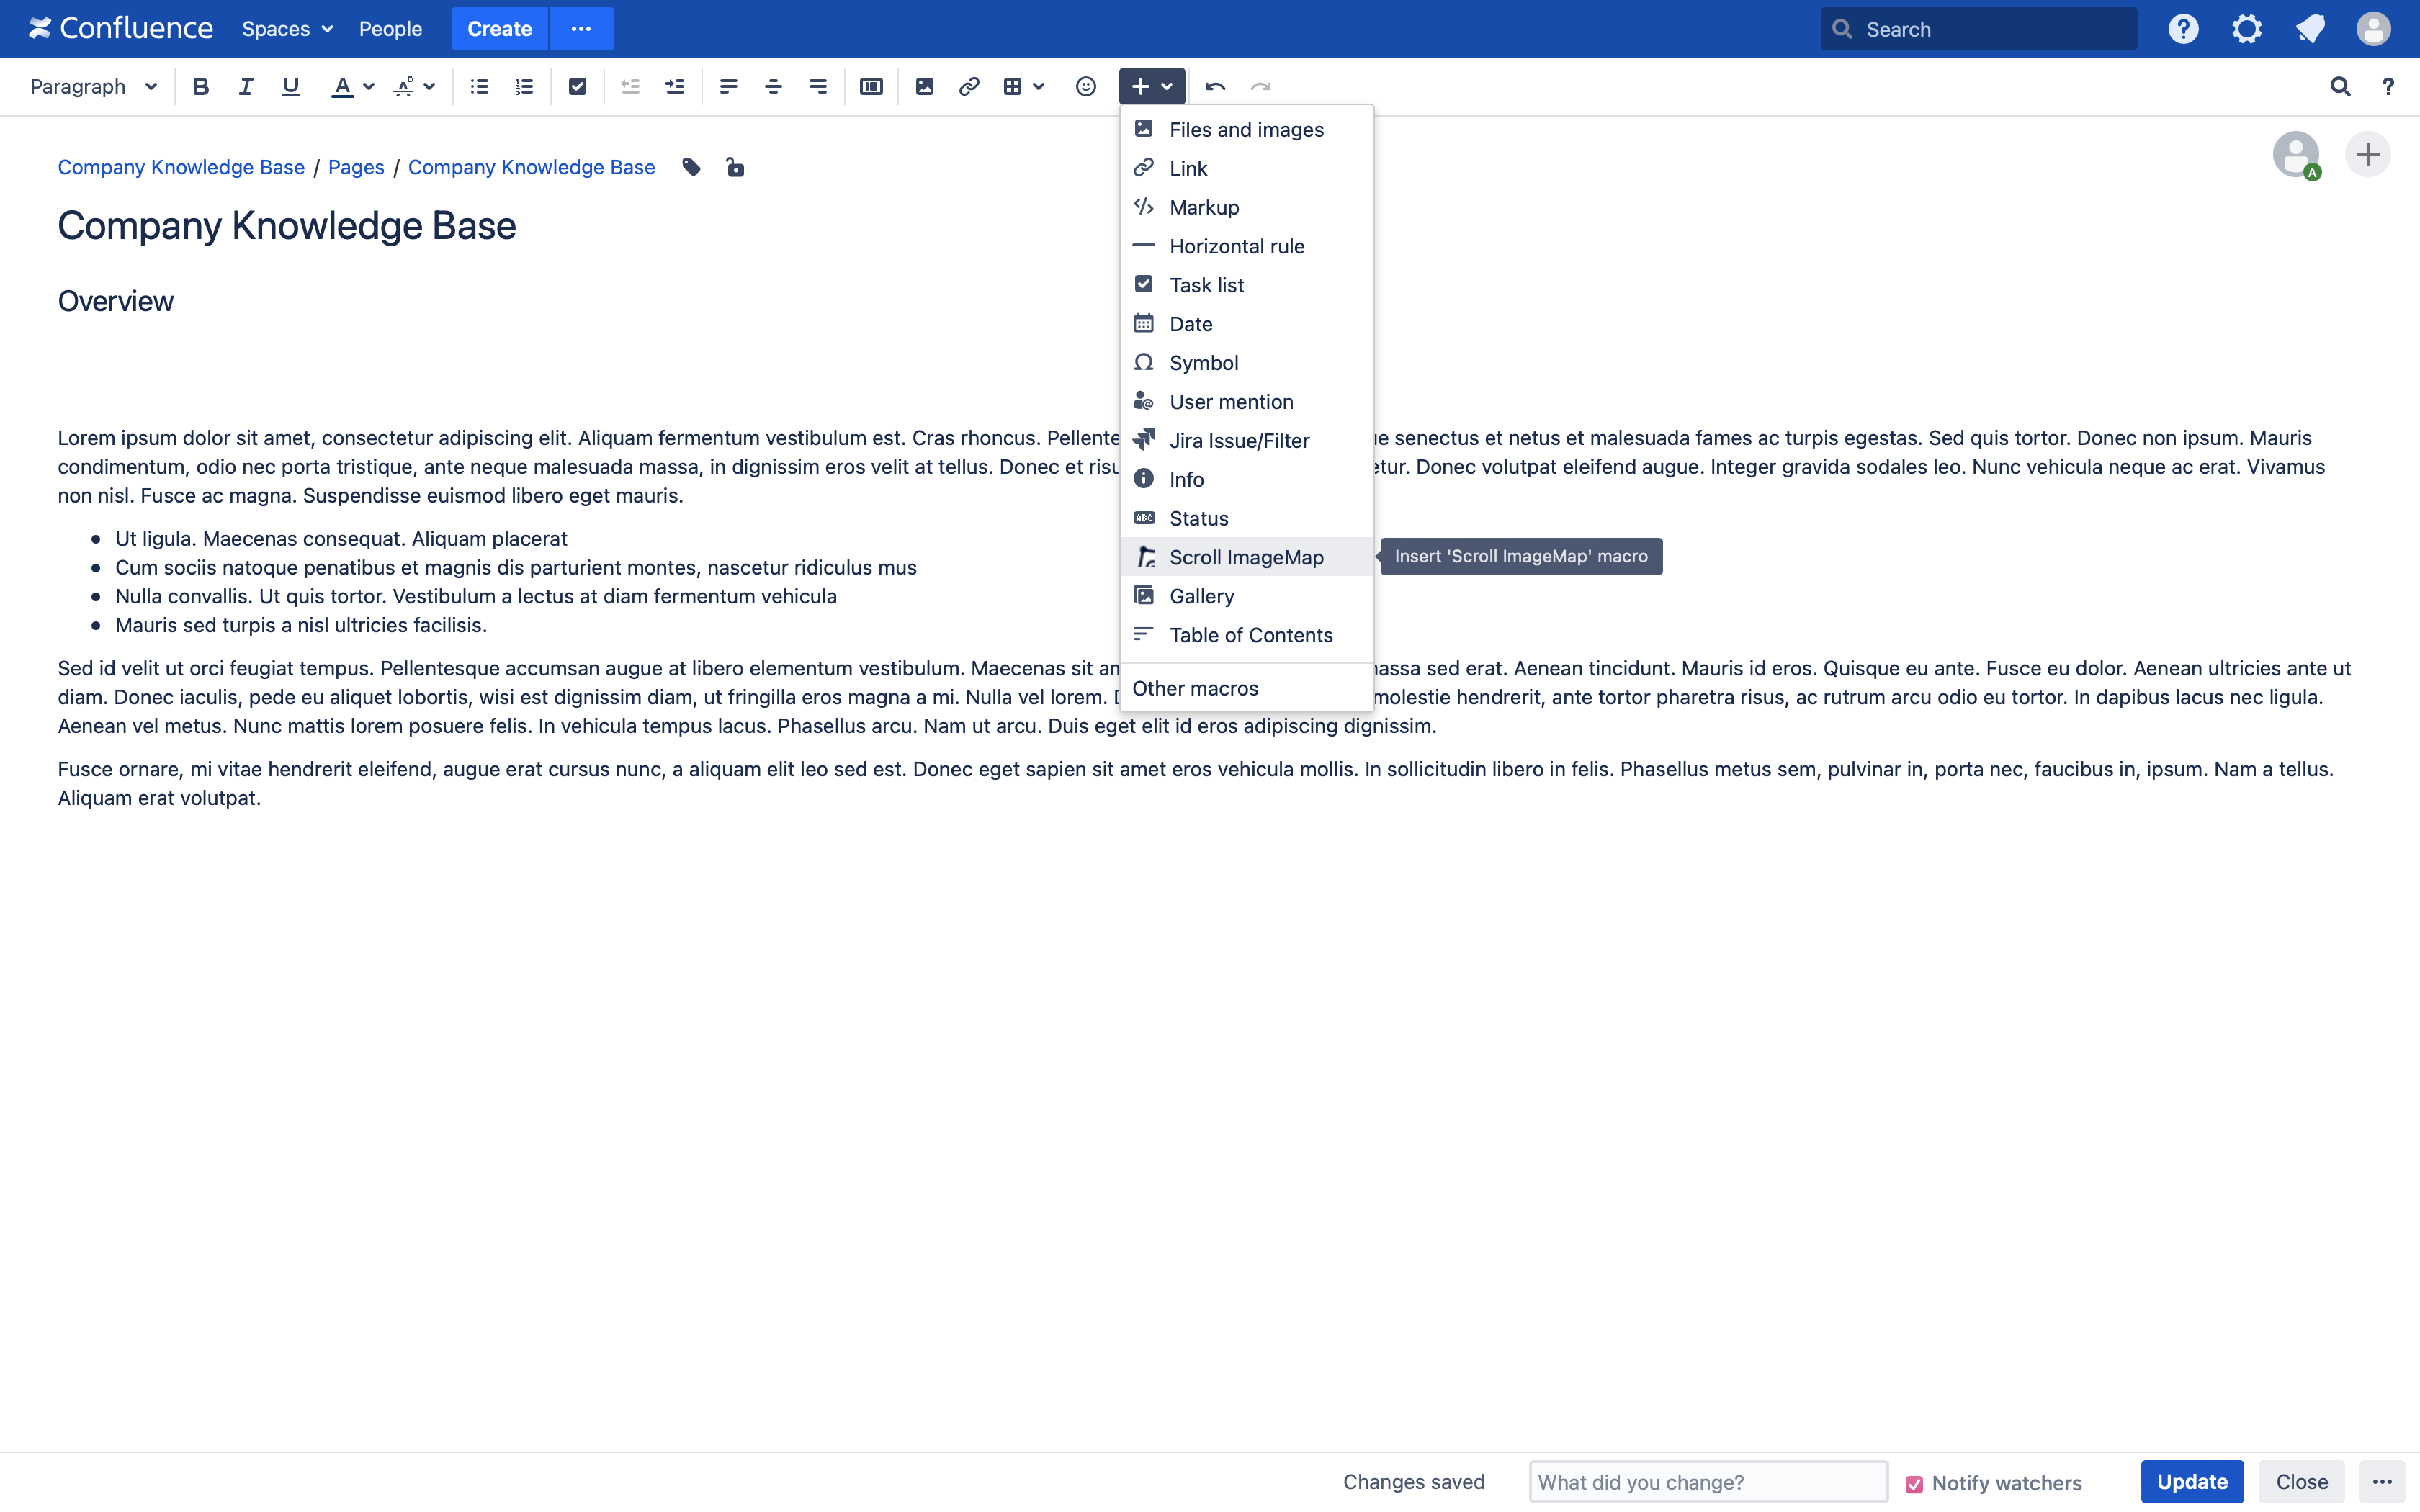
Next, add the Scroll ImageMap Macro
-
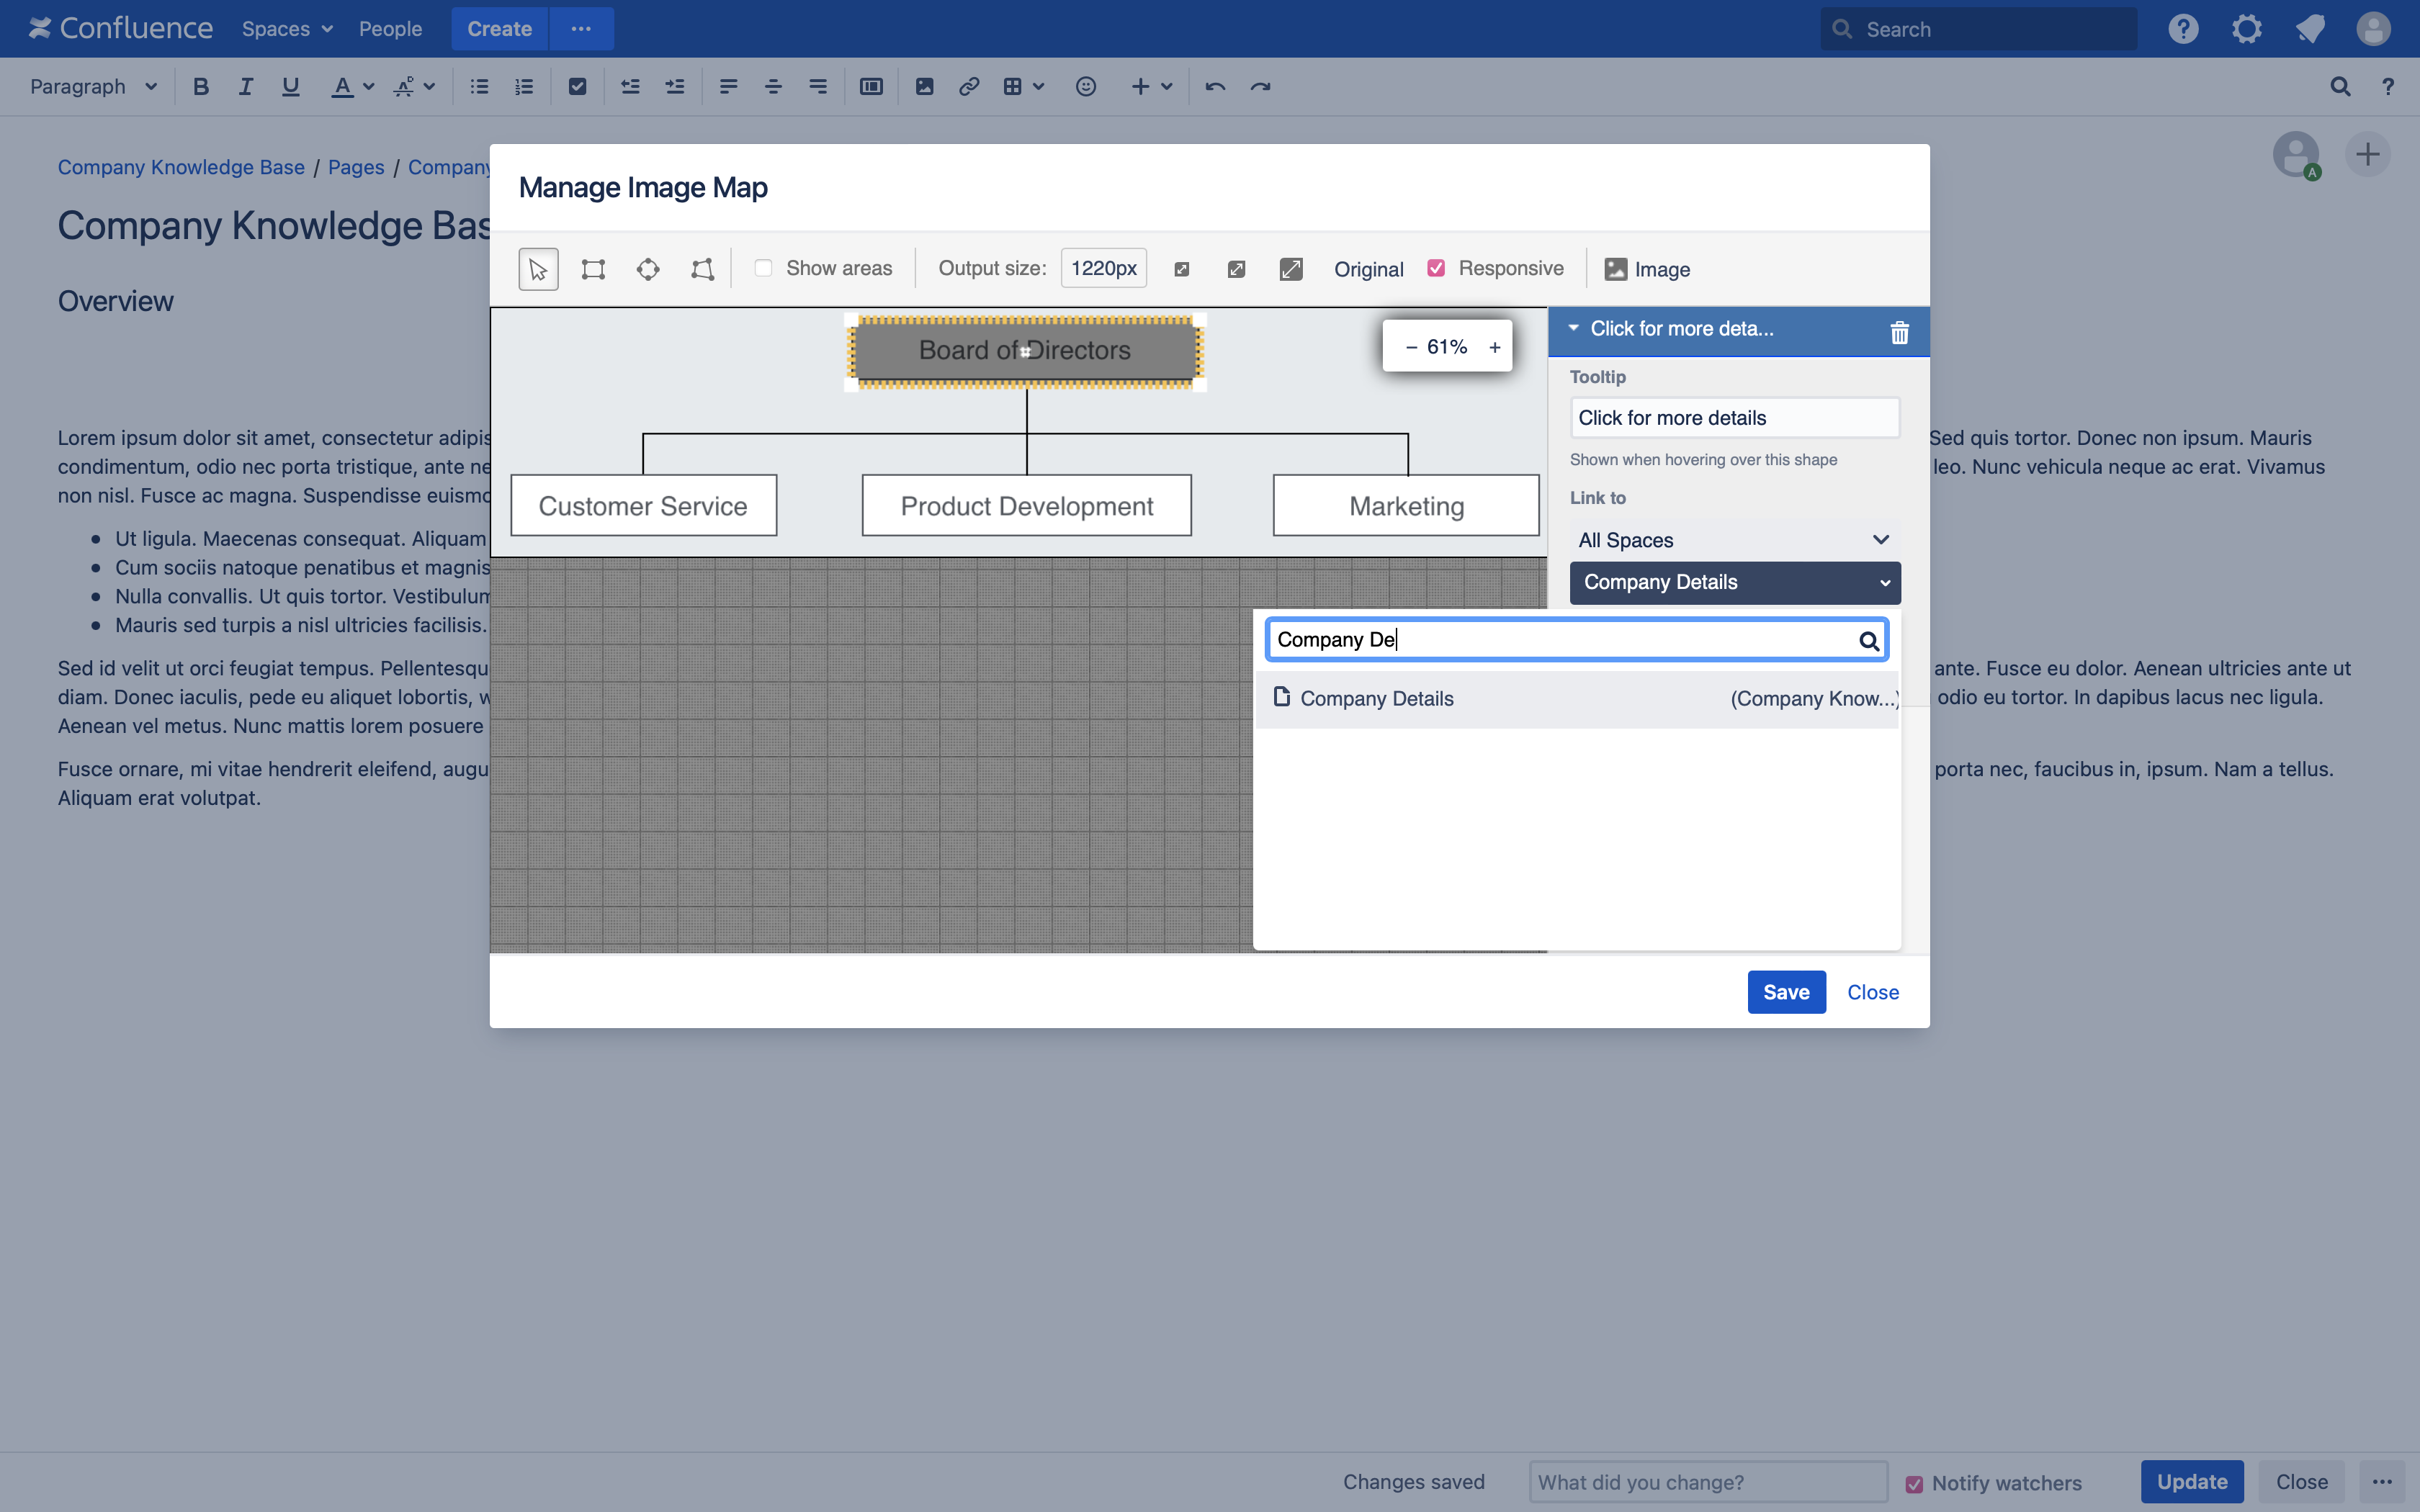
Edit the macro and use the header toolbar to define the size of the image
-
Then, click on the Rectangle icon in the tools menu and draw an rectangle on the image
-
Next, in the sidebar on the right, enter a tooltip and link to a different Confluence page in the This space or from All spaces
-
Save your image map and the page
-
Hover over the area that was defined on the image map.
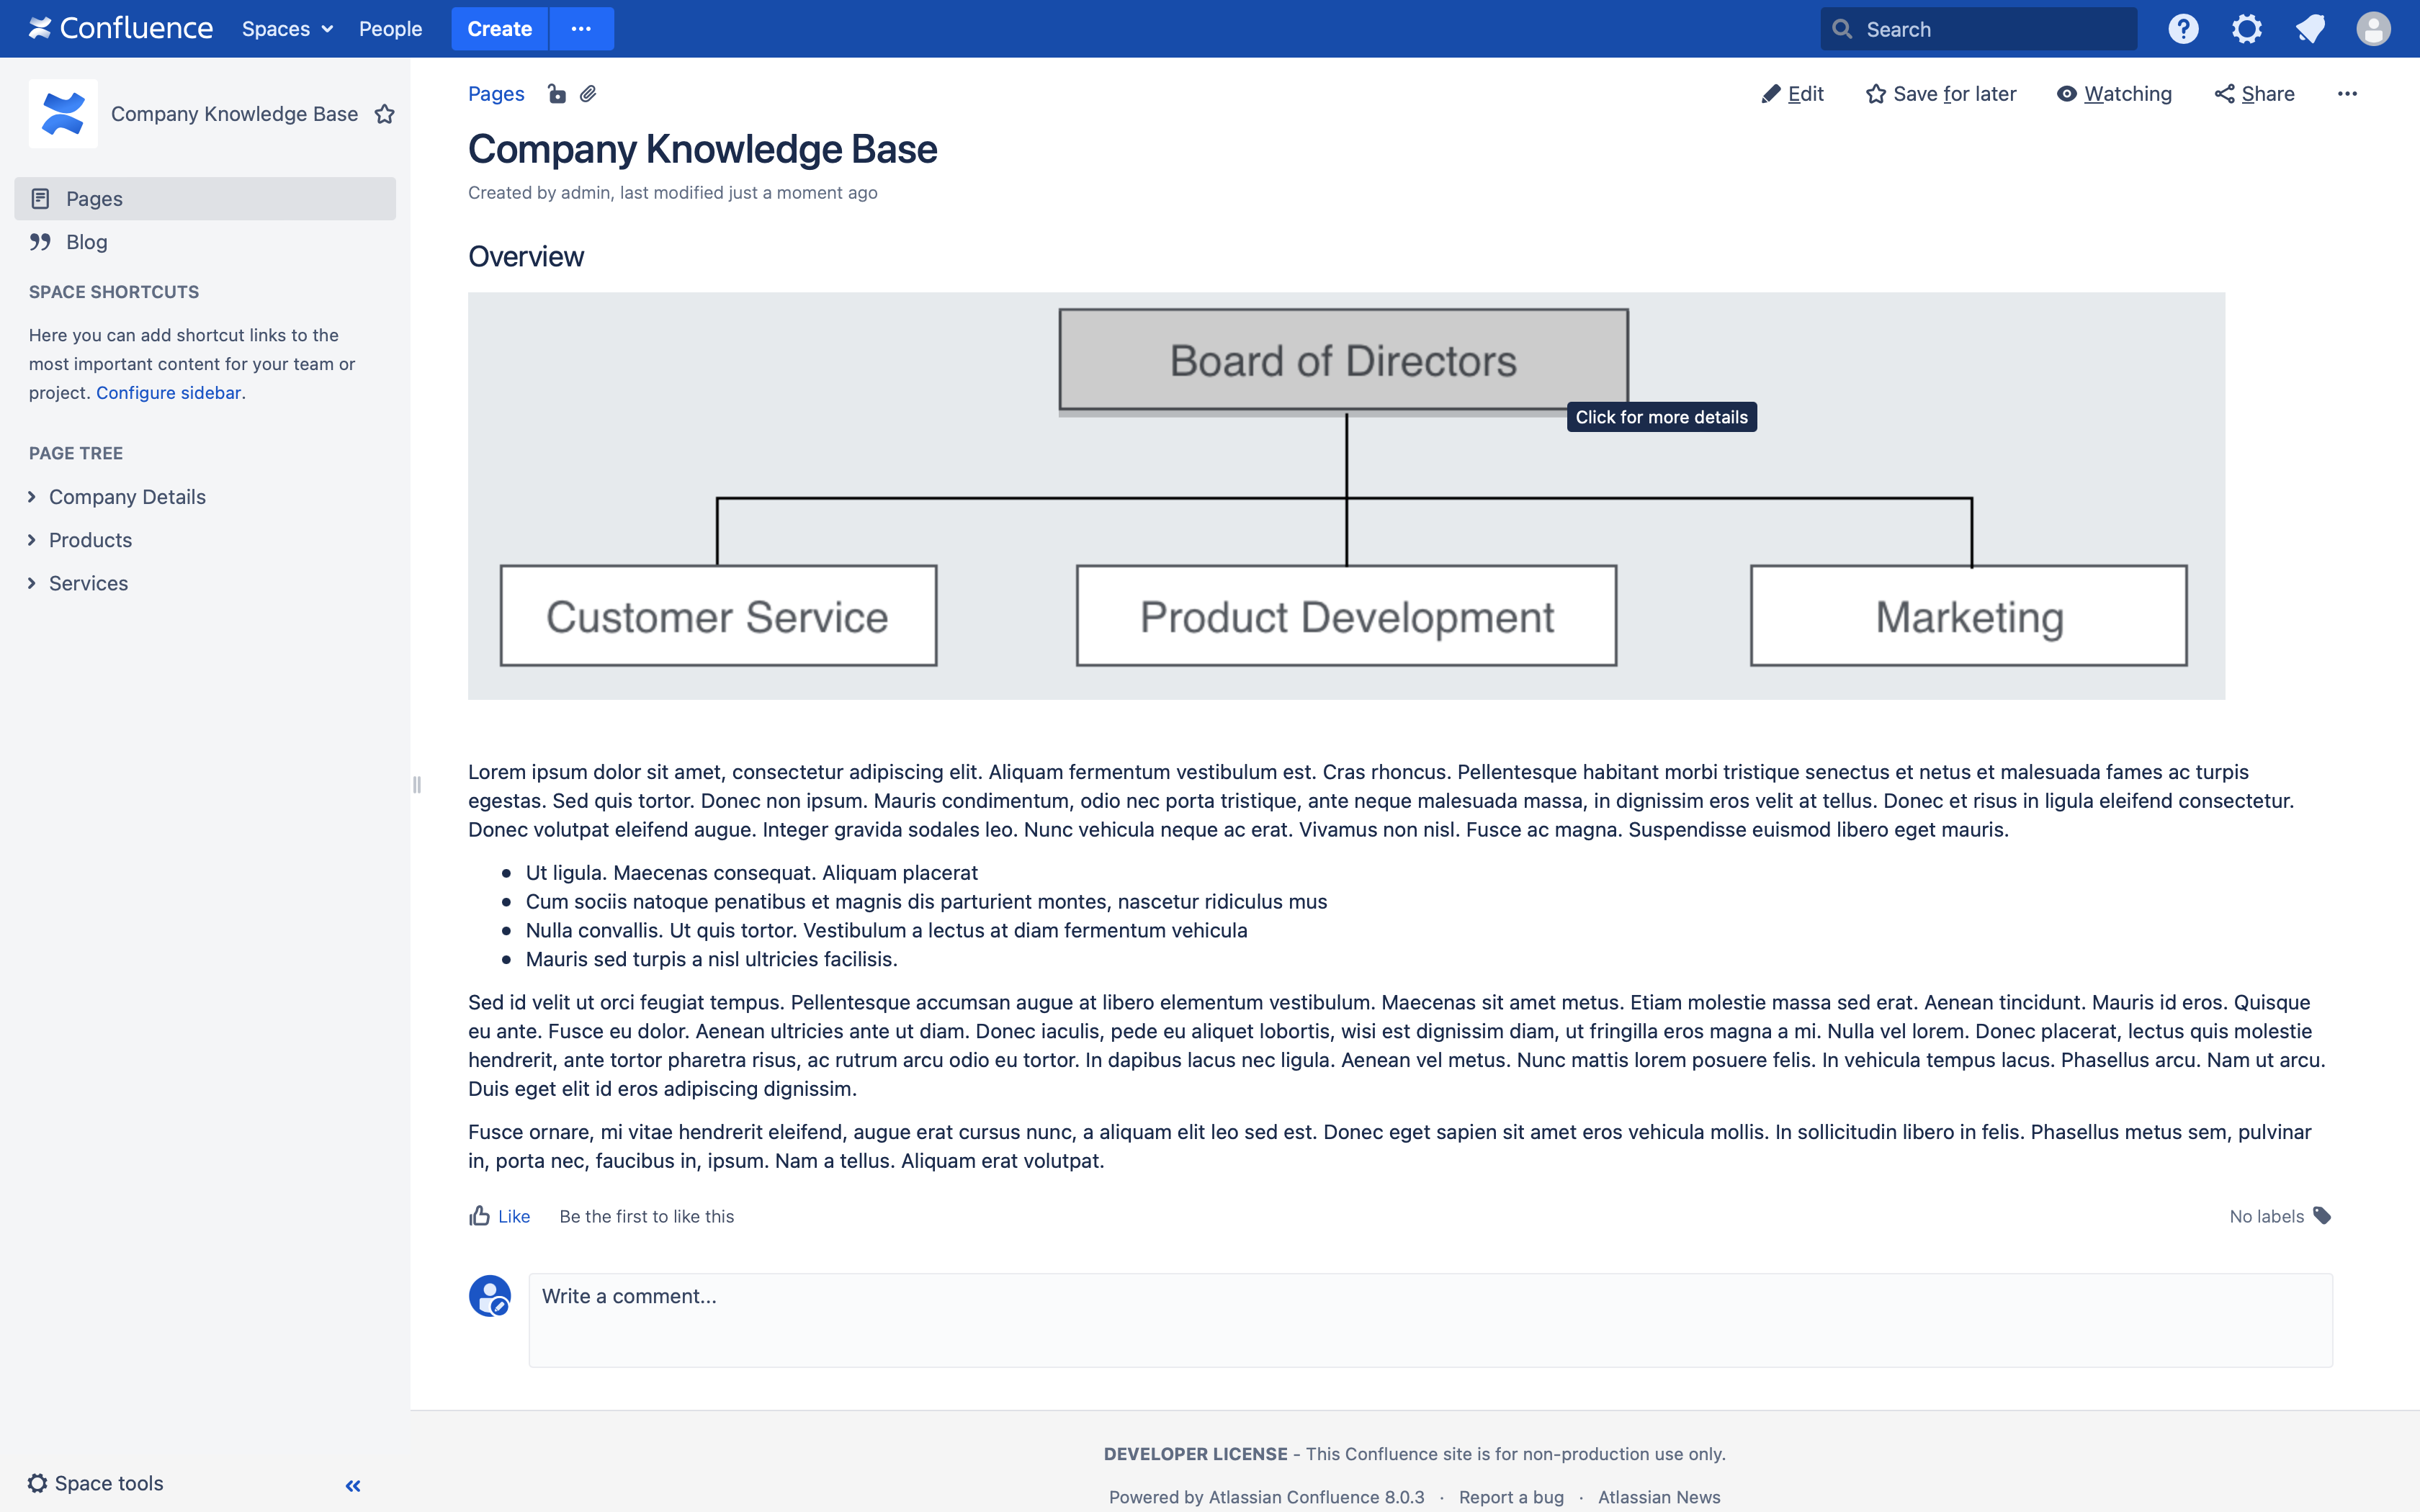
That's it – you have successfully created and tested your first image map! The image appears highlighted, showing the tooltip and once clicked will navigate to the linked page.
What's next
-
Try the other editor toolbar functionality.