This is currently a beta feature and only available to selected users - please reach out to us if you’re interested in testing
Prerequisites
In order for your branded templates to use your brand assets, a brand first needs to be set up. After this, your brand can be applied to all newly created templates.
For existing templates – created before the brand was setup – all brand assets (ie. logos, colors, fonts) will be available for selection when editing the template, but they will not be automatically applied (learn more).
Steps to set up a Brand
Individual steps during the creation of a brand can be skipped if you do not want to upload specific items such as a logo, colors or a font.
-
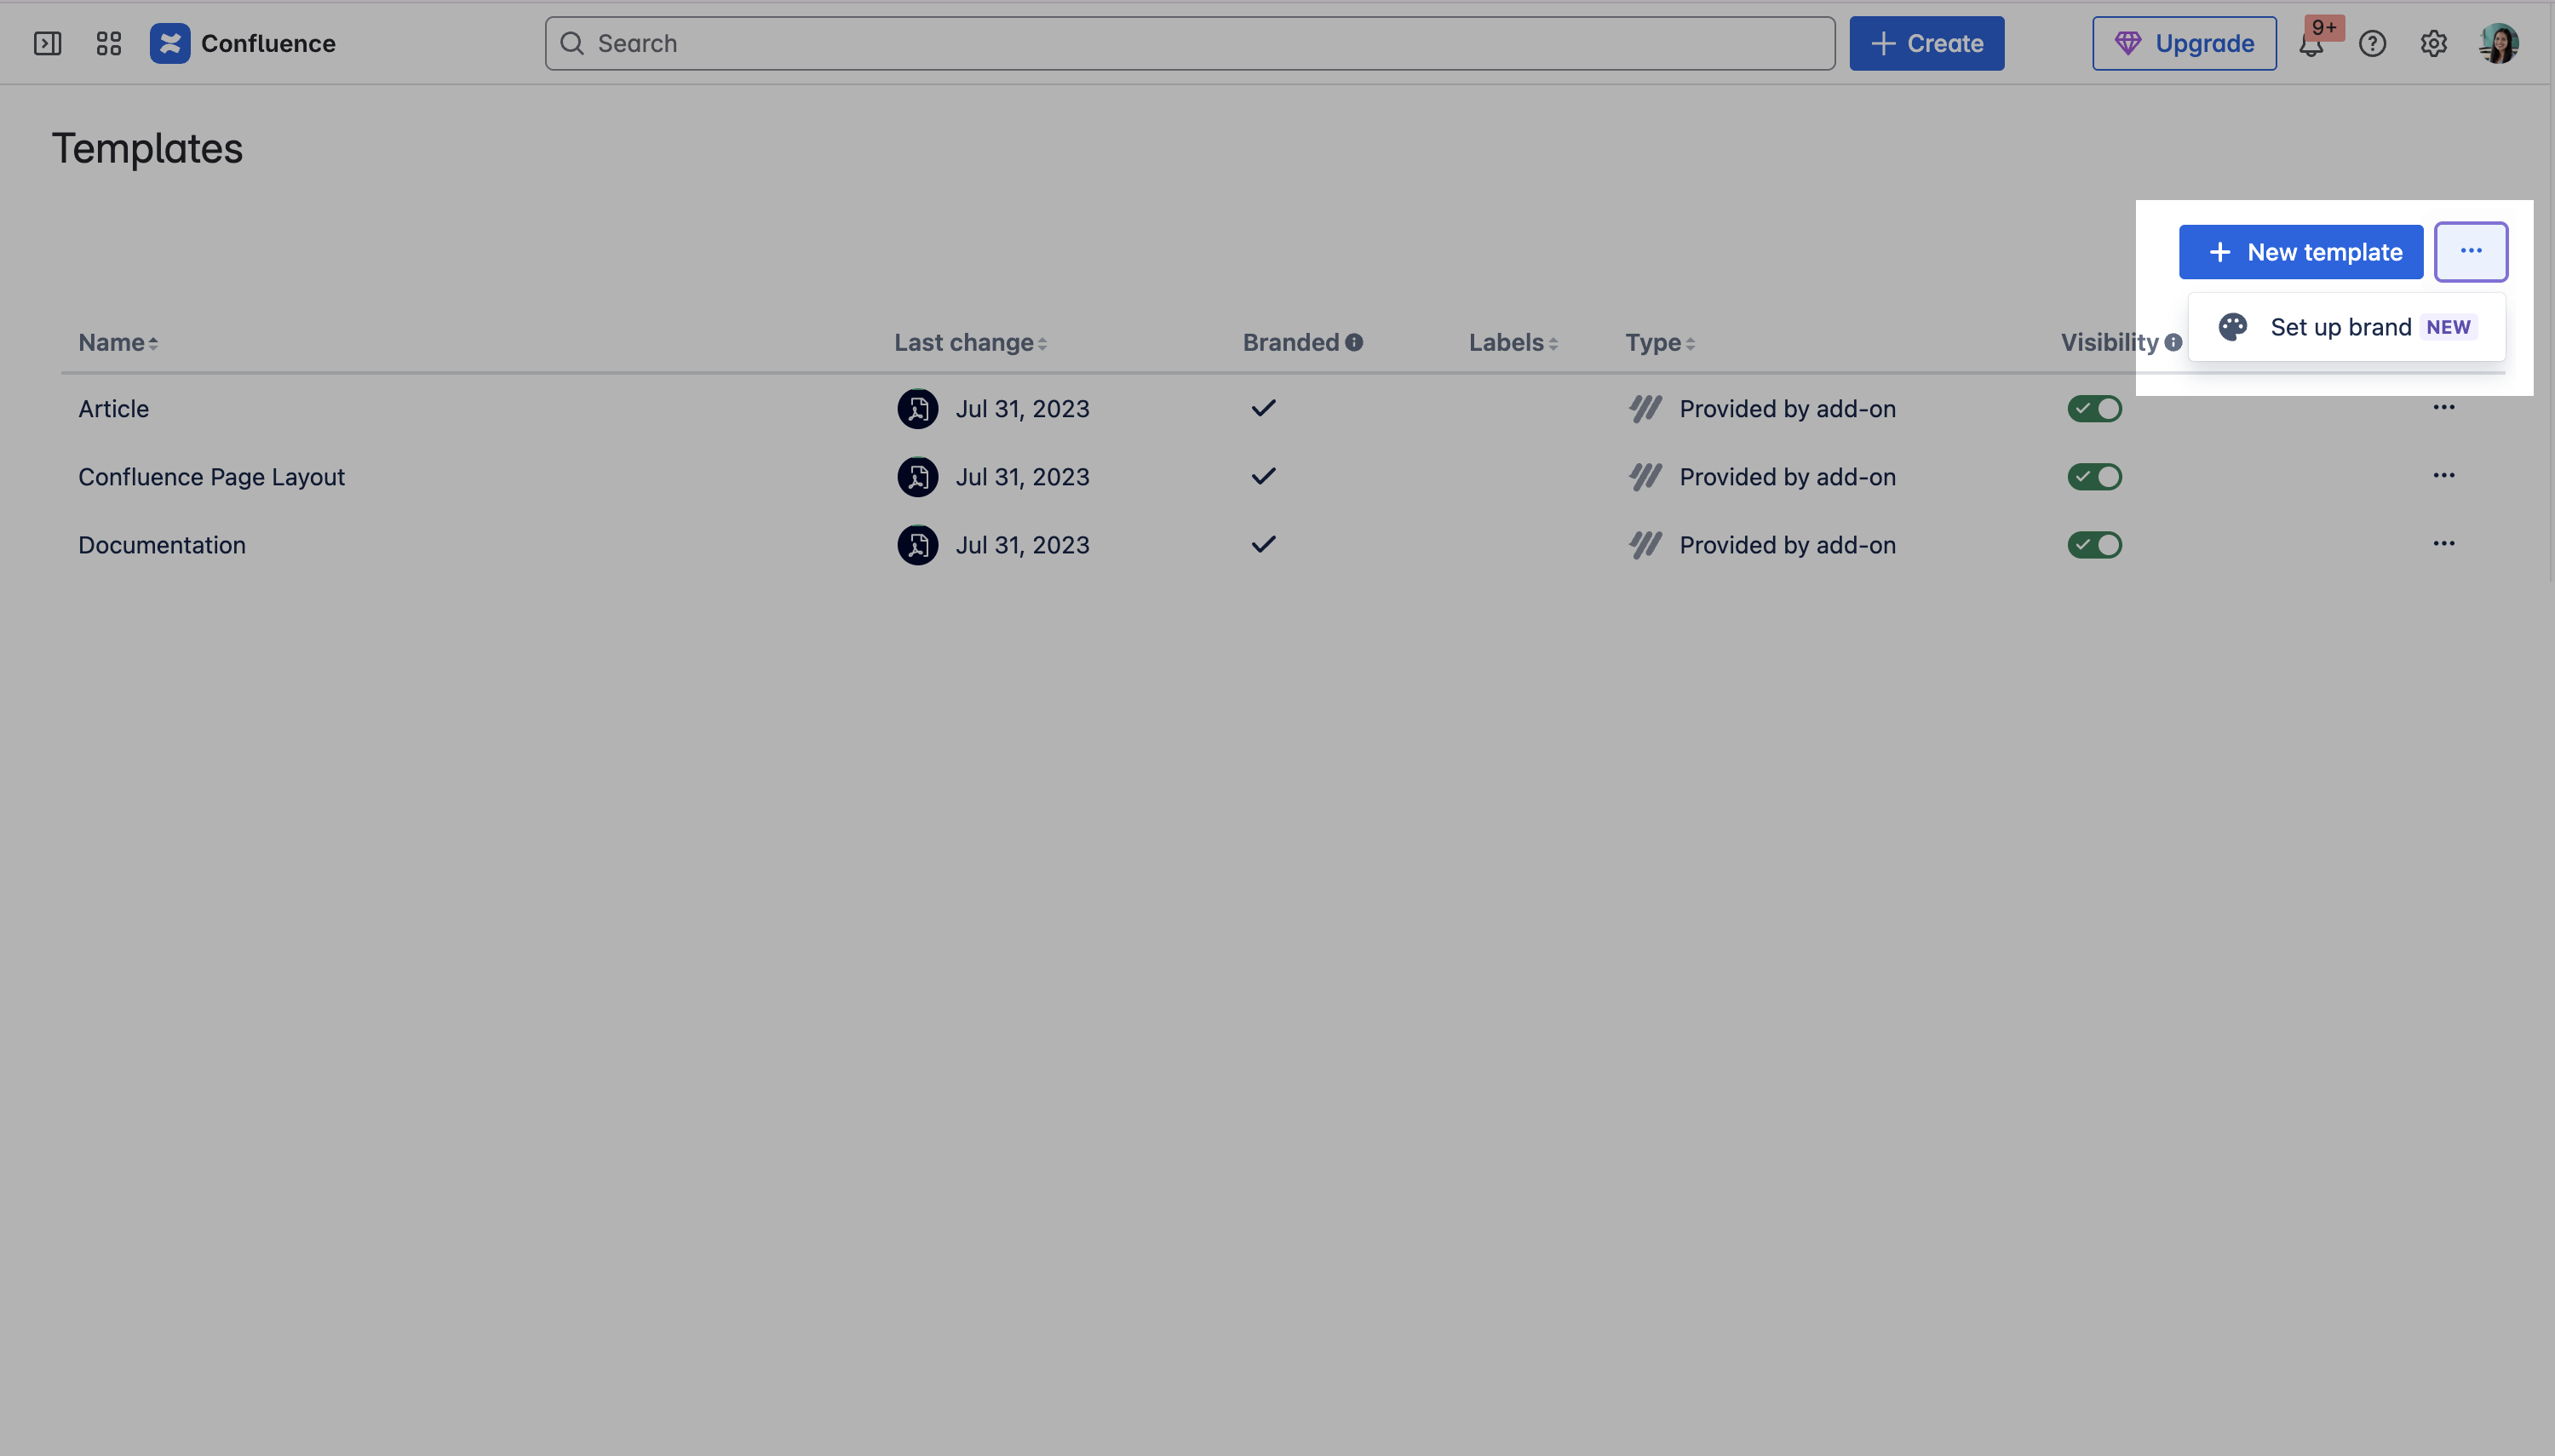
Navigate to the global Scroll PDF Exporter template list (requires global Confluence admin permission) and select the ••• menu in the top right and choose Set up brand.
-
The setup screen will then appear and you can begin the steps to create a brand.
.png?cb=8e6d674207369ba587610e1fbf864af5)
-
Begin by uploading your company logos for the brand.
.png?cb=55d12a82e8322c6f861c7f7251b9c68d)
-
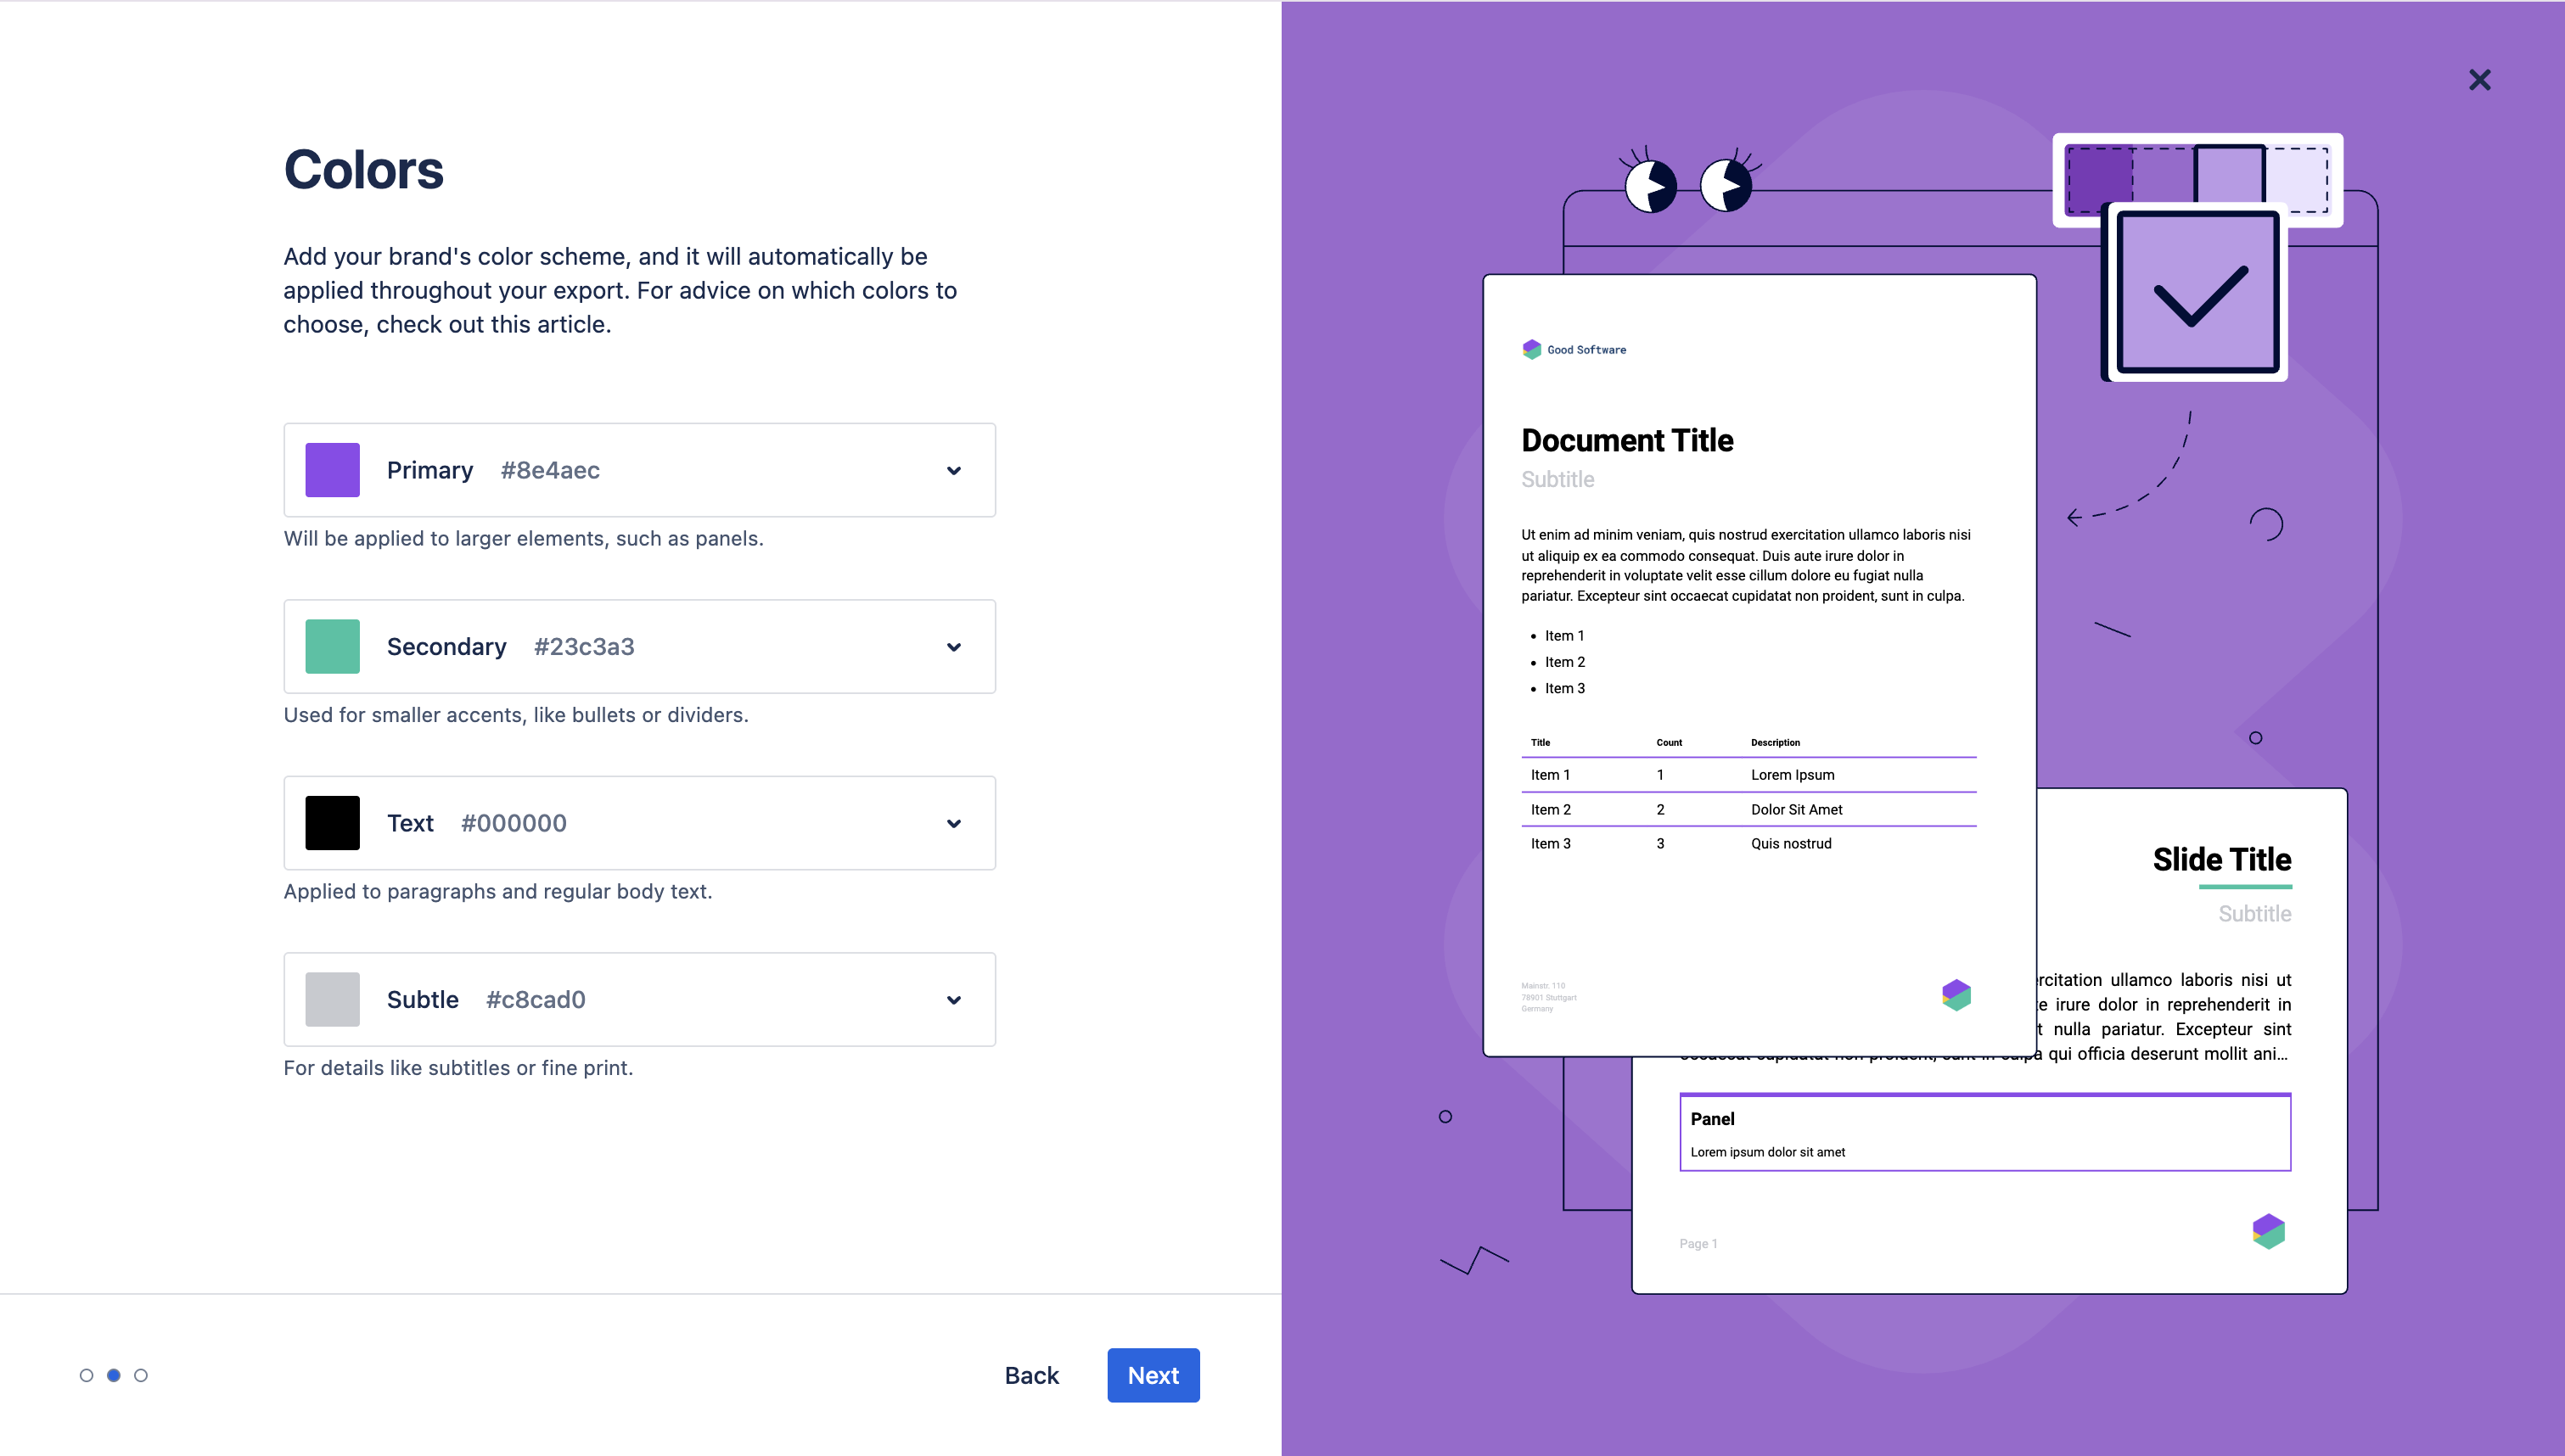
Then, define your colors for the brand.
-
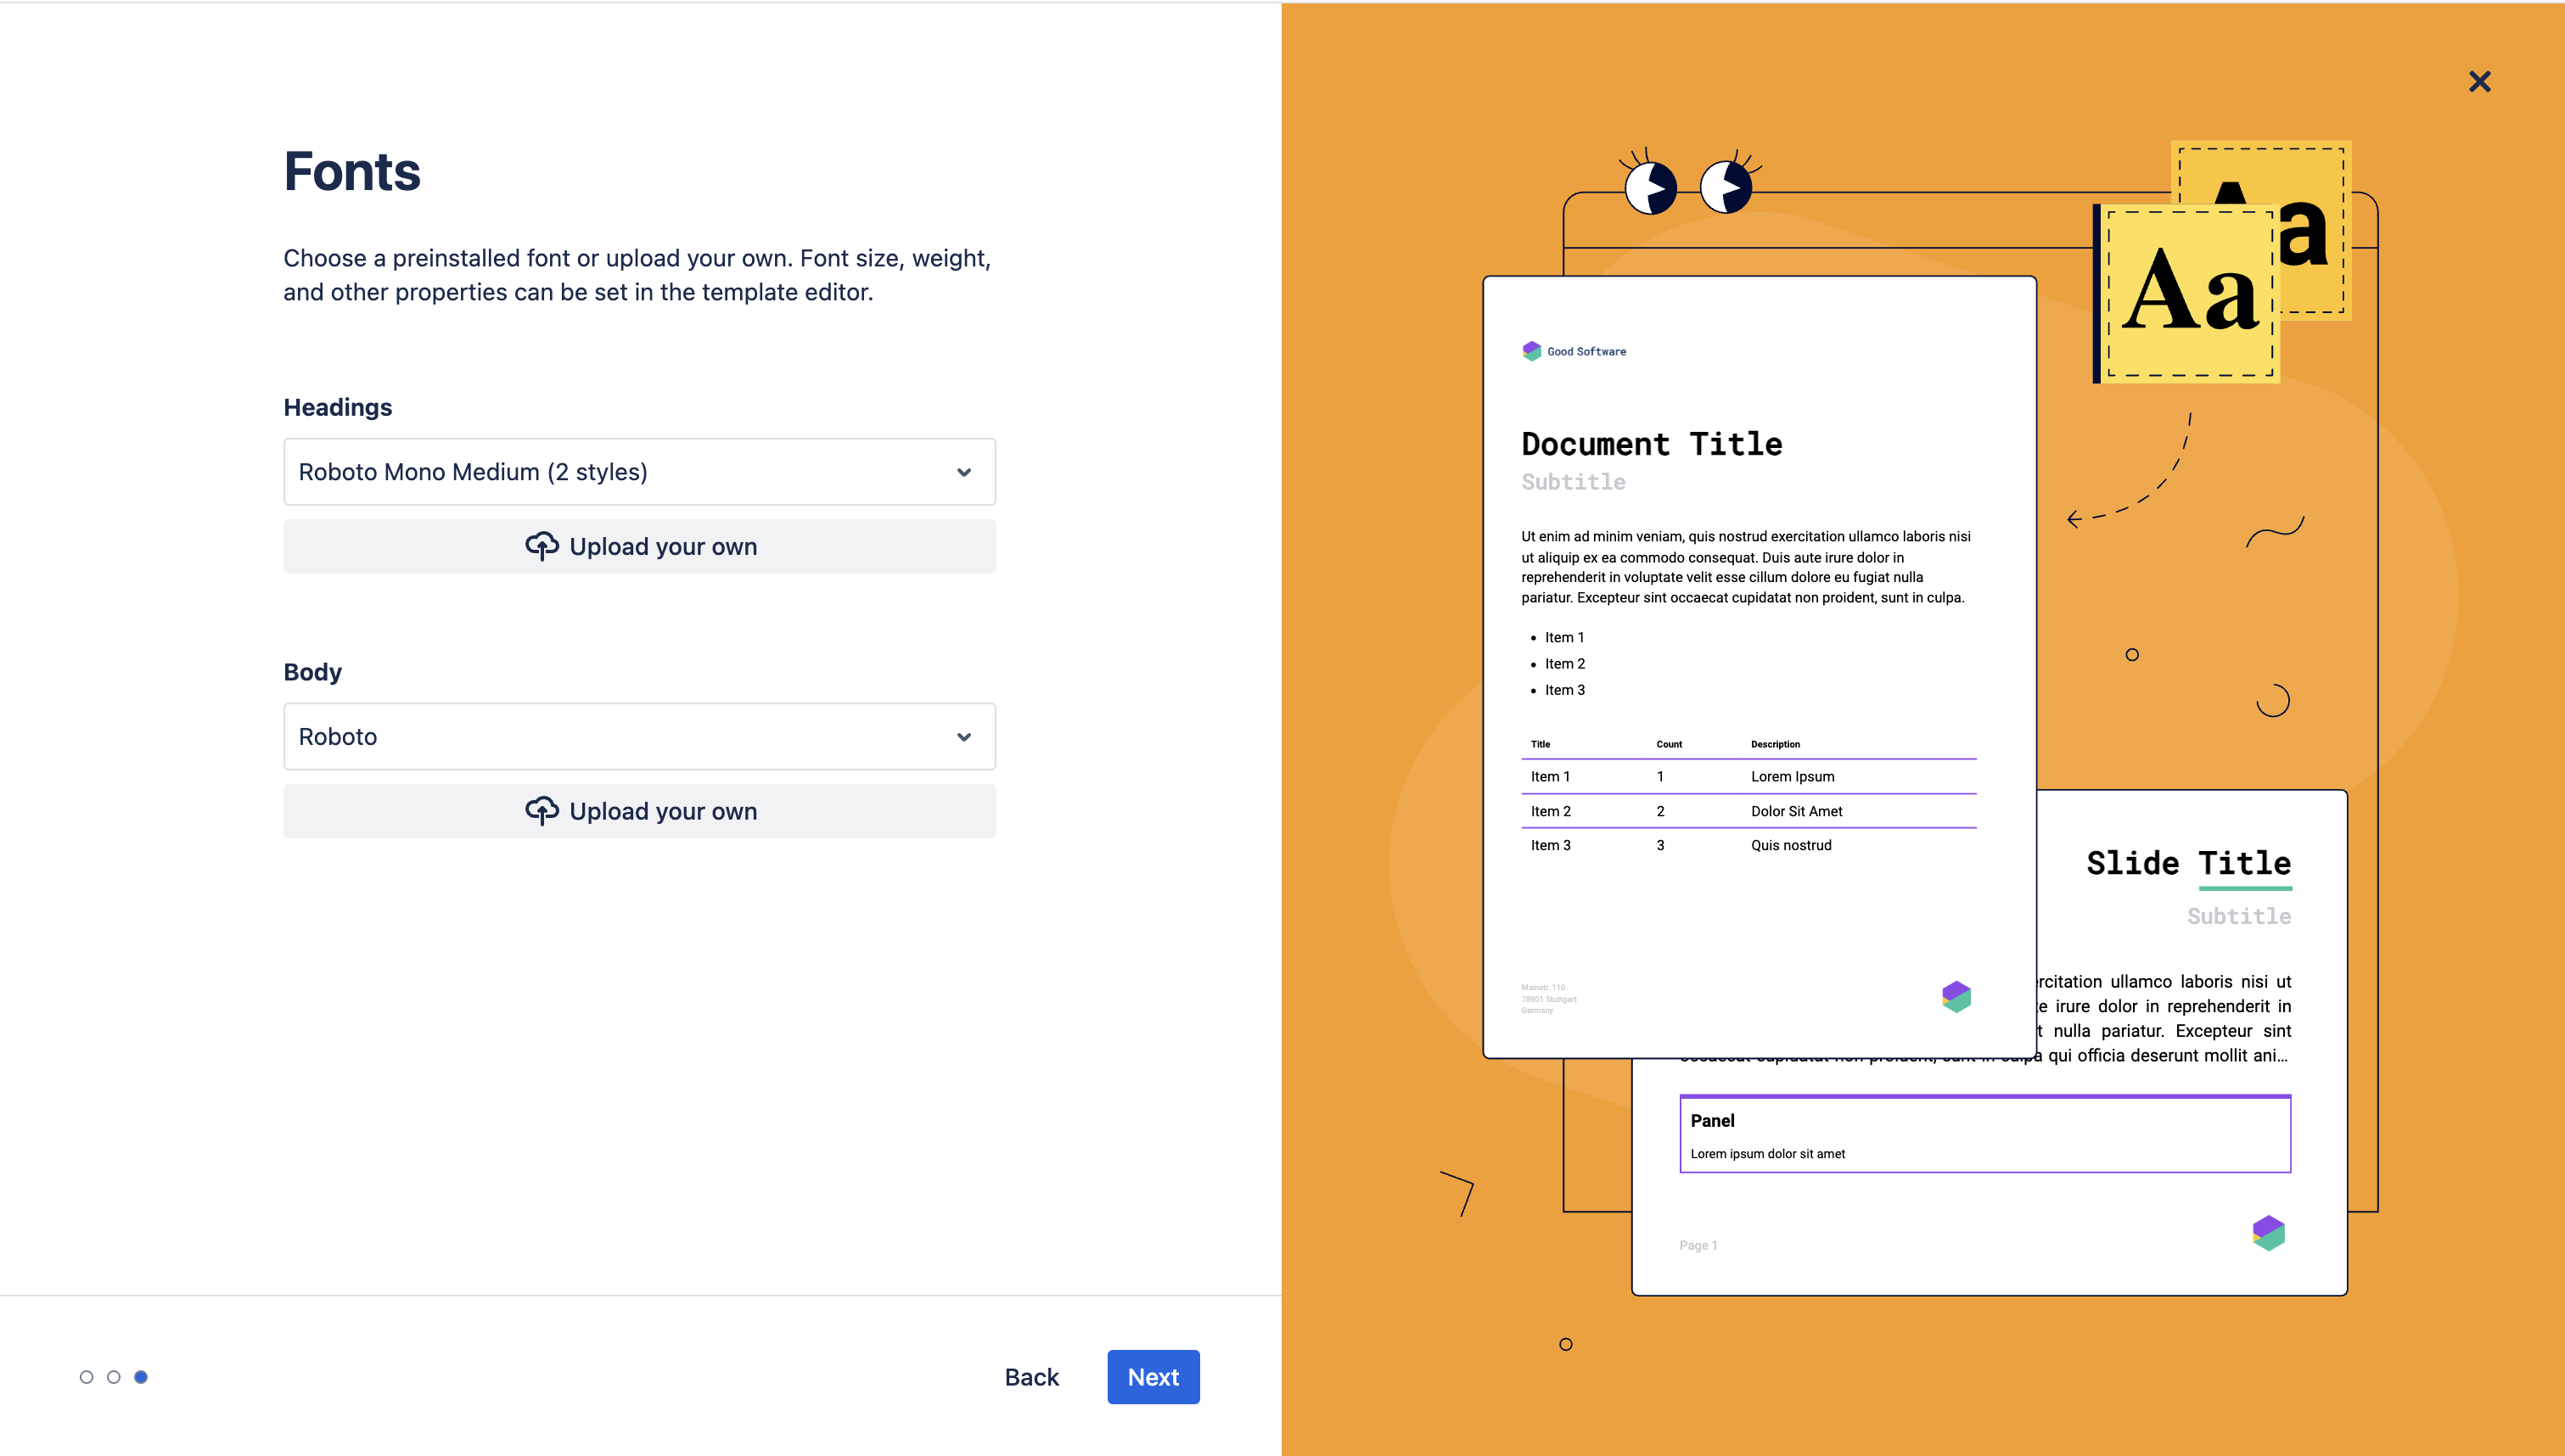
Finally, choose or upload your fonts for the brand.
-
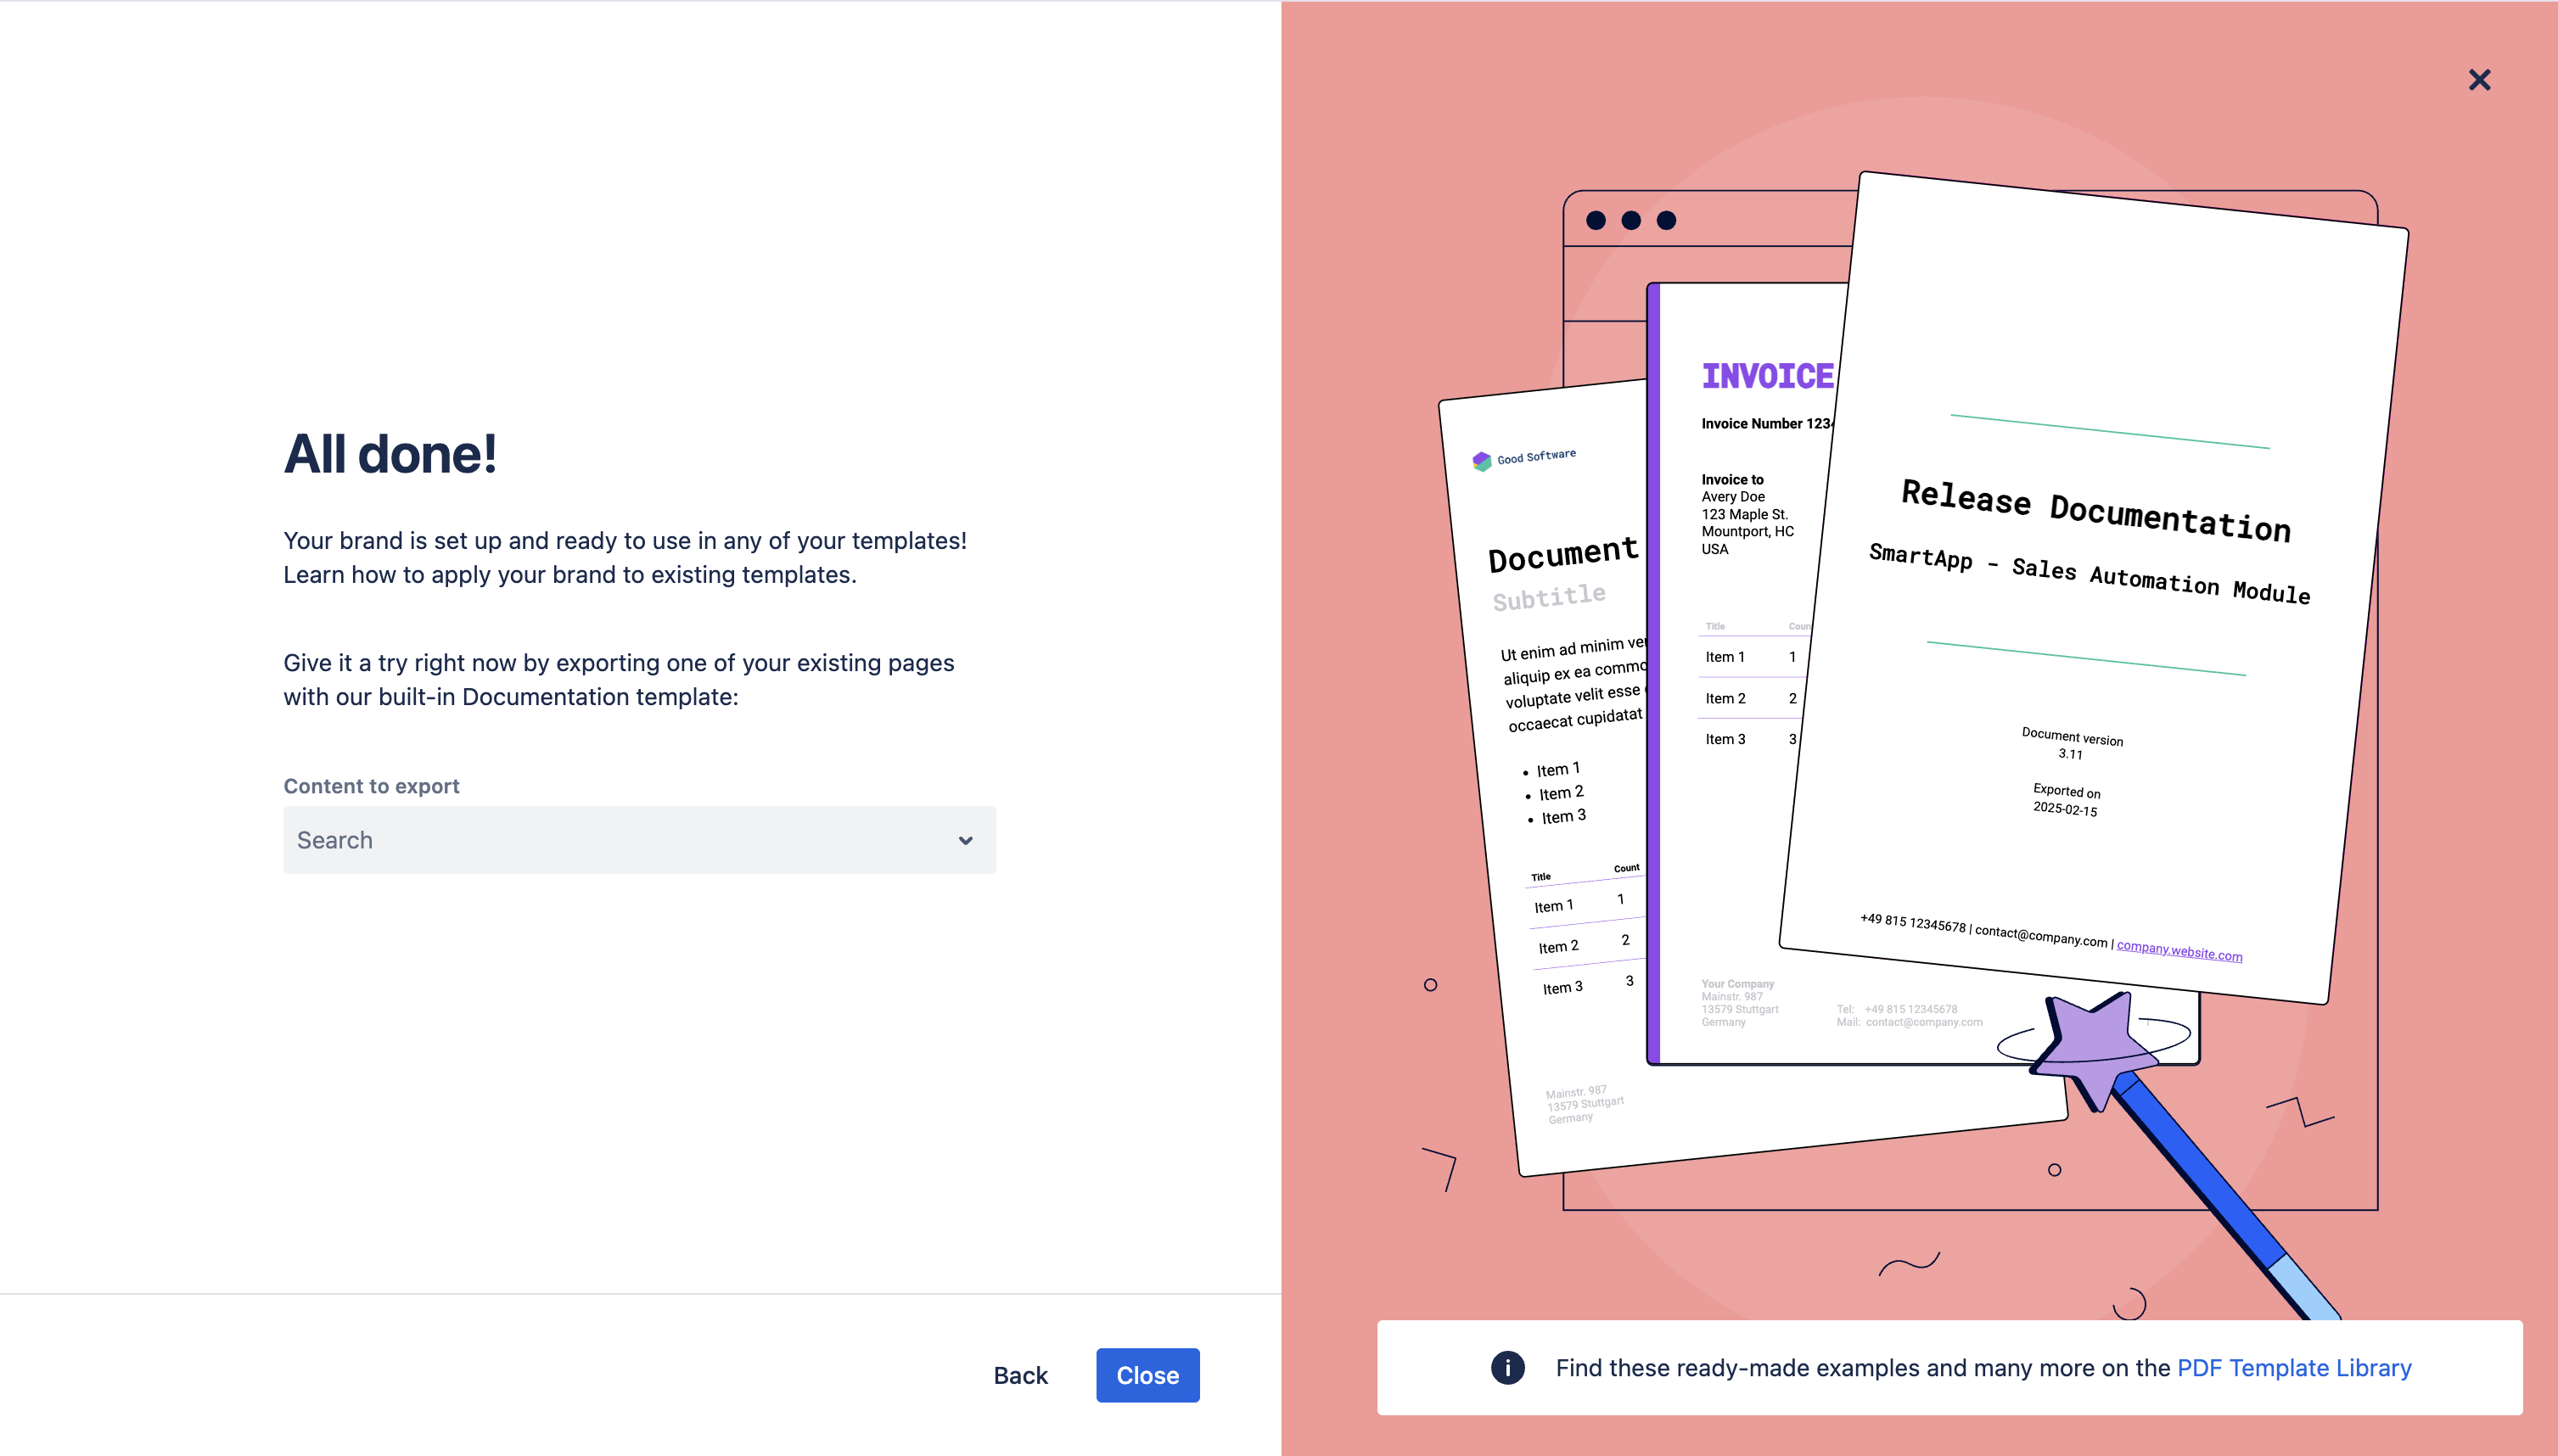
At the end of the setup, you can generate a test export using a Branded Template with all your brand assets - simply search for a page to generate the export.
Want to edit a created brand?
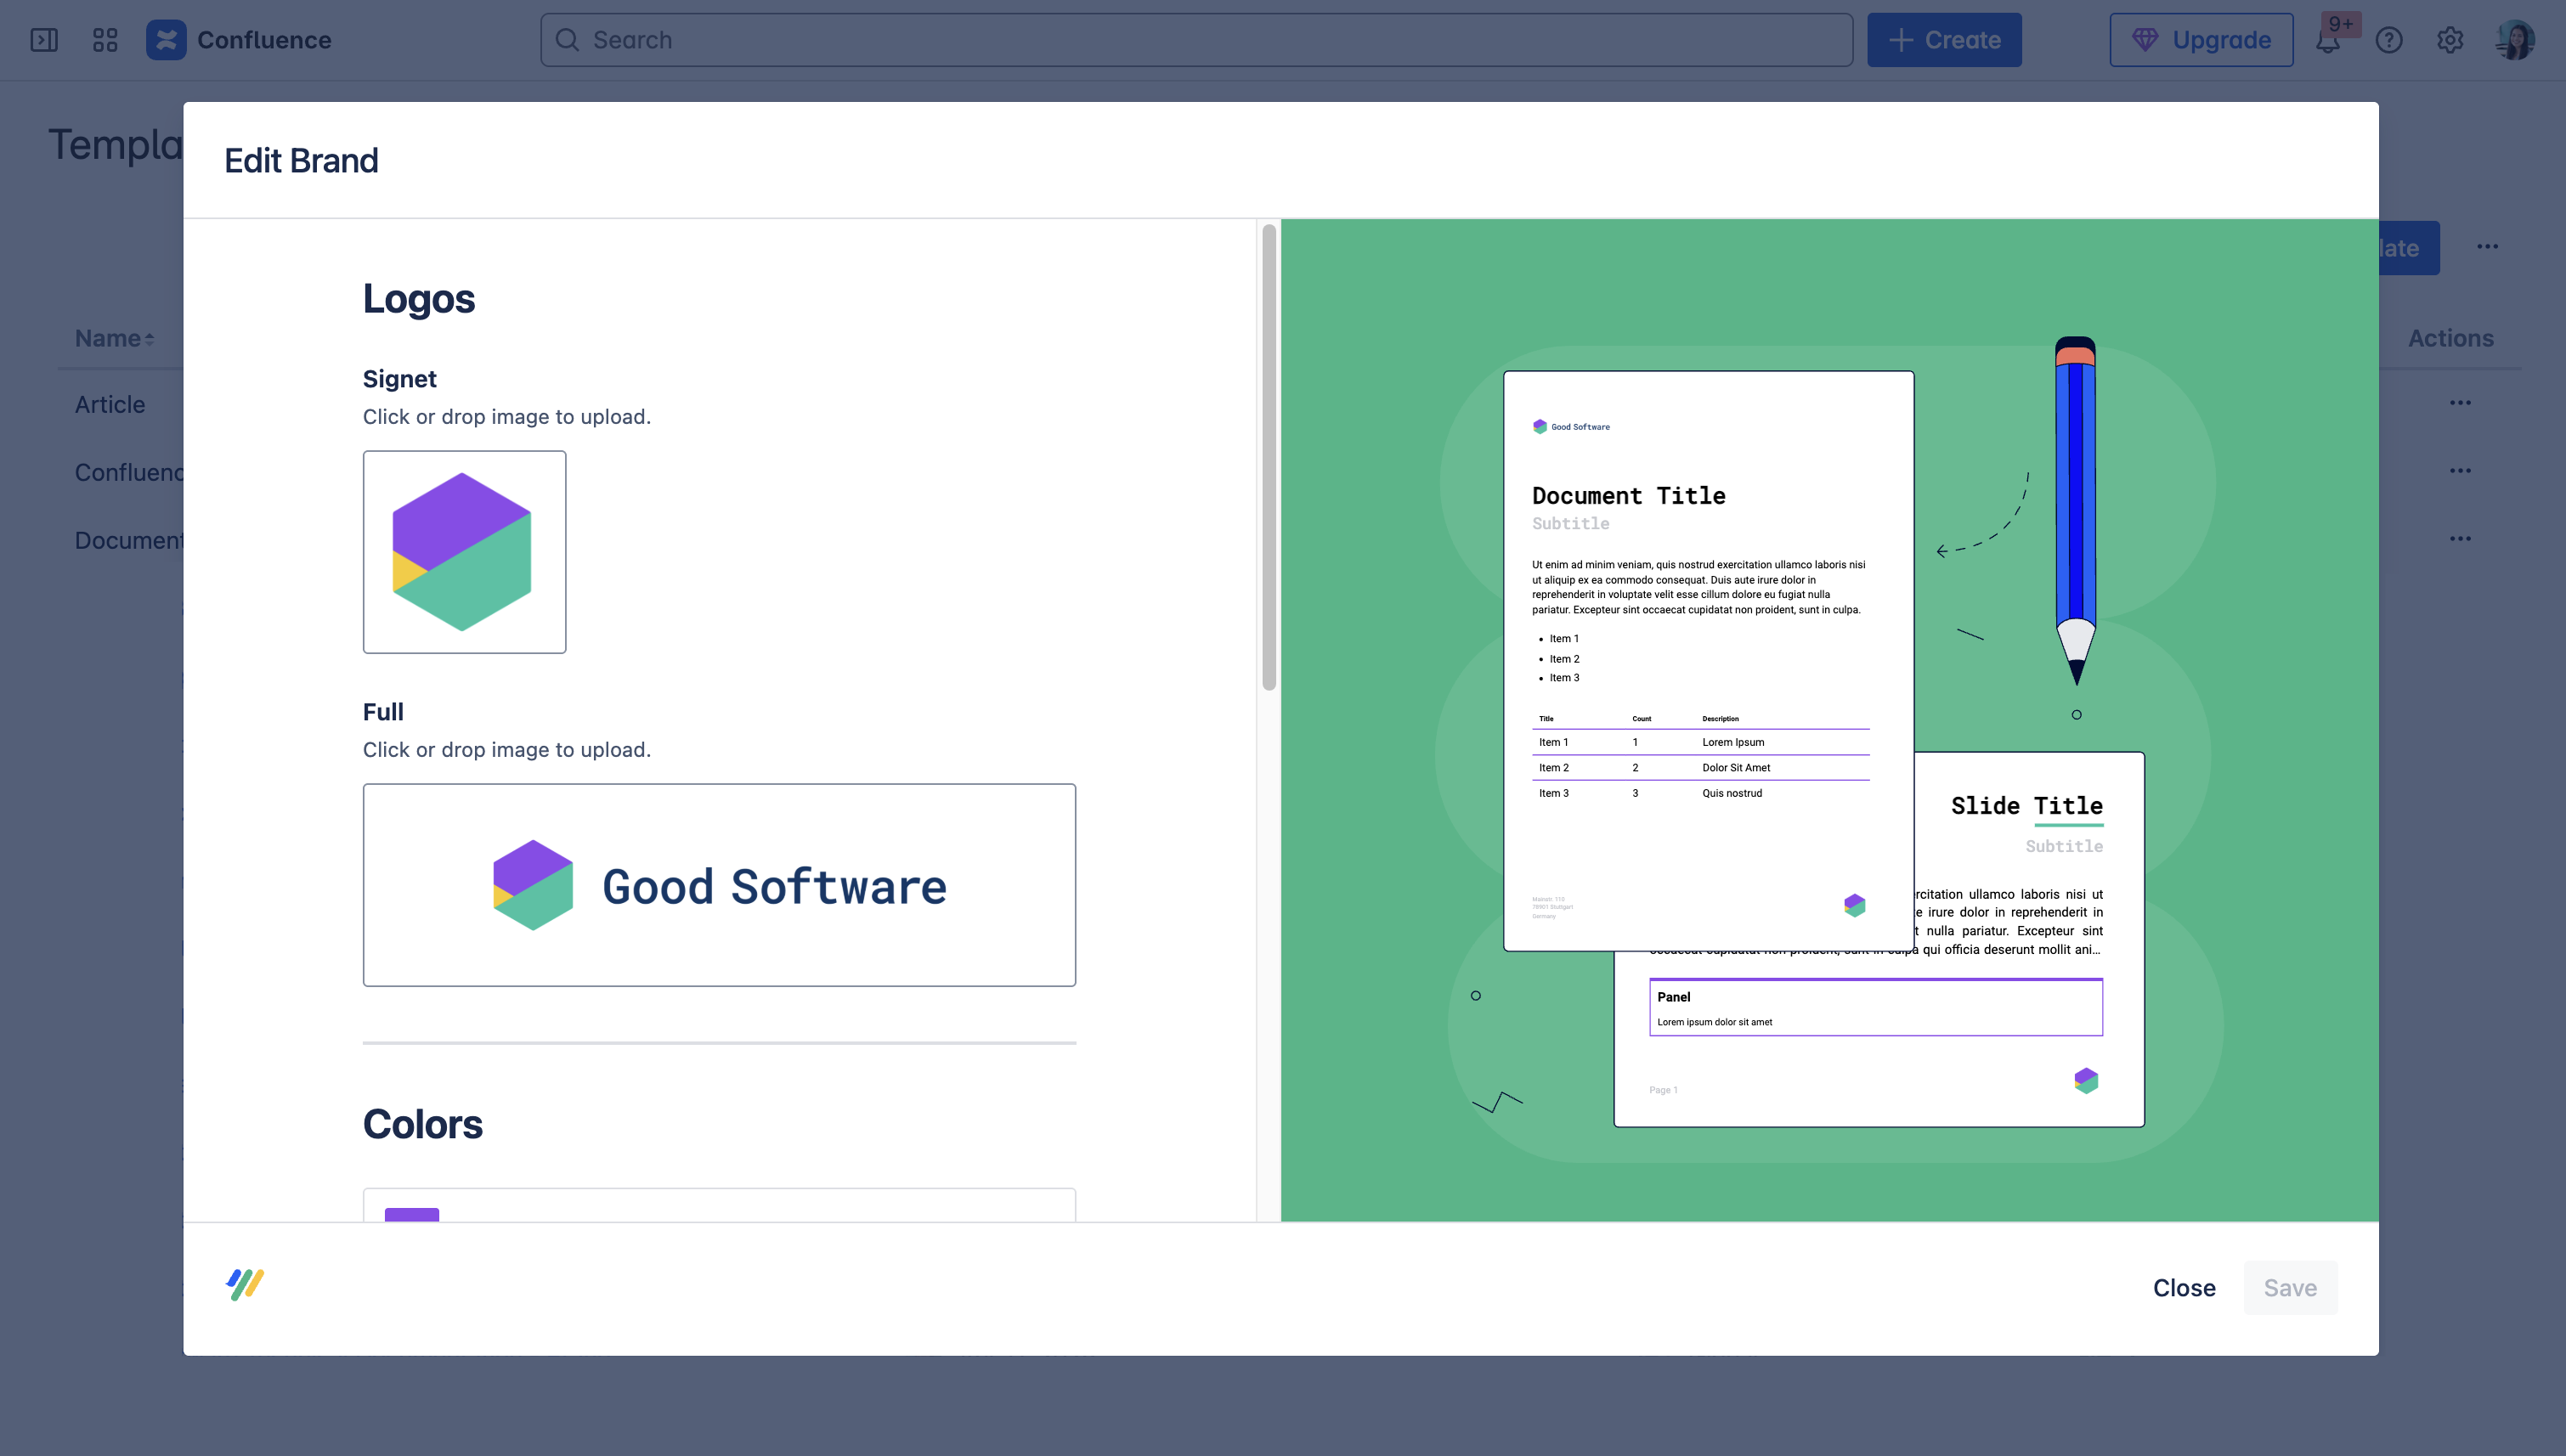
Once your brand has been created, you can easily make changes to any of your choices by navigating to the global template list > ••• > Edit brand.
The brand editor will then appear where changes can be applied:
Steps to set up a Branded Template
For Newly Created Templates
-
Navigate to either the global or space Scroll PDF Exporter template list.
-
Select the + New template button.
-
Choose the option + Create new.
-
After this, the template editor will open and the assets from the brand will be automatically applied to the respective elements in your template.
For Existing Templates
-
Navigate to your chosen export template and select the pencil icon (edit template).
-
Within the respective sections of the template (ie. Document sections and Styles) you will be able to view the brand assets.
-
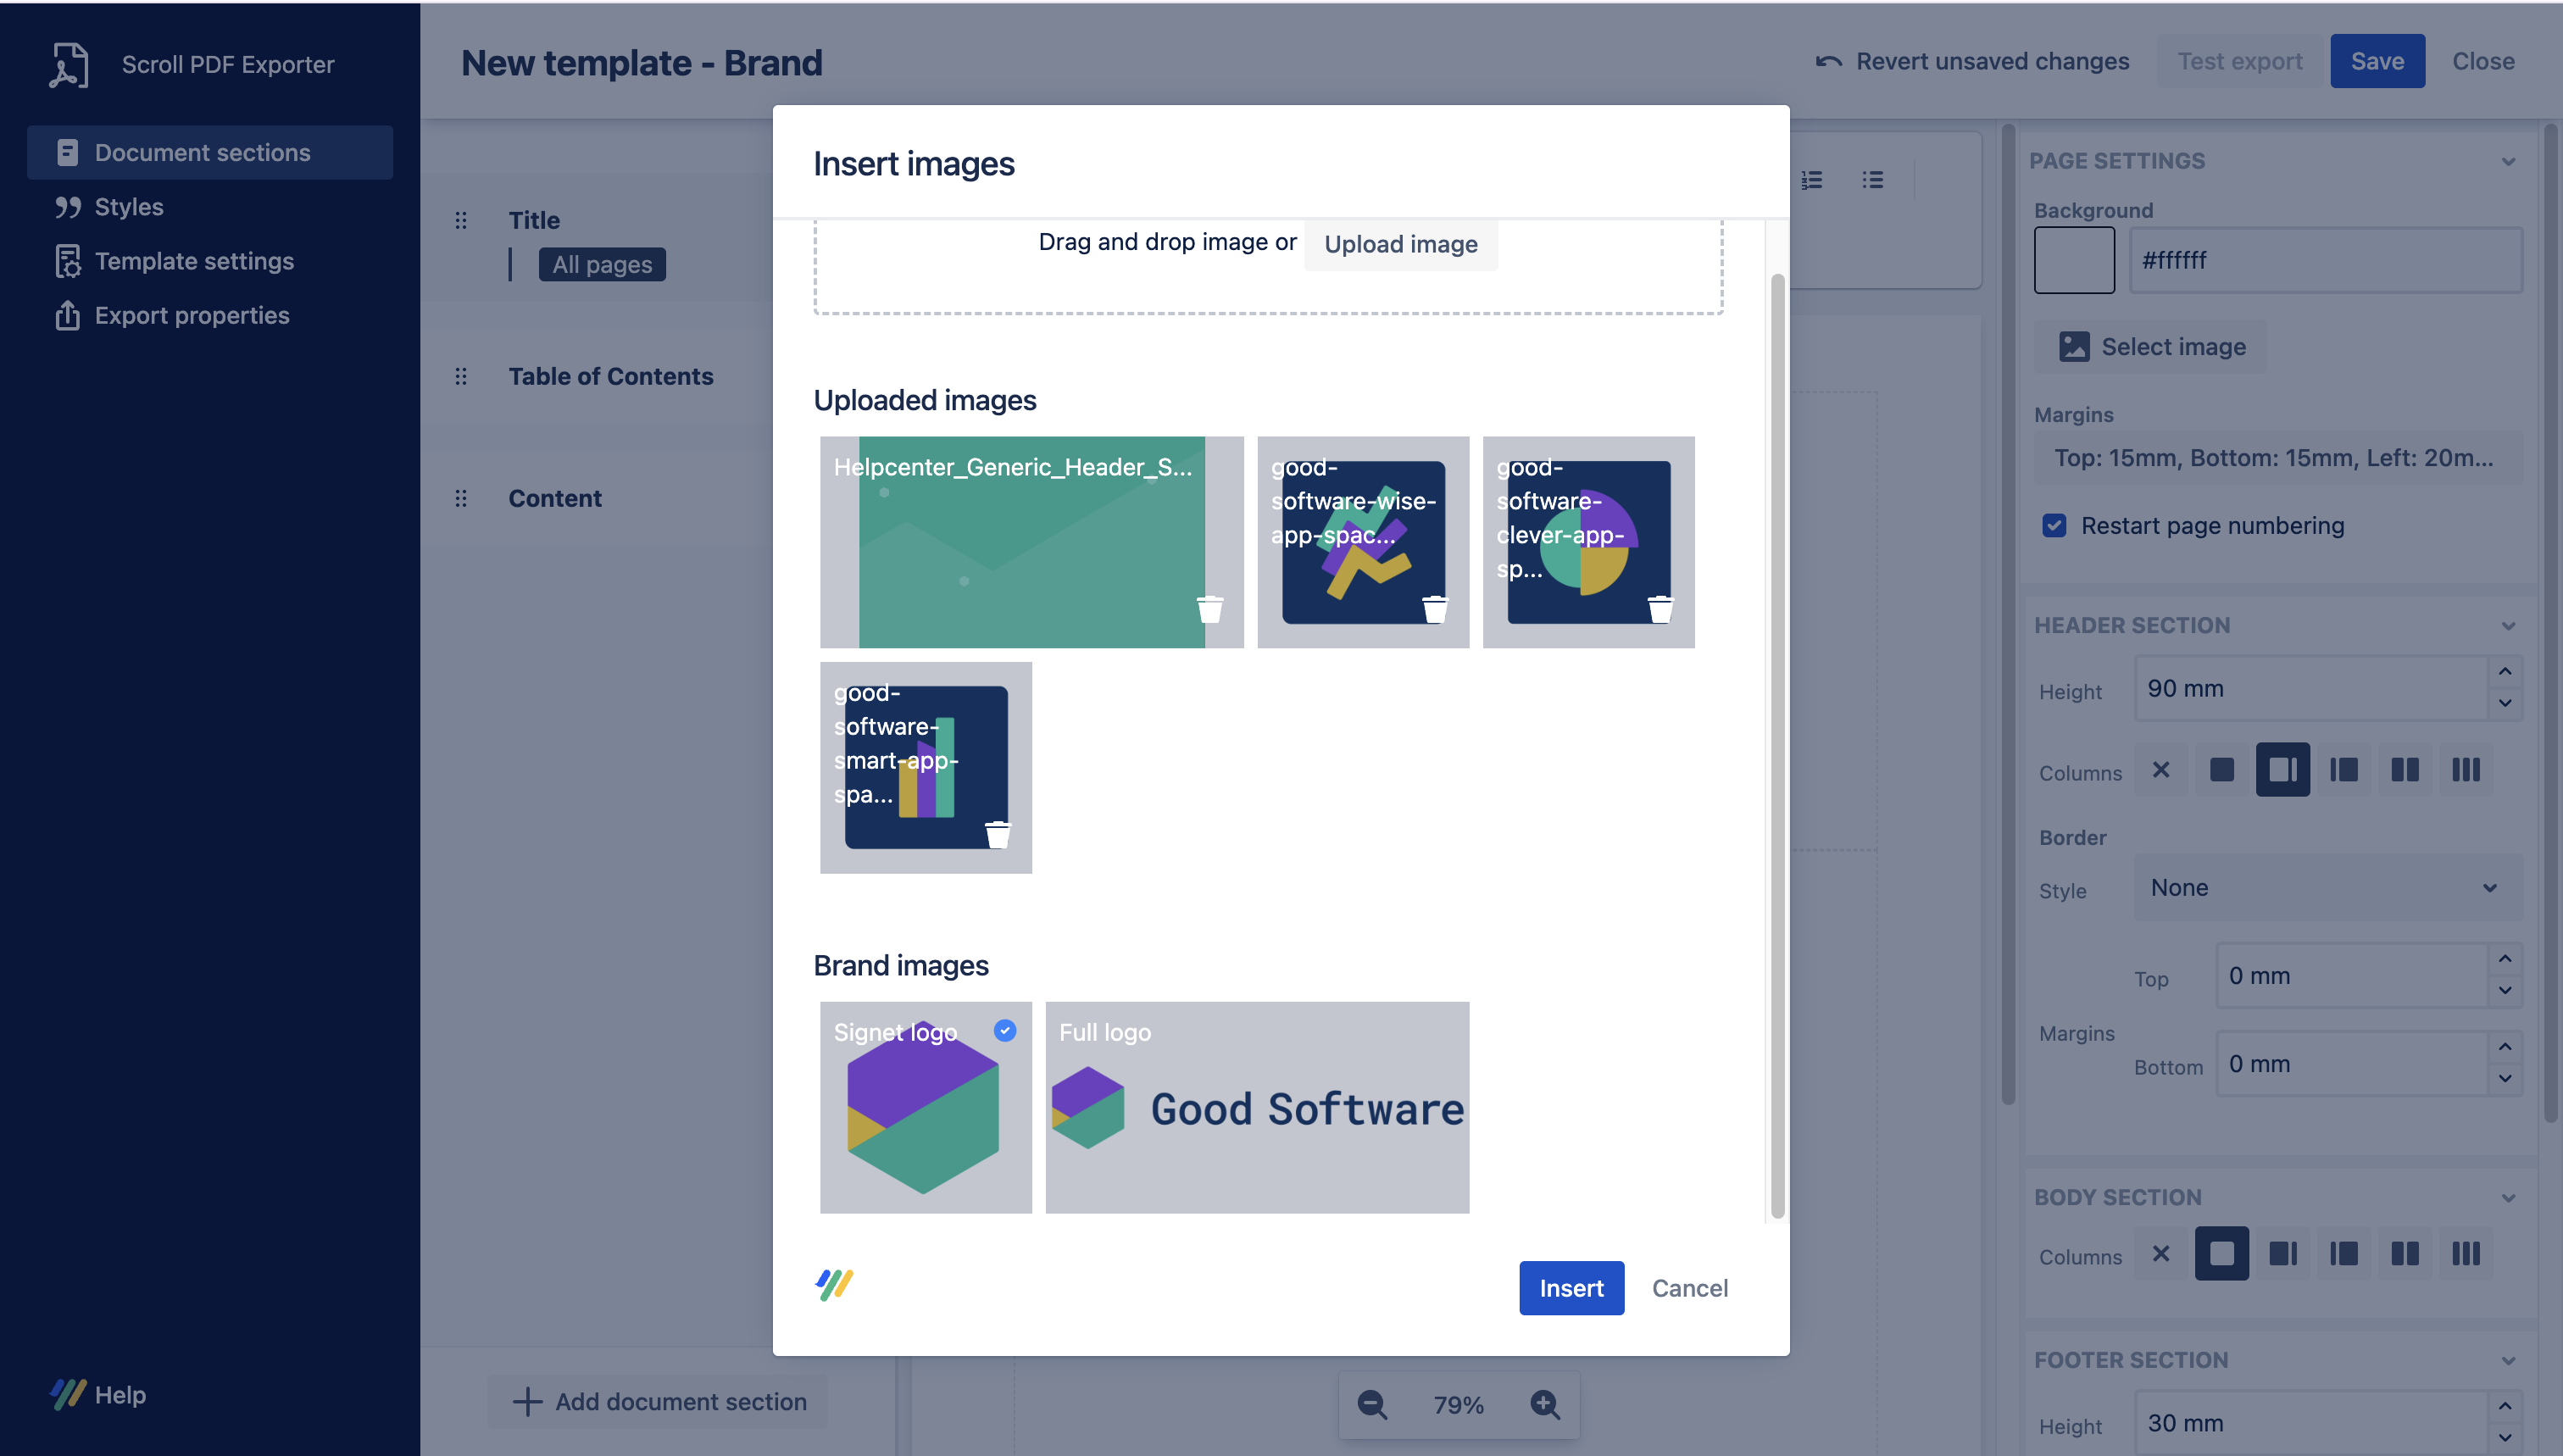
To access brand logos, navigate to Document sections and select the image icon. You can also add the respective template placeholders for adding the brand logo (learn more).
-
To access brand colors, navigate to Styles and choose a style. Clicking the color picker will then display the defined brand colors.
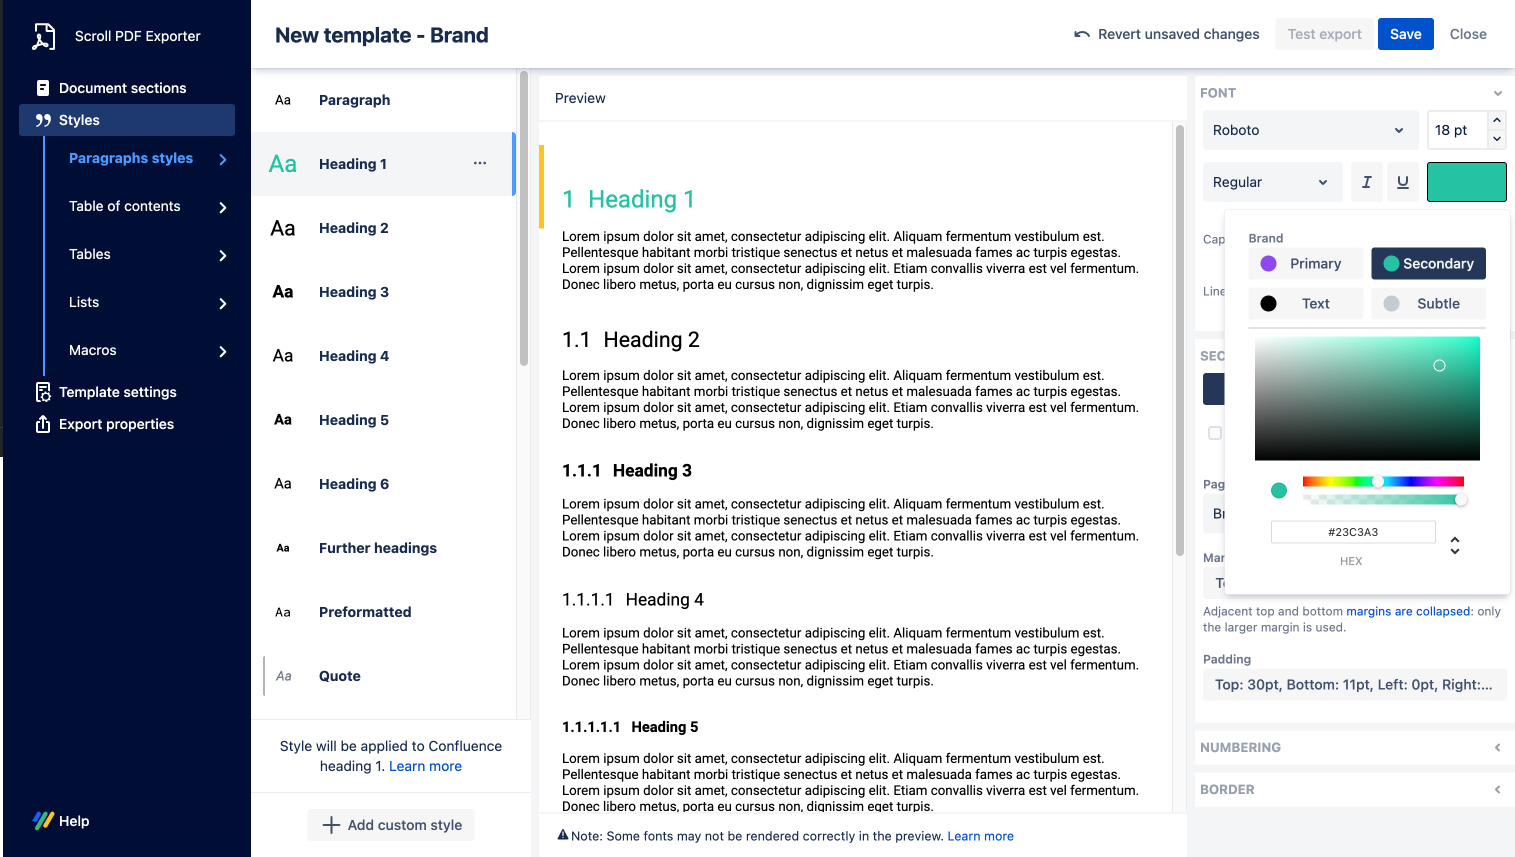
-
To access brand fonts, navigate to Styles and choose a style. Clicking the font picker will then display the define brand fonts.
-
Once you have saved the template with a brand asset defined (ie. logo, color, font), the template will be classed as a Branded Template.
Template Placeholders for adding the Brand Logo
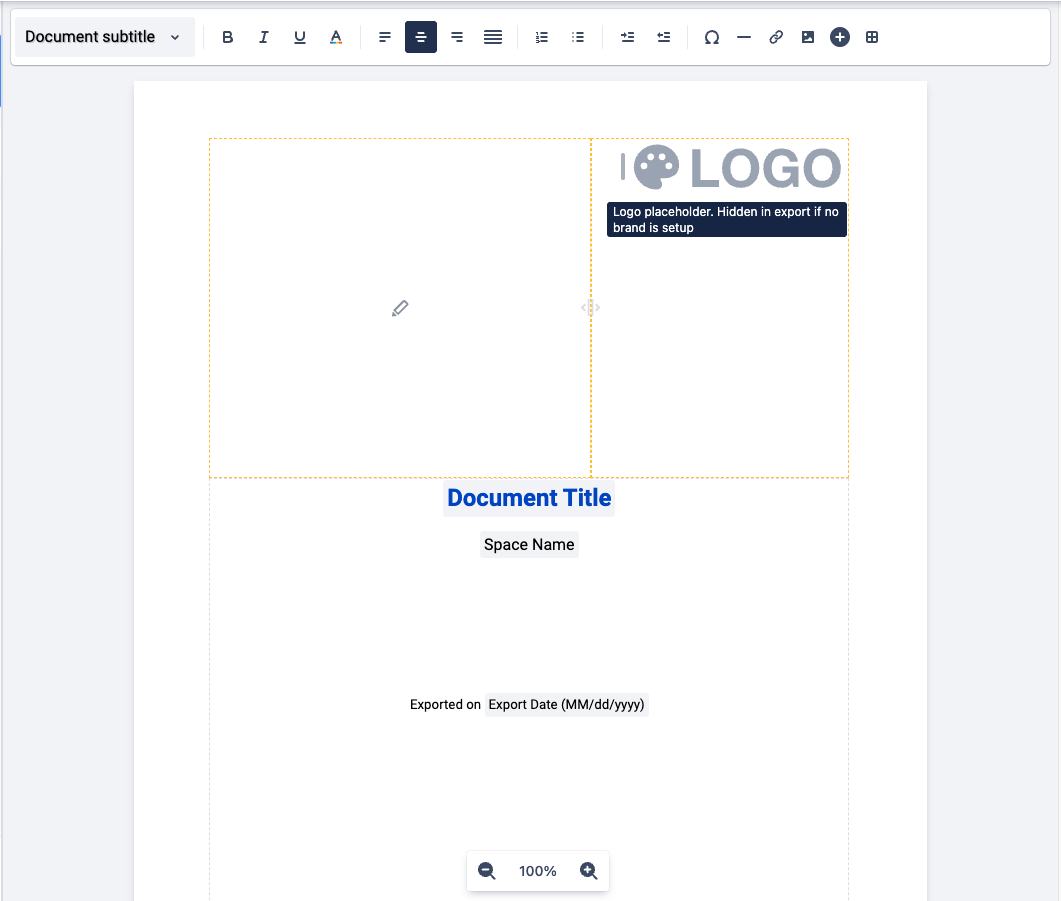
When configuring an export template it is possible to add placeholders that will use the brand logos. When added to your Document section, the logo will be exported when a brand has been setup with a logo.
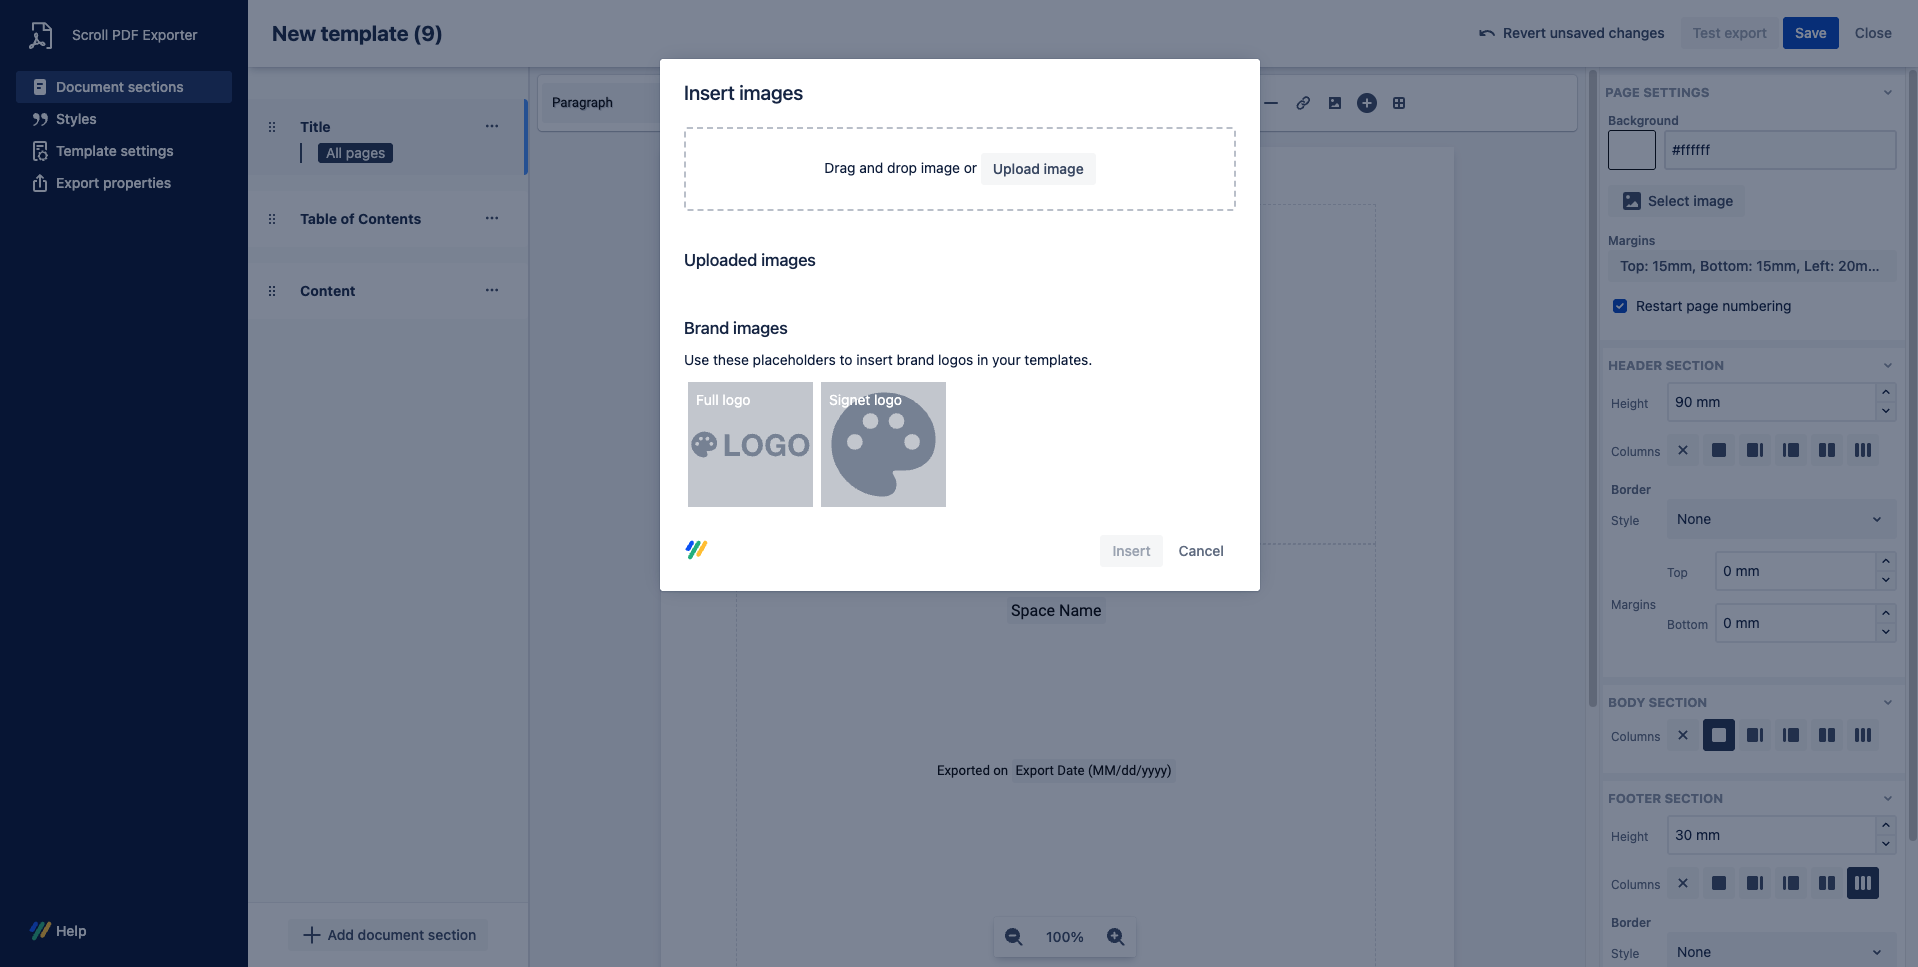
If a brand hasn’t been created, the placeholders can still be added to your Document Sections and the logo will be added once the brand is configured.
Please note:
-
The brand logo placeholders will remain hidden in the export until a logo is uploaded for a created brand.
-
For newly created templates, the brand logo placeholders will automatically be present in the header and footer sections:
Things to Consider
-
For existing templates
-
The brand will not be automatically applied to existing templates. We have opted to respect the decisions and effort put into making each custom template and for this reason we have not automated the process of applying the brand to your existing templates. The brand assets (ie. logos, colors, fonts) will be available in your template and you can use these accordingly.
-
-
For brand colors
-
We recommend that you consider the color contrast for the colors you pick for your brand. This is important, especially the body text color, for complying with accessibility guidelines. You can use a tool such as https://webaim.org/resources/contrastchecker/ to check this.
-
When printing PDF exports, we recommend using 100% black color (Hex code #000000) for optimal contrast.
-
If your brand doesn’t have a “secondary“ color defined, we advise using a complementary color or another shade of the brand primary color.
-