
Backbone Work Sync allows you to integrate two Jira projects to synchronize work items.
Scope of a Synchronization
Synchronizations are always configured on a project-by-project basis, always between two projects.
However, you can create multiple synchronizations per project. So if you want to connect one project with multiple projects, you can simply create multiple synchronizations for a project.
Data Transmission Protocol
Backbone uses the official Jira REST API in order to access both Jira projects which it integrates. If you provide a HTTPS URL when you setup the synchronization, Backbone will use an encrypted channel in order to communicate with Jira.
Configuration
You have multiple options to sync from your cloud space, you can synchronize:
-
Two Jira spaces on different cloud instances using the remote license
-
Two Jira spaces between Cloud and Data Center instances using the remote license
Choose an existing space or a clone
Every synchronization now starts the same way: after you select New Synchronization, Backbone Work Sync first asks which space to sync: pick an existing space, or select Create and sync a new space to clone one instead. Only after that do you choose which instance to sync with. See What Is Quick Connect? for what cloning covers and when to use it.
Cloning is available on Jira Cloud only. In a Cloud to Data Center synchronization, you can clone the Cloud space but not the Data Center space.
Synchronize two Jira spaces on the same instance
-
Firstly, open the space that you want to synchronize, and select Space settings > Backbone Work Sync > New Synchronization
-
The Space is preselected. You can either sync with this space, or select Create and sync a new space to clone one instead, then click Next.
-
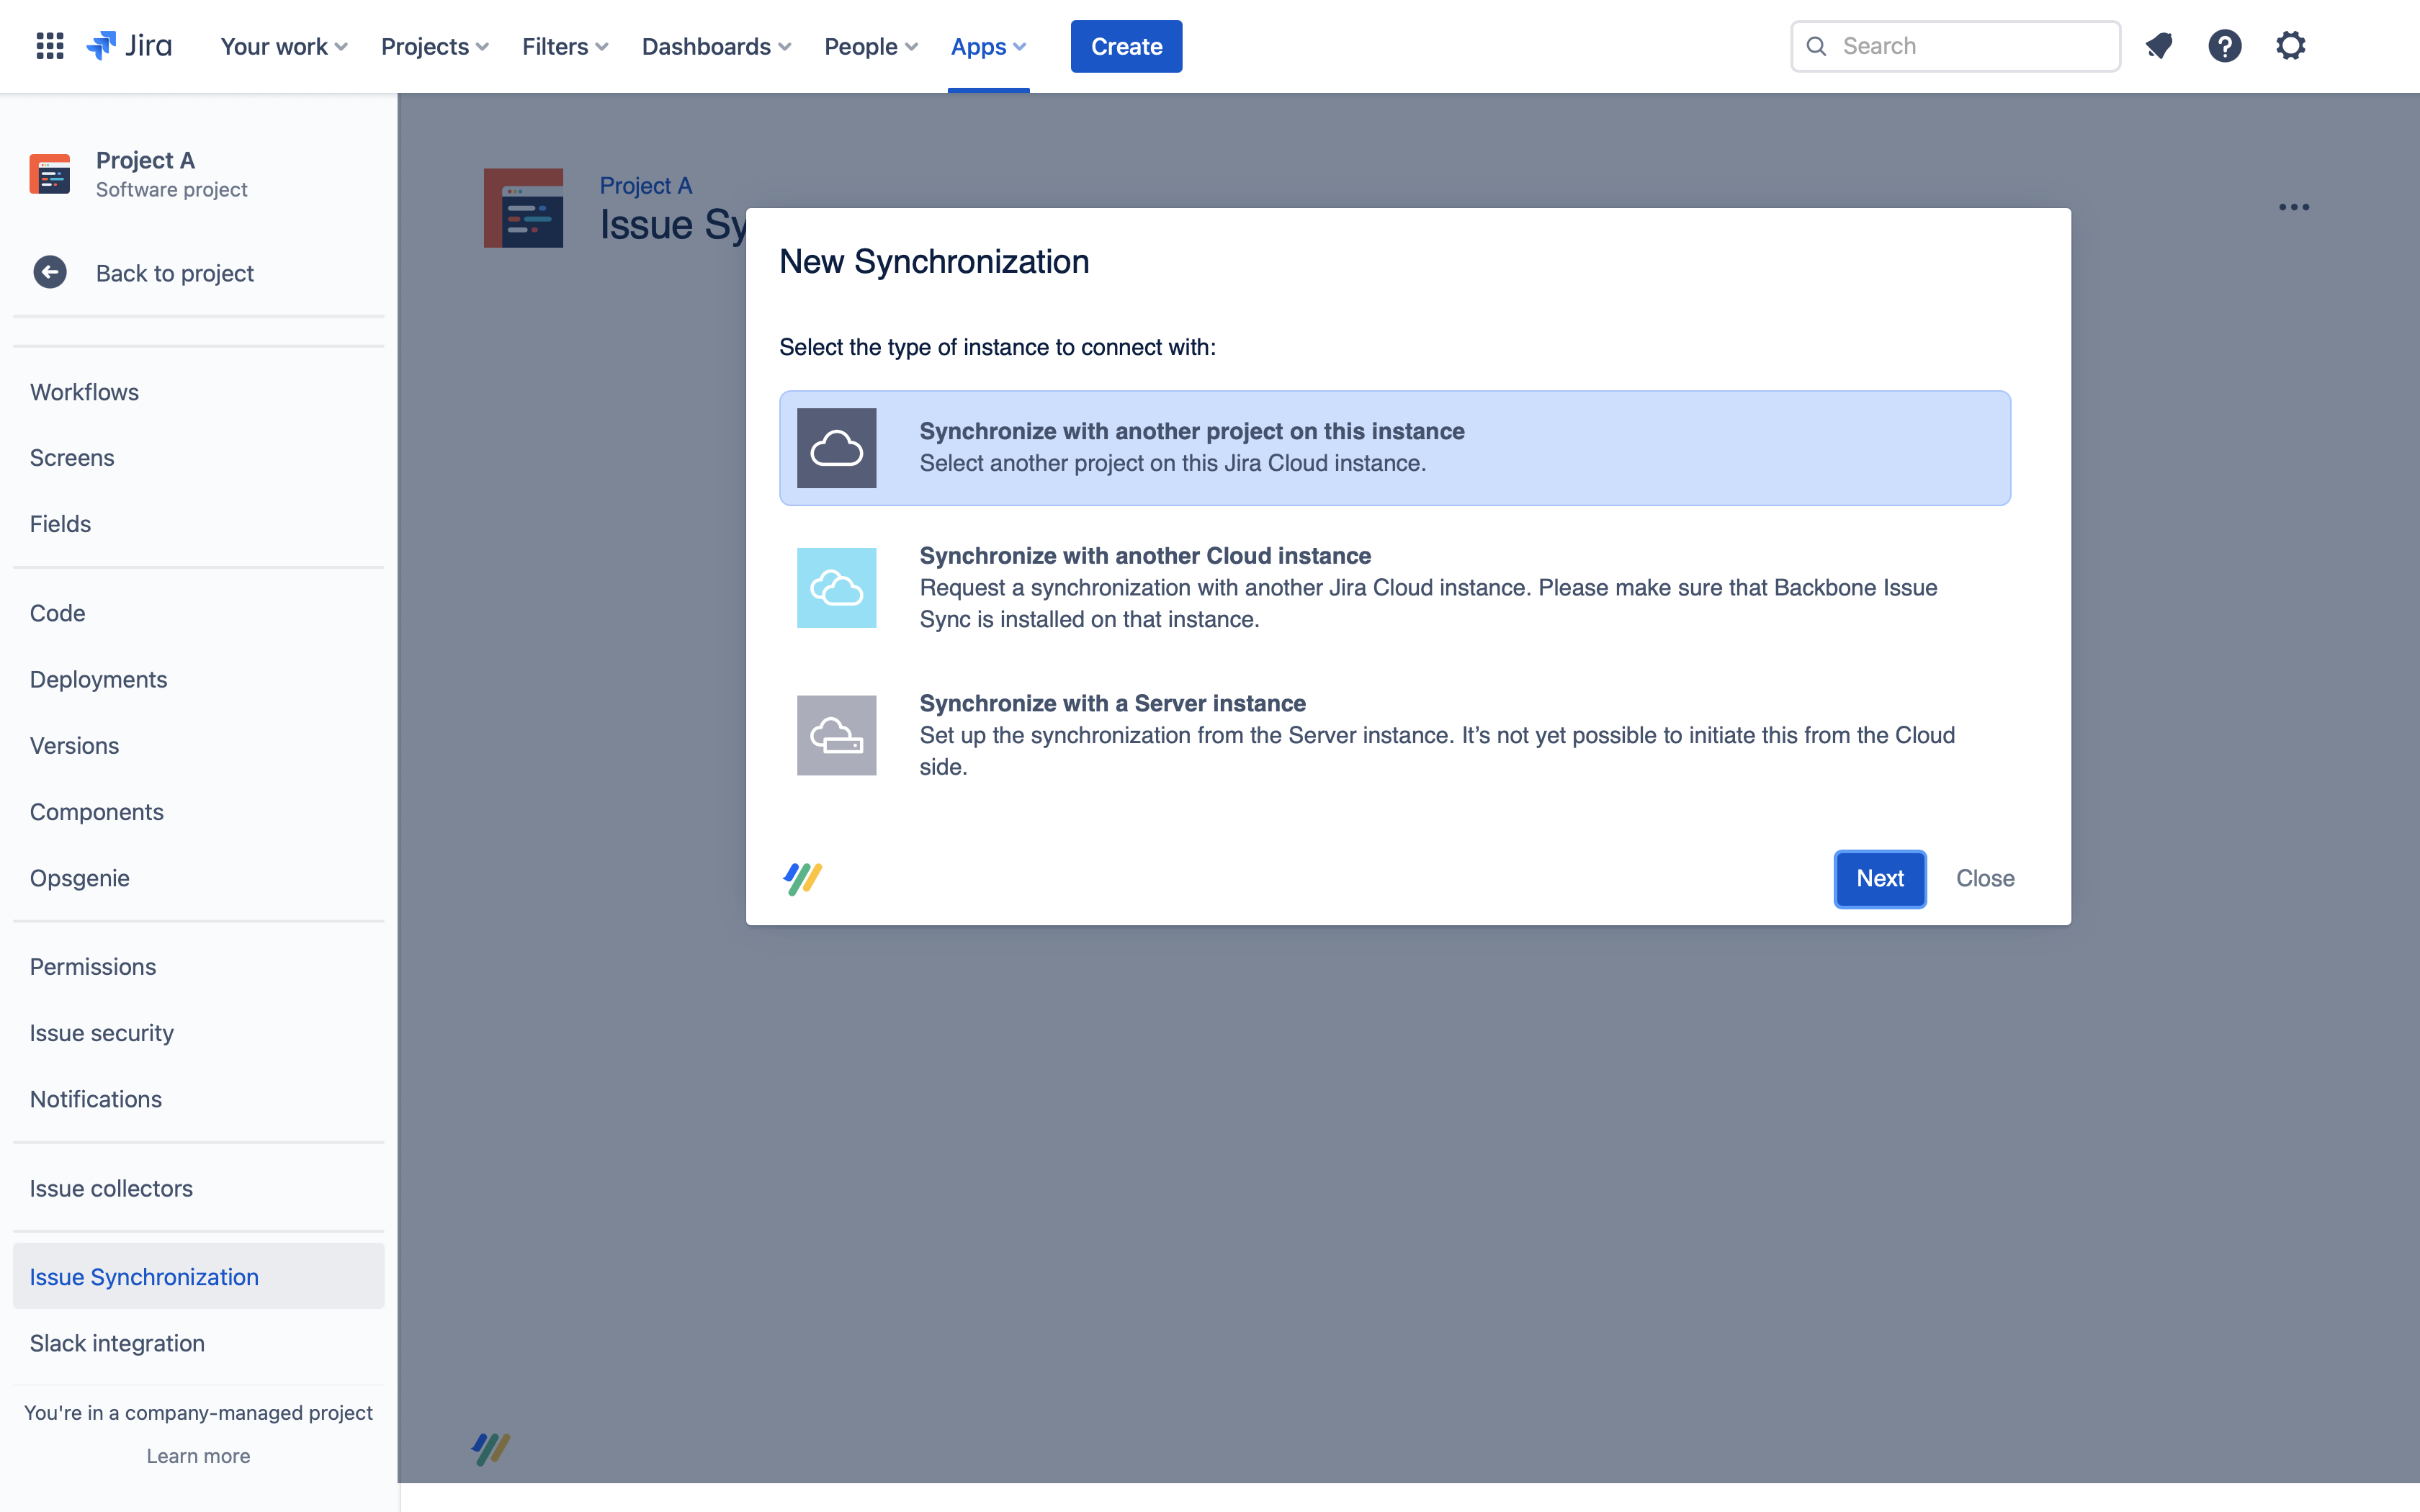
Select Synchronize with another space on this instance, then click Next.
-
Choose the space you want to sync with - again you can pick an existing space or select Create and sync a new space to clone one instead, then click Next
-
Assign a name and description. For now, let's stick with the default name and description – click Next
-
On the settings overview screen, check the configuration settings then click Send Request
-
Now, any user with the Administer Space permission for Cloud Project B can accept the synchronization request to establish the connection between the spaces. To accept the request, open Cloud Project B and click Space settings > Backbone Work Sync > in the Actions column, click ... > View Request > Accept Request.
-
If the space being created is a clone, select Review clone steps to see what will be created before you accept
-
Congratulations, you've established a synchronization! Now, carry on and configure what work types will be synchronized between the projects.
Synchronize two Jira Spaces on different instances
To sync with a space on another instance, you need to send a 'Synchronization request' to the other instance, which the Jira administrators in the other instance can accept to establish a connection.
-
Open the space you want to synchronize, and select Space settings > Backbone Work Sync > New Synchronization
-
The Space is preselected. You can either sync with this space, or select Create and sync a new space to clone one instead, then click Next.
-
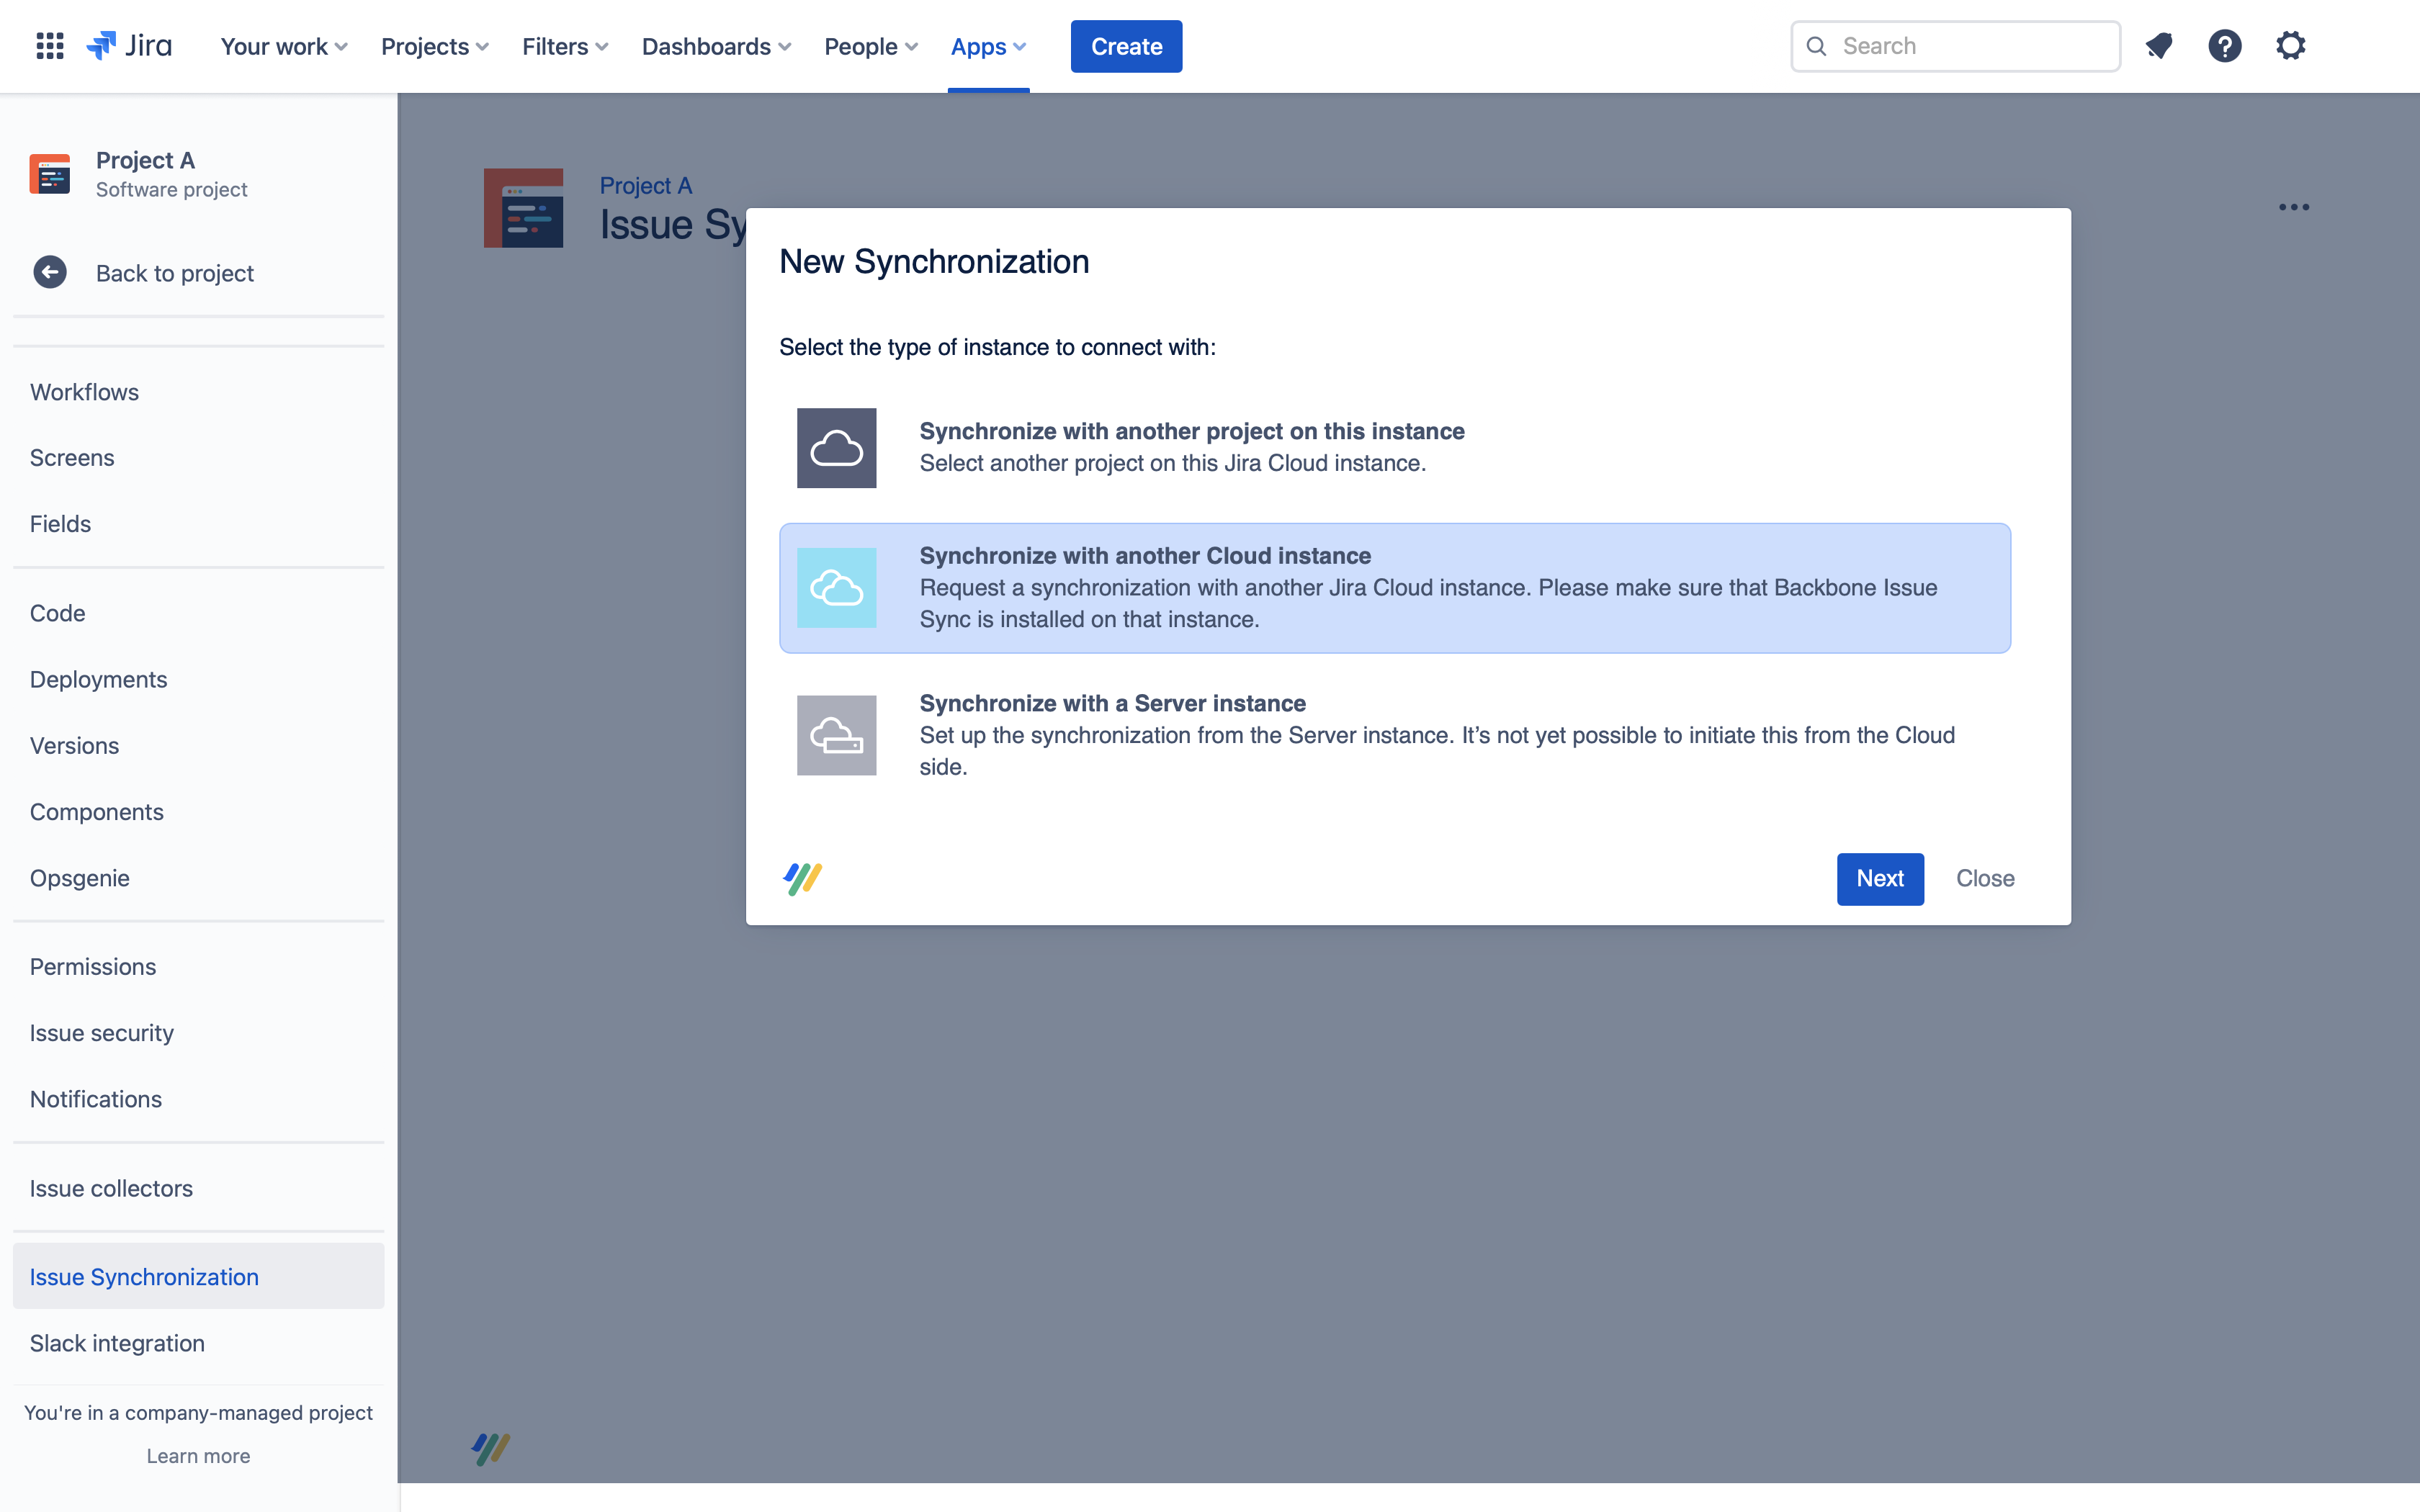
Select Synchronize with another Cloud instance, then click Next.
-
Choose the space you want to synchronize with. You can either pick an existing space on that instance, or clone one from your instance instead. Then fill out these details:
-
In the Base URL field, enter the base URL of the Jira instance you want to synchronize with – it will have this structure: https://example.atlassian.net
-
In the Space Key field, you can enter a specific space key of a space in the partner instance. Enter Cloud Project B's space key, and click Next
-
-
Based on your needs, either choose “immediate“ or “review“, and click Next
-
For now, let's stick with the default name and description – click Next
-
Check the configuration settings, and click Send Request
-
Now, any user with the Administer Space permission for Cloud Project B can accept the synchronization request to establish the connection between the spaces. To accept the request, open Cloud Project B and click Space settings > Backbone Work Sync > in the Actions column, click ... > View Request > Accept Request
-
If the space being created is a clone, select Review clone steps to see what will be created before you accept
-
Congratulations, you've established a synchronization! Now, carry on and configure what work types will be synchronized between the spaces.
Synchronize from Cloud to Data Center
Prerequisites
To set up a sync from Cloud to DC you need the following:
-
Space admin rights cloud
-
A sync user on Data Center
-
Jira 8.22 or higher on Data Center
Step 1 - Cloud: Create a Sync
-
Go to the space that you want to synchronize on Cloud
-
Select Space settings > Backbone Work Sync > New Synchronization
-
The Space is preselected. You can either sync with this space, or select Create and sync a new space to clone one instead, then click Next.
-
Select Synchronize with a Data Center Instance.
-
Copy the URL provided.
Step 2 - Data Center: Create an Application Link
On the Data Center instance you want to sync with, create an application link
You only need to set up the application link once. Thus if you want to set up multiple synchronizations to the same instance, you can use the same application link and skip this step
-
Go to the cog icon (Settings) > Applications.
-
Select Application Links in the left menu.
-
Select Create link:
-
For Application type, select External application
-
For Direction, select Incoming
-
-
Click continue
-
Fill out the form:
-
Name: give it a unique name, e.g. Backbone Authentication
-
URL: copy the URL provided in the create sync dialog (on cloud)
-
Permission: choose Admin
-
Admin permissions are needed for space administration actions Backbone performs, such as crating space versions. However, you can still restrict the permissions of the synchronization user to only have permissions for the spaces you want to sync.
-
Save the form
-
Copy the Client Id and Client Secret
Step 3 - Cloud: Continue Setting Up The Sync
-
Enter the following data:
-
Base URL: the Base URL of the Data Center instance
-
Client Id / Client Secret: Enter this information from the application link you have created in step 2.7
-
-
Choose to Authenticate or copy the link
-
Authenticate: Leads you to the DC instance where you can authenticate to the sync user with the username and password
-
Copy Link: Send over the link to the admin on the DC side so they can authenticate to the sync user with the username and password
-
-
Select which space you want to synchronize
-
For now, let's stick with the default name and description – just click Next
-
On the overview screen, check the configuration details then click Create
Congratulations, you've established a synchronization! Now create the data center WebHook, so that the updates from the data center instance can get synchronized.
Synchronize from Cloud to Cloud using the remote license
Prerequisites
To set up a sync from Cloud to Cloud with the remote license you need the following:
-
Space rights cloud
-
A sync user on Cloud
-
To also sync the status (workflow mapping), this user needs Jira Admin rights
-
-
A remote license uploaded
Configure the Synchronization
-
Go to the space that you want to synchronize on Cloud
-
Select Space settings > Backbone Work Sync > New Synchronization
-
The Space is preselected. You can either sync with this space, or select Create and sync a new space to clone one instead, then click Next.
-
Select Synchronize with a Cloud Instance, then click Next.
-
Choose sync to an existing space and fill out this data:
-
In the Base URL field, enter the base URL of the Jira instance you want to synchronize with – it will have this structure: https://example.atlassian.net
-
In the Space Key field, you can enter a specific space key of a space in the partner instance. Enter Cloud Project B's space key, and click Next
-
-
Choose to Authenticate or copy the link
-
Authenticate: Leads you to the Cloud instance where you can authenticate to the sync user with the username and password
-
Copy Link: Send over the link to the admin on the Cloud side so they can authenticate to the sync user with the username and password
-
-
On the overview screen, check the configuration details then click Create
Congratulations, you've established a synchronization! Now create the cloud WebHook, so that the updates from the remote Cloud instance can get synchronized.
Synchronize from Cloud to Data Center using the remote license
The steps to set up the remote license from Cloud to Data Center are the same as using a marketplace license. Therefore, please refer to these steps.