Work through the steps below to customize the look and feel of your Help Center created with Scroll. In this three-part tutorial you will learn the basics of the theme editor, update the site’s header, upload your own logo, and change the site’s layout.
Before you begin
Make sure you have completed the following tutorials, in order, before working through this page -
Tip: In this tutorial you will learn how to update the Help Center site’s logo. While it is optional, we recommended that you have your logo ready at hand before proceeding. You can learn about recommended image size and formats here.
Open the theme editor
|
1 |
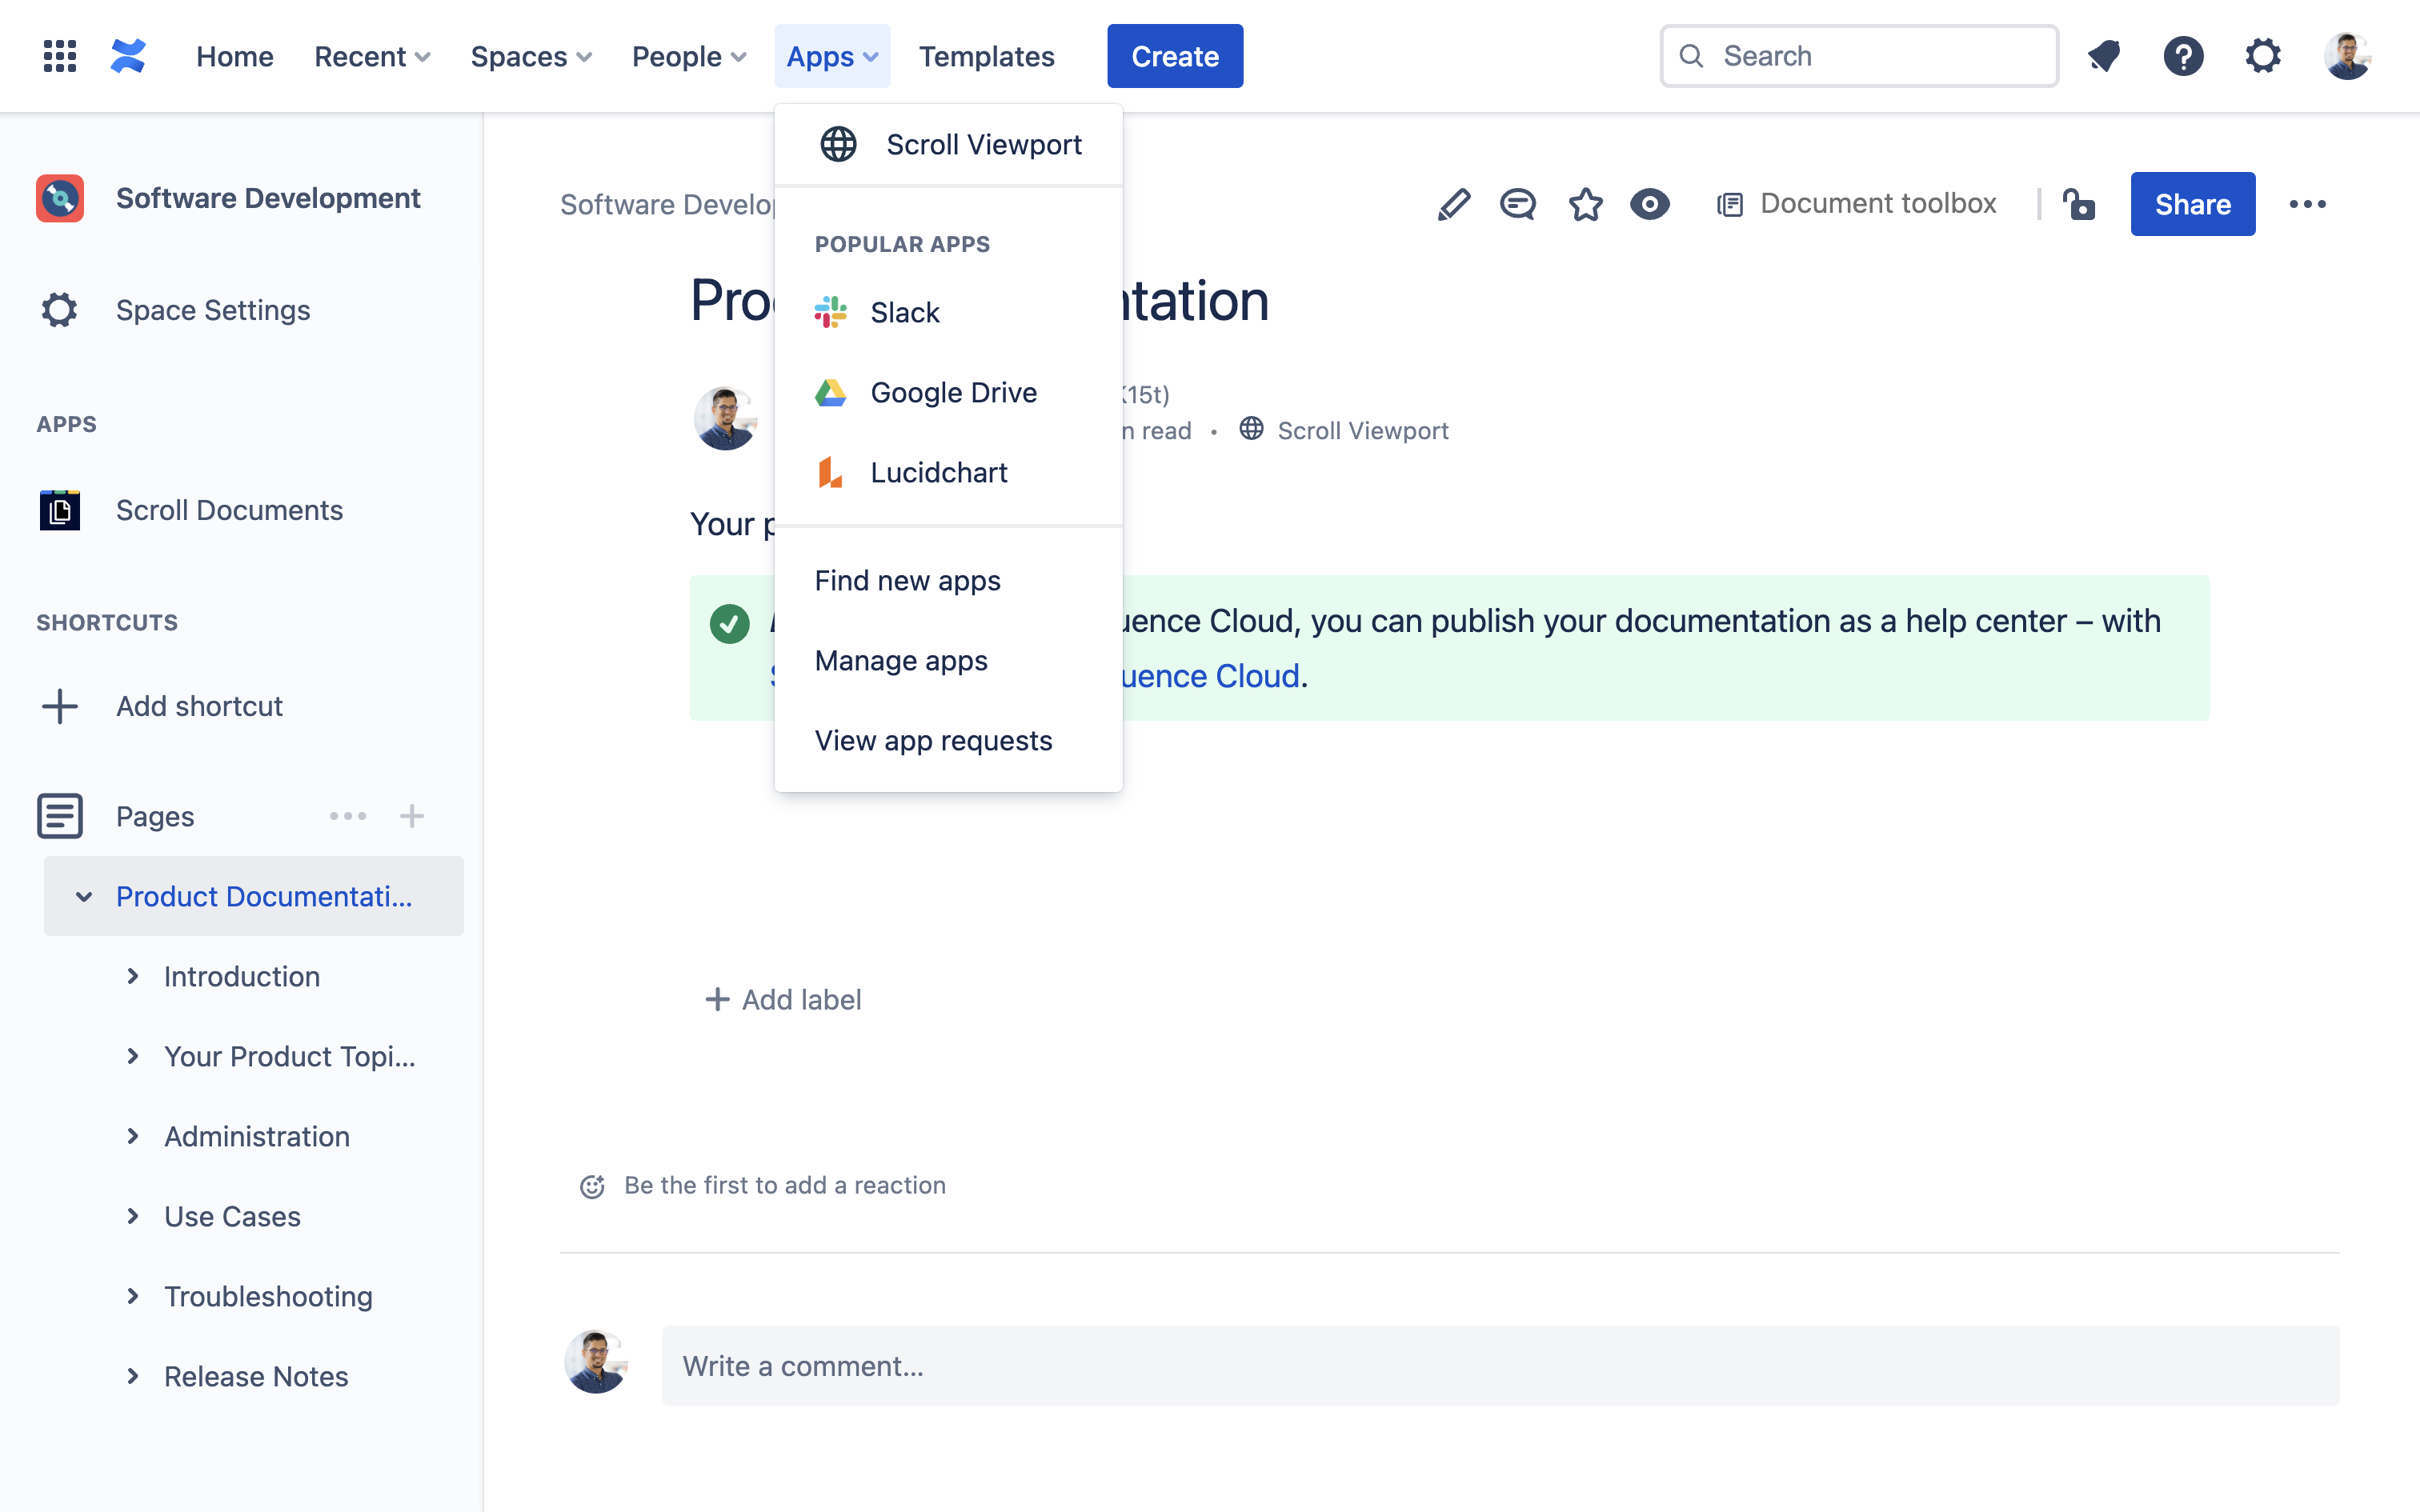
From the Confluence menu, click Apps → Scroll Sites. |
|
|
2 |
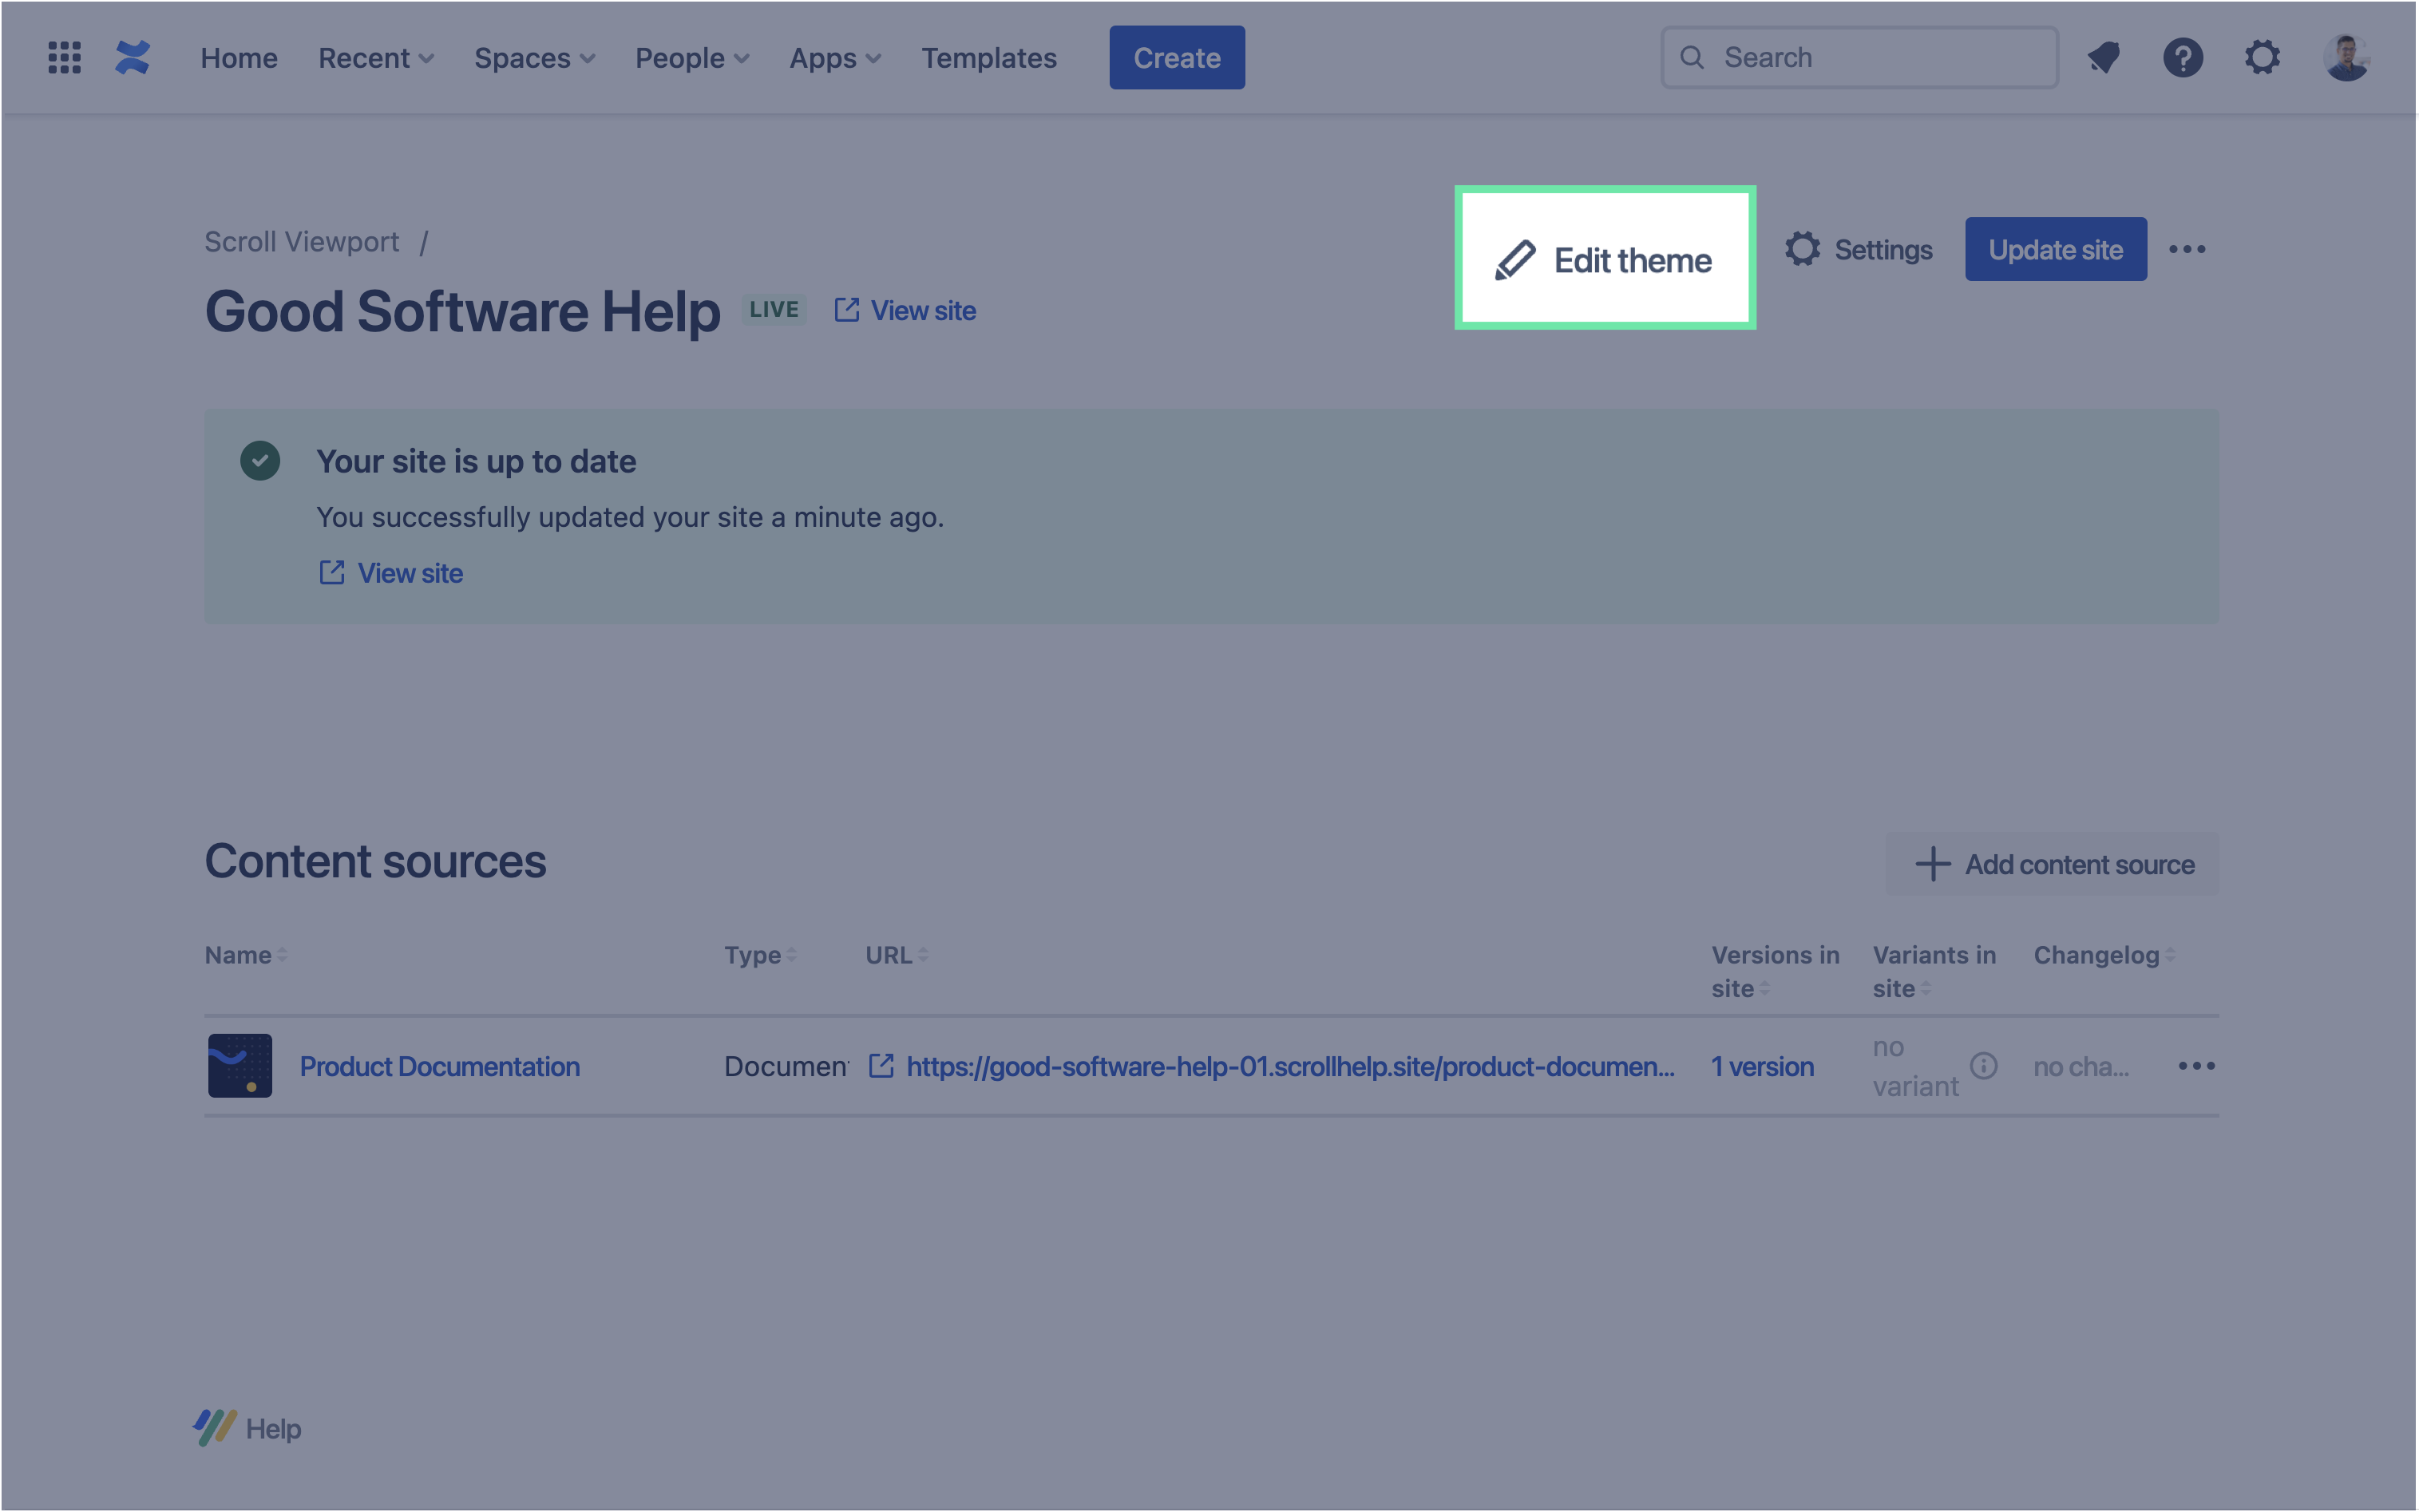
Click Edit theme |
|
|
3 |
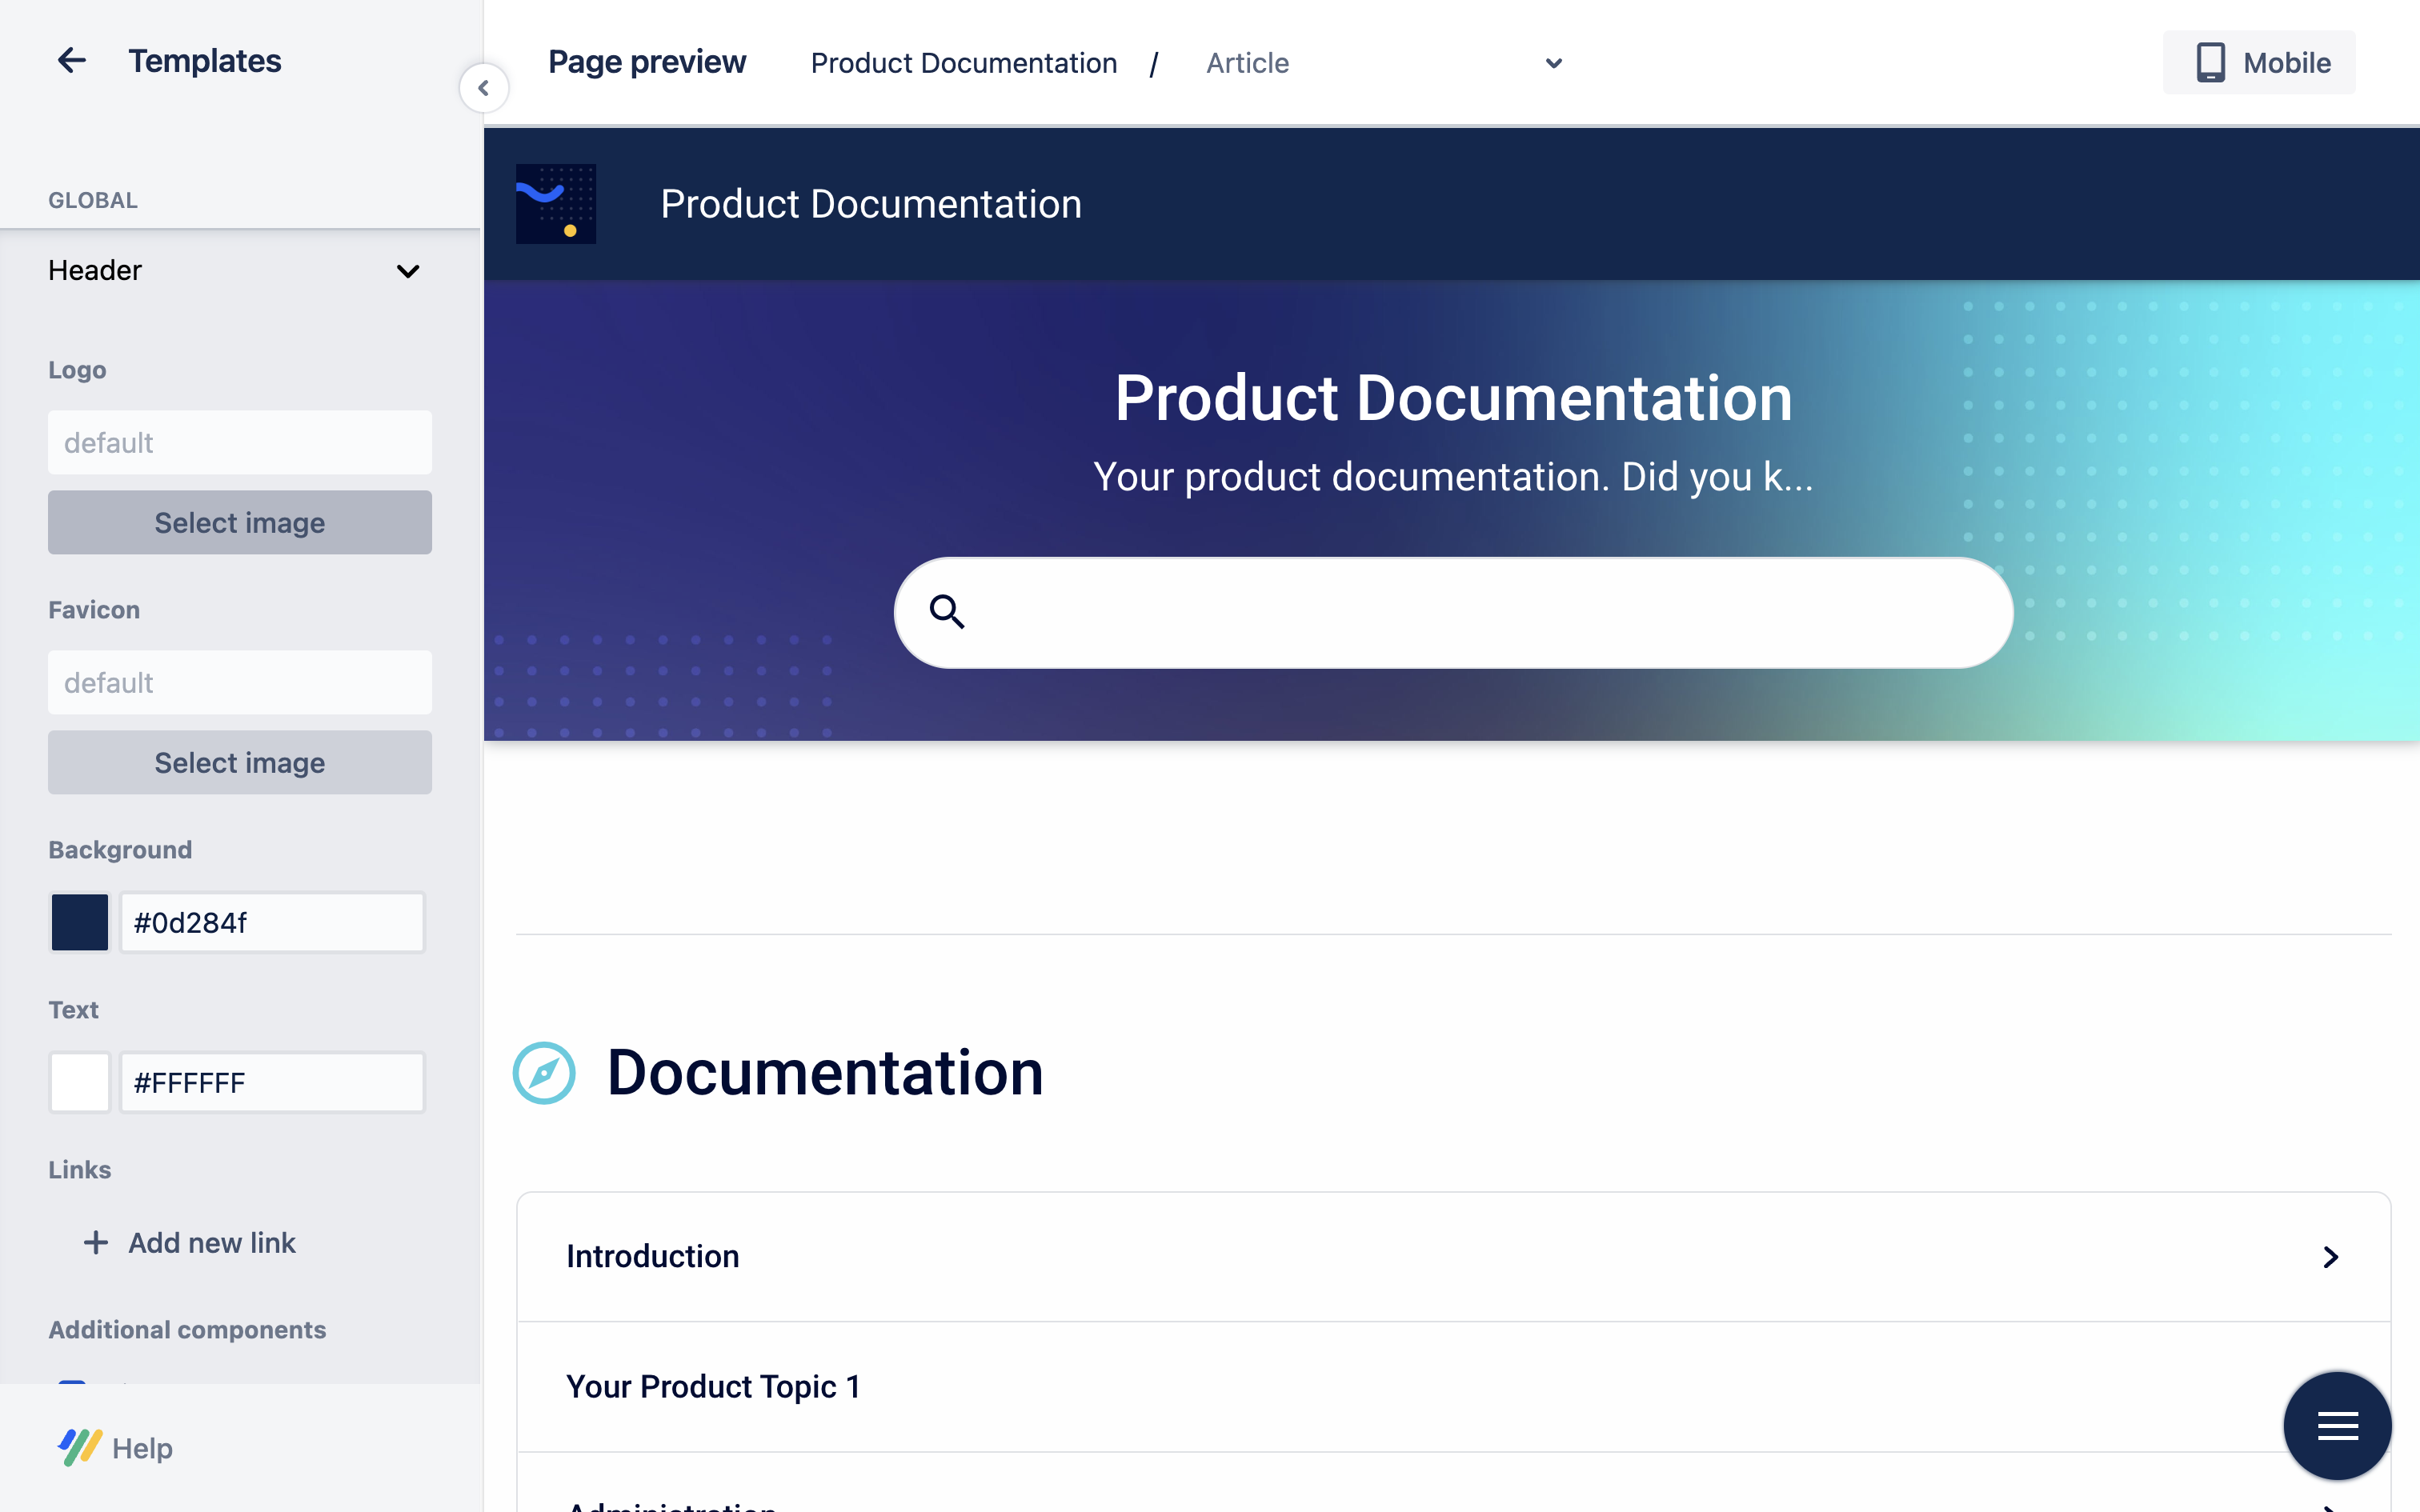
Now, you are in the Theme editor. To start customizing the look and feel of the theme, click Templates. |

|
|
4 |
The theme editor has two primary sections -
ℹ️ Info: The site preview on the right will refresh automatically every time you change any of the settings on the left. |

|
Customize the site header
|
1 |
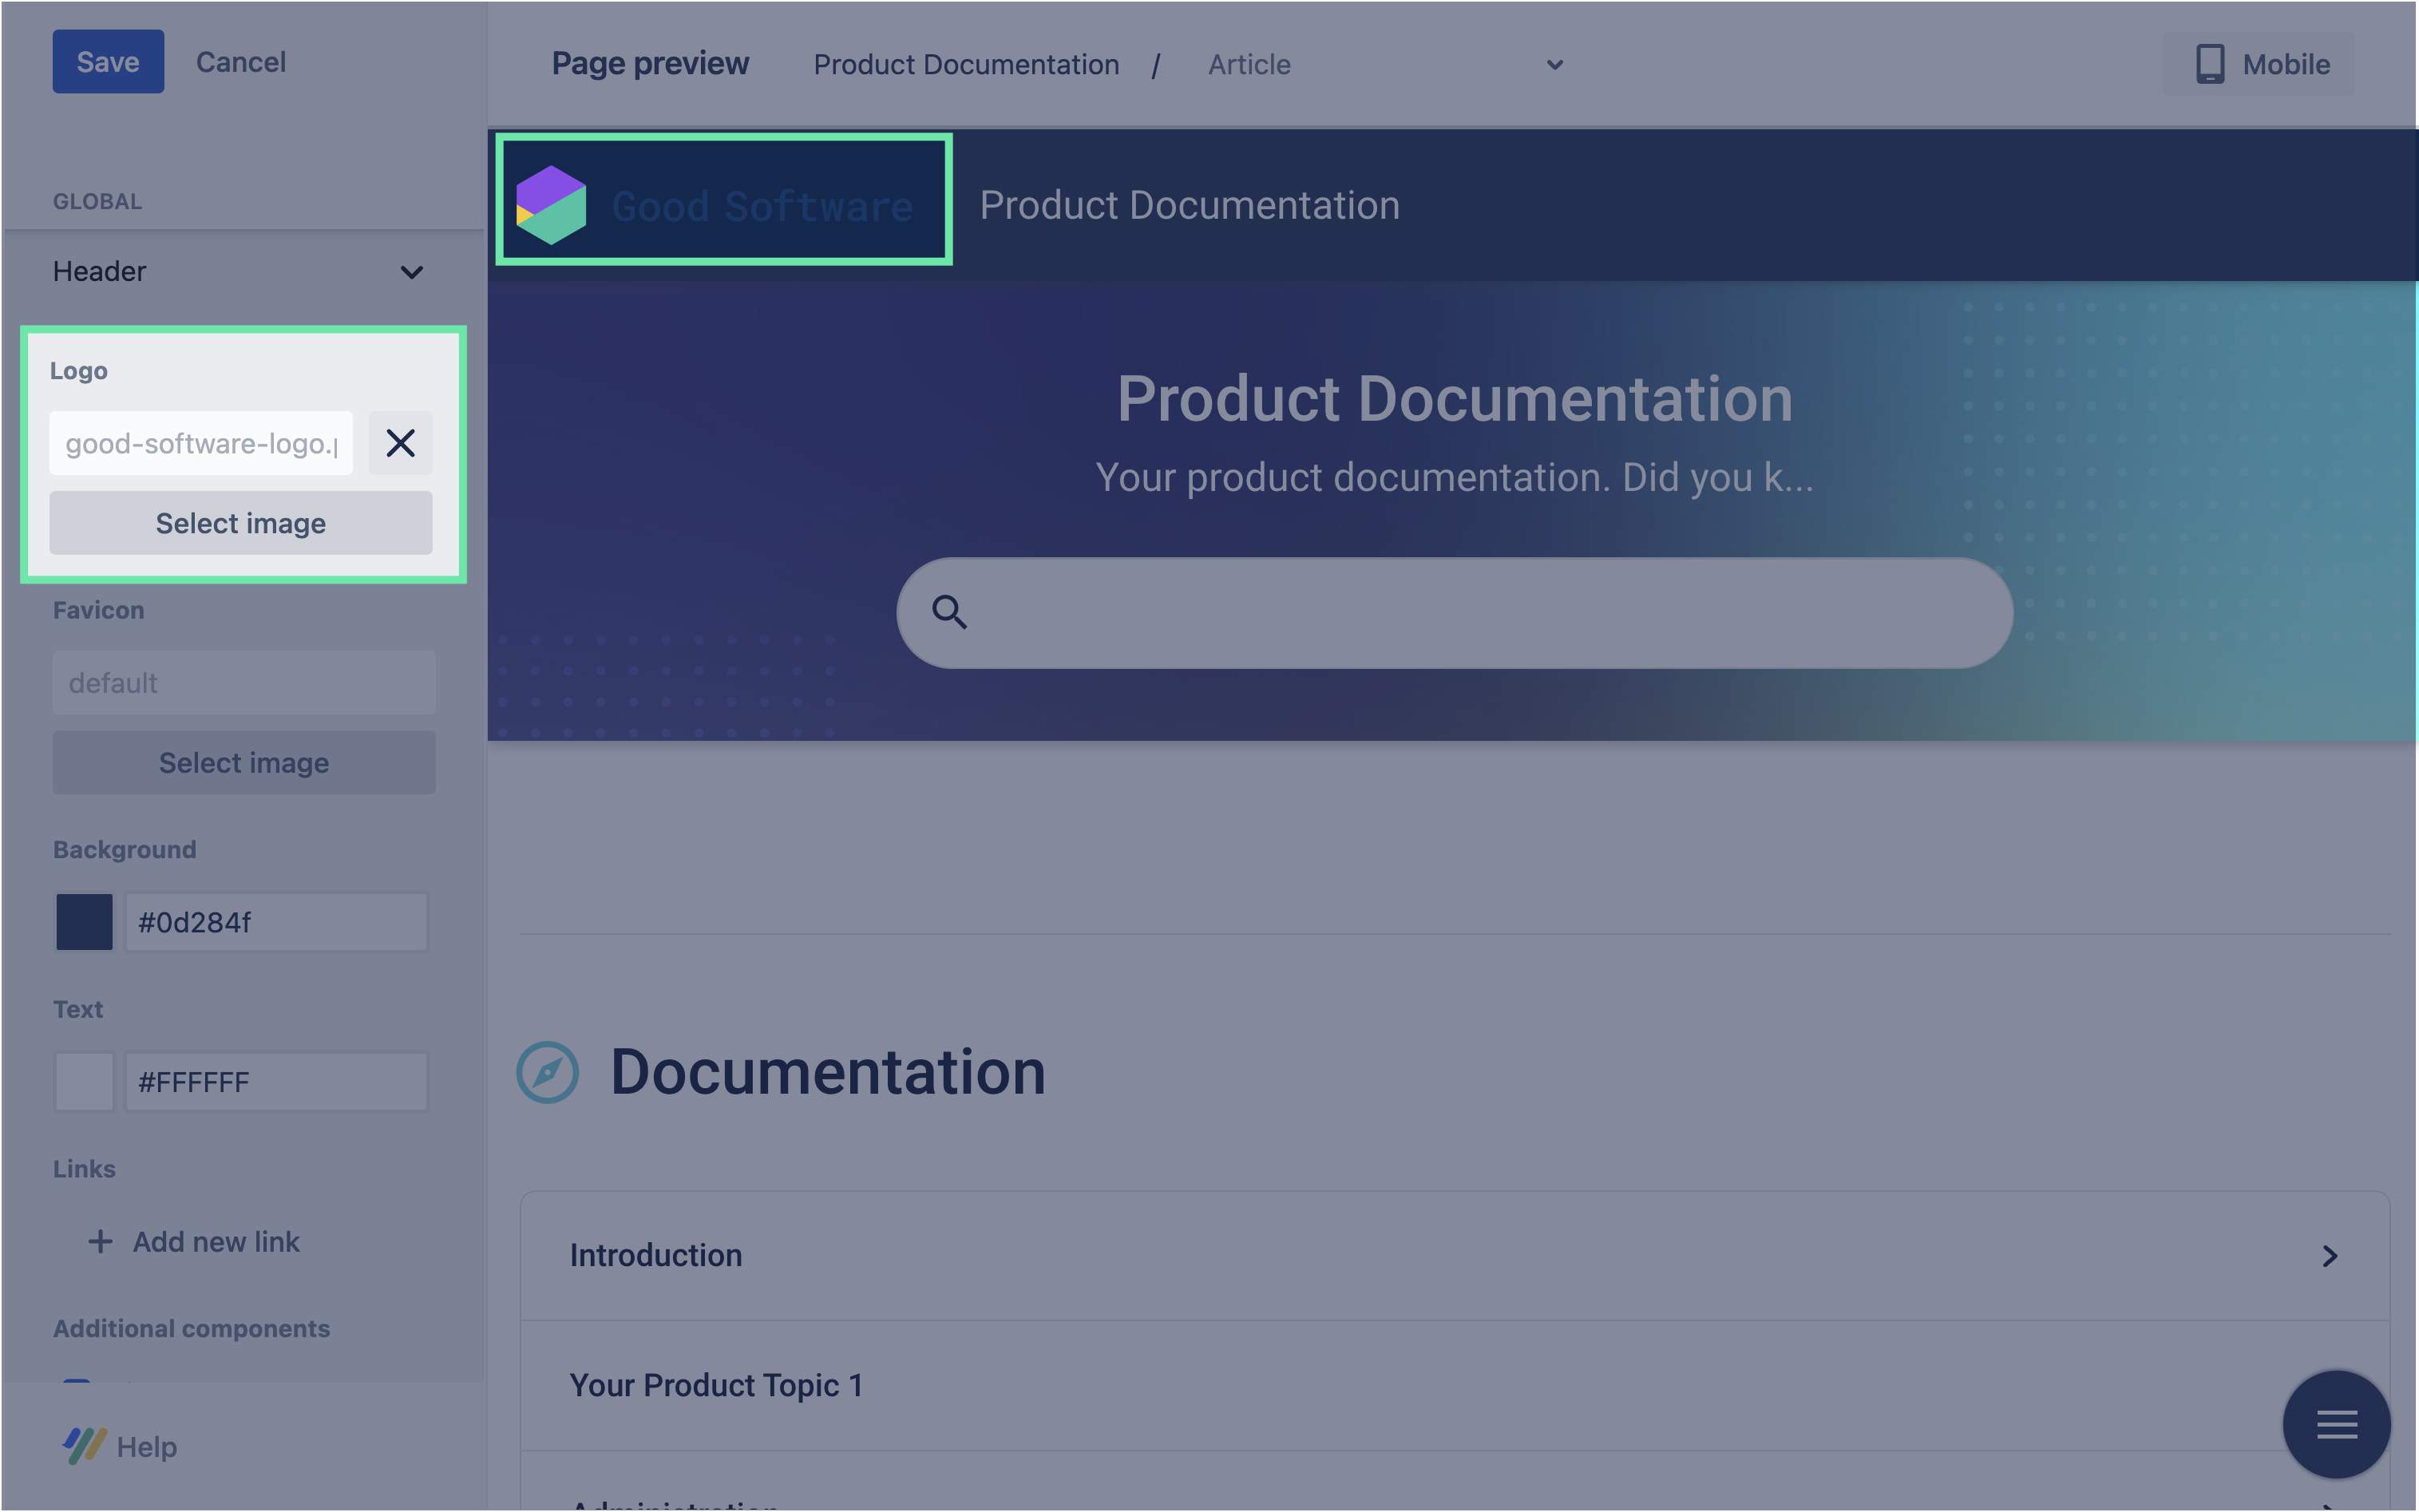
To start customizing the site header, click to expand the Header panel. |
|
|
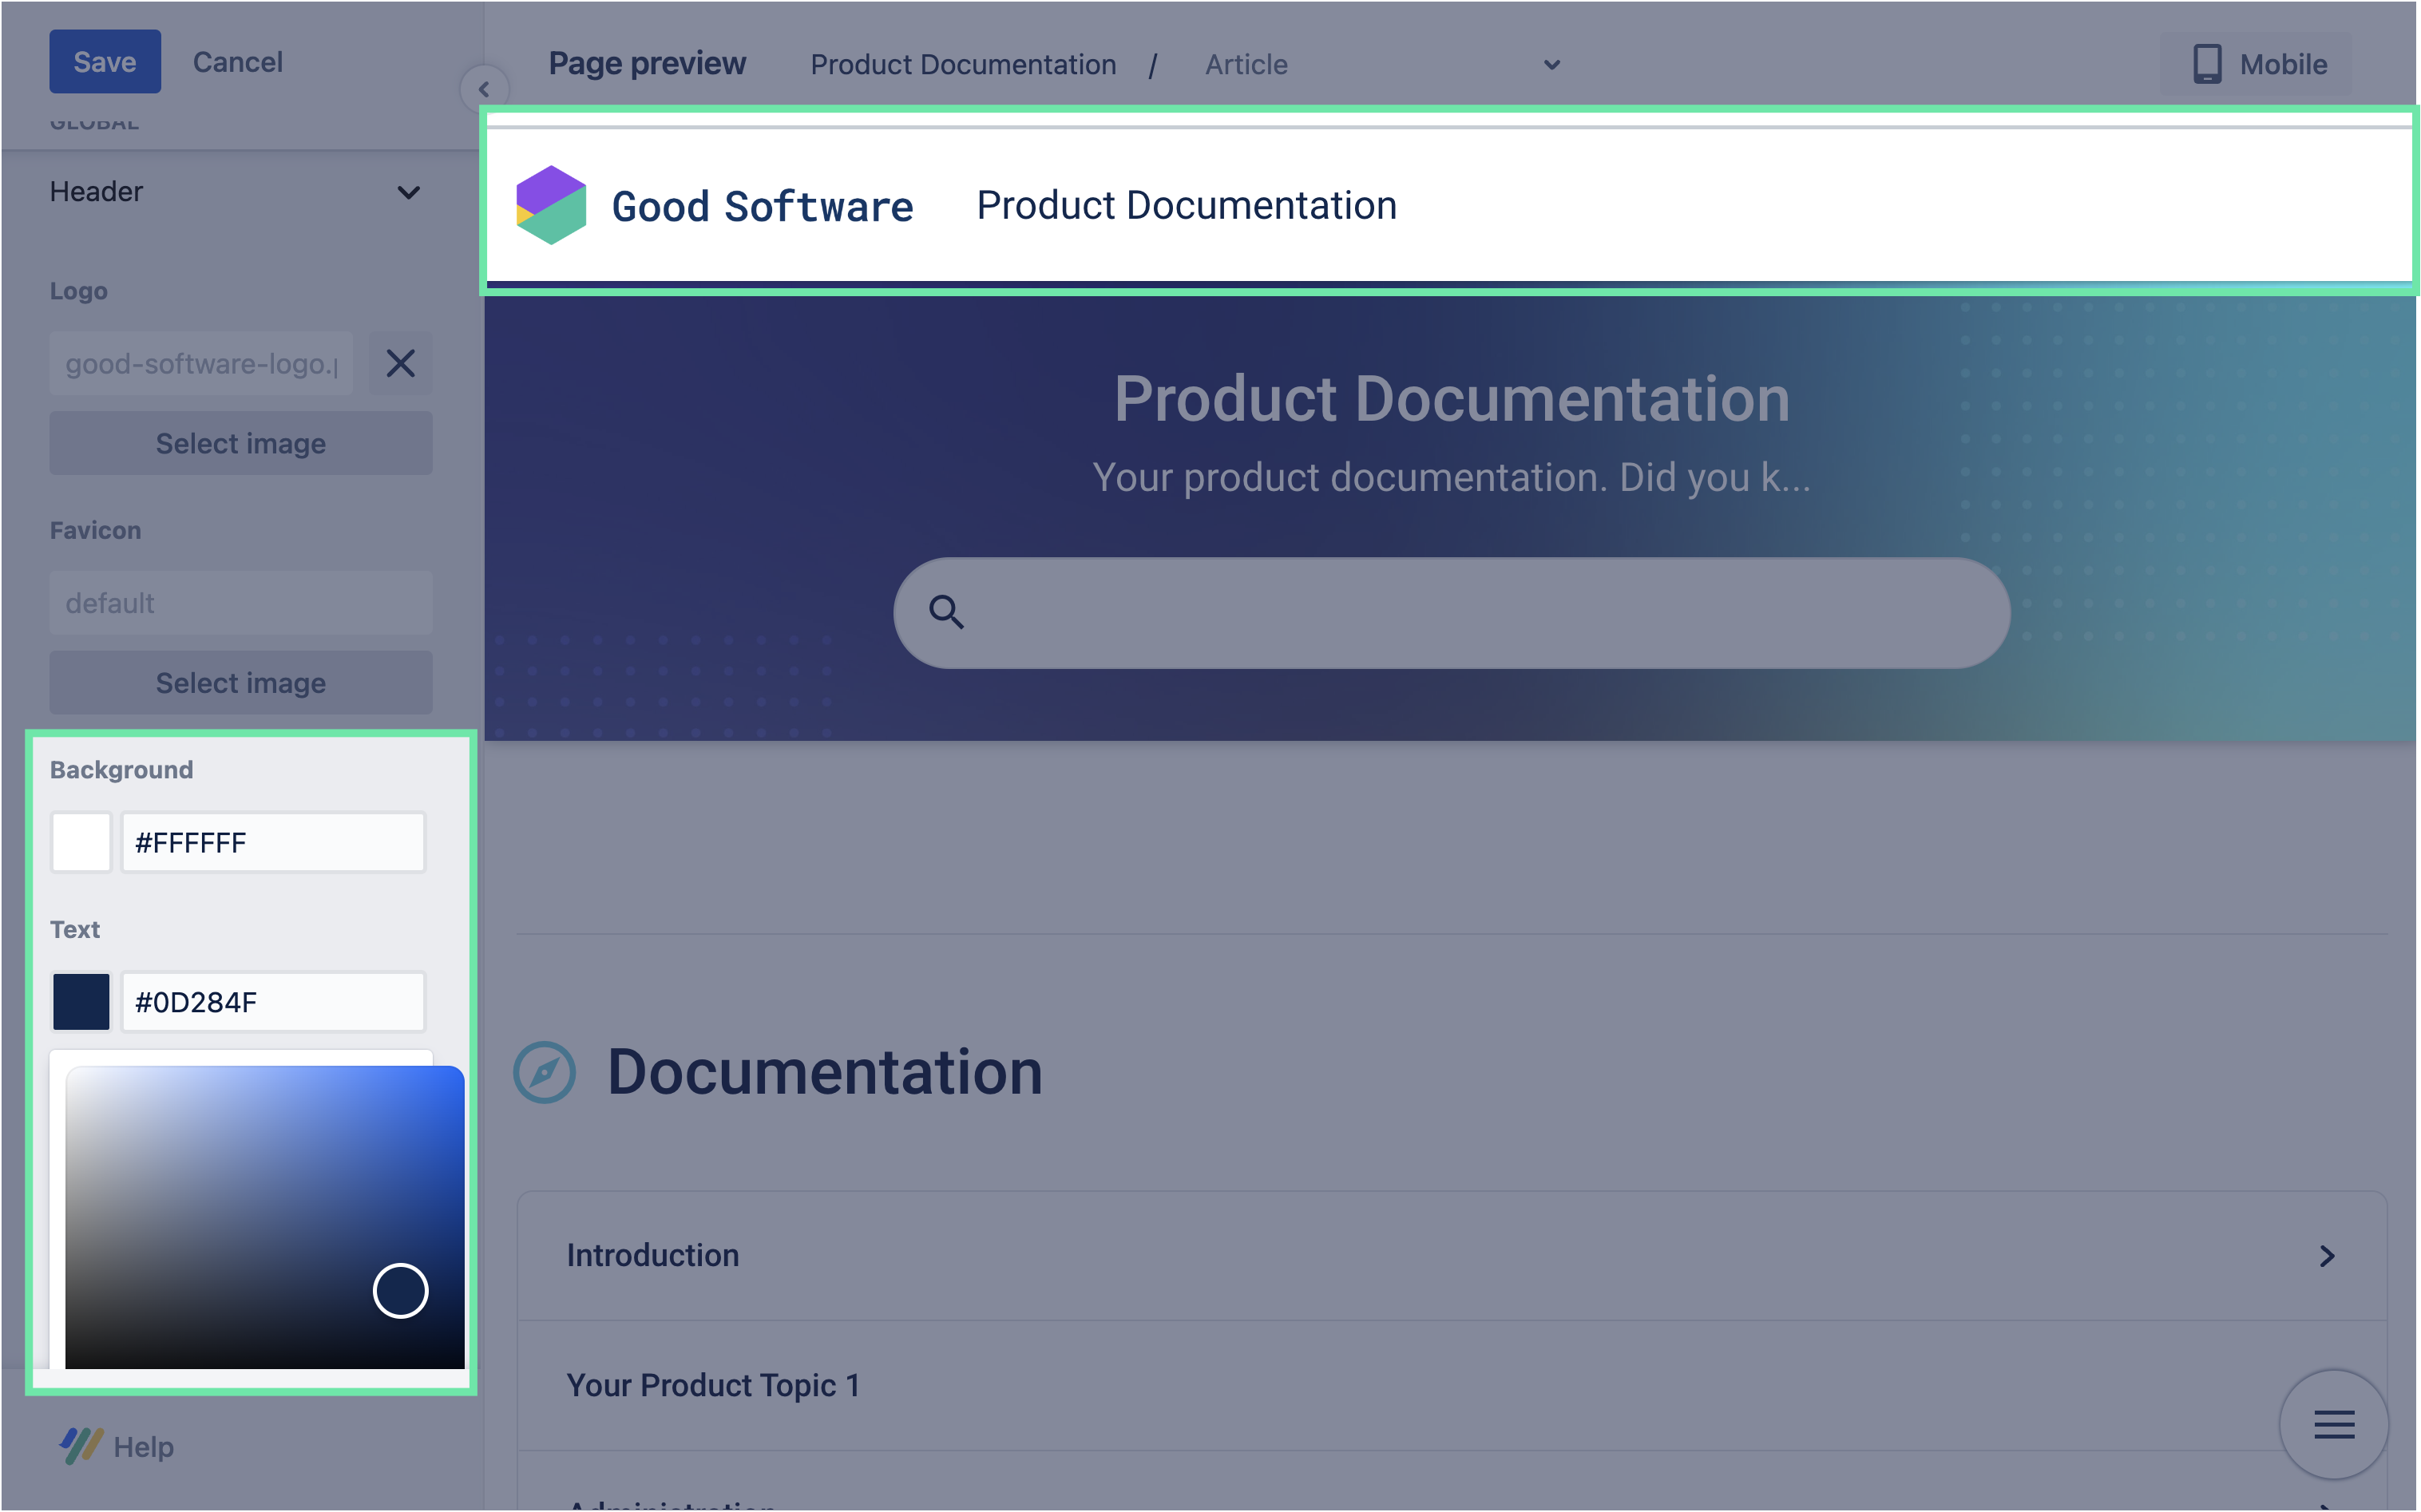
2 |
Add your own site logo
|
|
|
3 |
Update the background and text color
|
|
|
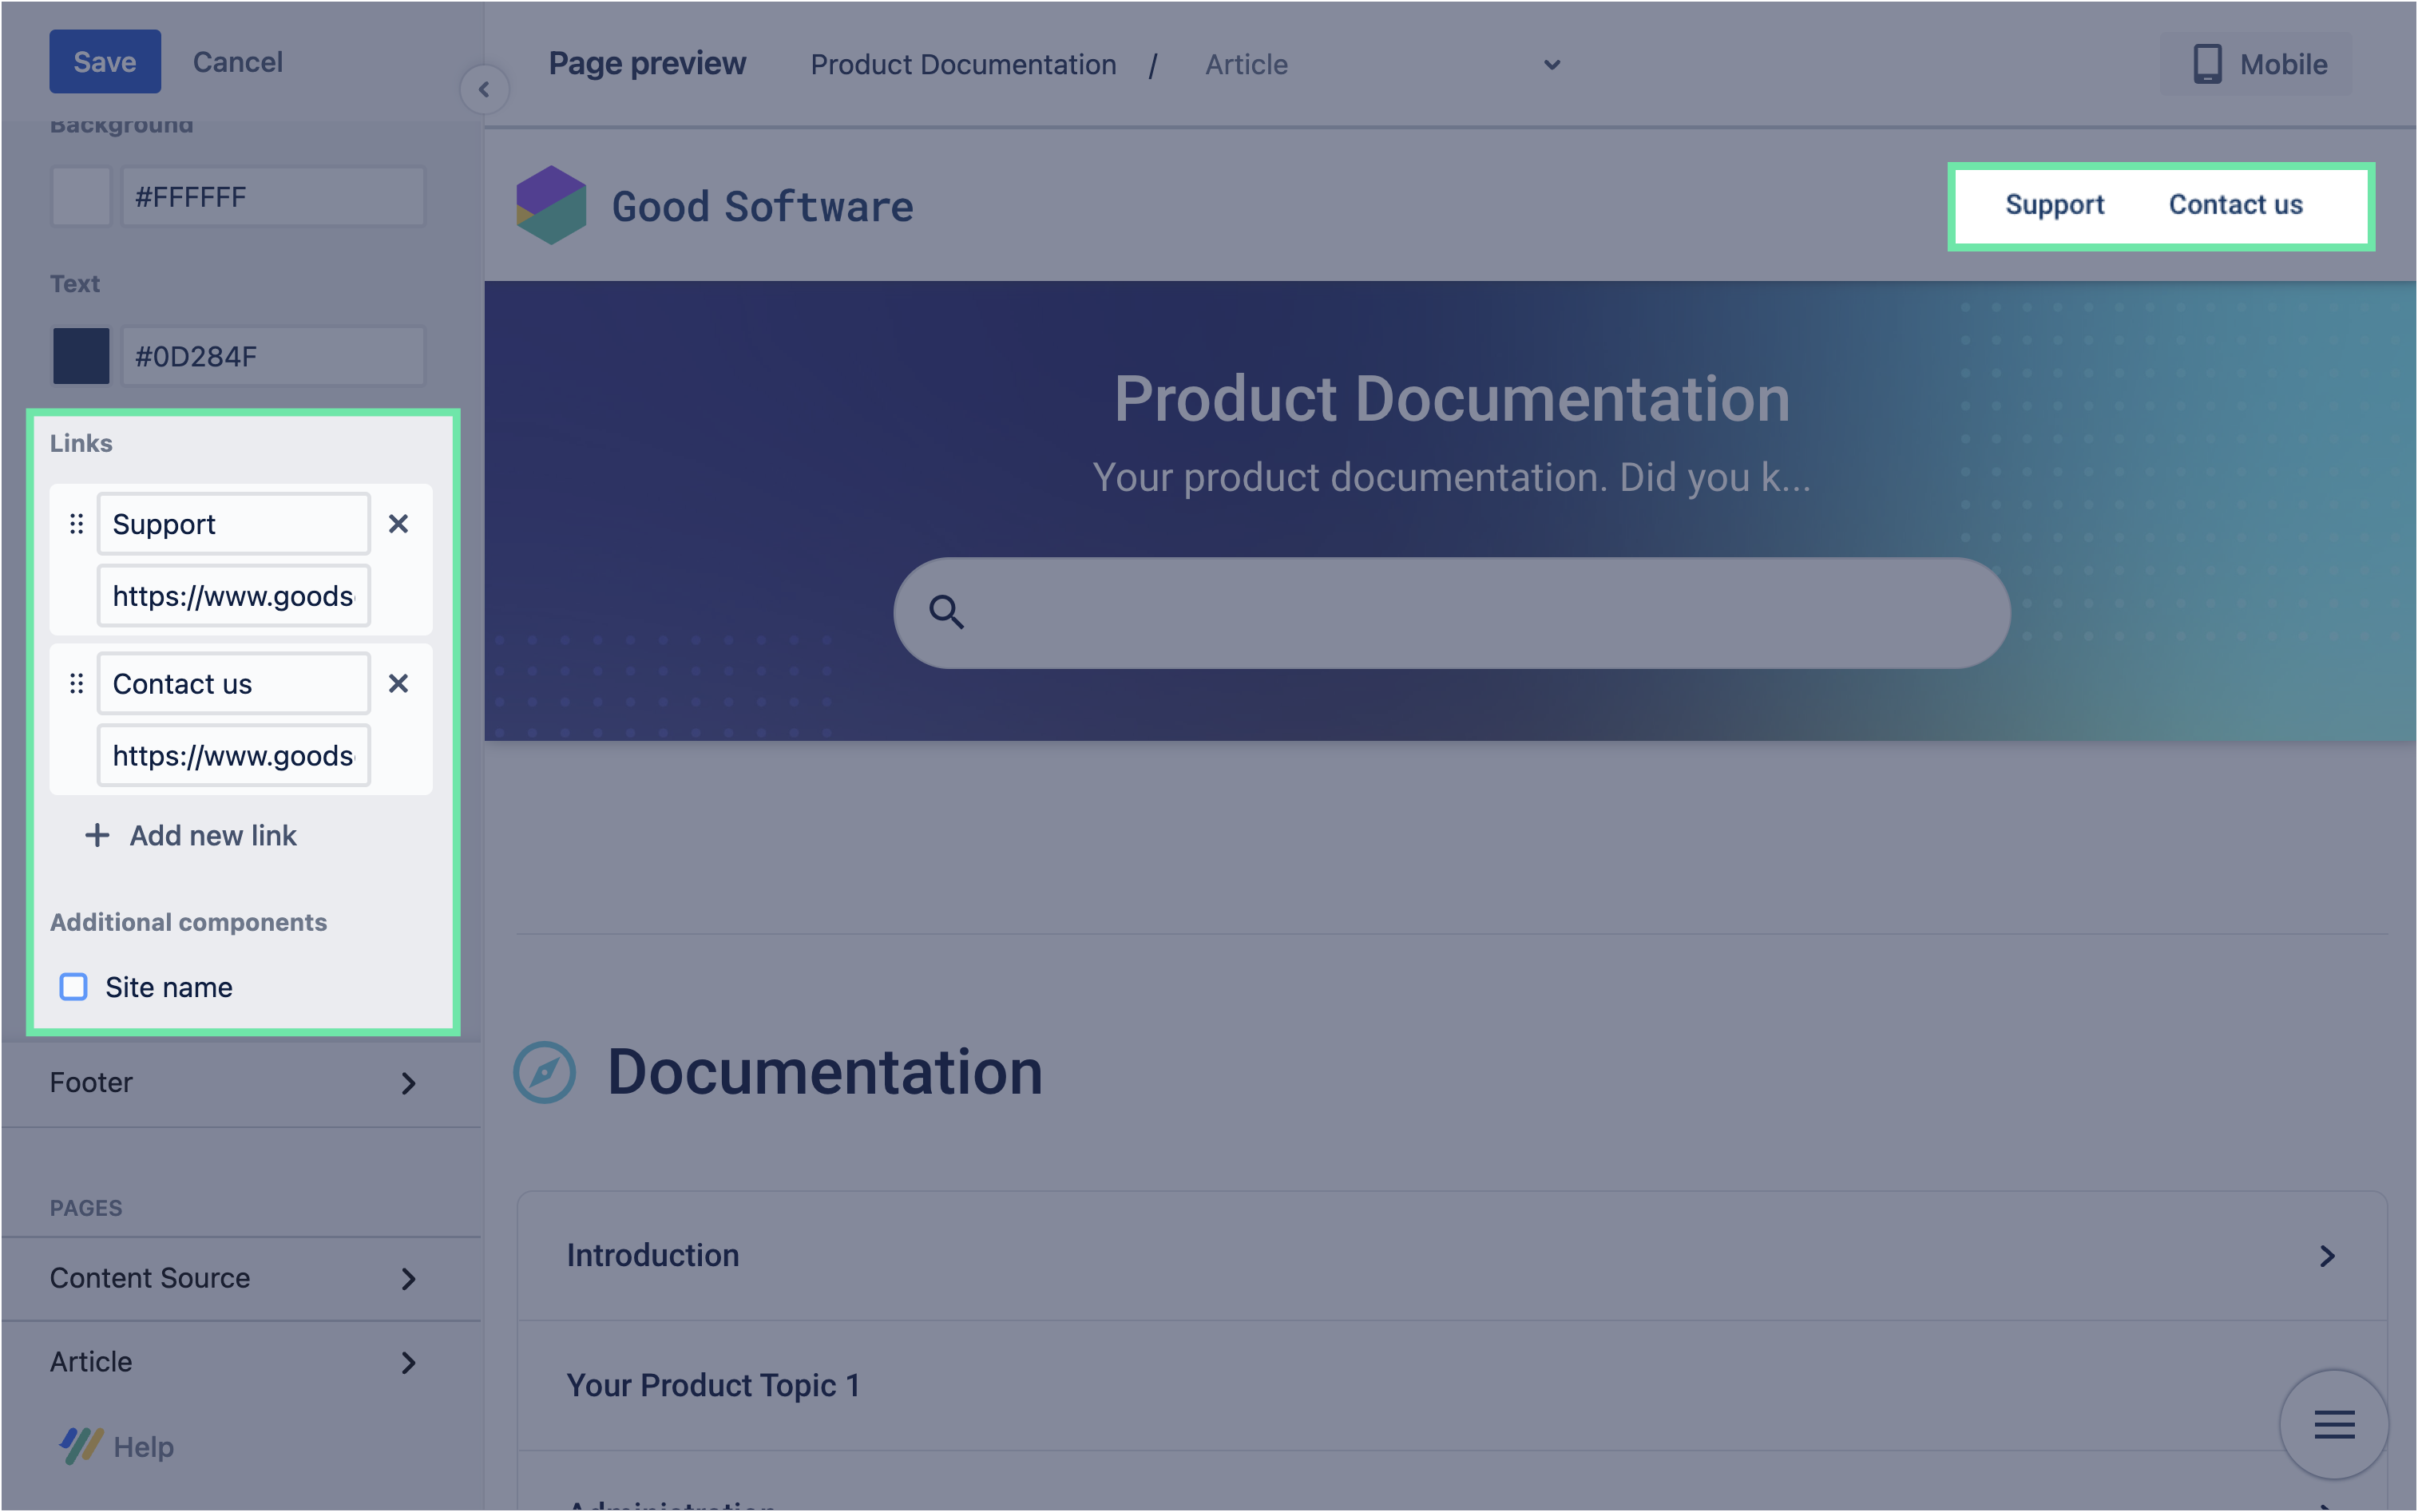
4 |
Add navigation links
Optionally, uncheck Site name to hide it from the header. |
|
Customize the site layout
|
1 |
To start customizing the site layout, click to expand the Content Source panel. |
|
|
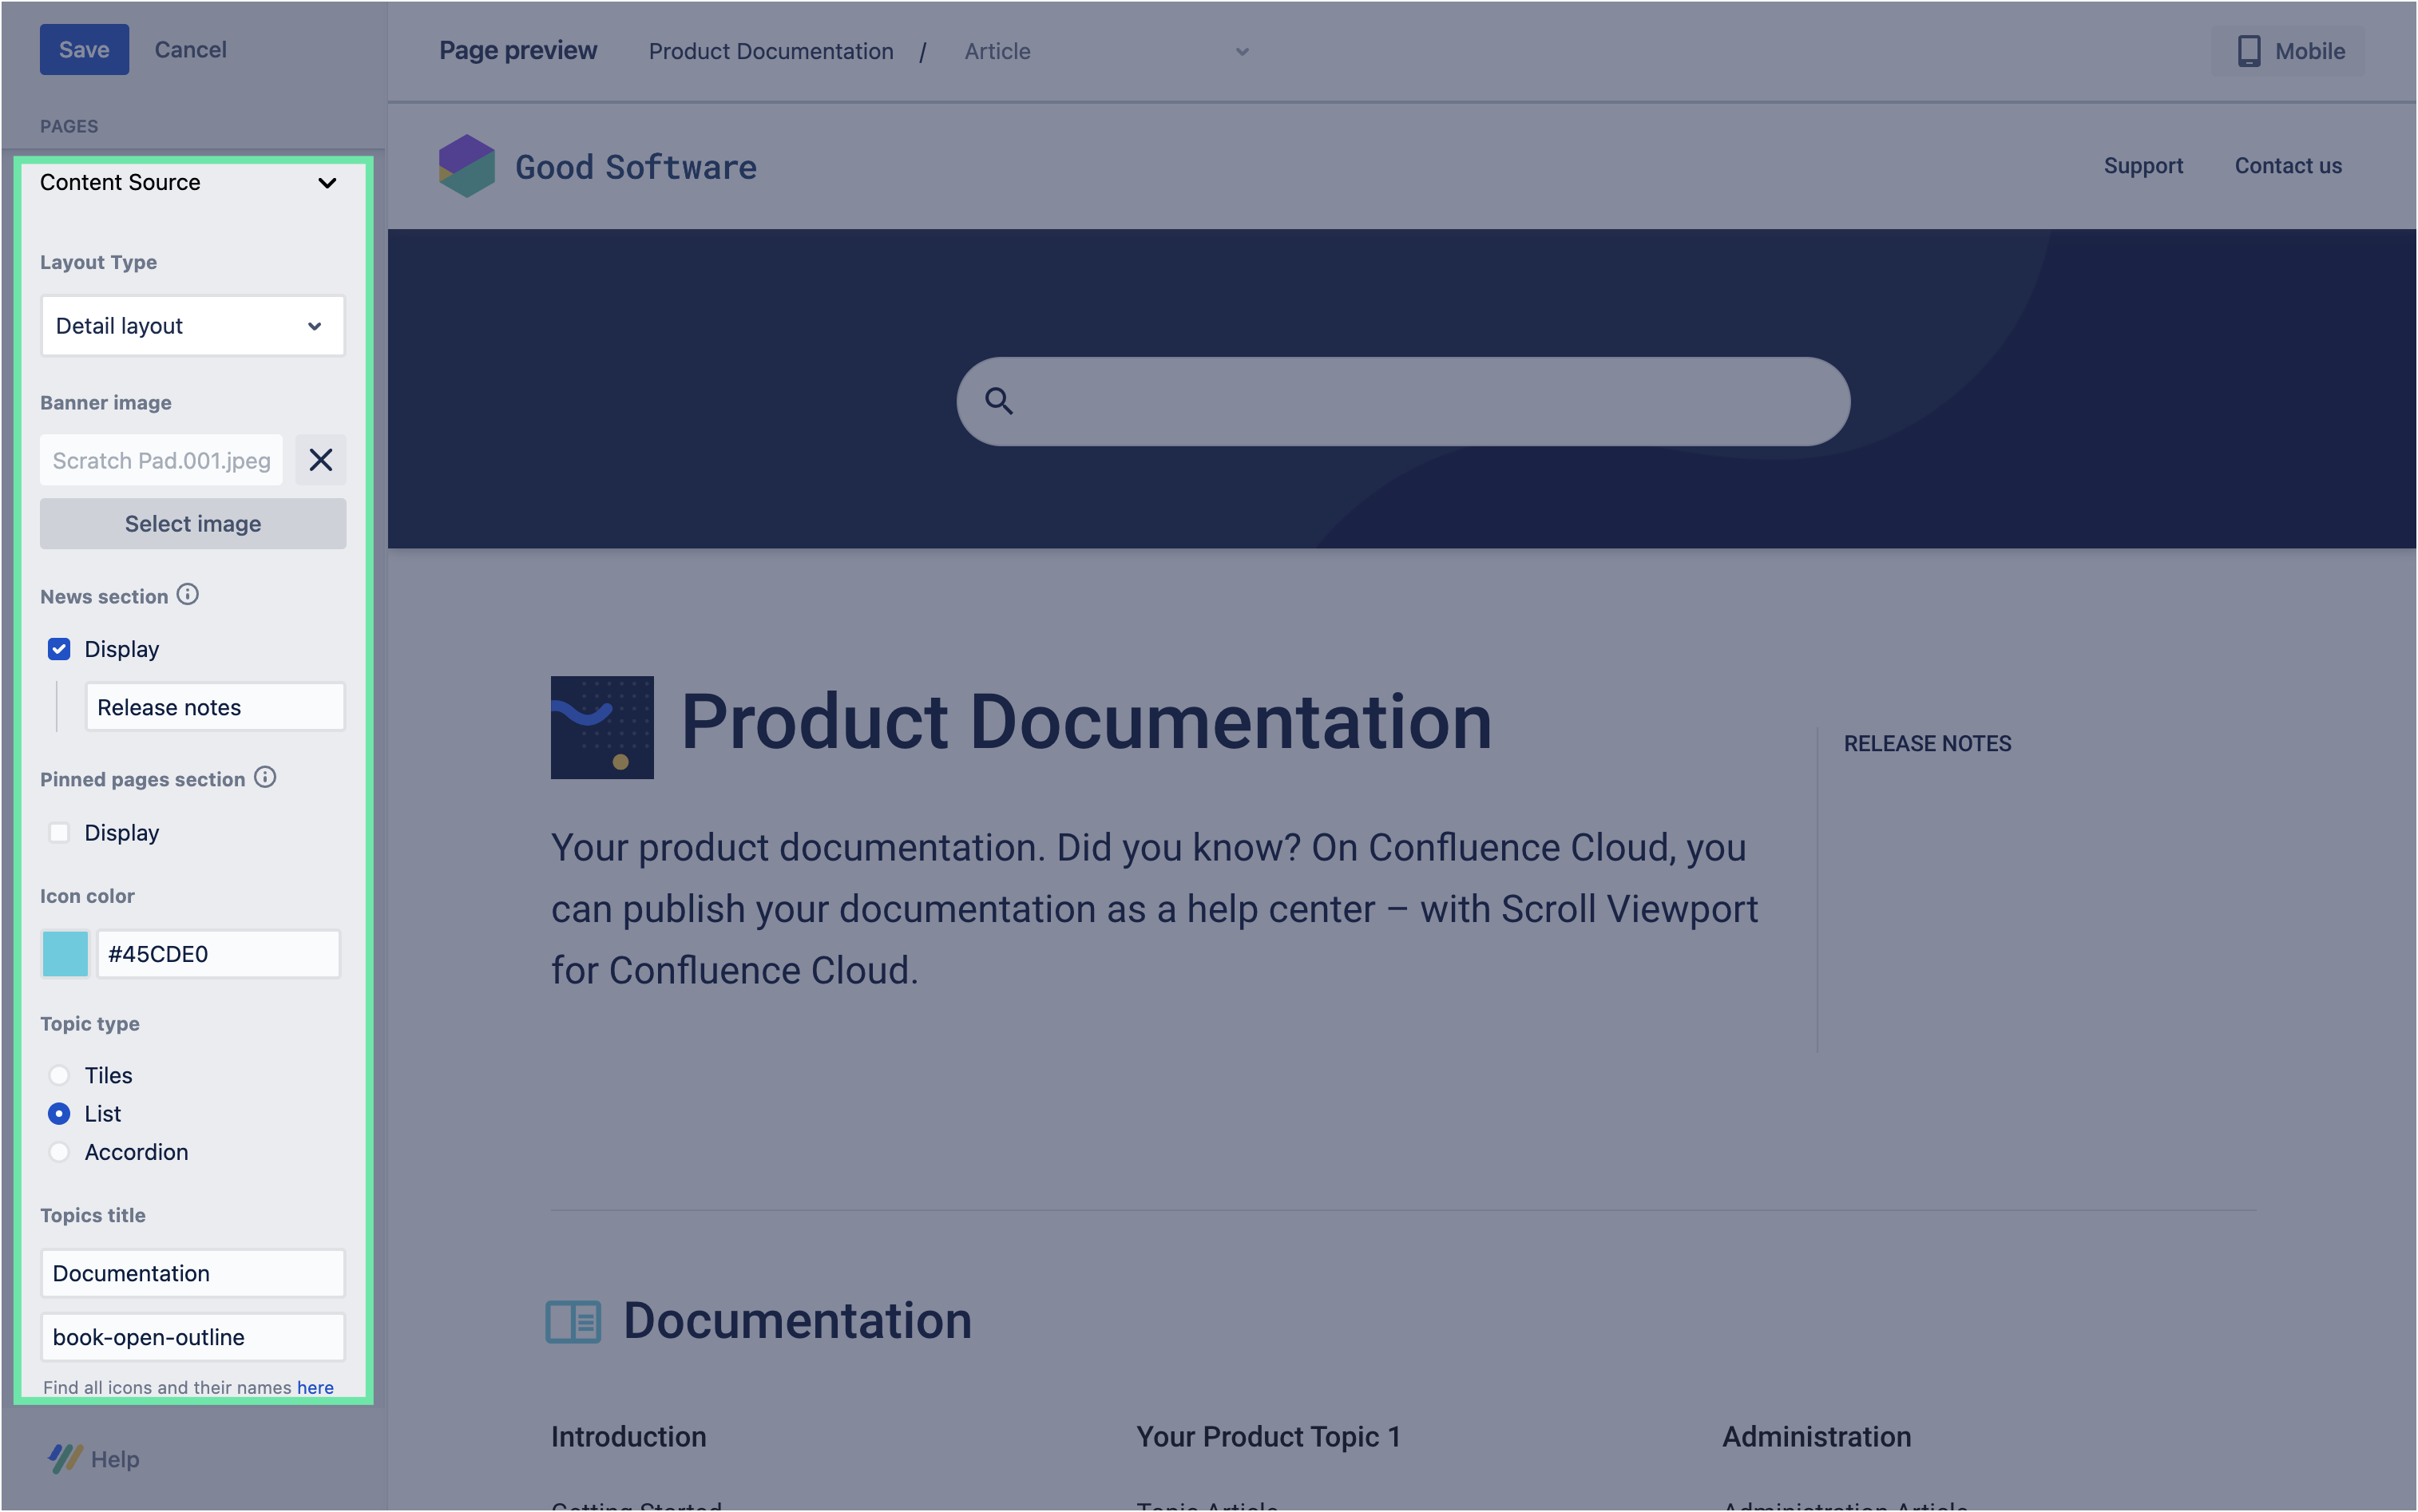
2 |
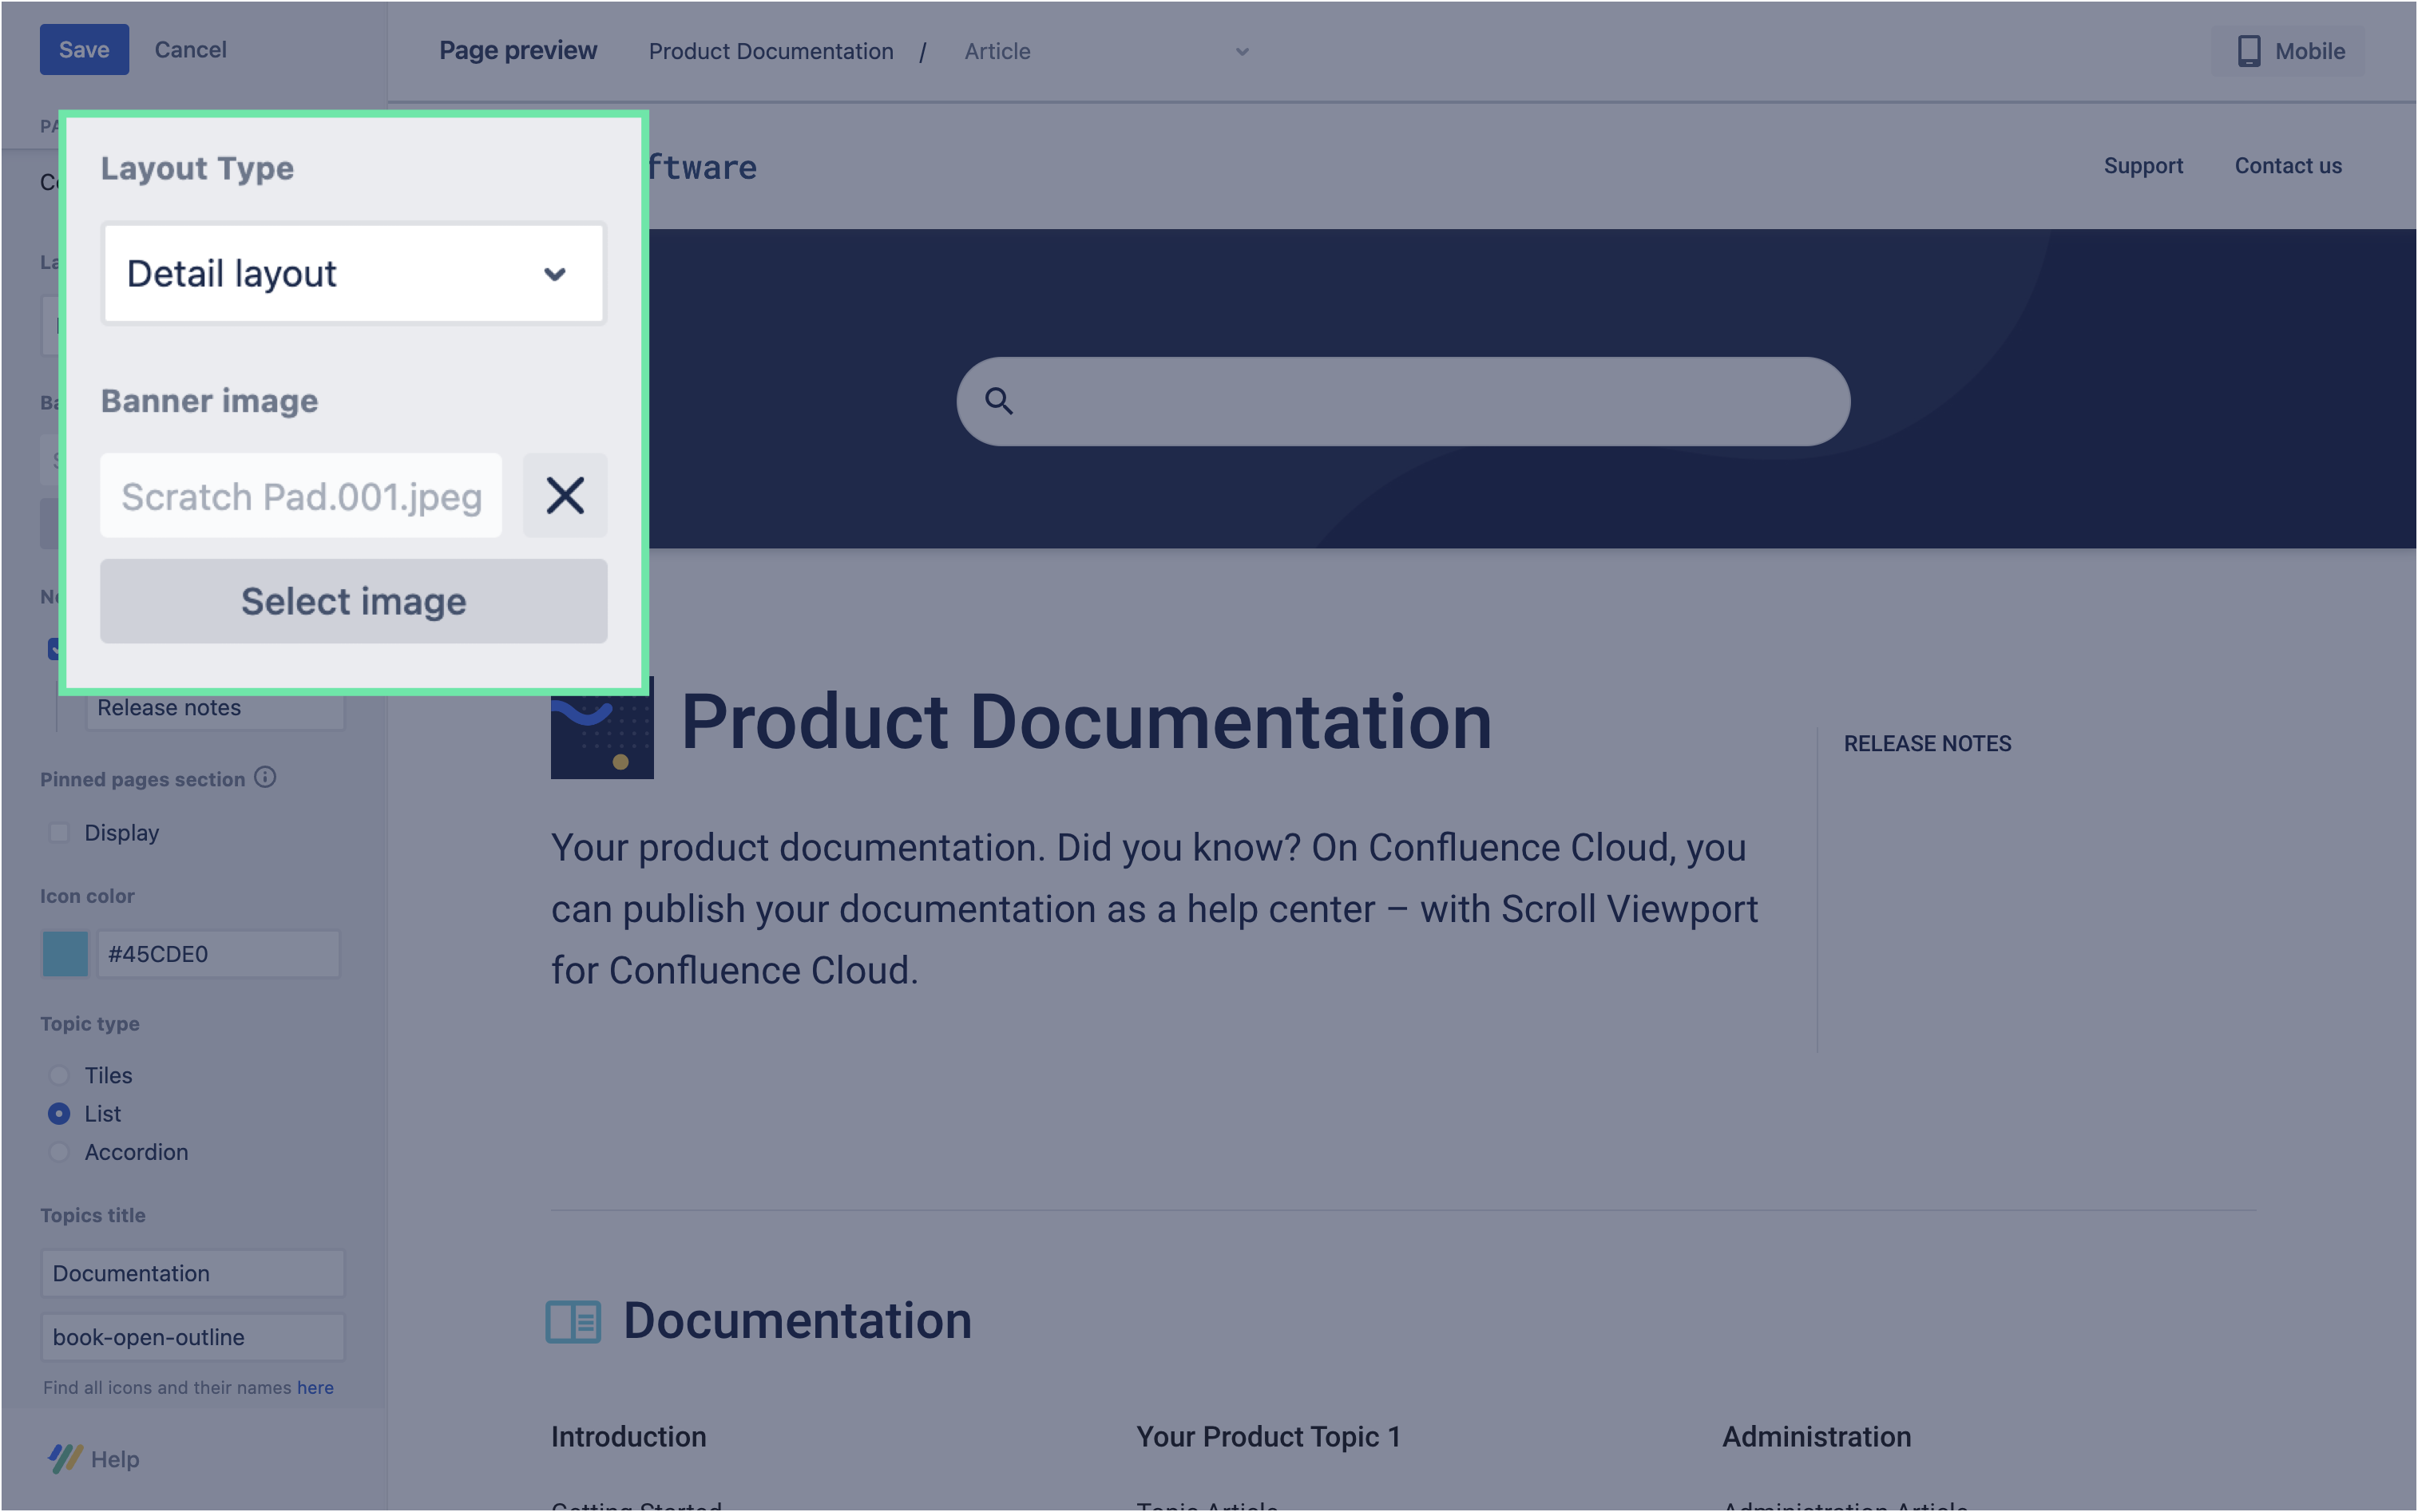
Update the layout type
|
|
|
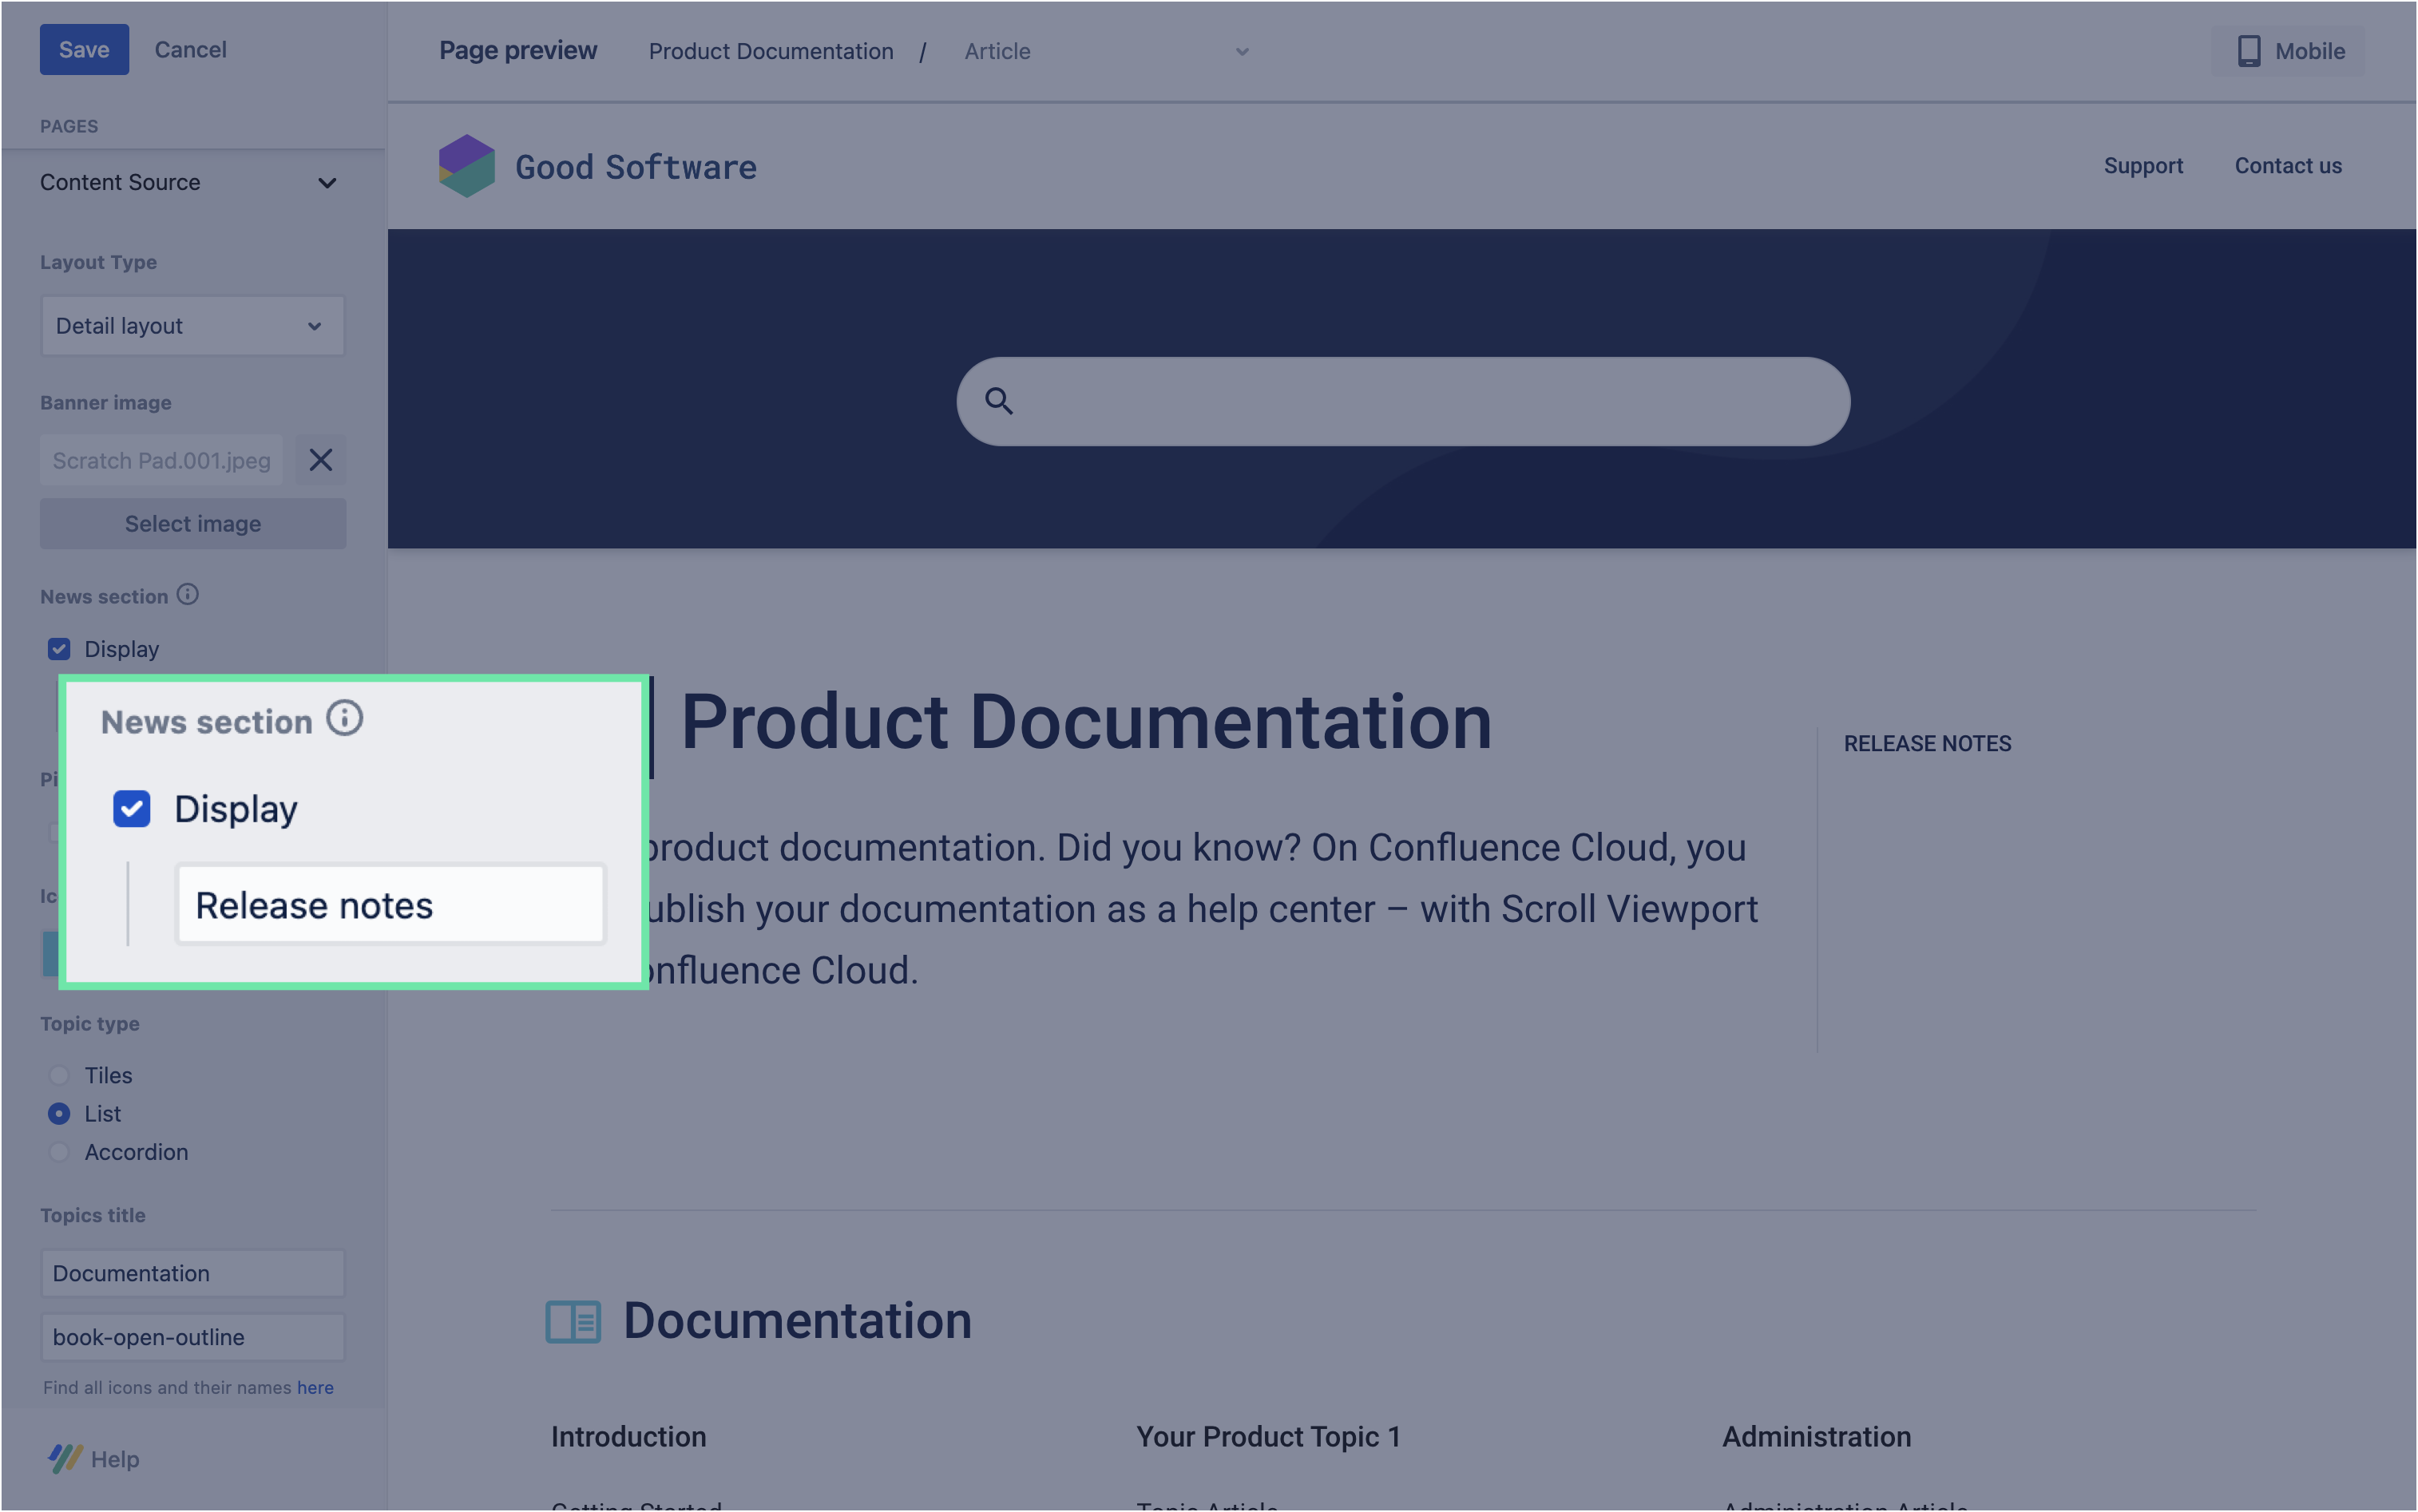
3 |
Add a Release Notes section
ℹ️ Info: Once the preview reloads you will notice that the release notes section is empty. We will add the release notes in the next tutorial. |
|
|
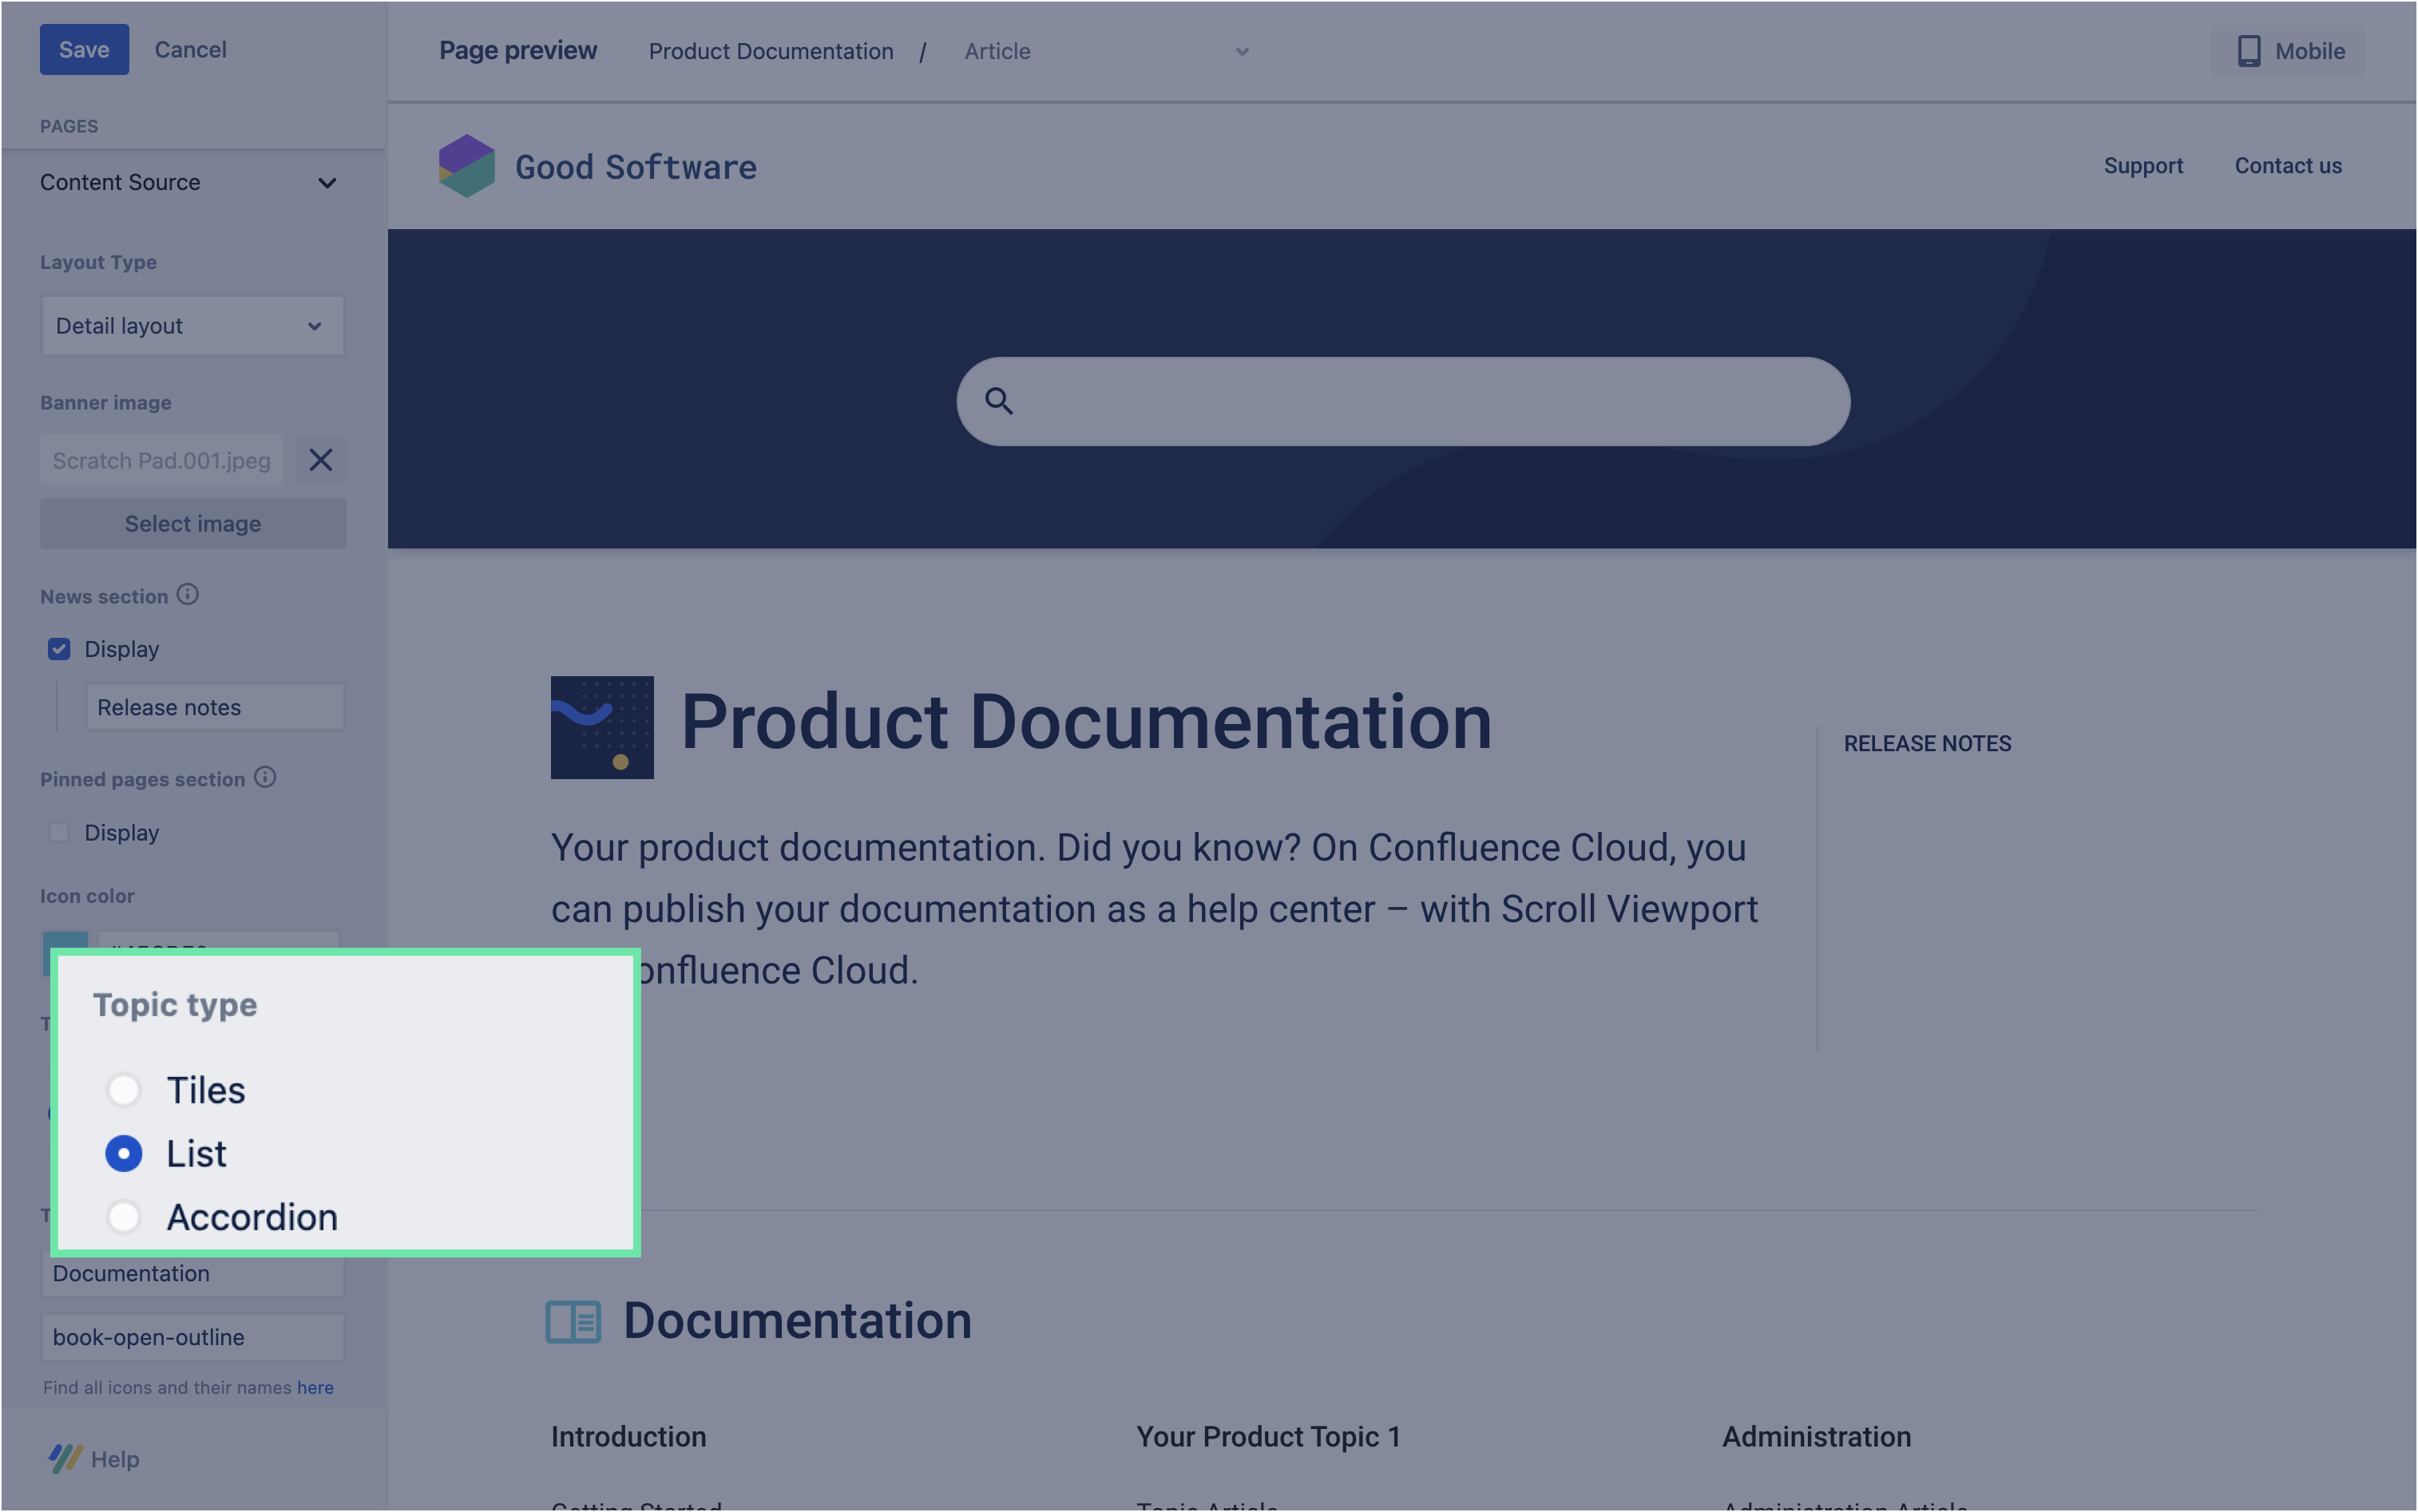
4 |
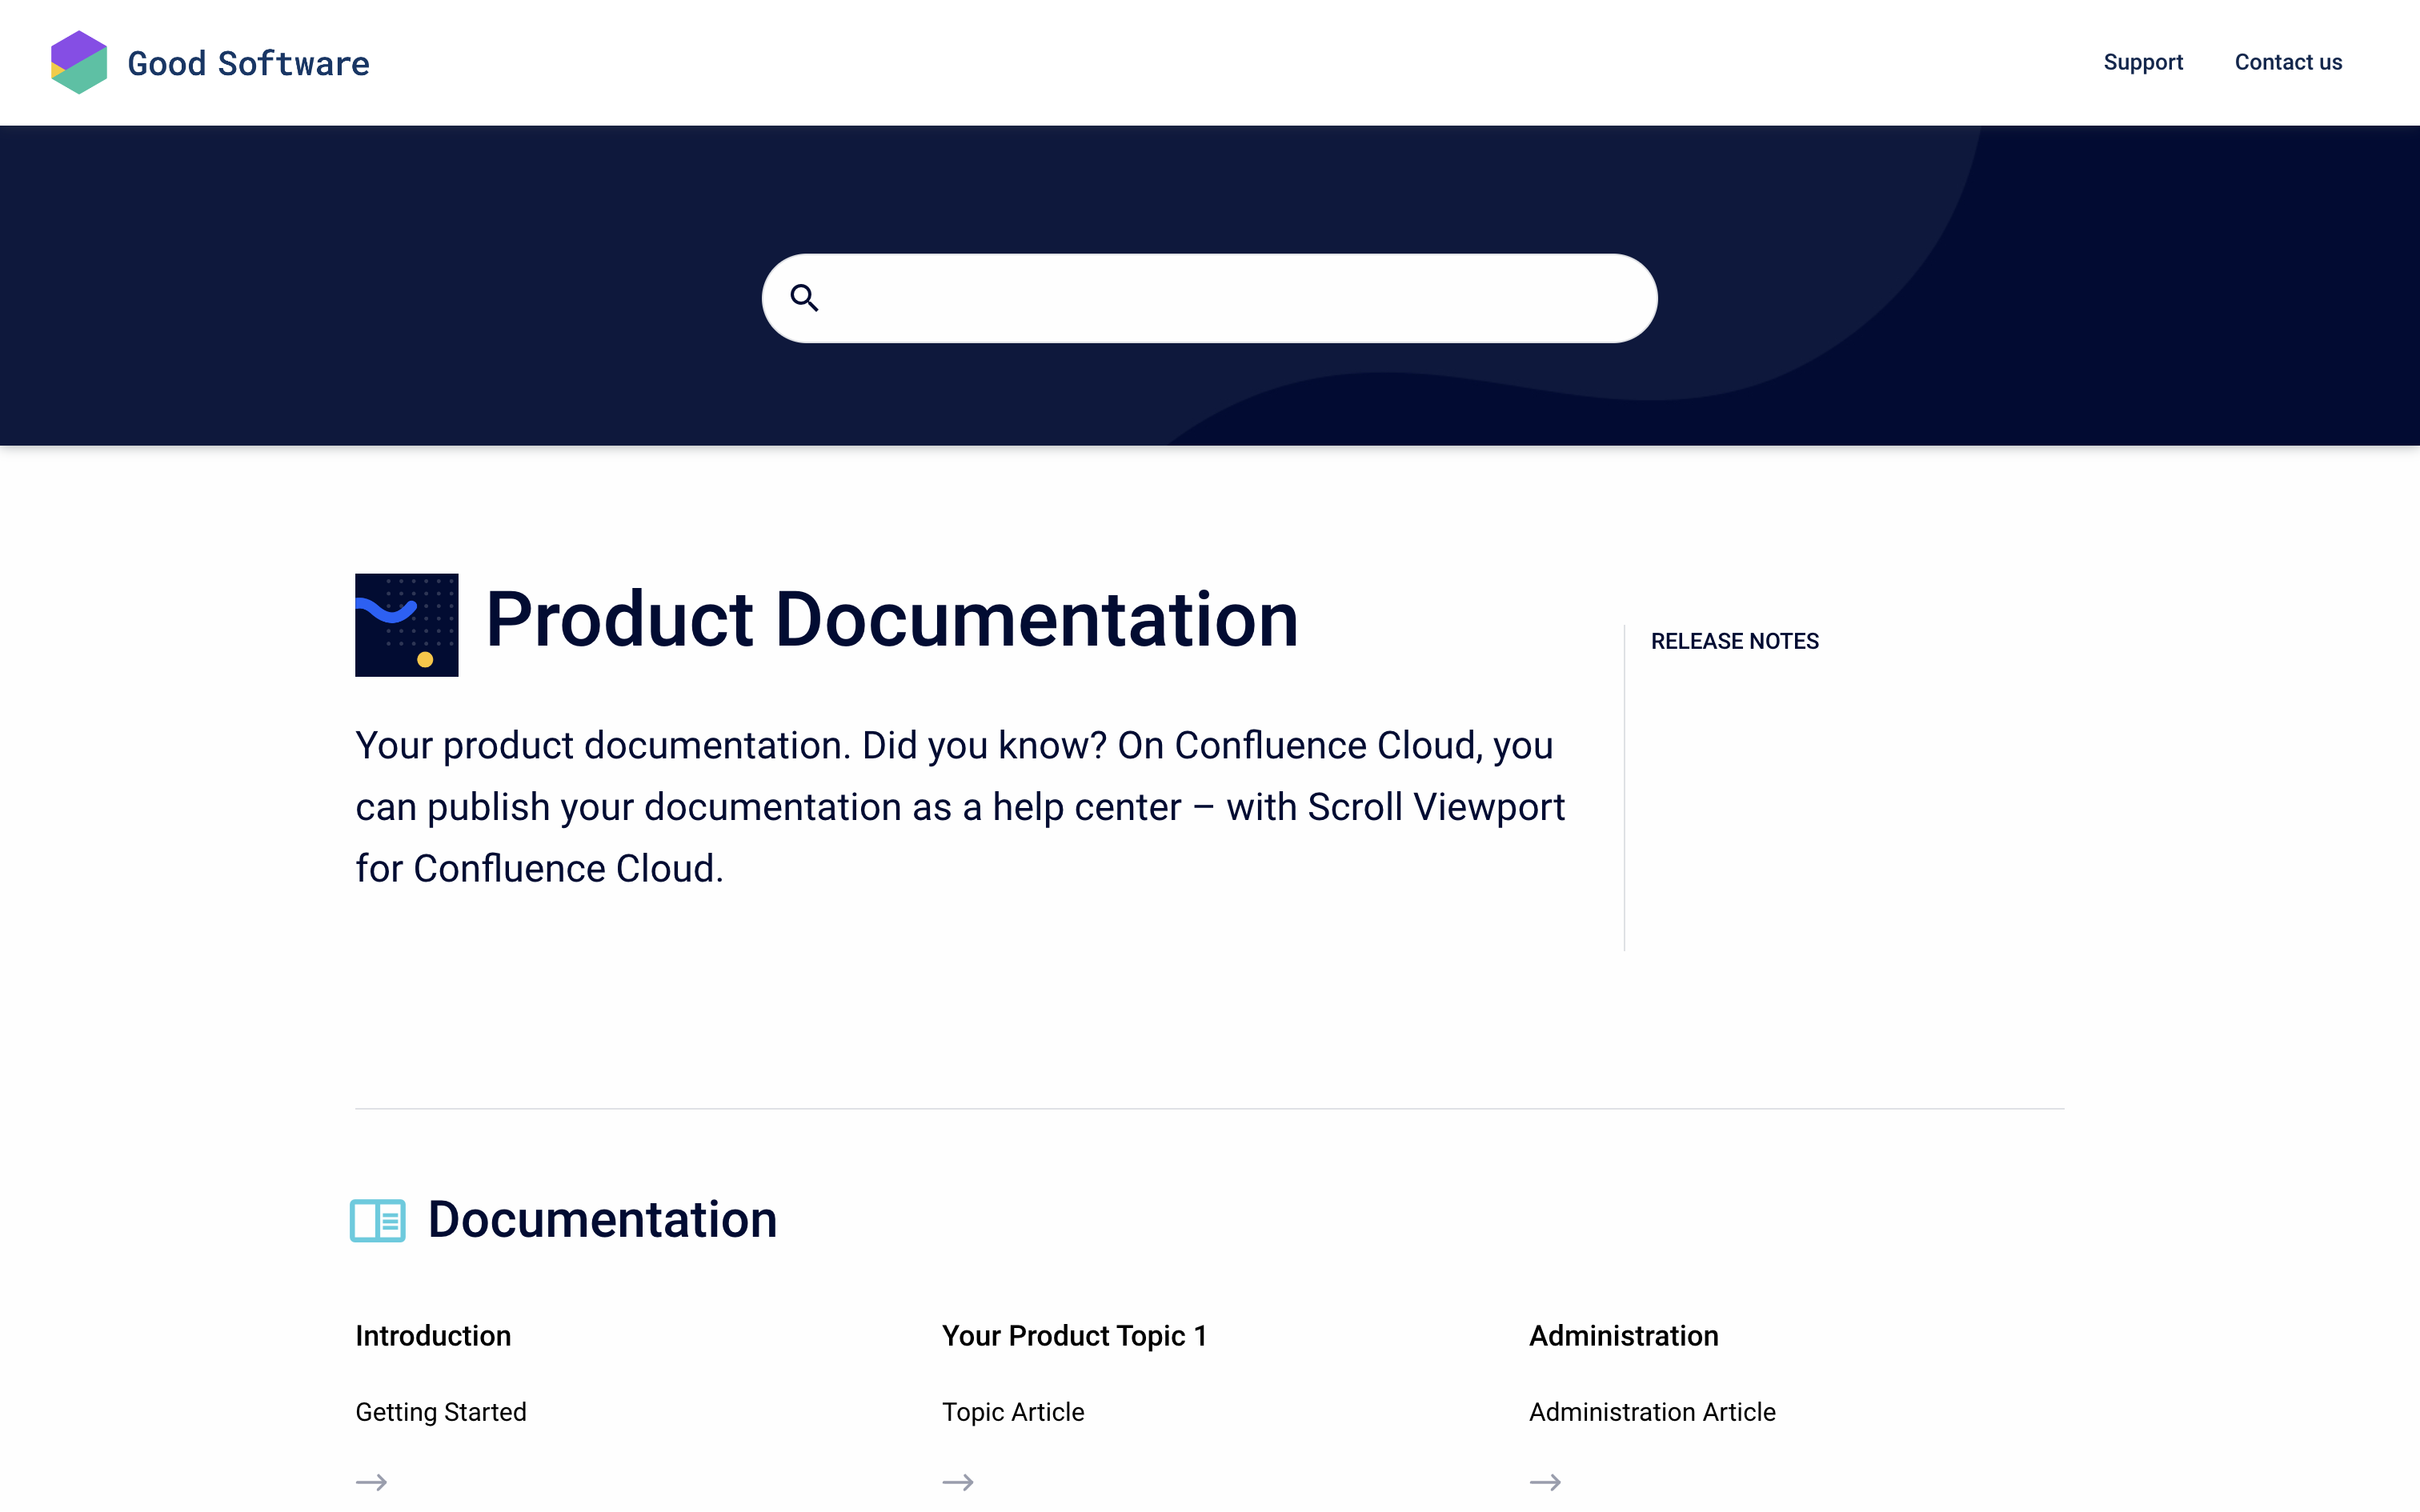
Change the style of the article list
In this step, we will change how the top-level articles are displayed on the landing page of the help center site.
|
|
Save and publish changes
|
1 |
Hit the Save button to persist all the changes you made in the previous step. Then, close the Theme Editor by clicking 'X' on the top-left corner of the page. |
|
|
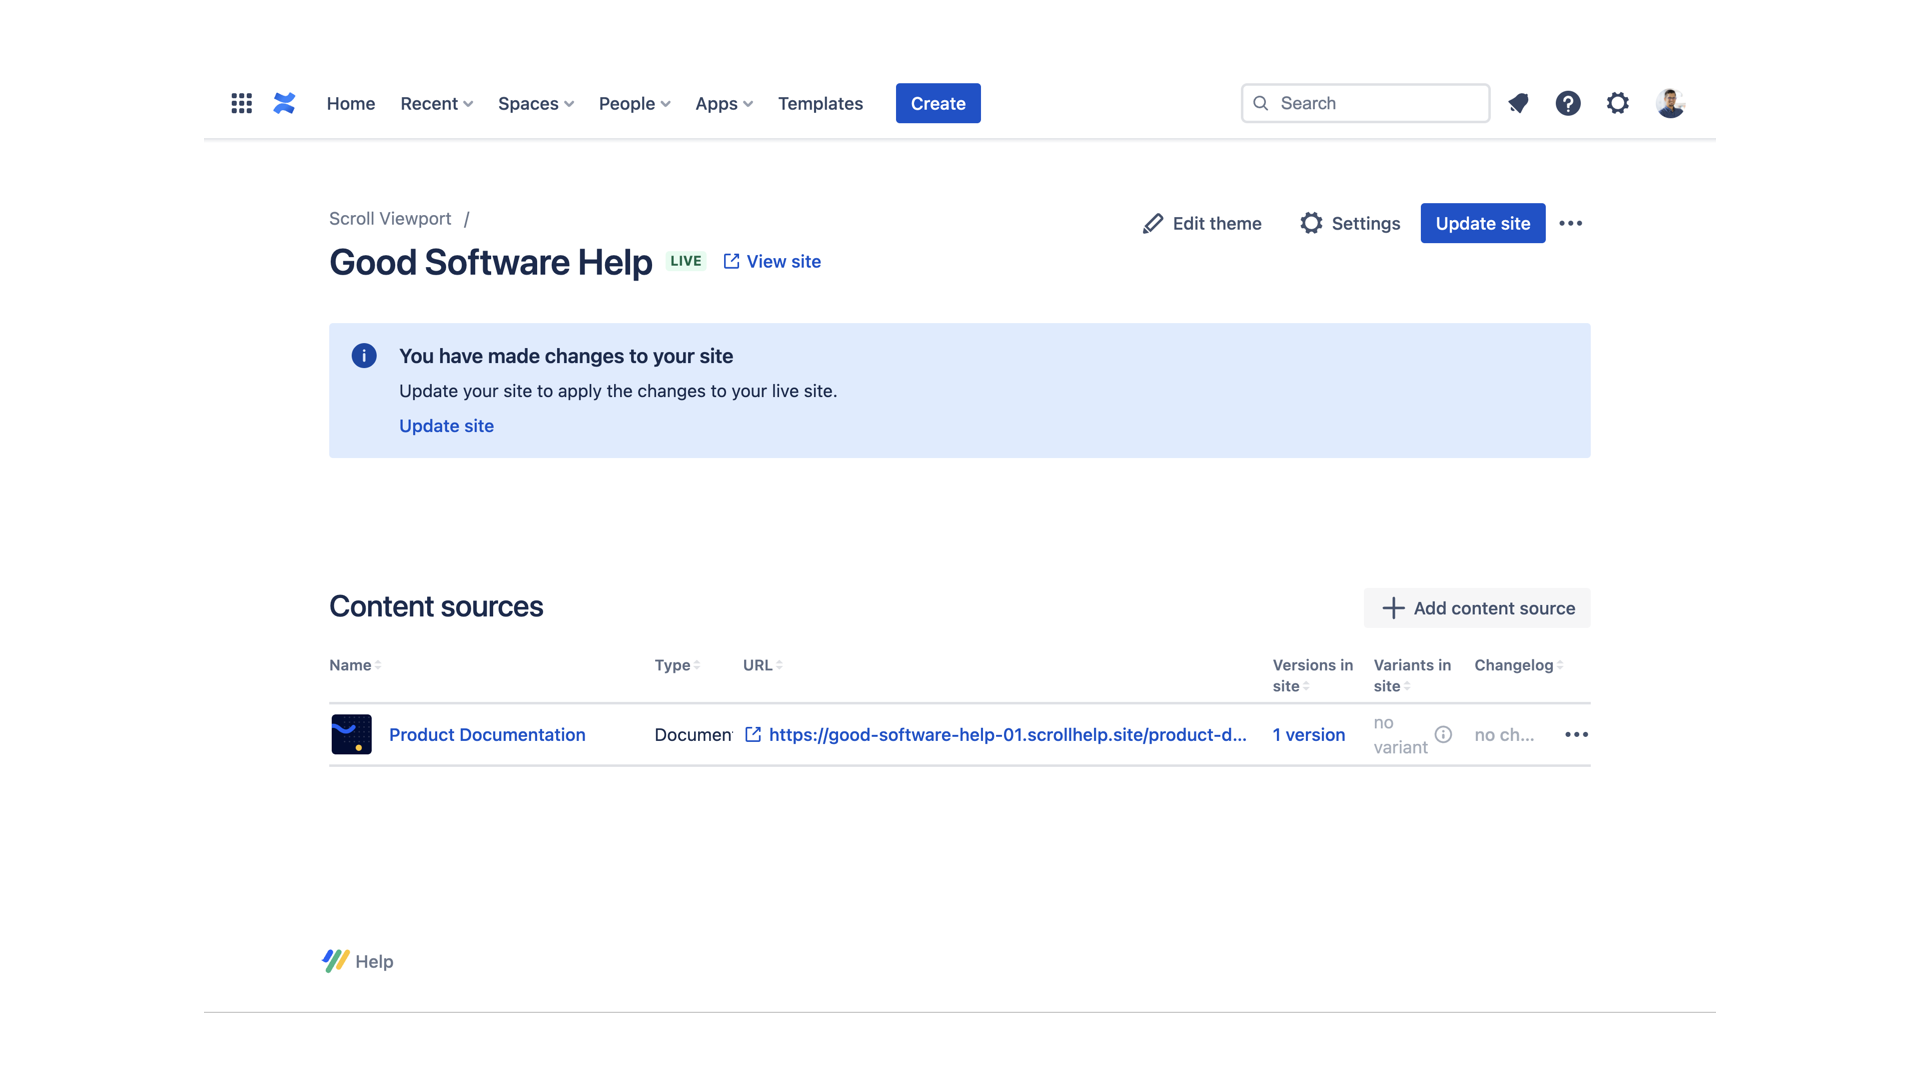
2 |
In the next screen, click Update site to apply all the changes to the site. |
|
|
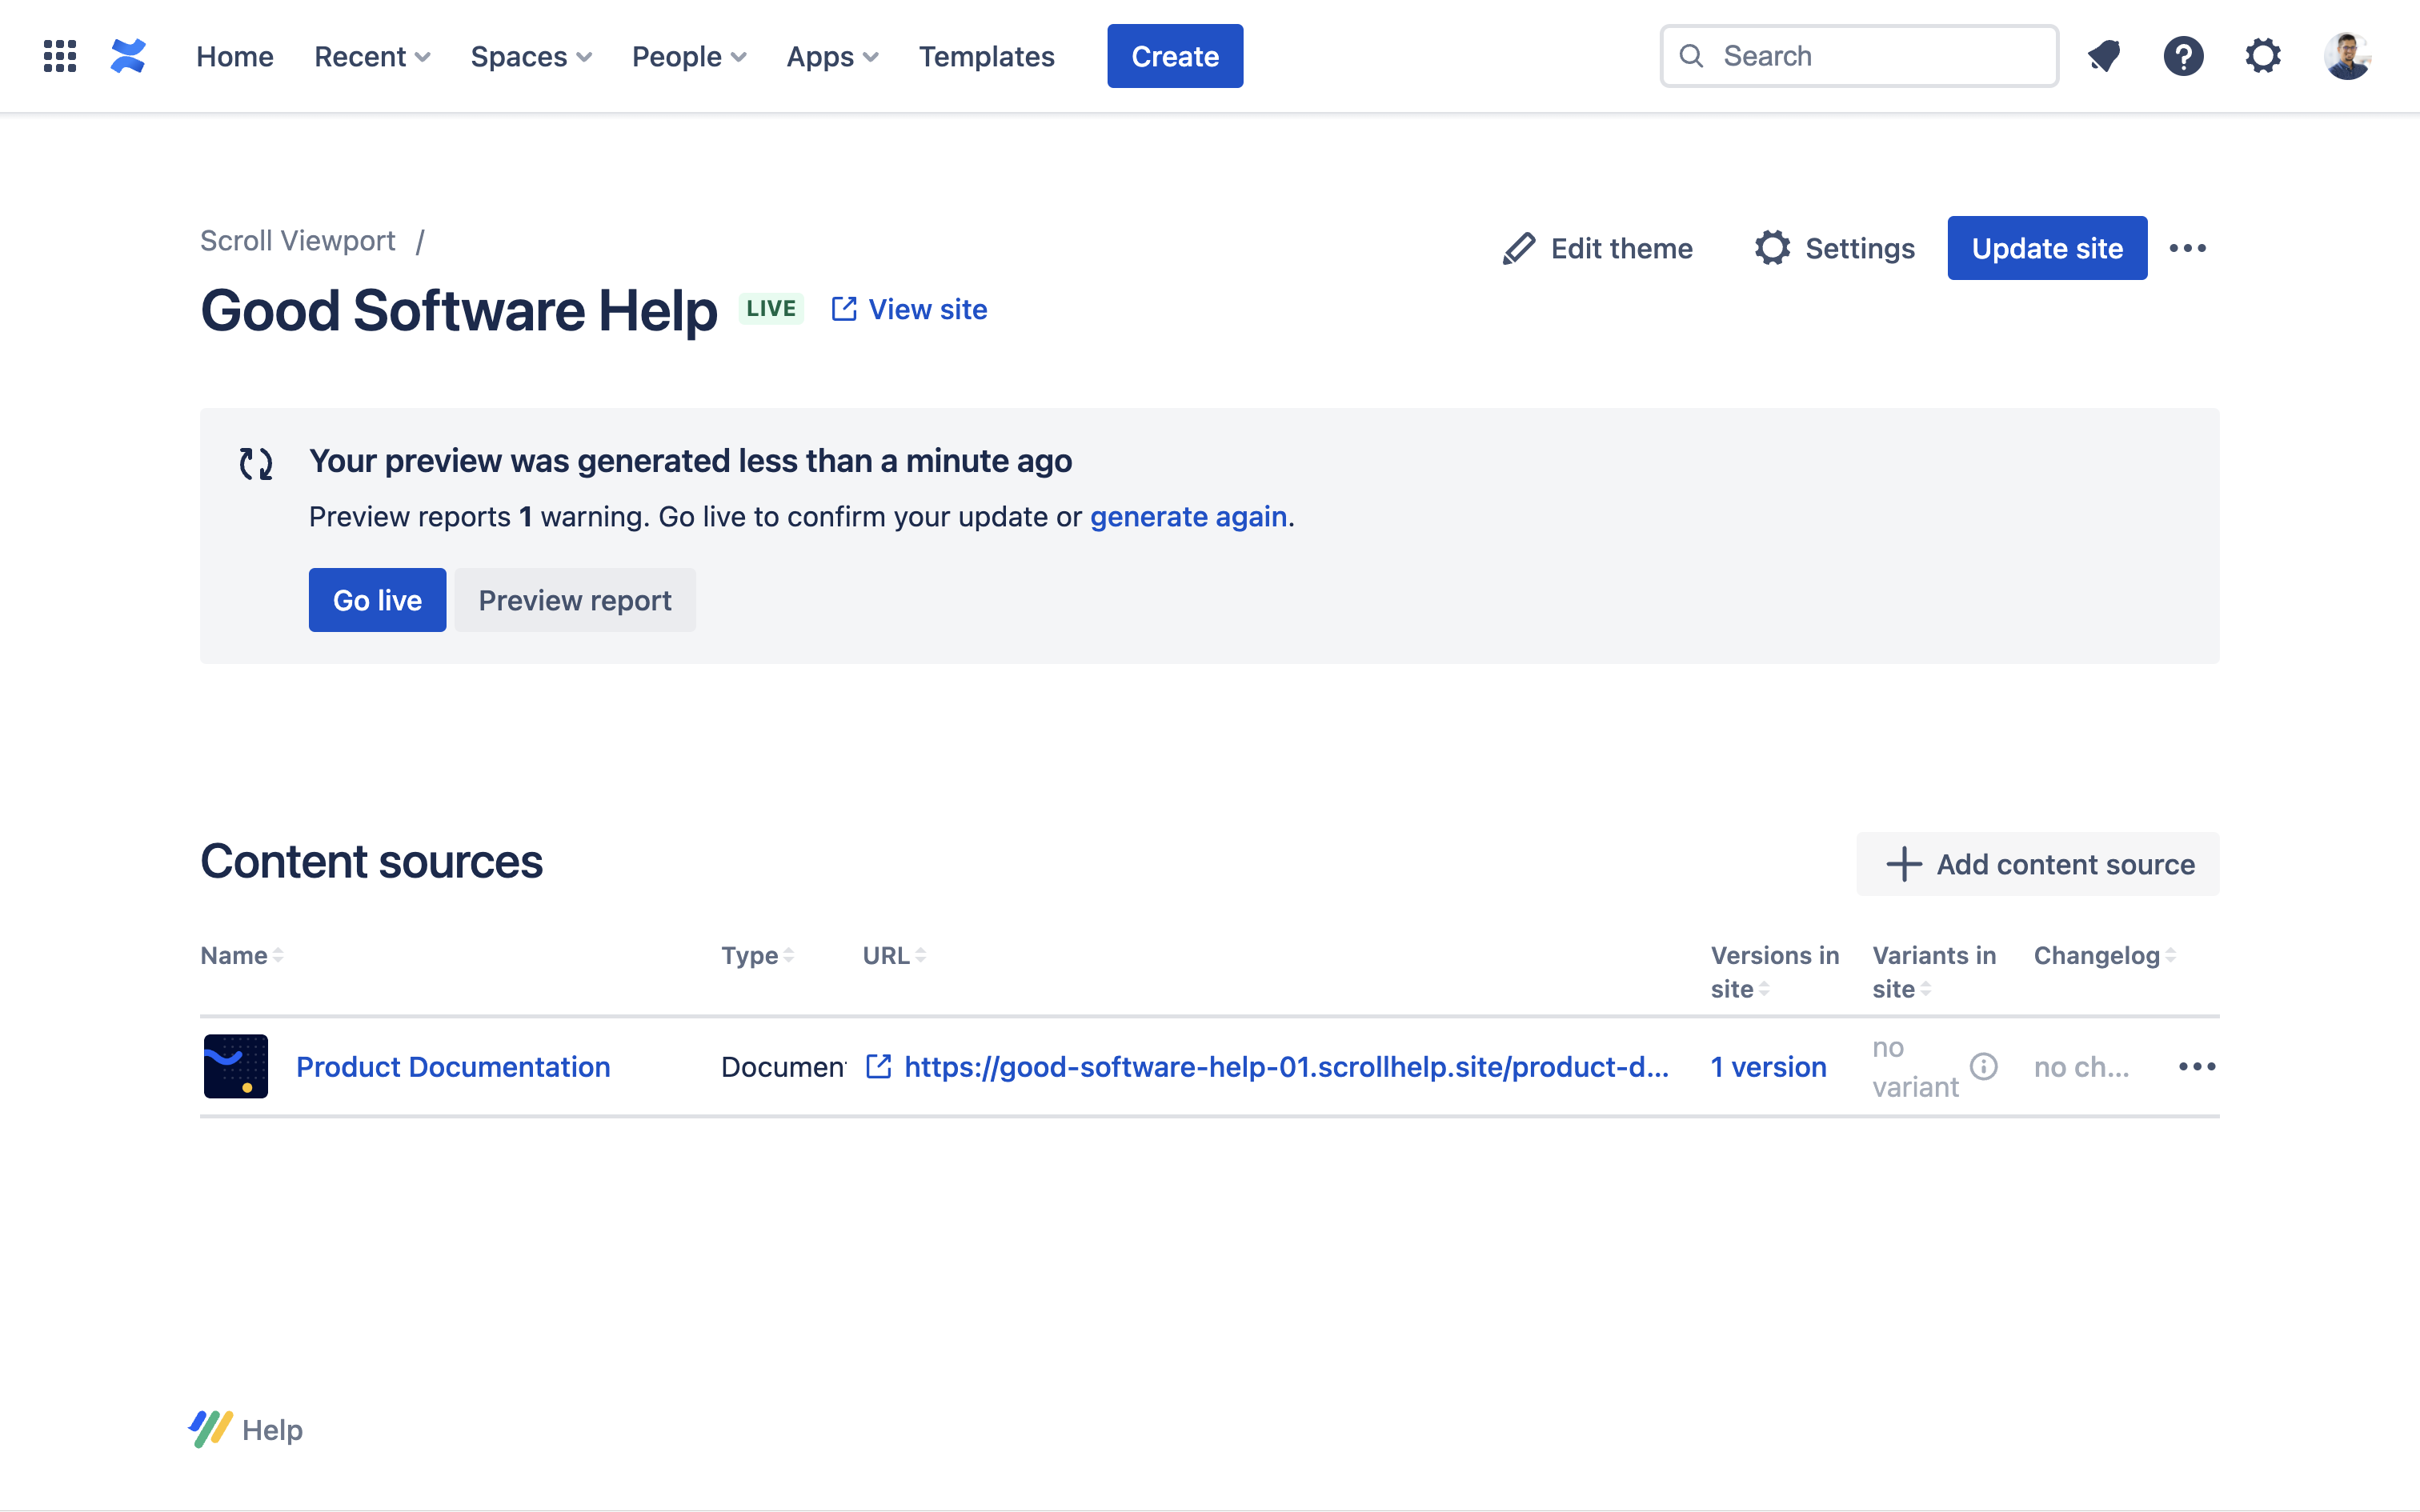
3 |
Once the site is updated click Go live. Once you get the confirmation that Your site is up to date, click View site. |
|
|
4 |
Congratulations! 🎉 You have successfully updated the look and feel of your help center site. |
|
Next steps
Learn more from our Guides, Tutorials, Reference articles, or