In this three-part tutorial, you will learn how to set up a new Help Center site, add your Confluence documentation to the site, and publish the site to make it publicly available to your readers.
Scroll Sites for Confluence
With Scroll Sites for Confluence, you can transform your content in Confluence into websites of any kind (e.g. help centers) that are easy to build and modify. Before you begin, please ensure you have Scroll Sites installed in your Confluence site.
Set up a new Help Center site
A Help Center Site is how you will share documentation of your products with your customers. In this tutorial, you will learn how to create a brand new help center and set-up a URL for your site.
|
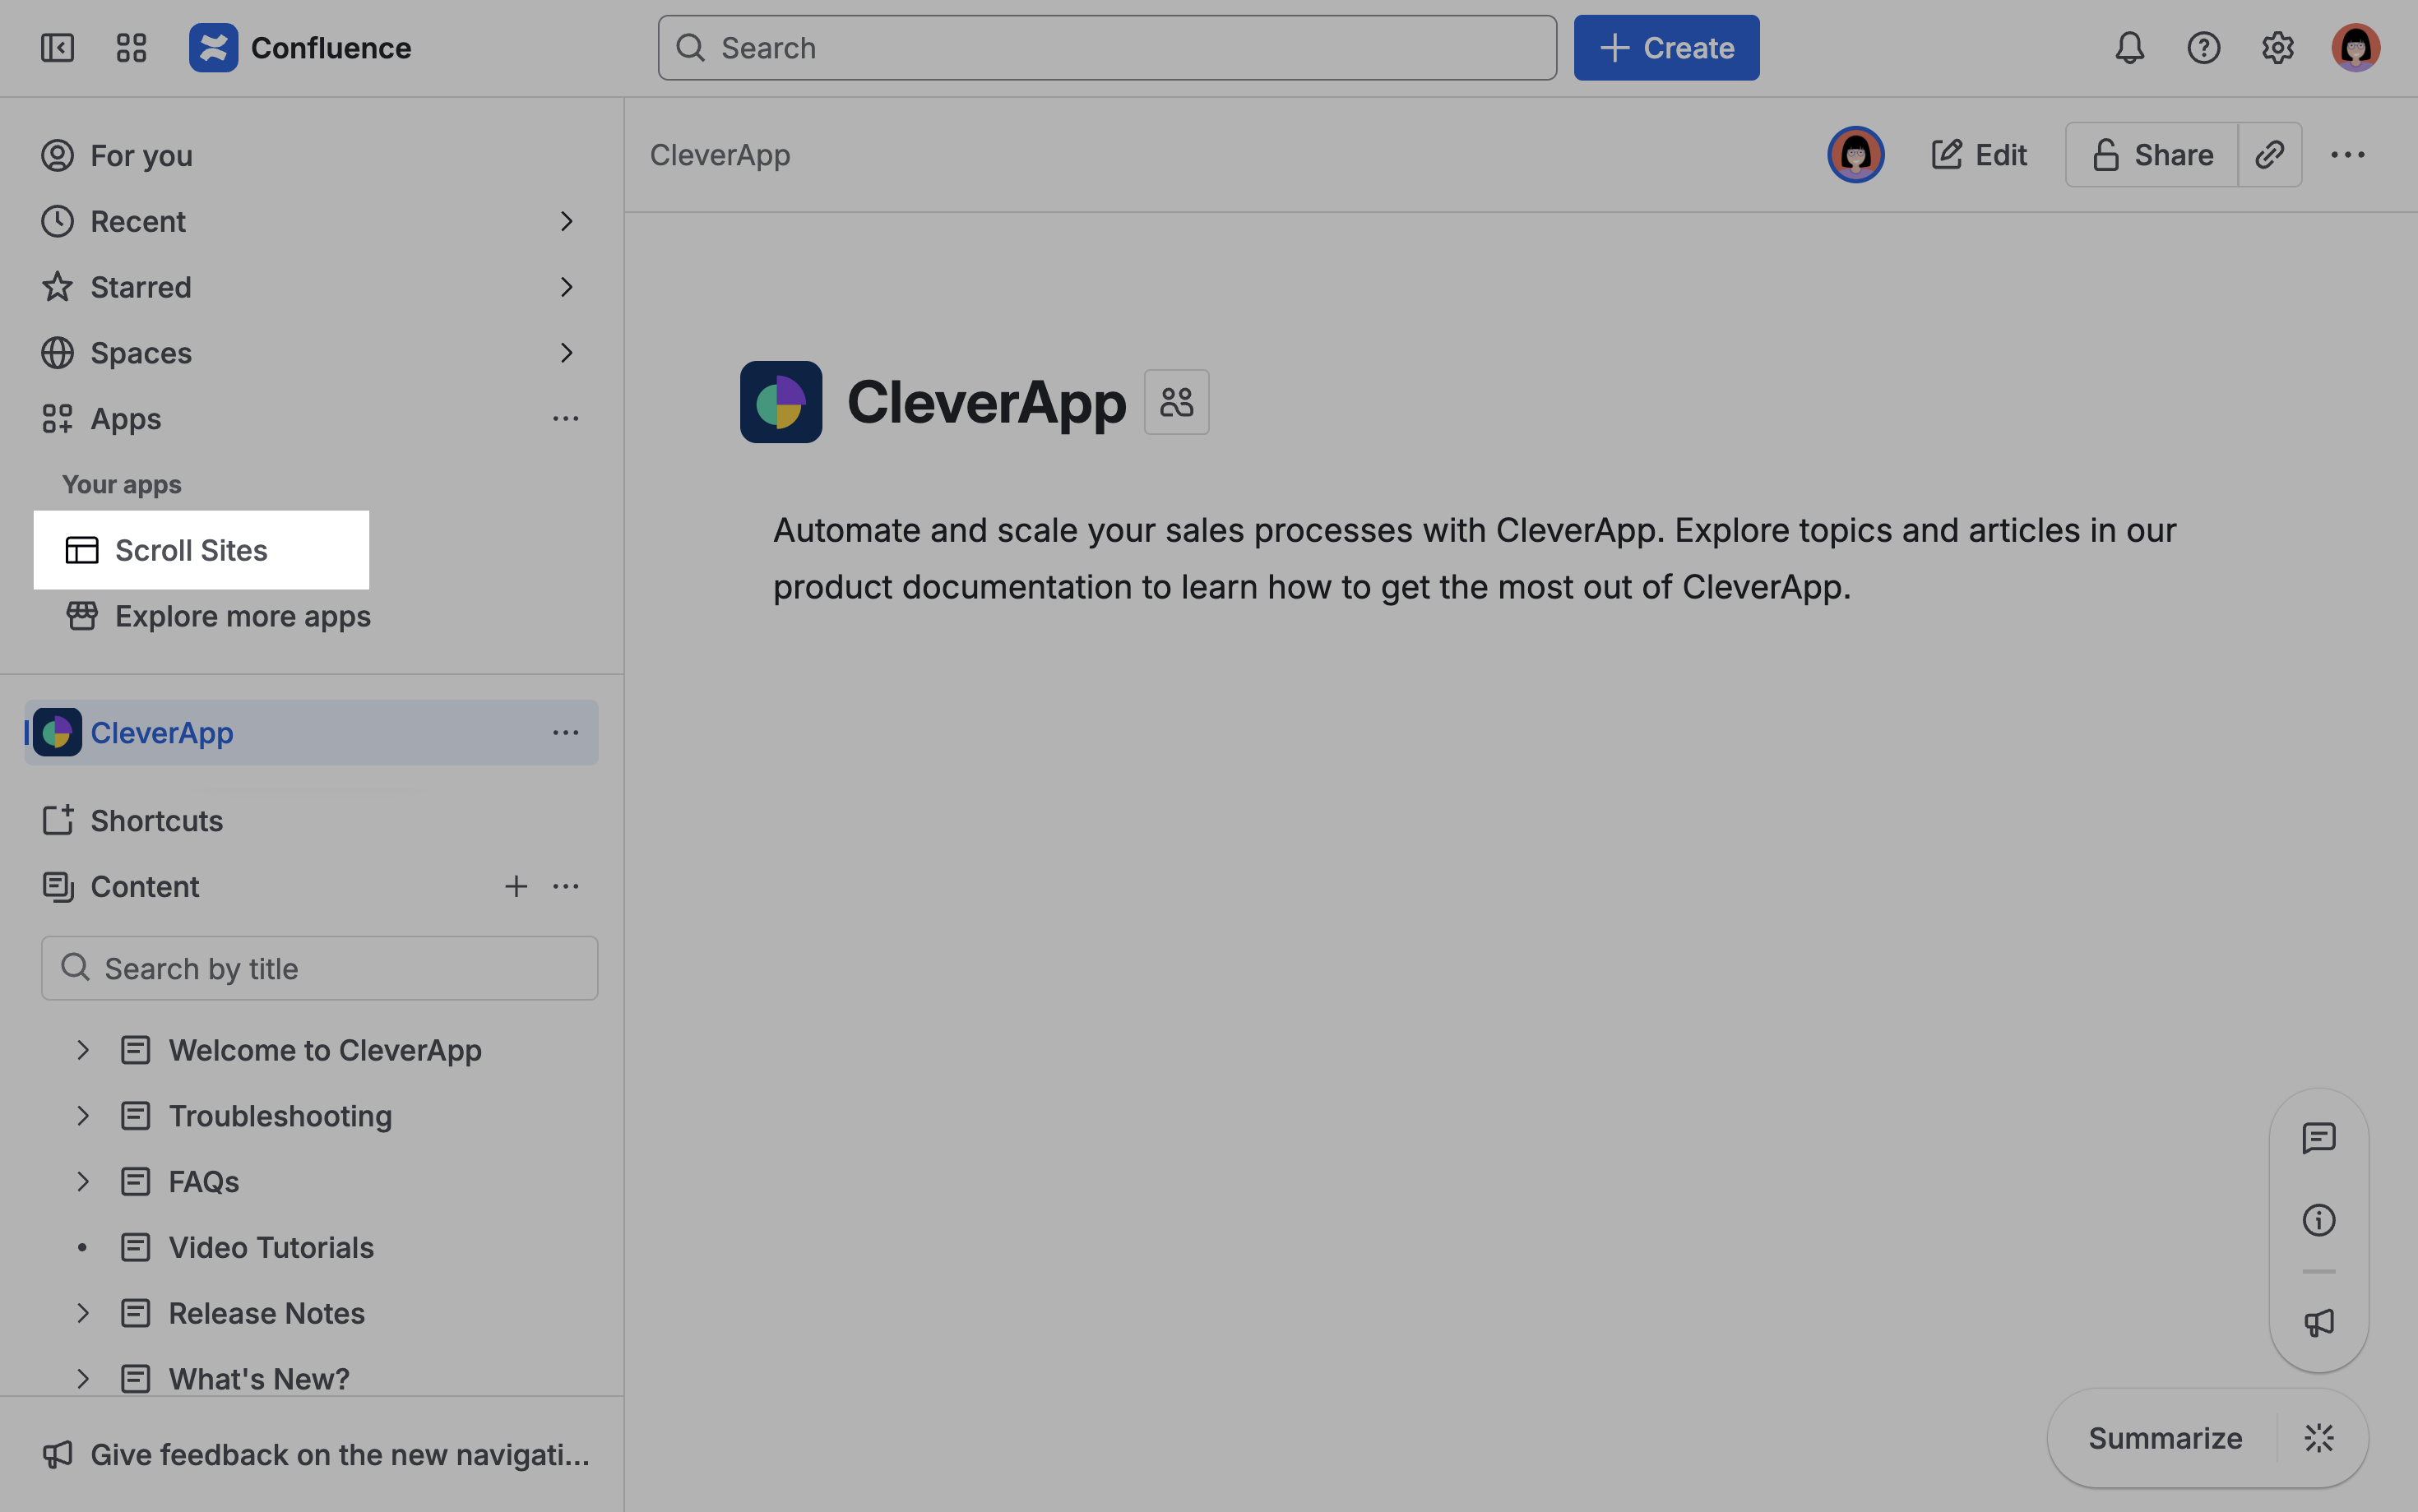
1 |
In the Confluence menu click Apps → Scroll Sites. |
|
|
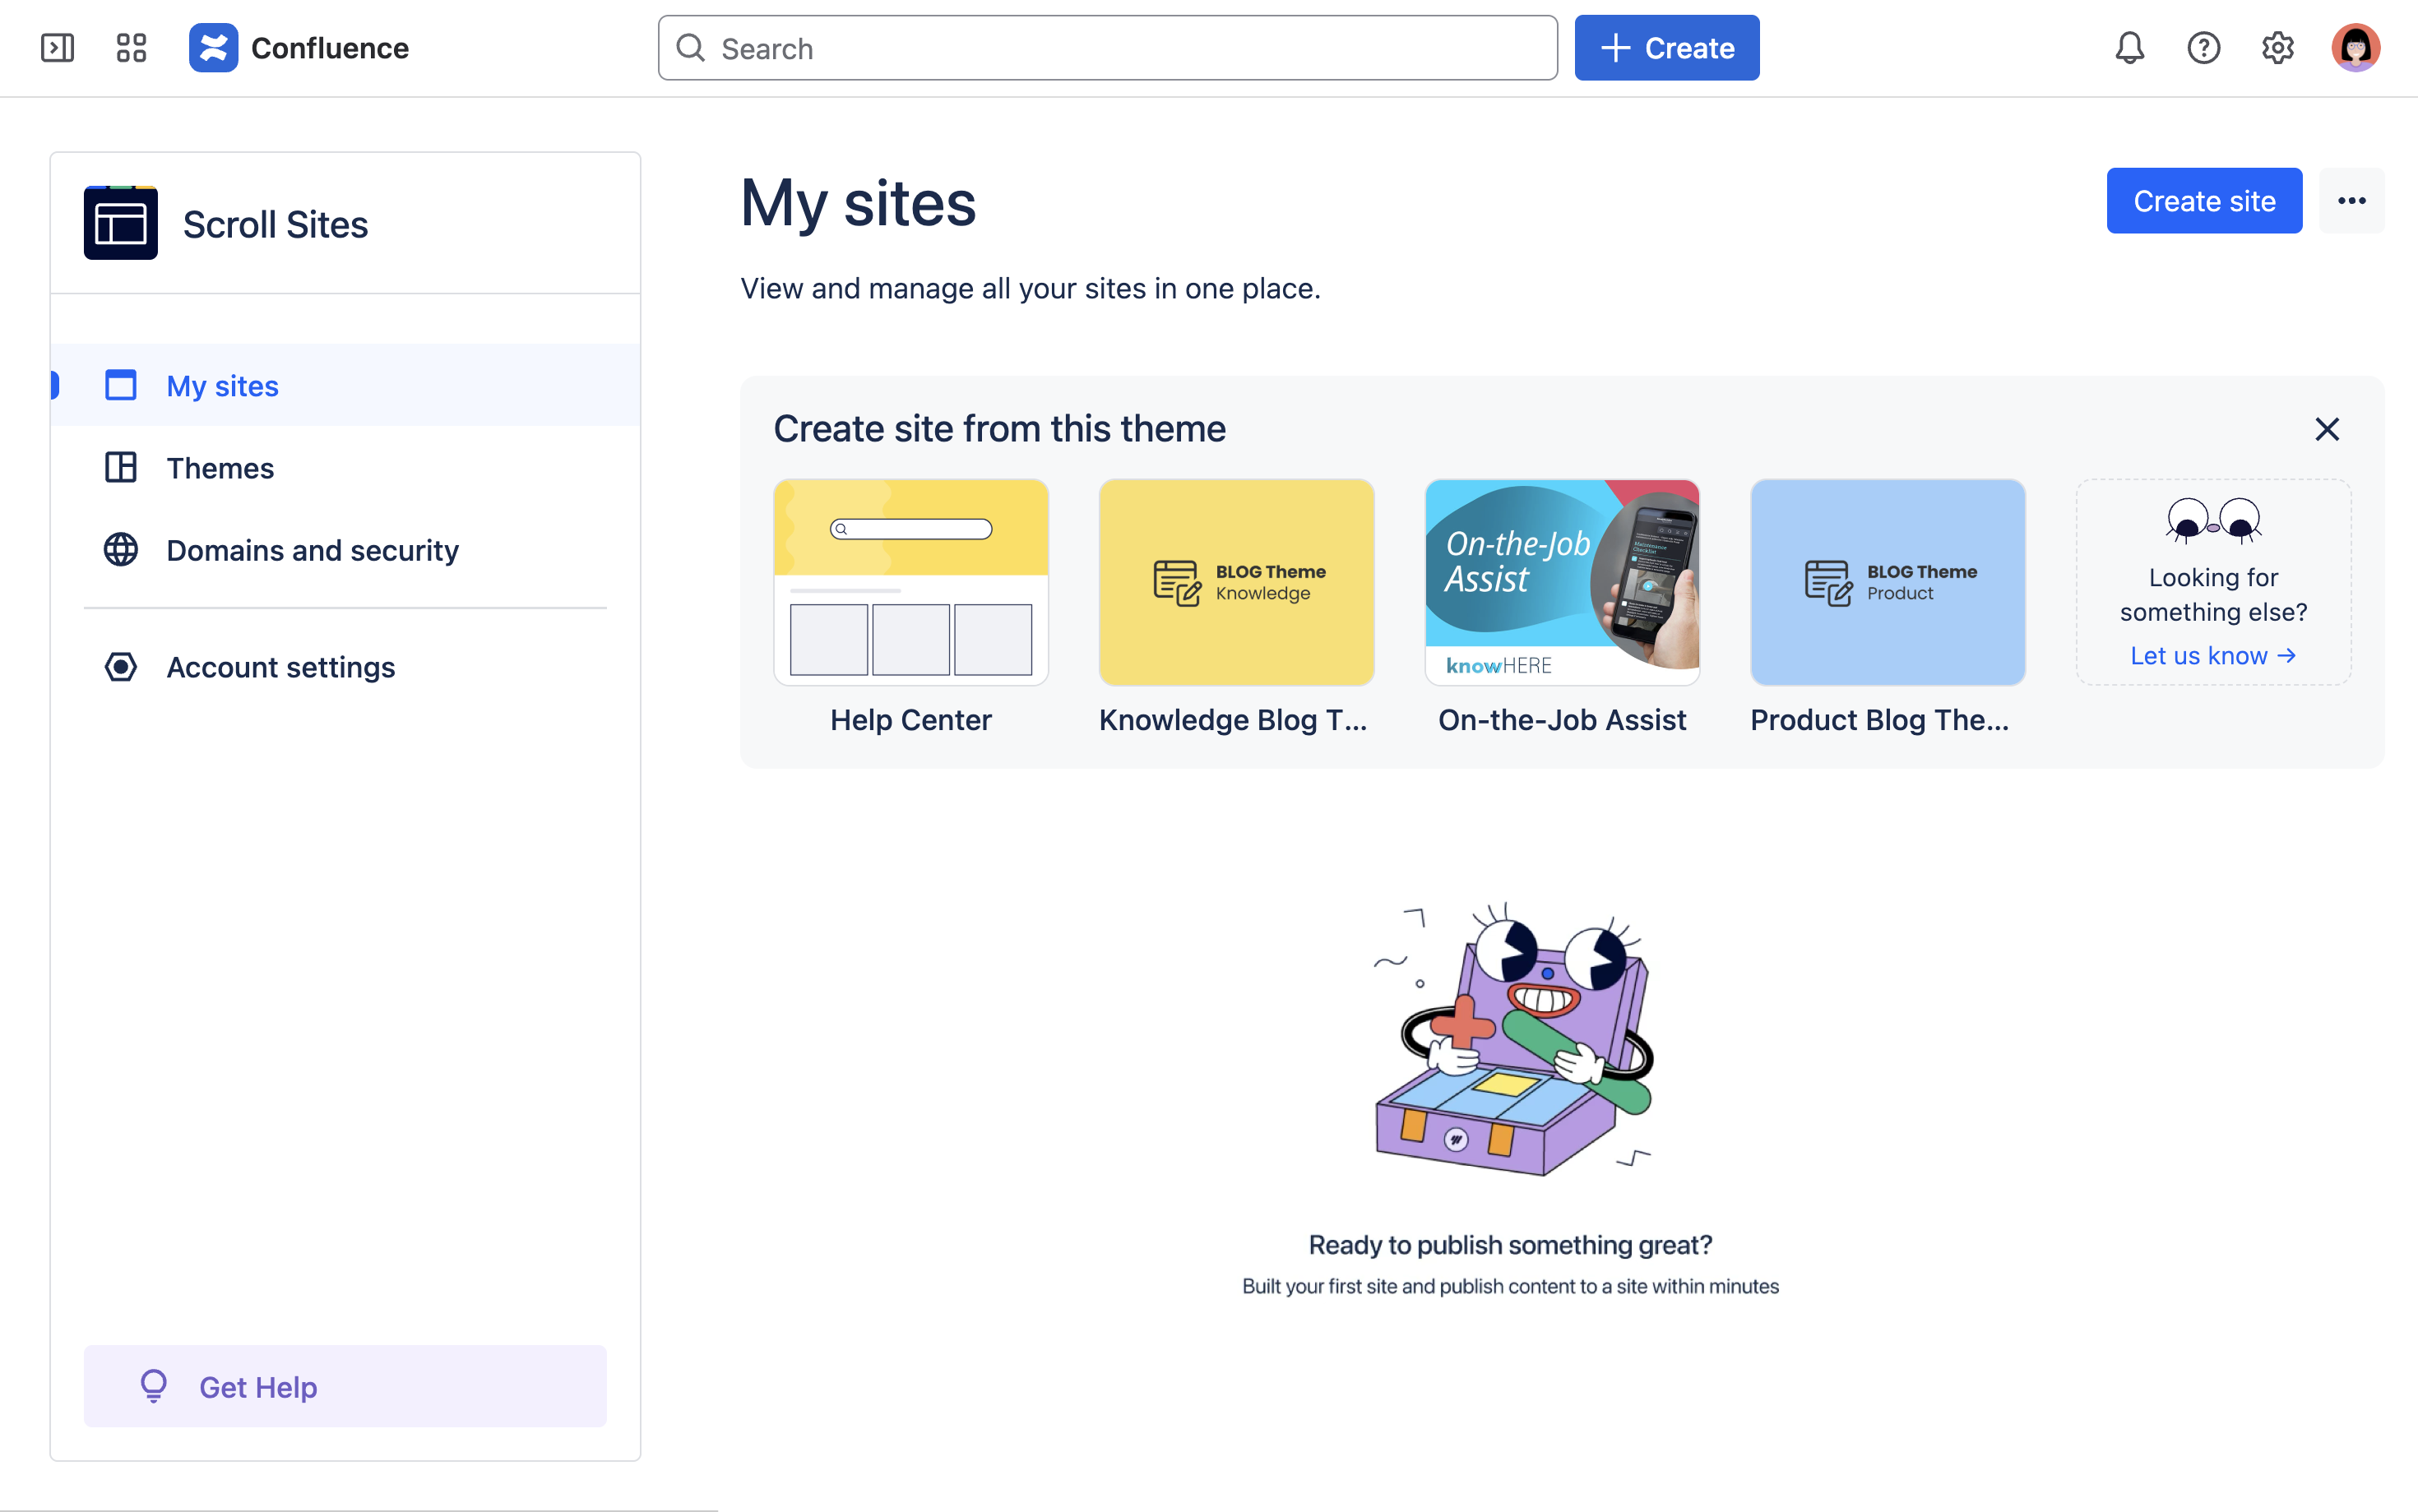
2 |
Click Create site to start setting up your first Help Center site. |
|
|
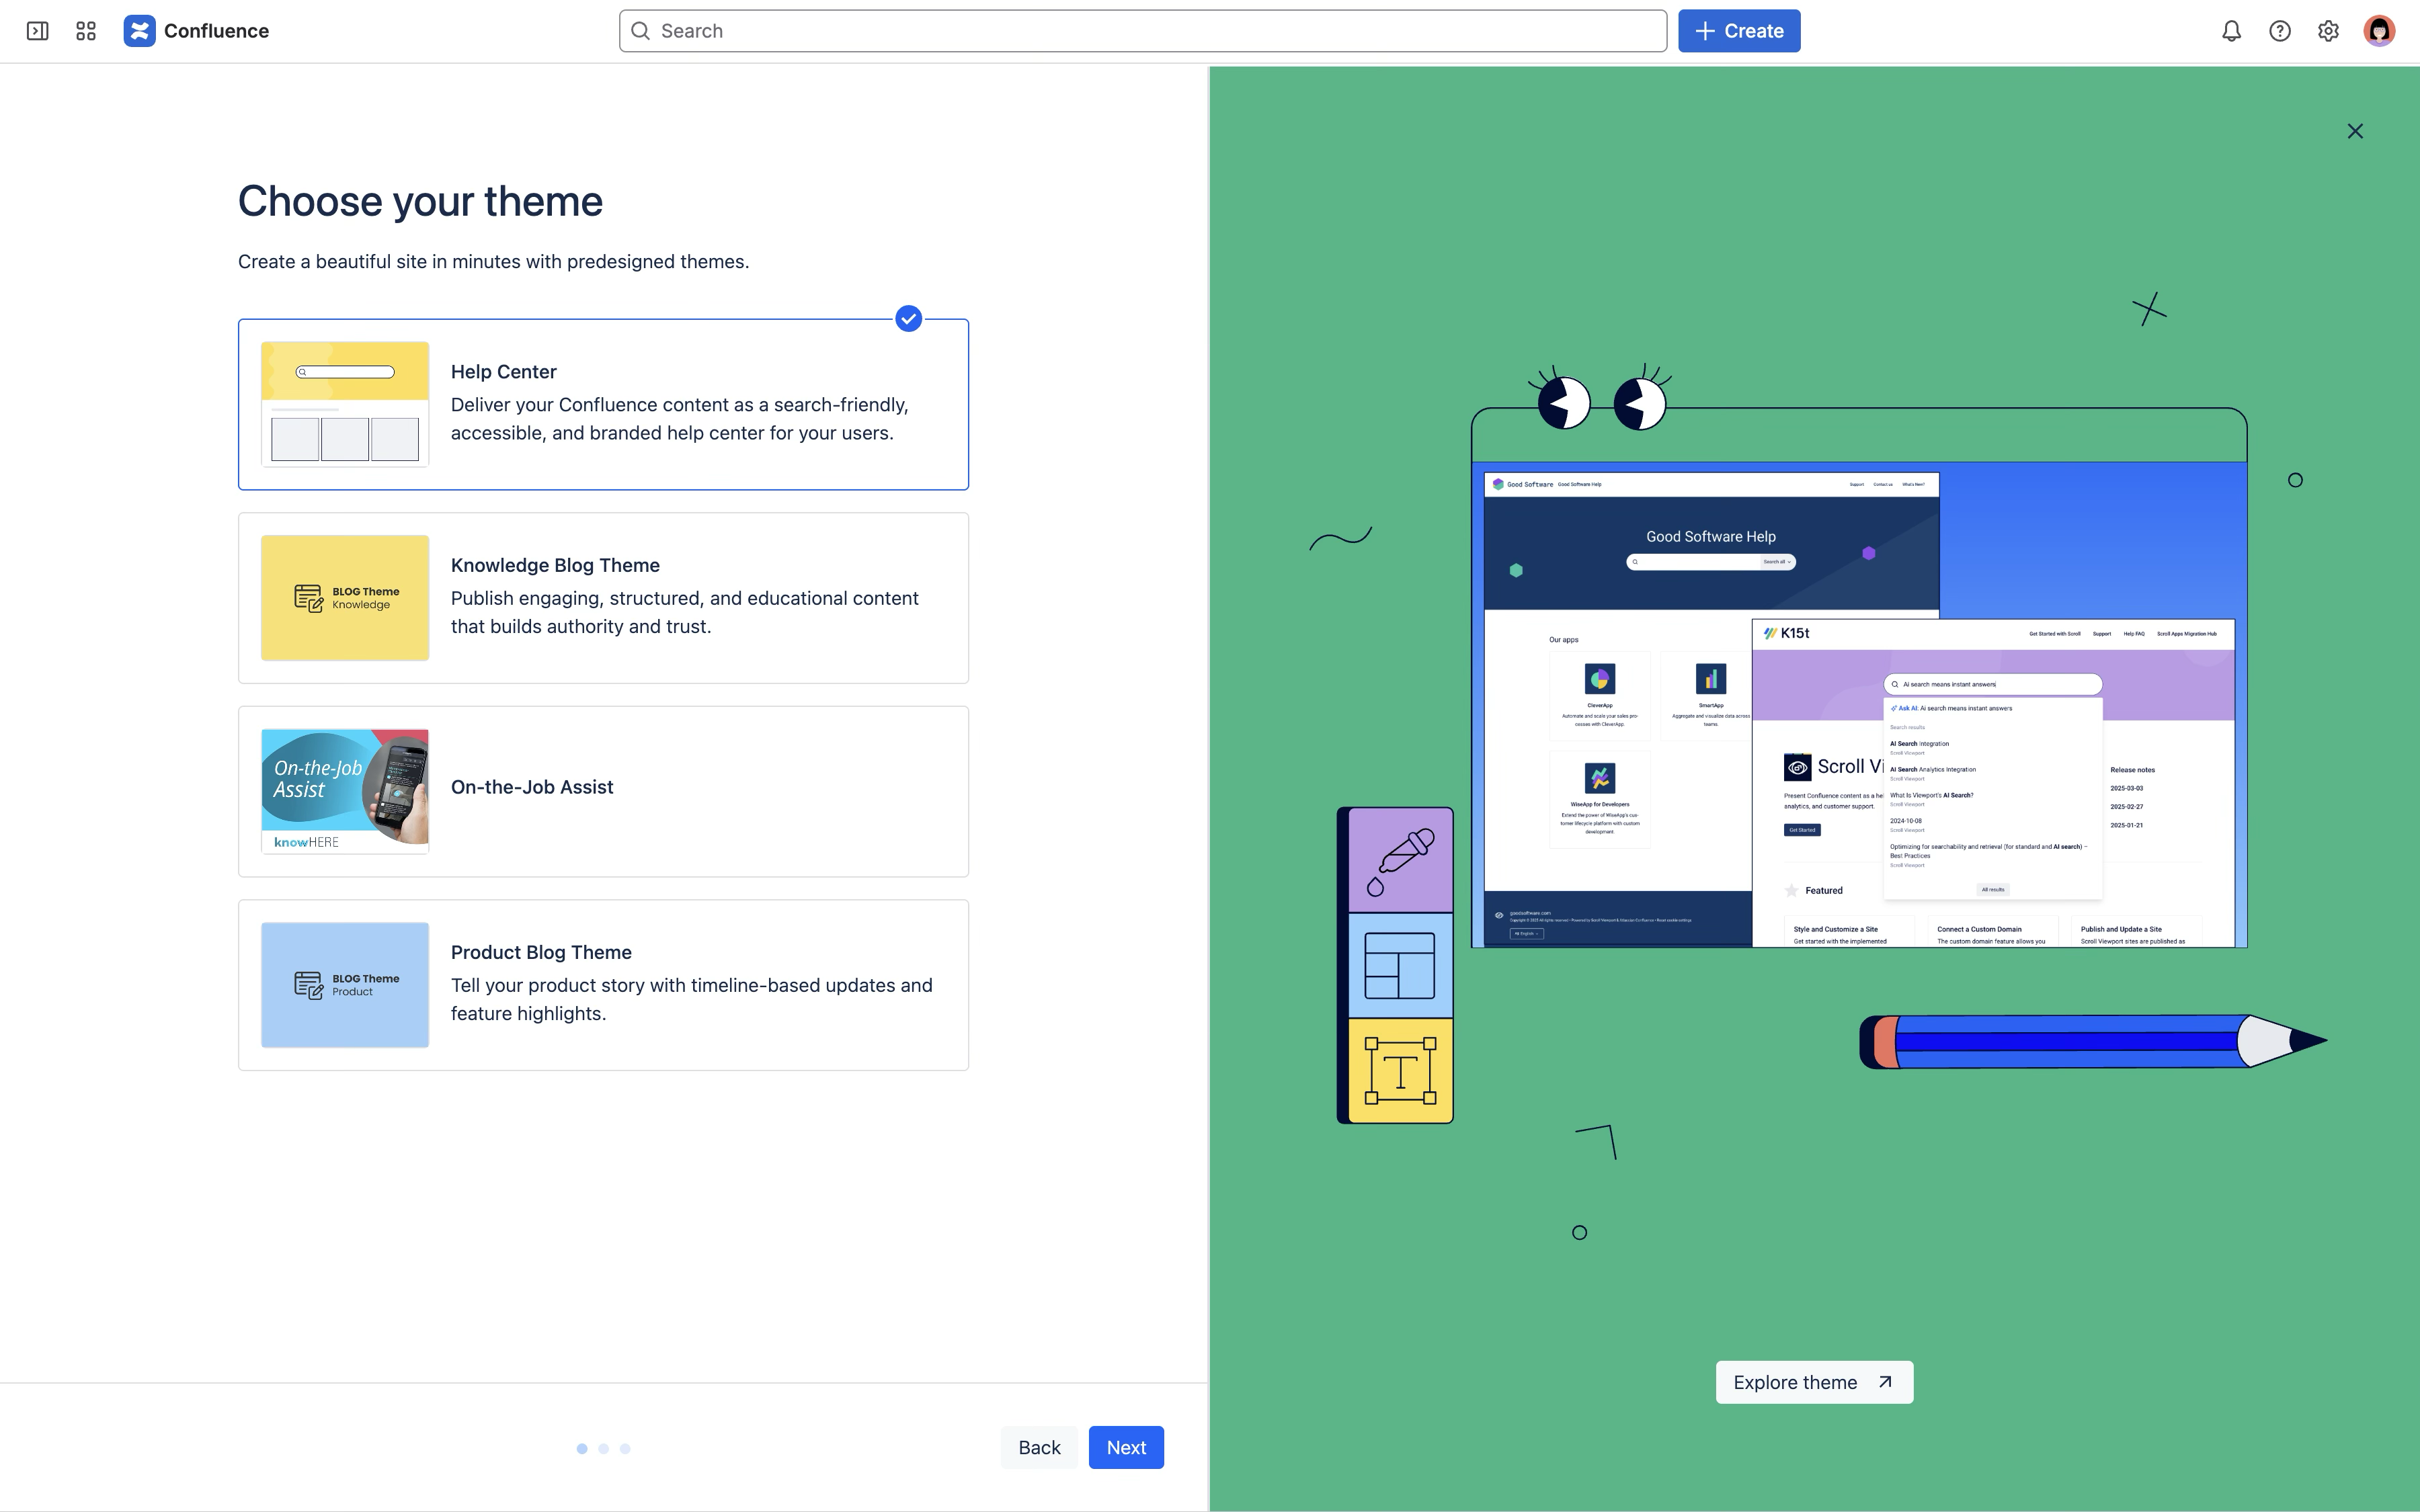
3 |
Choose the Help Center theme. |
|
|
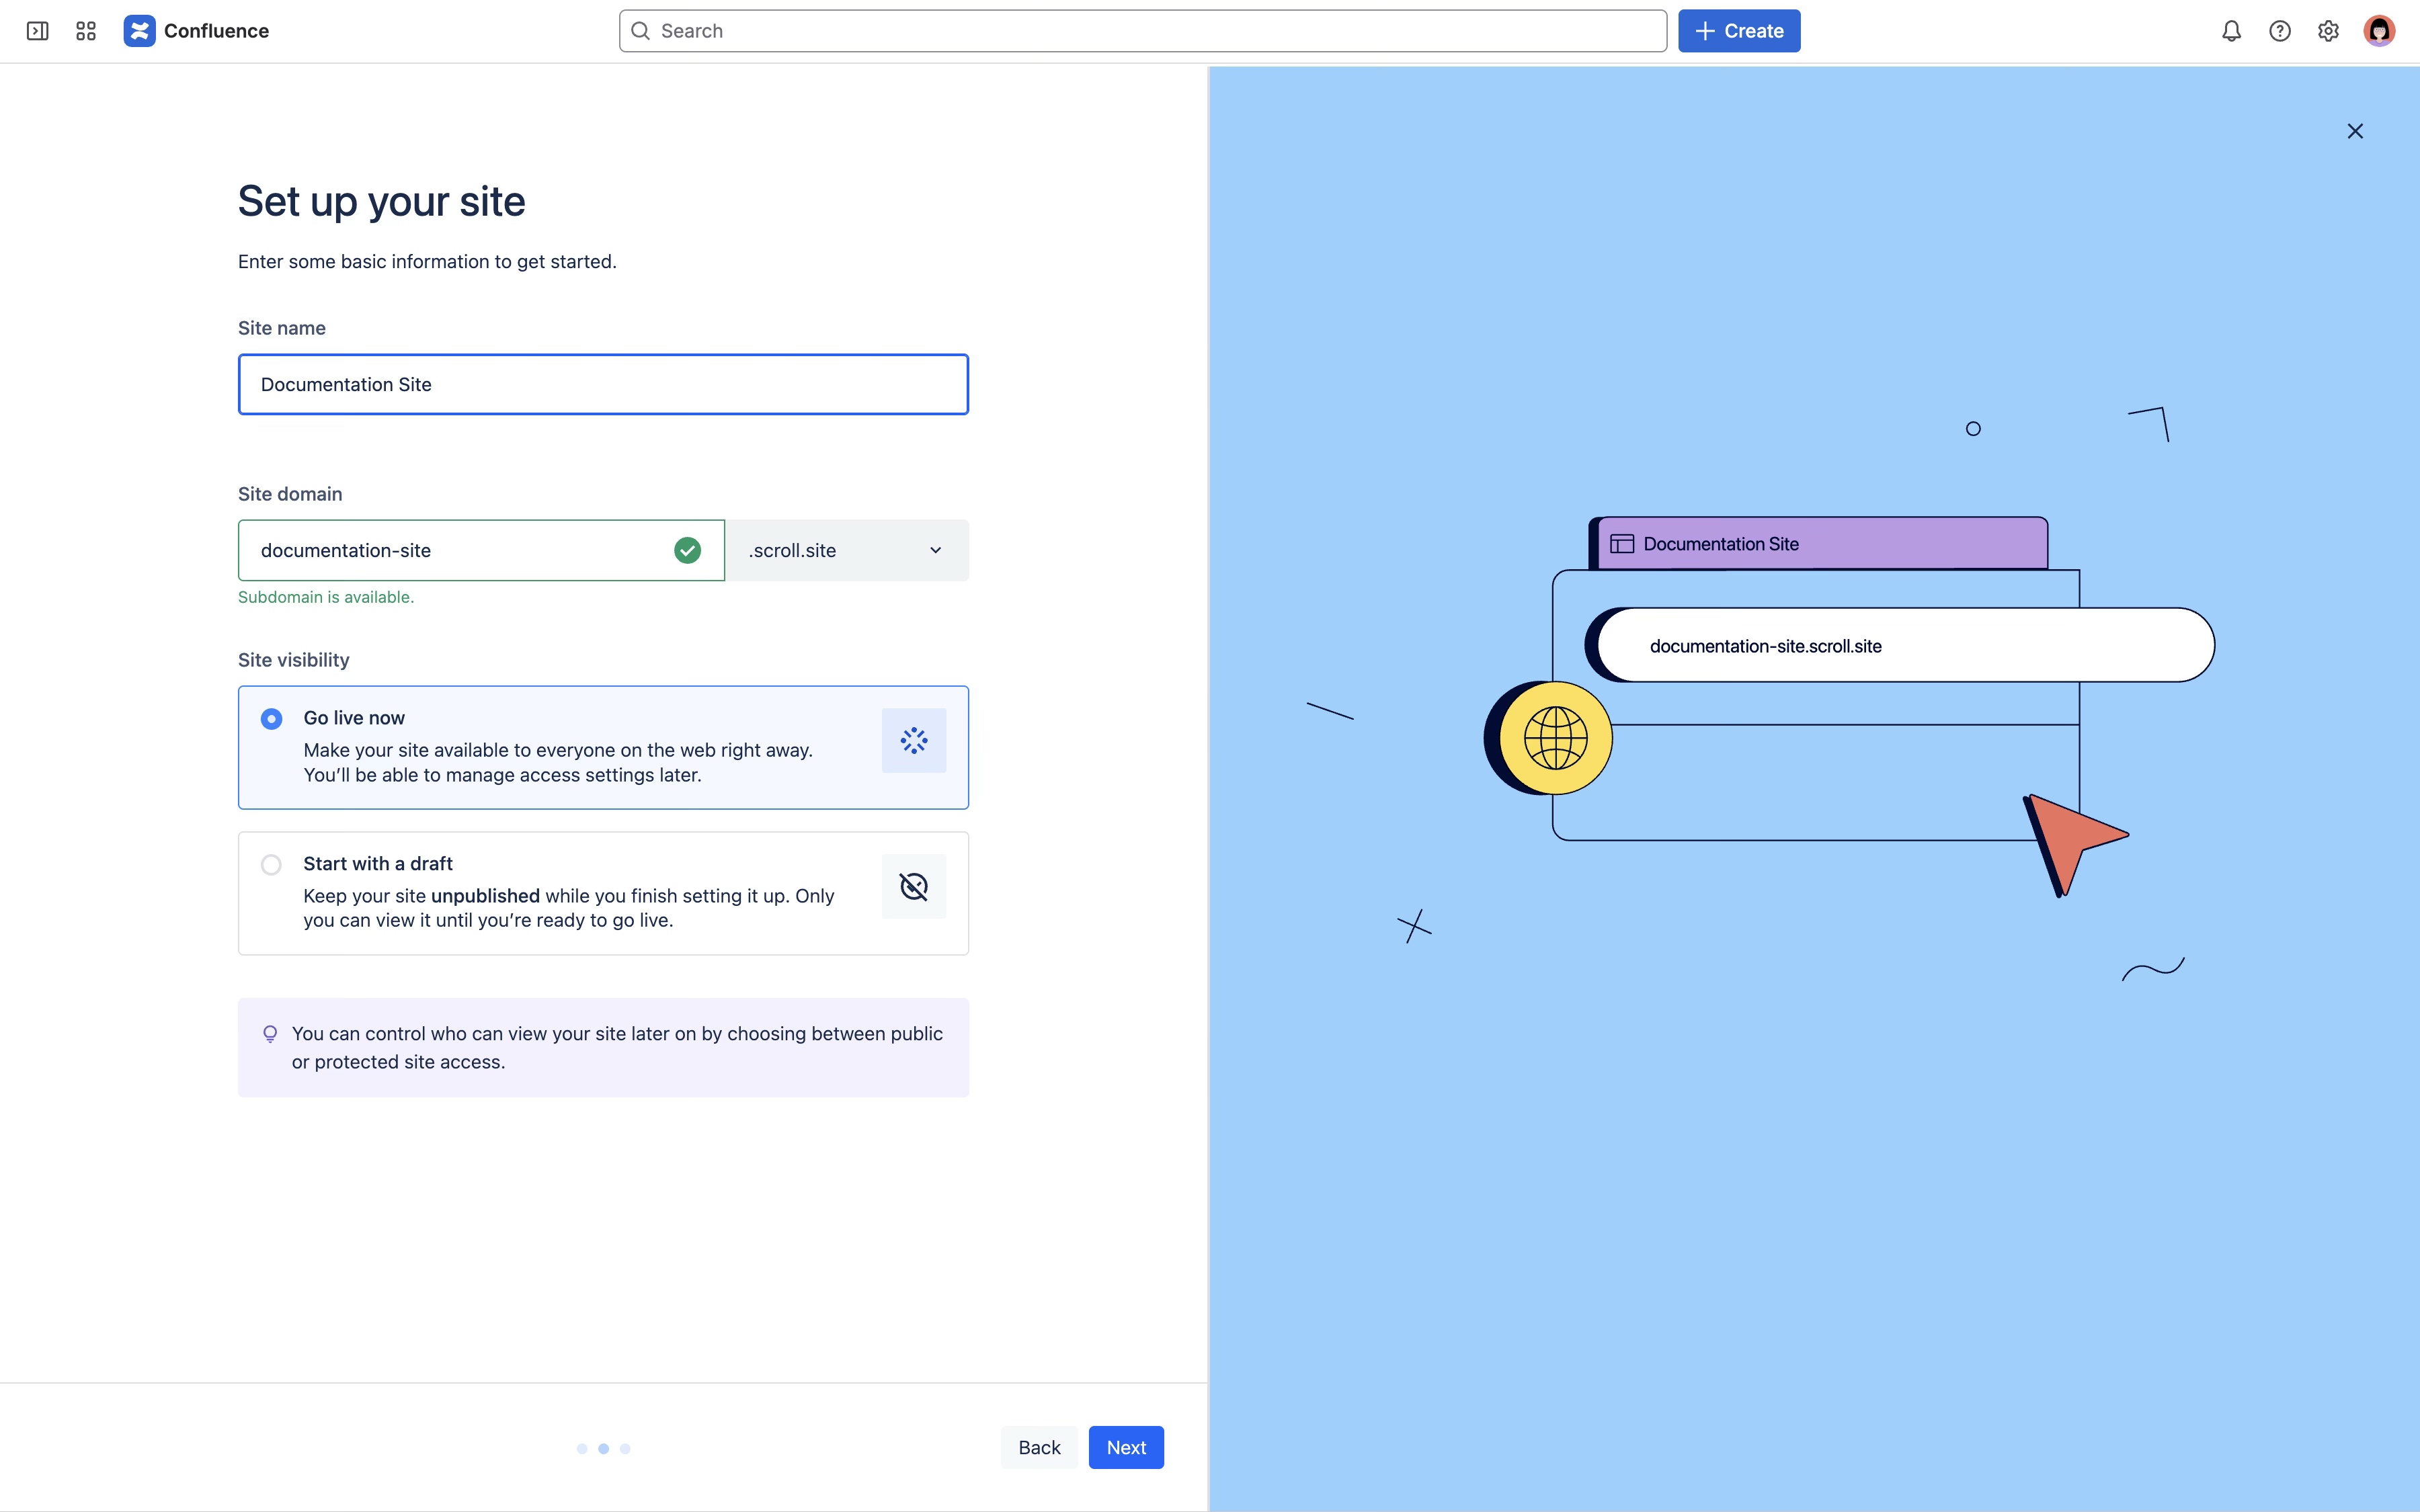
4 |
Enter a Site name which works best for you and your team. This is for internal use only and can be changed anytime – e.g. you could use “Good Software Help Center.” |
|
|
5 |
As the Site domain, you’ll see a predefined URL based on your site name in the format of You can change the URL here or add your own custom domain later on. |
|
|
6 |
Choose your site visibility. Select Go Live now to have your site go online right away. |
|
|
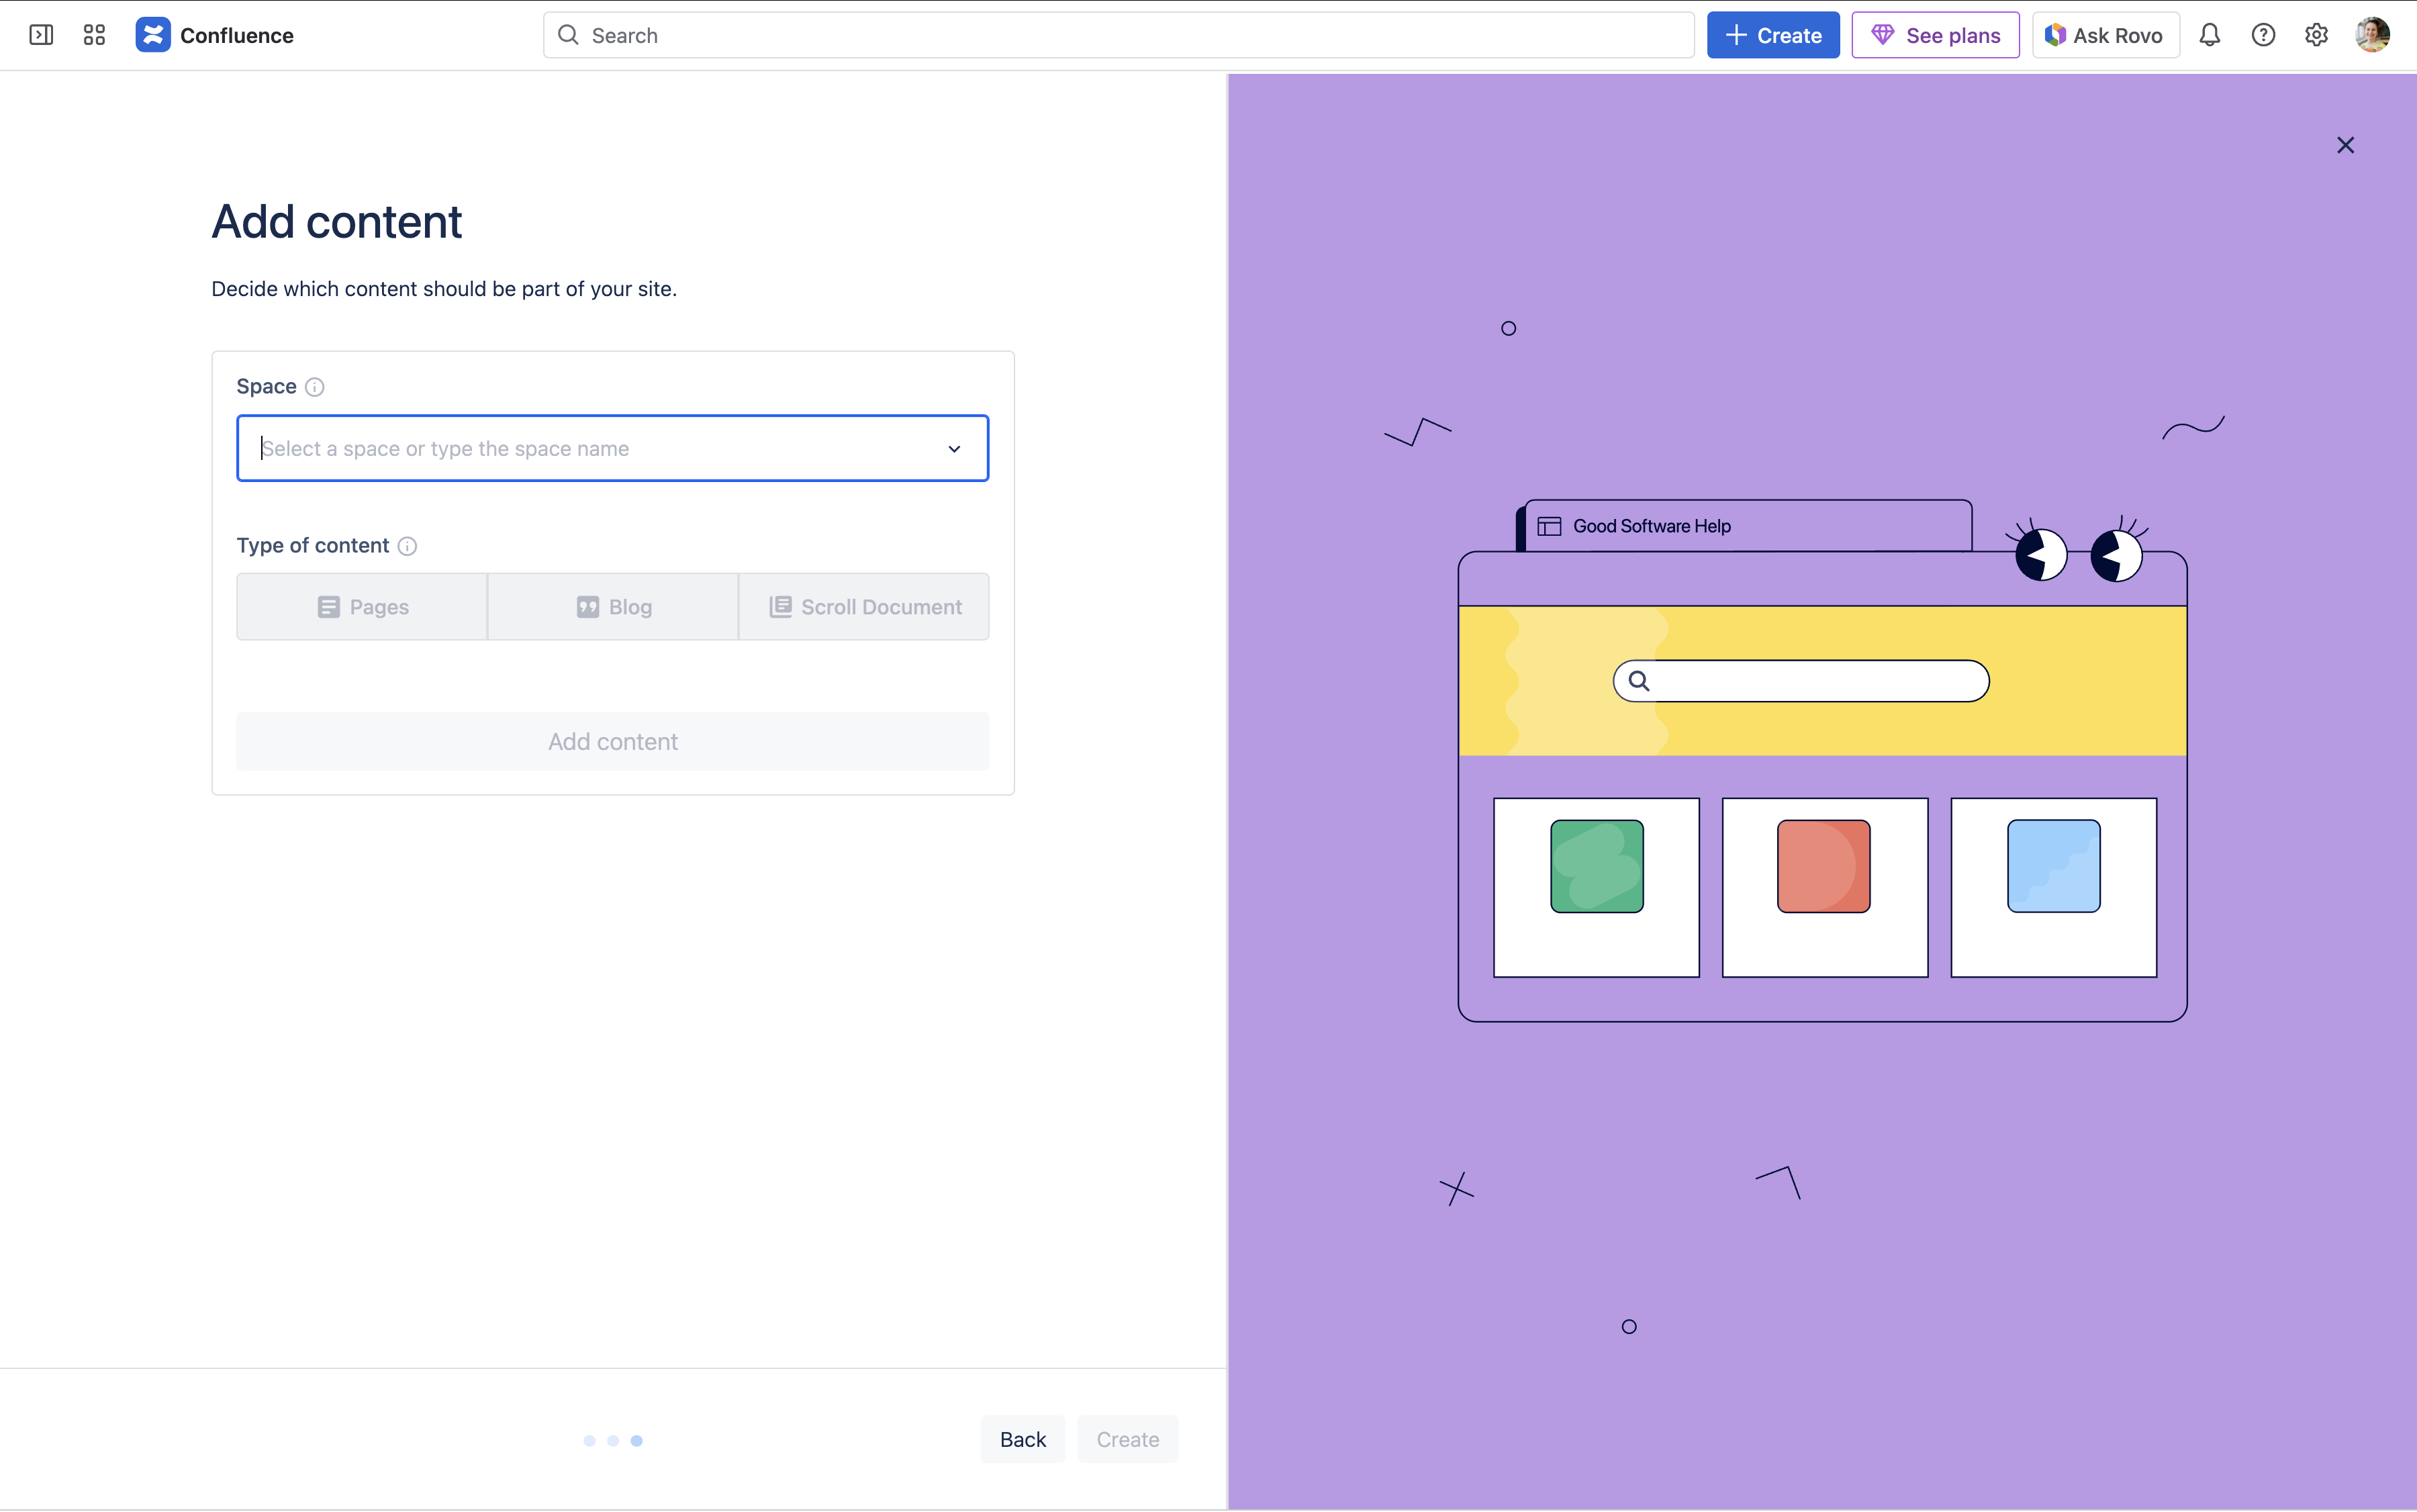
7 |
Use the Space dropdown to select the Confluence space from where your content for the site should be pulled in. |
|
|
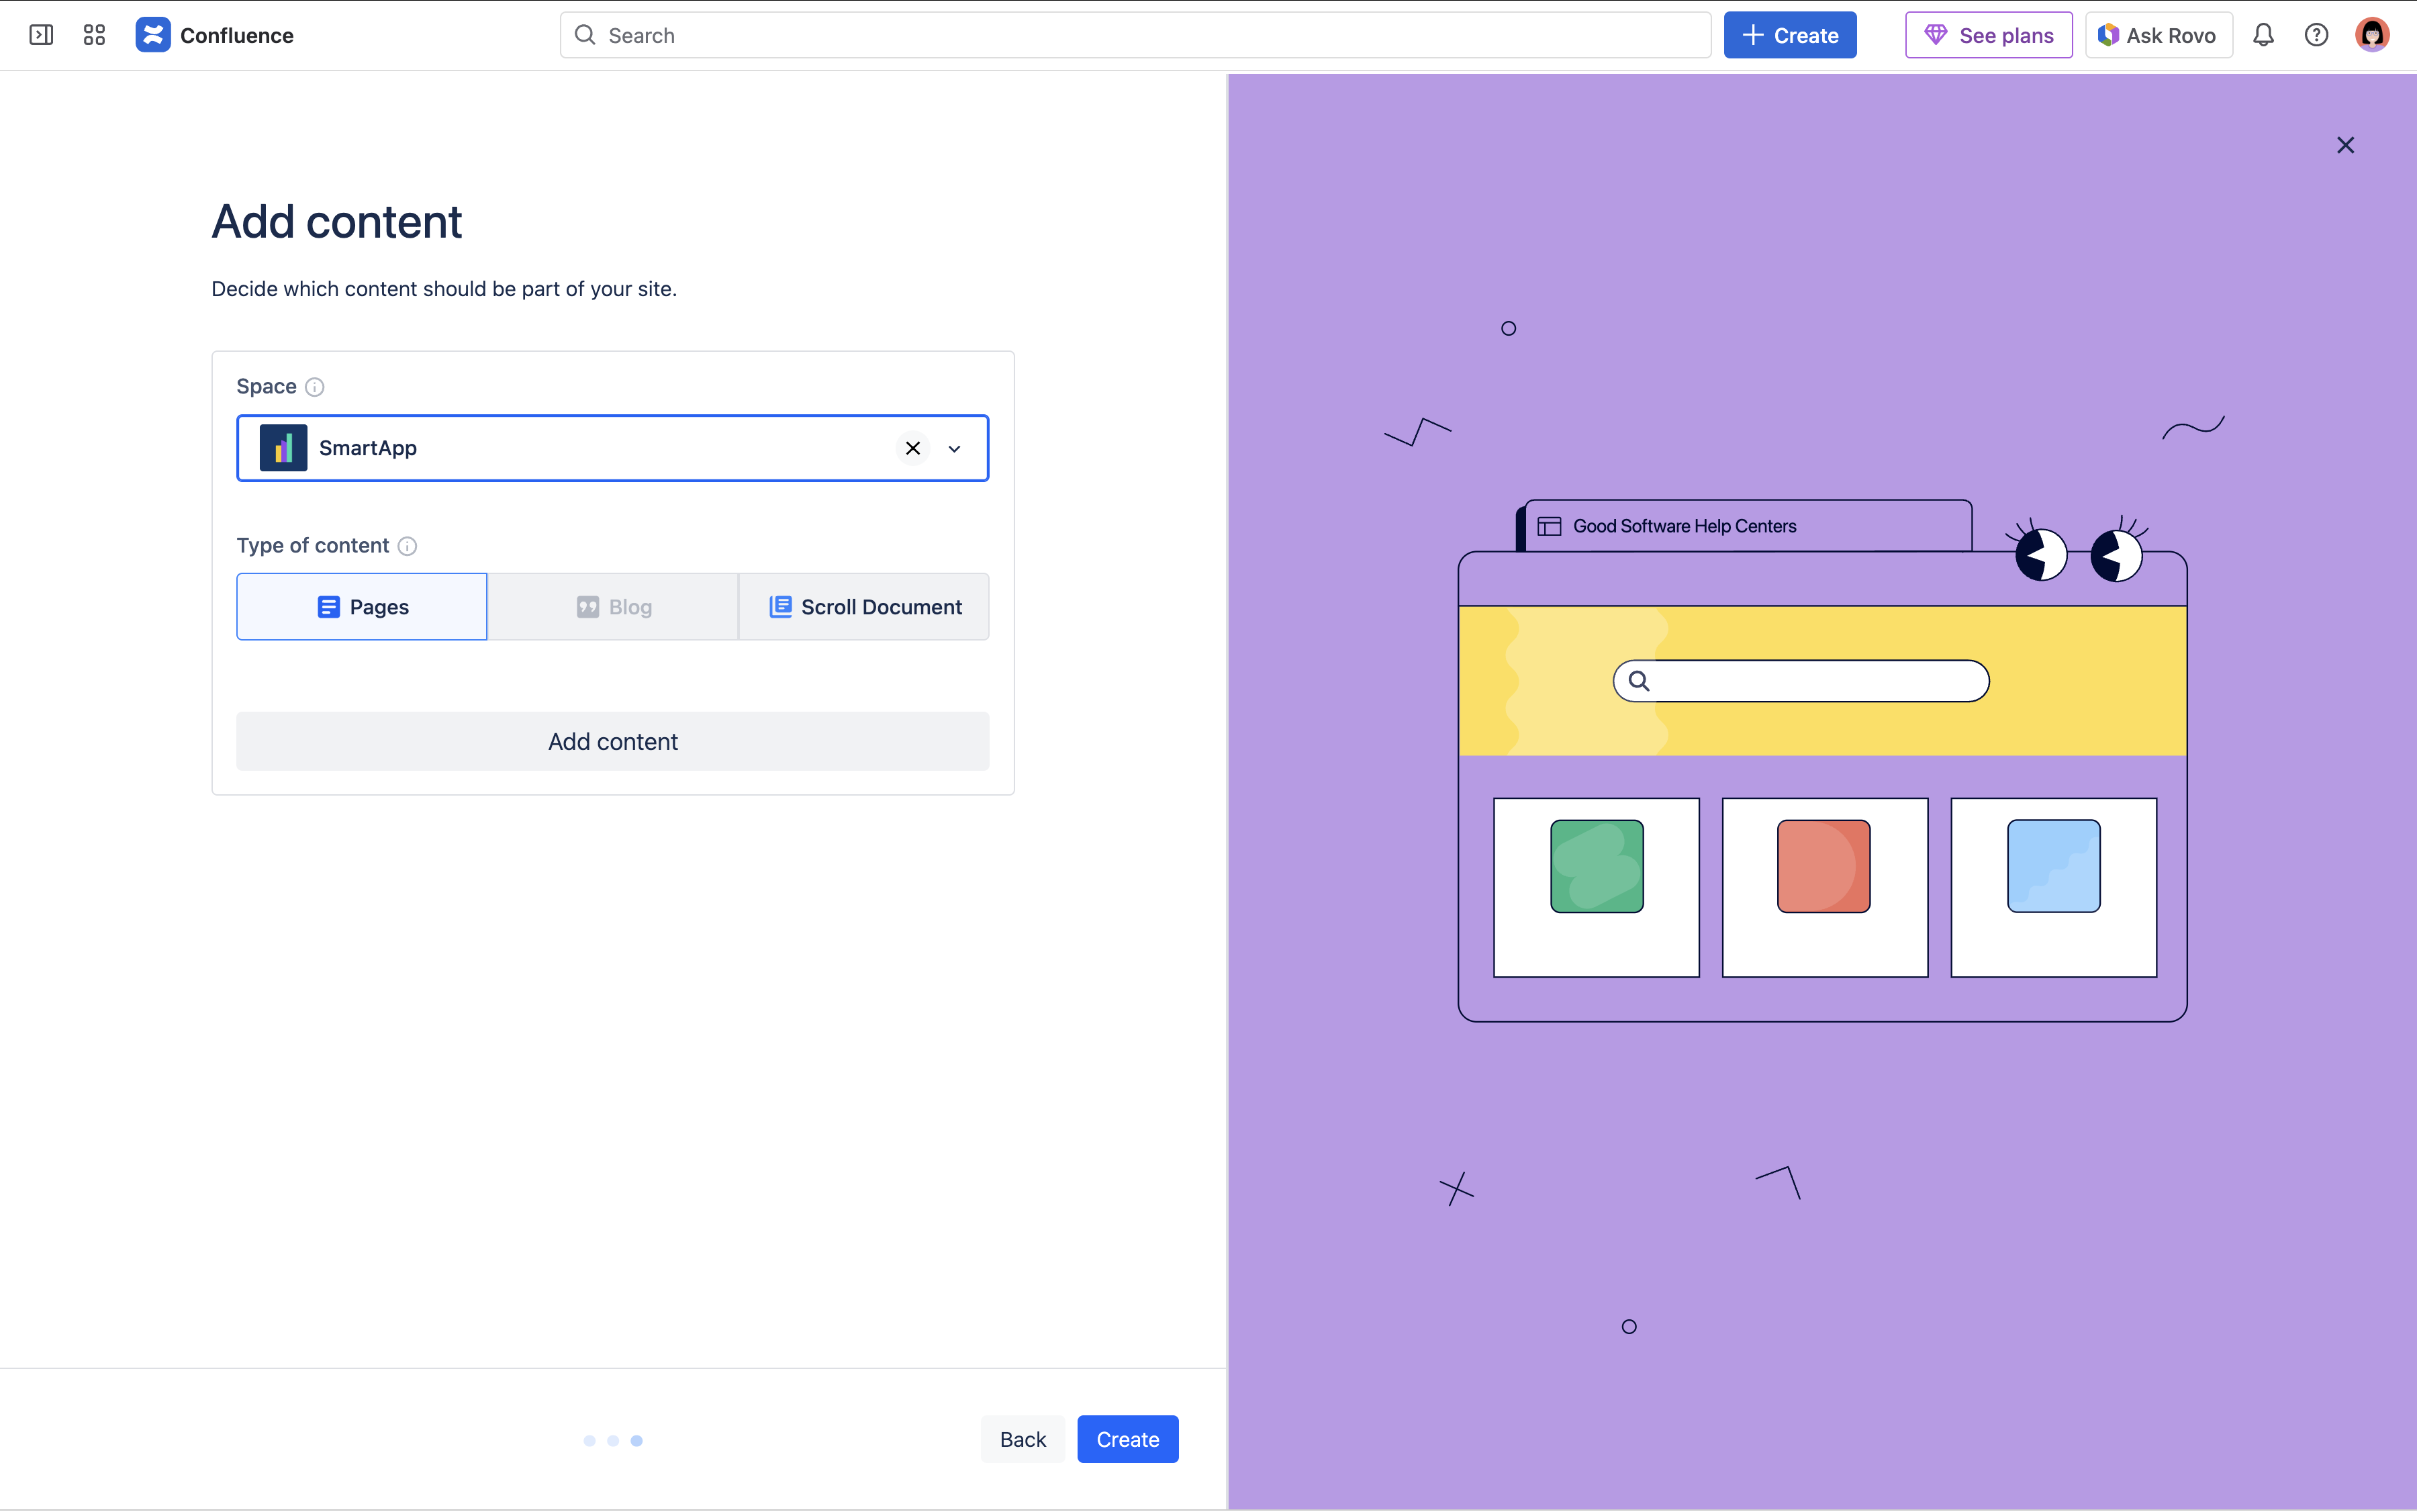
8 |
Once you picked a space, you can select which type of content you want to include in your site. You have the option to select either all normal pages of the space, or only the pages of a specific Scroll Content Manager. For now, just select Pages. ℹ️ Info: You can learn more about content source types and Scroll Content Manager on Add and Remove Content Sources at a later time. |
|
|
9 |
Click Create to create your help center site. |
Publish Your Help Center site
|
Steps |
Screenshots |
|
|---|---|---|
|
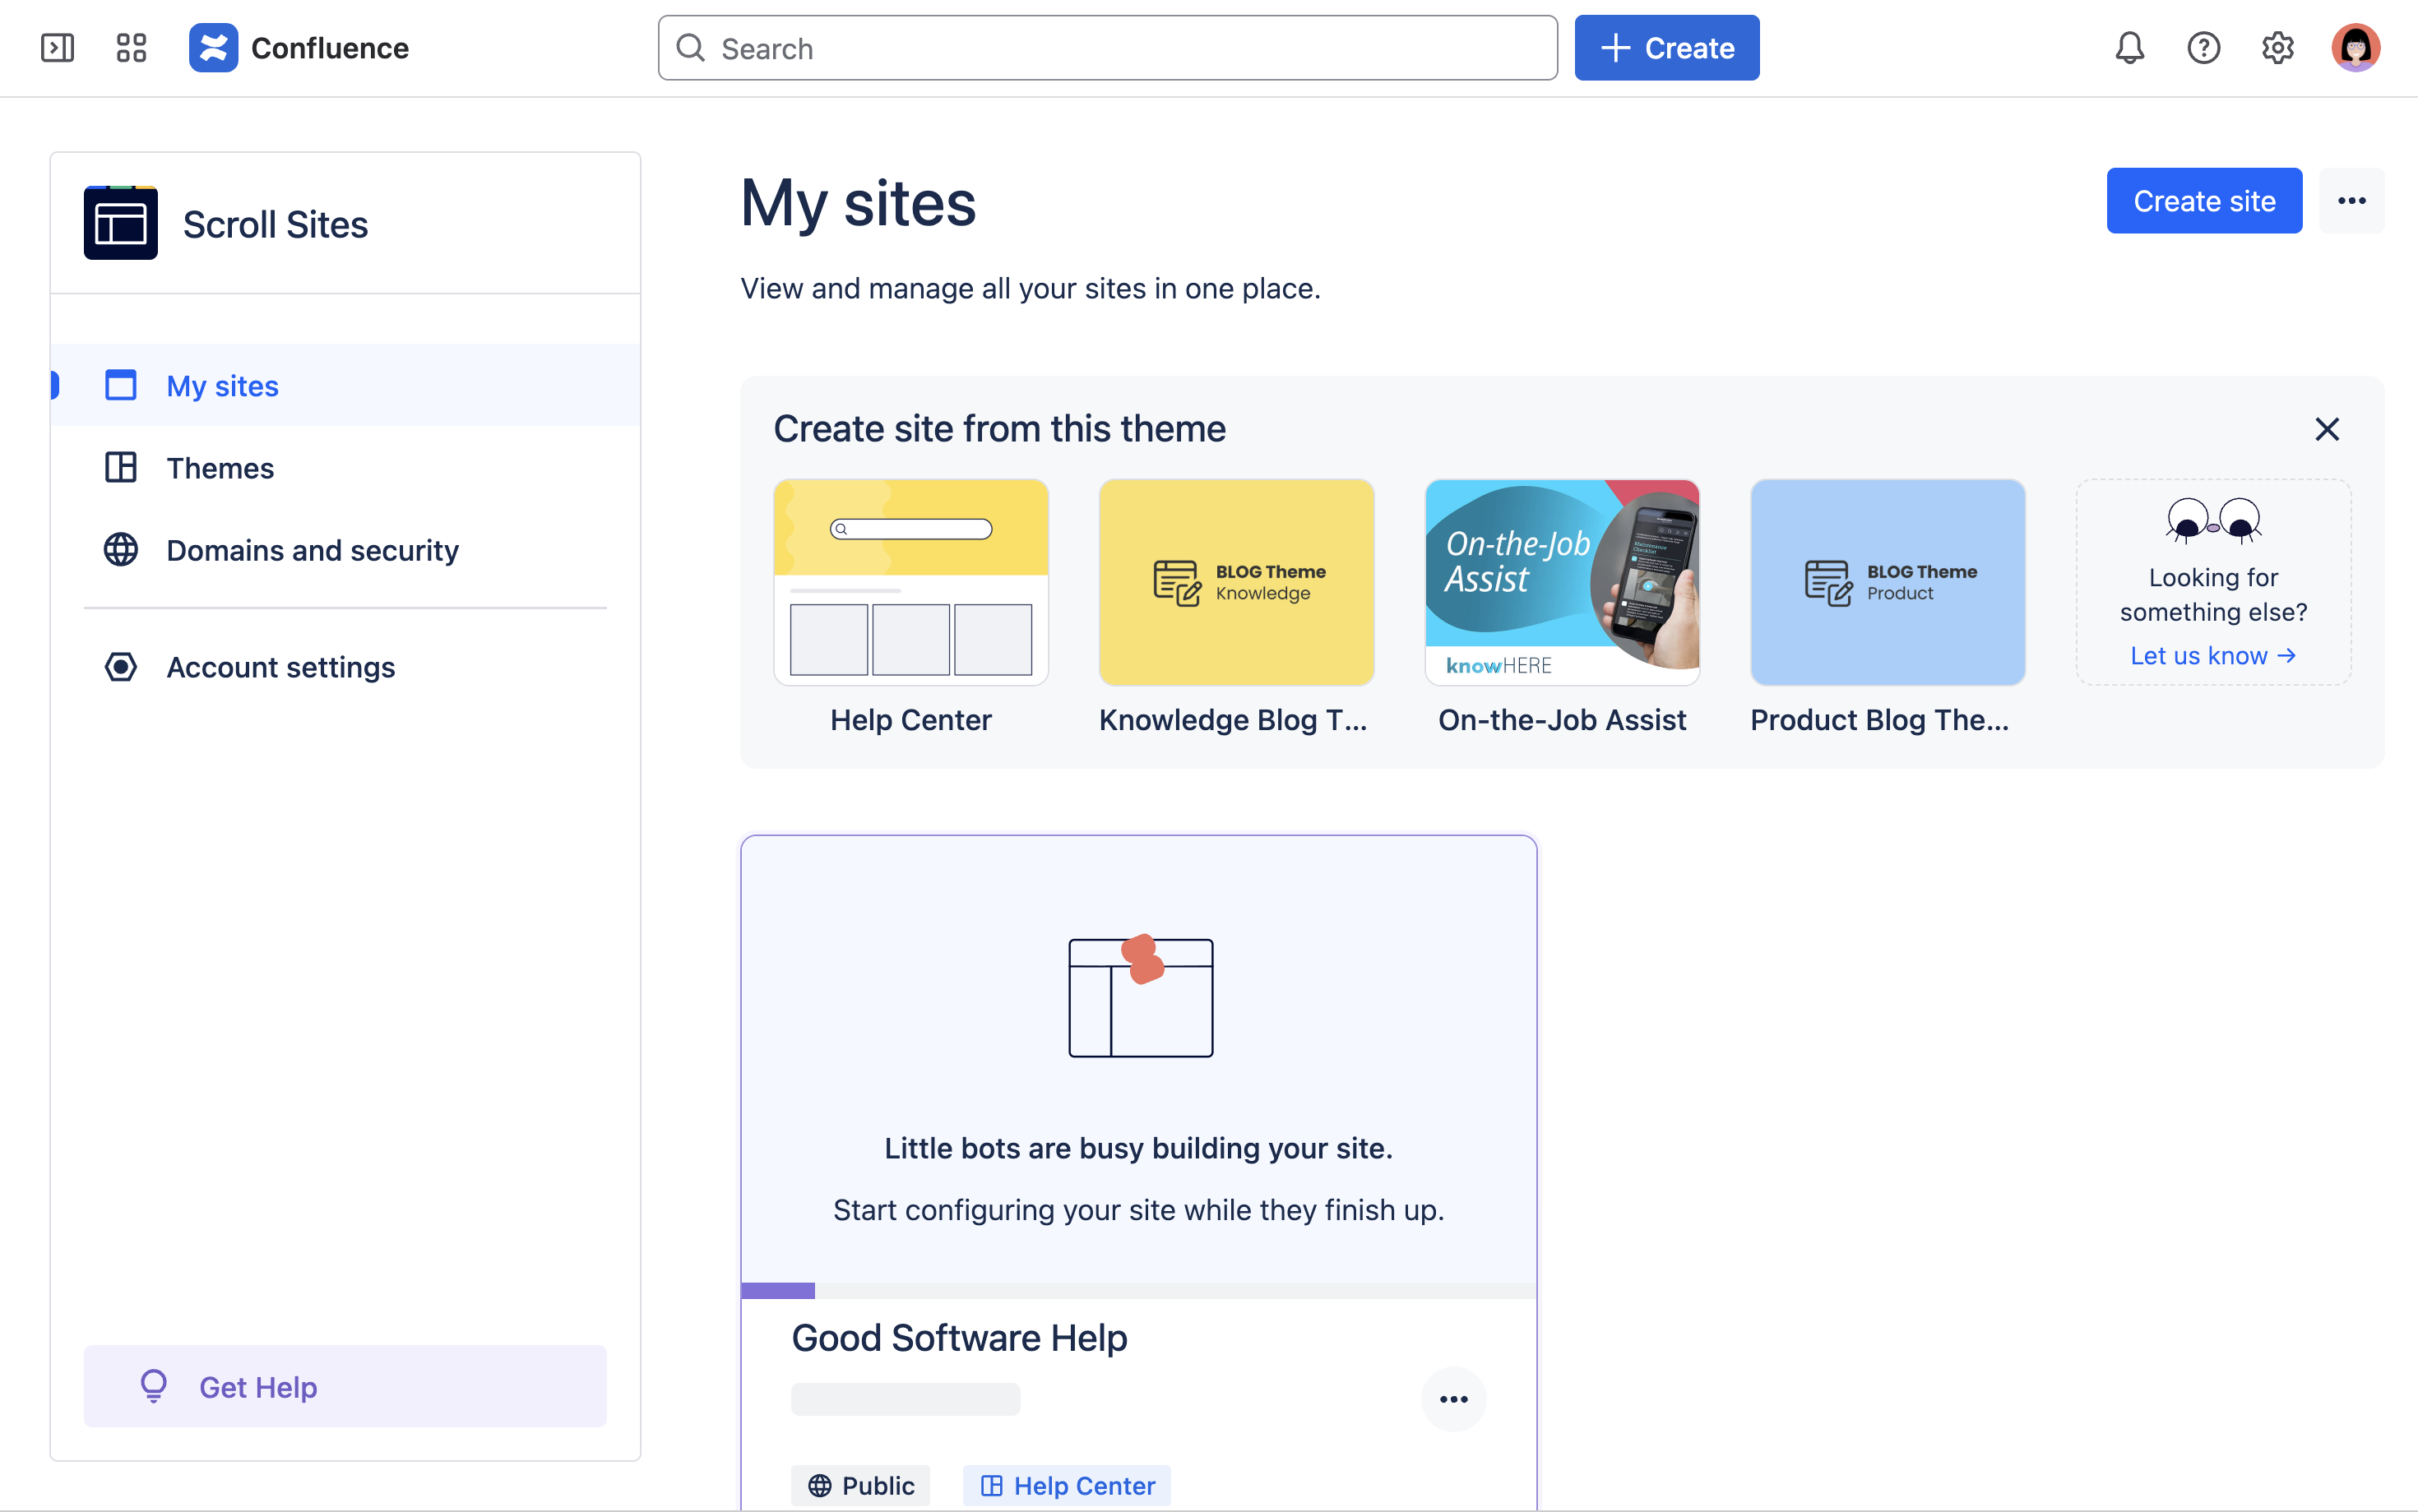
1 |
You are now navigated back to the My sites screen where you’ll see your new site appear. Click into the site card to further details about your site. |
|
|
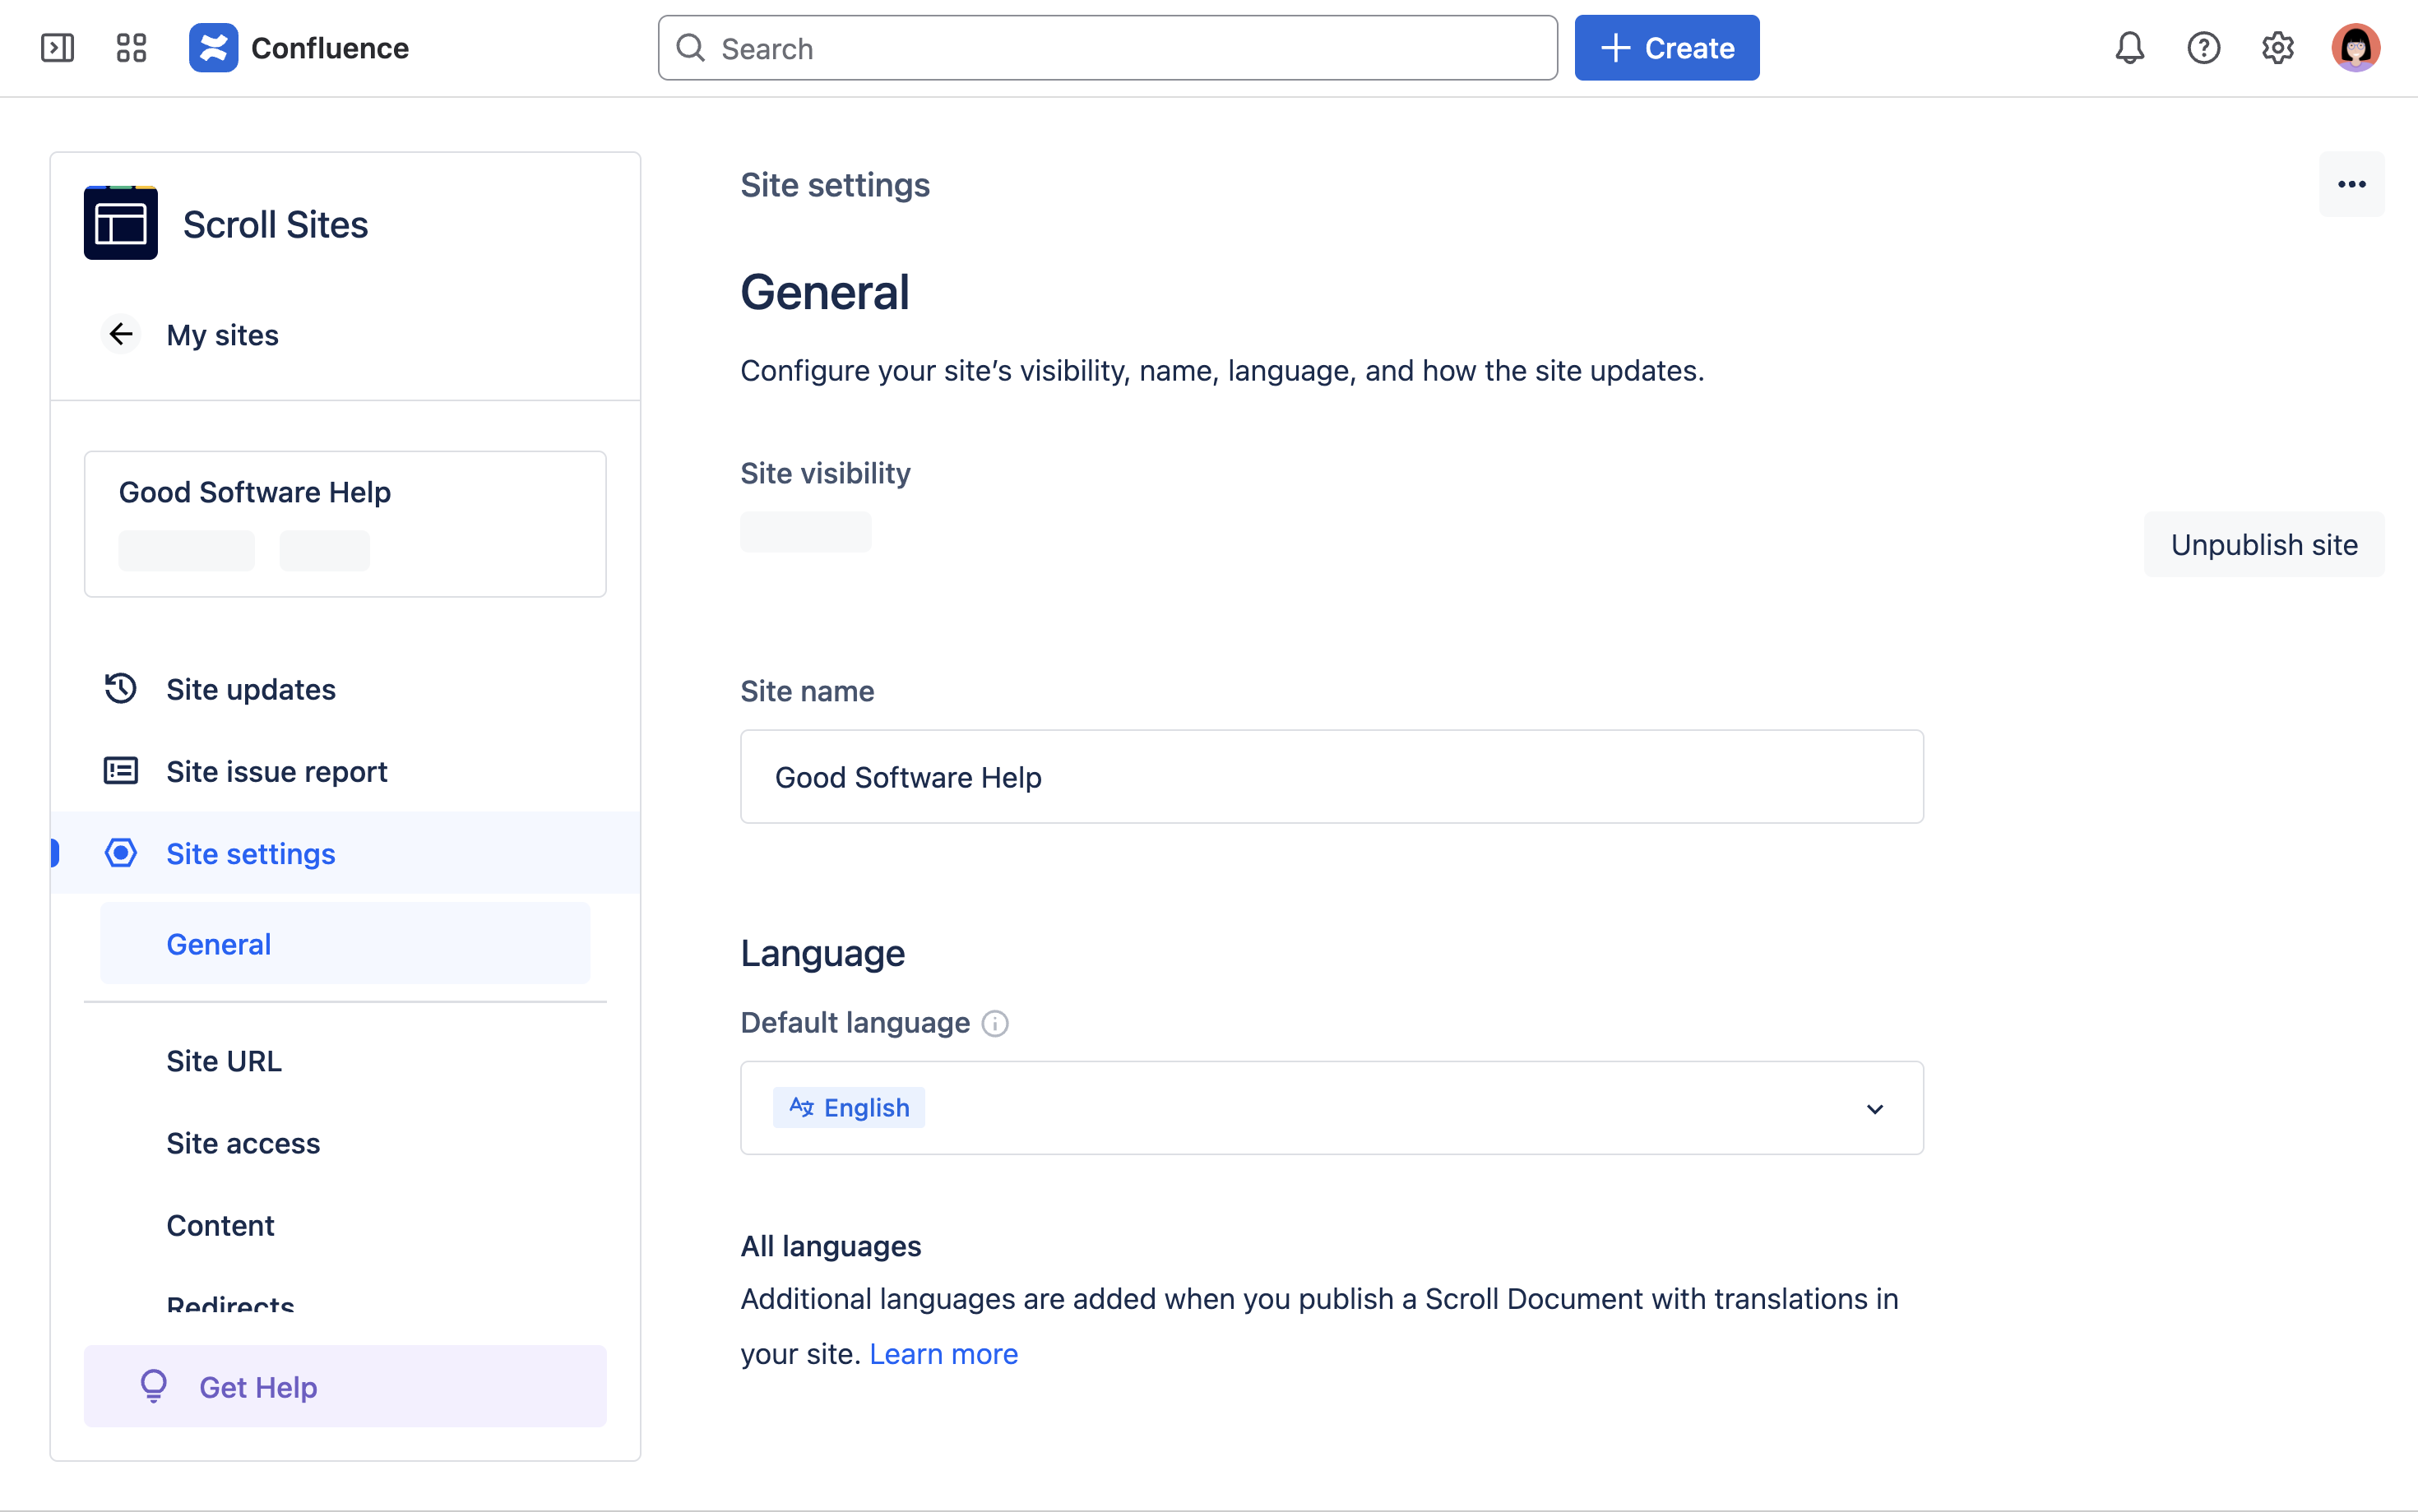
2 |
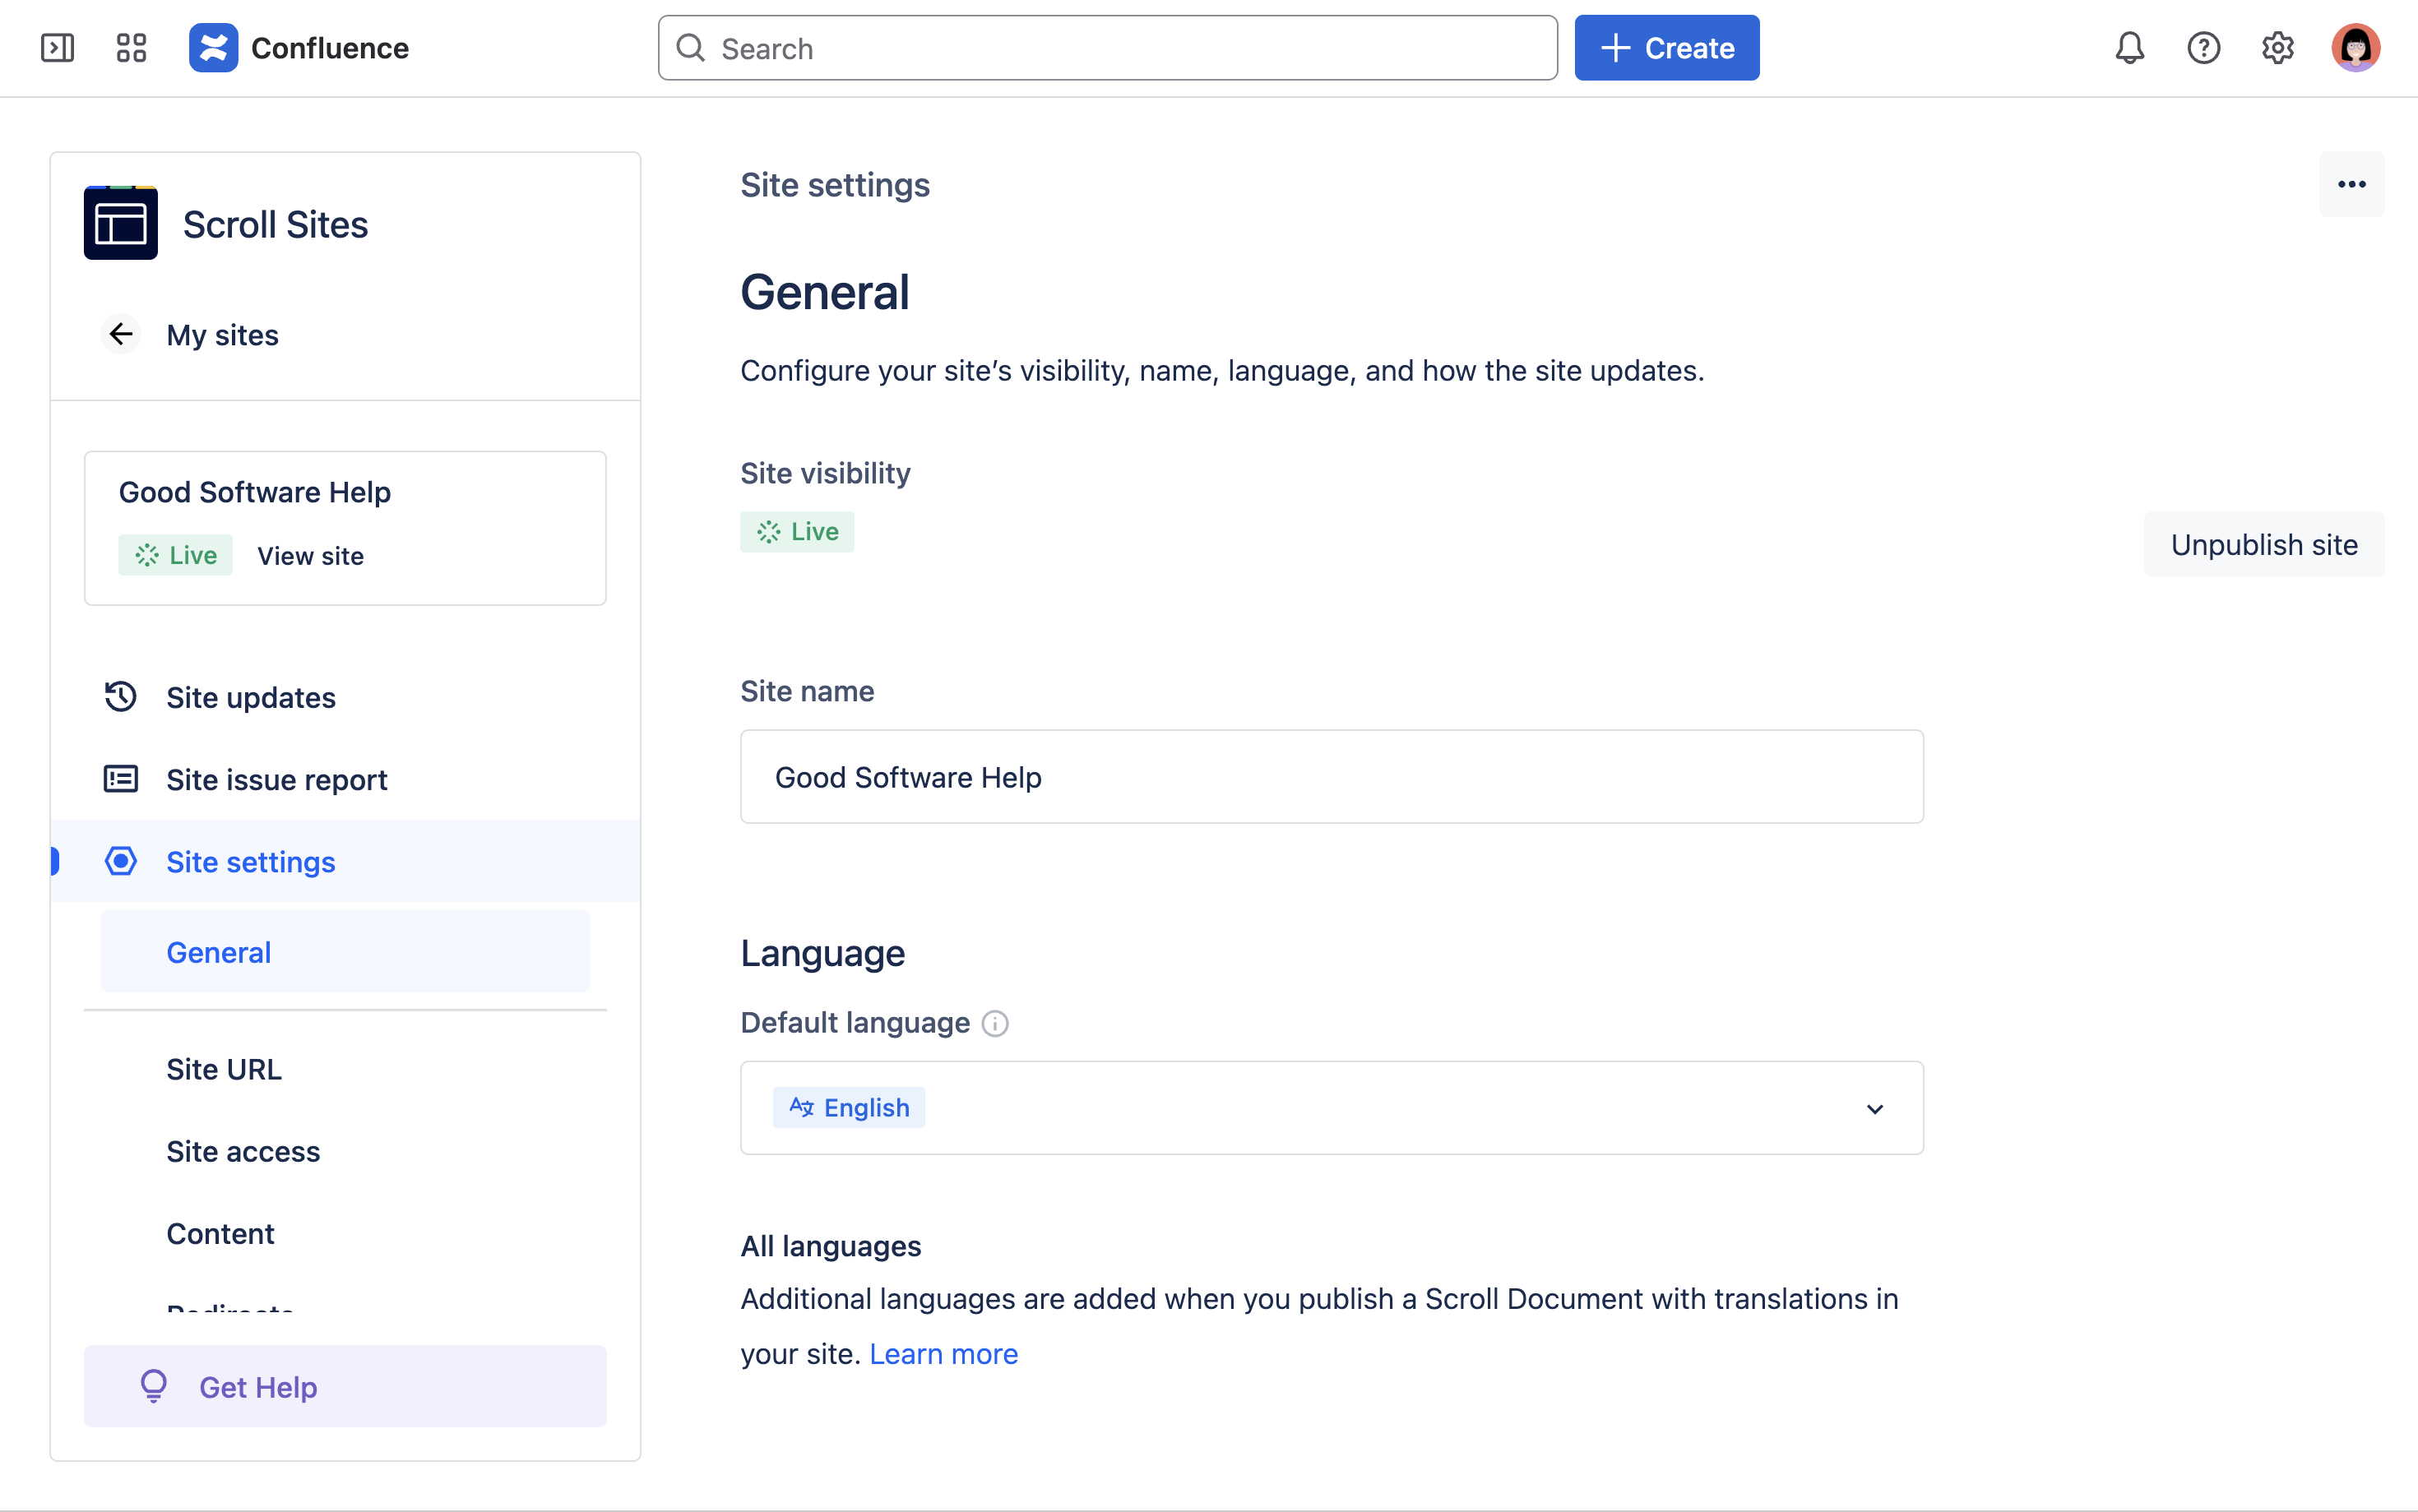
Wait for the site to be fully created and published to the web. While you wait, feel free to browse through the site settings. |
|
|
3 |
Congratulations! 🎉 You've just created and published your first help center with Confluence and Scroll Sites. You can now click View site in the left sidebar to check out your newly published help center. |
|
Scroll Sites: What’s next?
With your new help center in place, it’s time to get the most out of Scroll Sites. Please visit Scroll Sites' app documentation to learn everything you need to know to better educate and enable your users. For example:
-
Customize the Look and Feel: Take a tour of all the available theme and learn how to customize everything in the help center theme from headers, footers, pages, and more. You’ll also learn to add your own custom CSS or JavaScript if needed.
-
Manage Content for a Site: Decide exactly how and where your users will consume your documentation on the site.
-
Configure Access to a Site: Configure a custom domain, customize URLs, set up site protection, and much more.
Scroll Apps: Let’s Continue
Help center: Check! When you have time, dive deeper into the Scroll Apps to start better managing your content and delivering the right information to the right user in the right format:
-
Scroll Exporters: Export Documentation to PDF, Word, or HTML
-
Scroll Content Manager: Manage Versions, Variants, and Translations of Your Content