There are three ways to get your existing documentation into Confluence, but for the scope of this tutorial, we will focus on importing Word documents.
This is particularily useful if you have a lot of content stored in existing documents, or if you are migrating from another system or platform that allows you to export to Word format.
Before you begin
Make sure you have completed at least the first two steps of the Getting Started guide before working through this tutorial.
Disclaimer
Confluence comes with an out-of-the-box Word file importer, but the import process is very nuanced and comes with its limitations and pitfalls. Therefore, while it is not required, we highly recommend that you go through https://community.atlassian.com/t5/Confluence-articles/Michelle-s-quot-Five-Stages-of-Word-Import-quot-Survival-Guide/ba-p/1584915 before importing your Word documents into Confluence.
Import Word documents
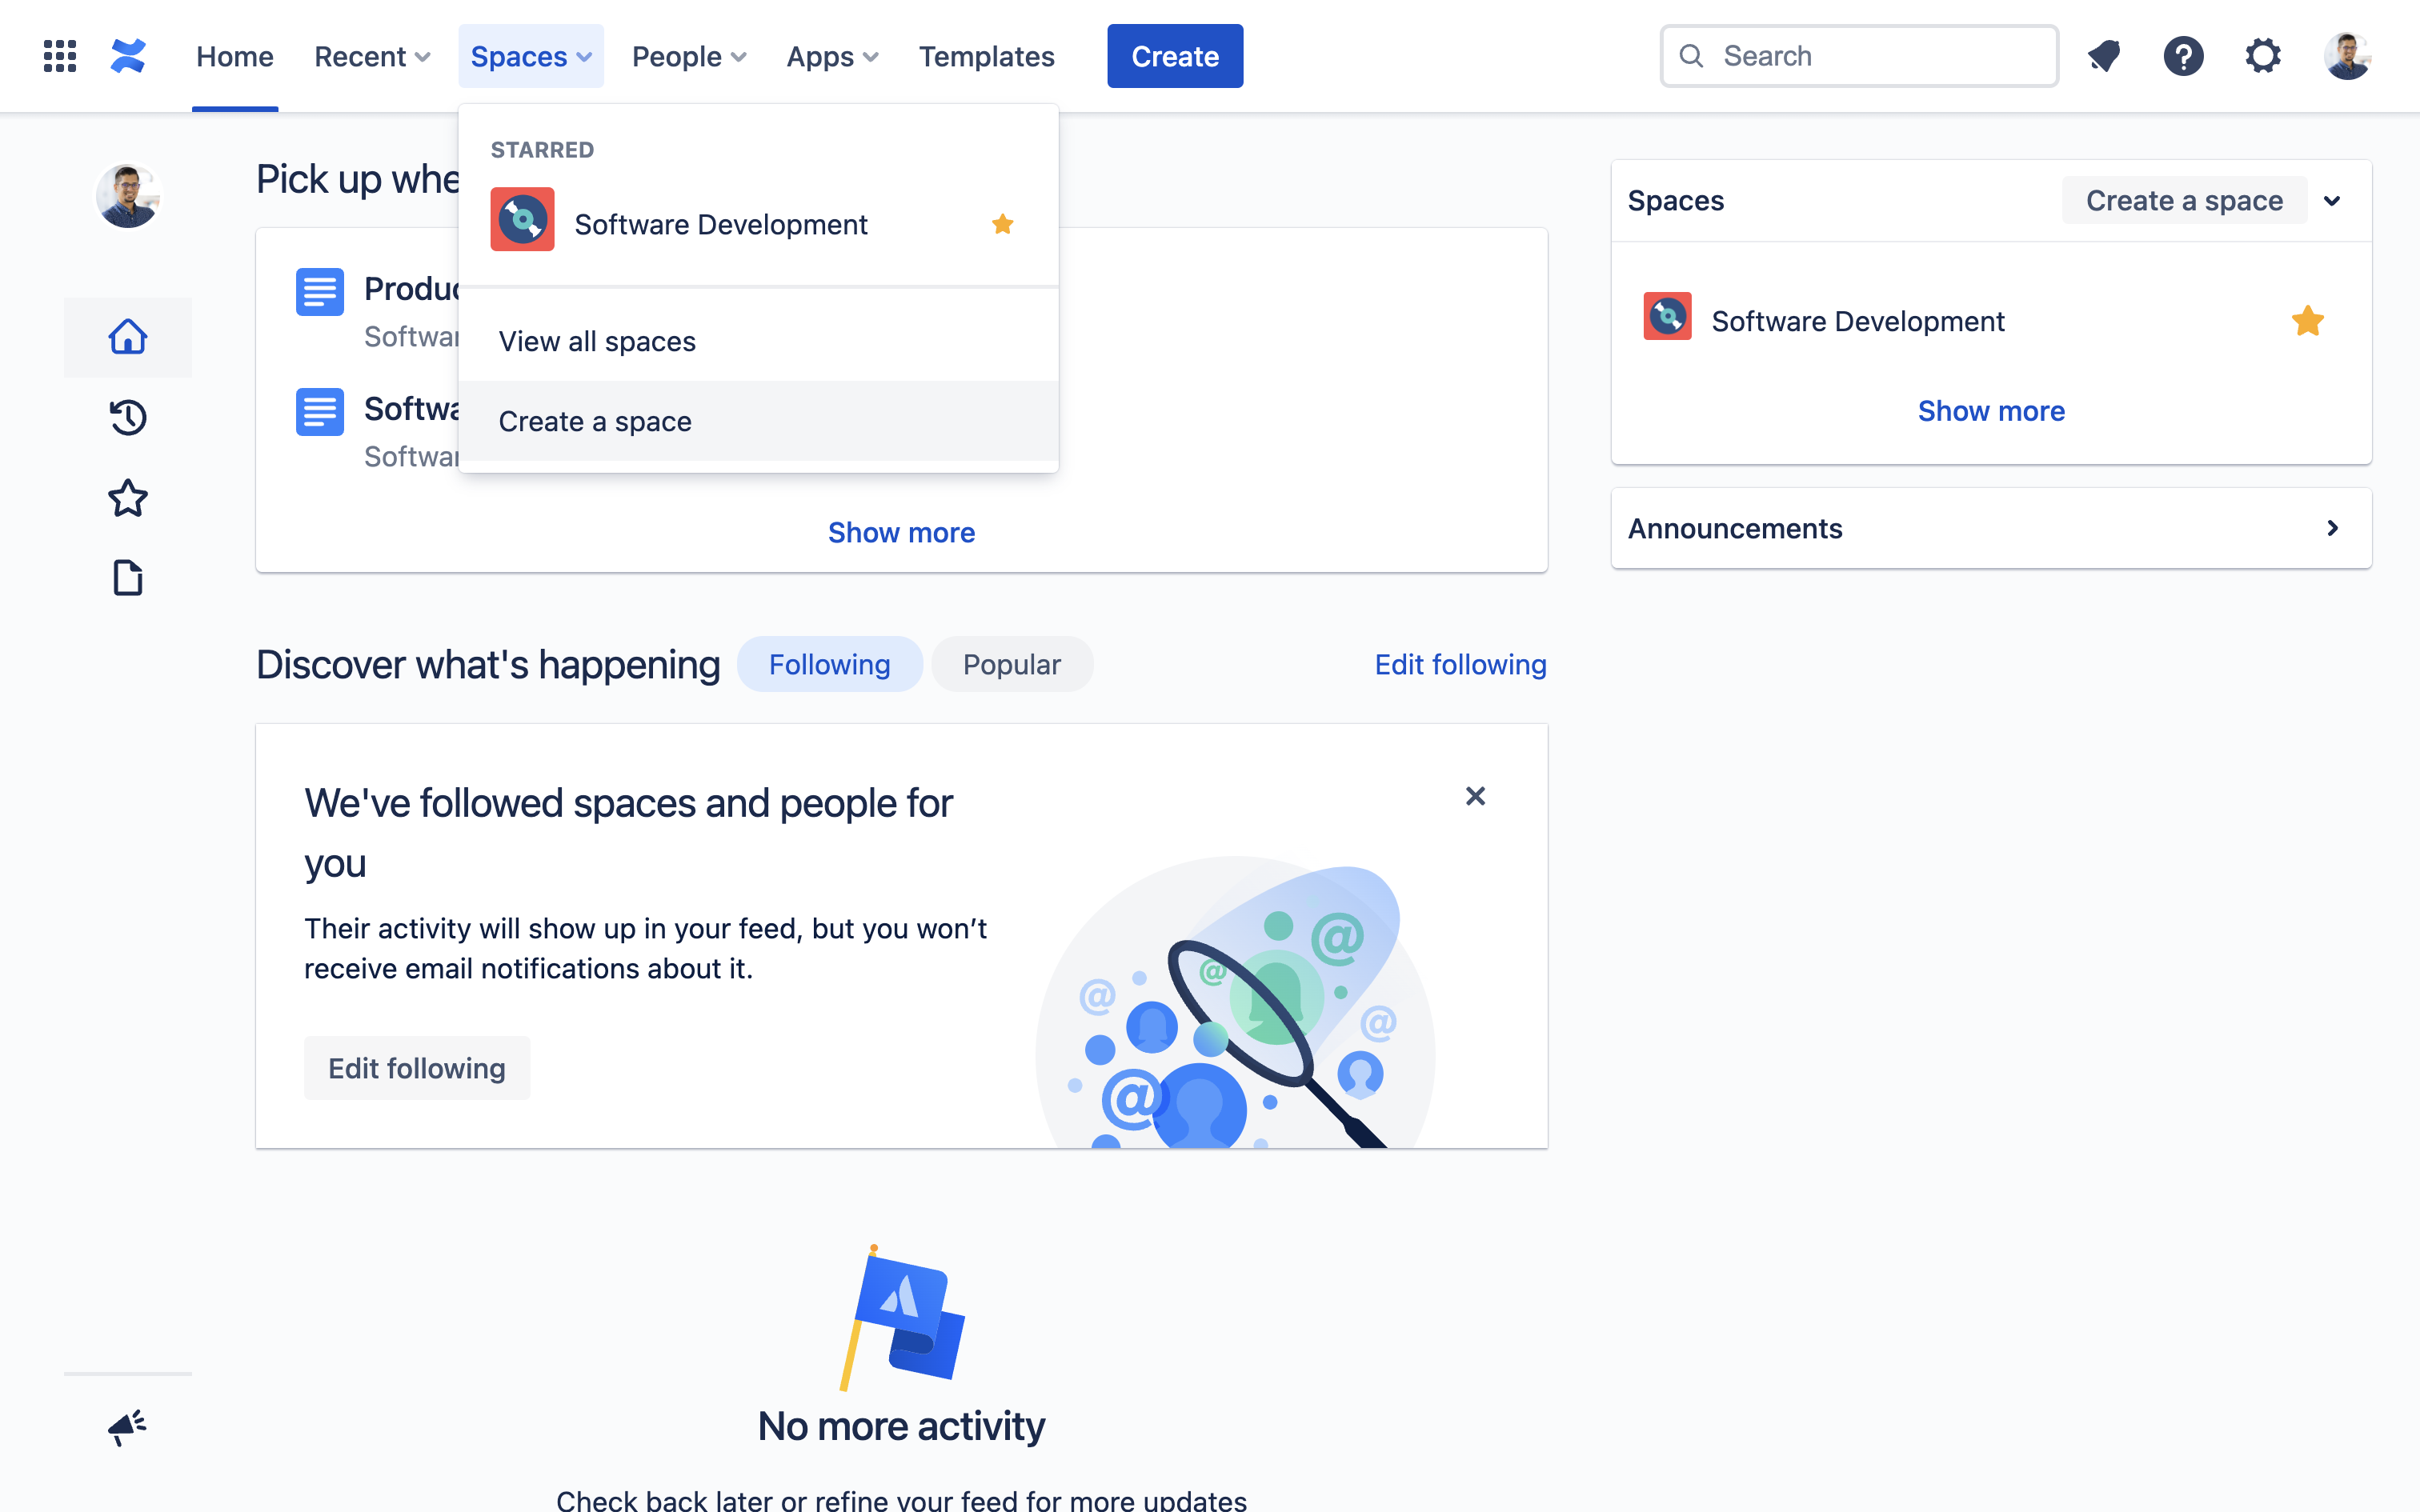
Create a Confluence space
Tip: If you are not already starting out with a clean new space, we highly recommend that you create one. This reduces the risk of breaking any existing spaces or content in your Confluence instance. Once you are happy with your documentation, you can easily move it to a different location.
|
1 |
To create a new space, from the Confluence menu click Space → Create a space.
|
|
|
2 |
In the dialog that pops up, click Create. |

|
|
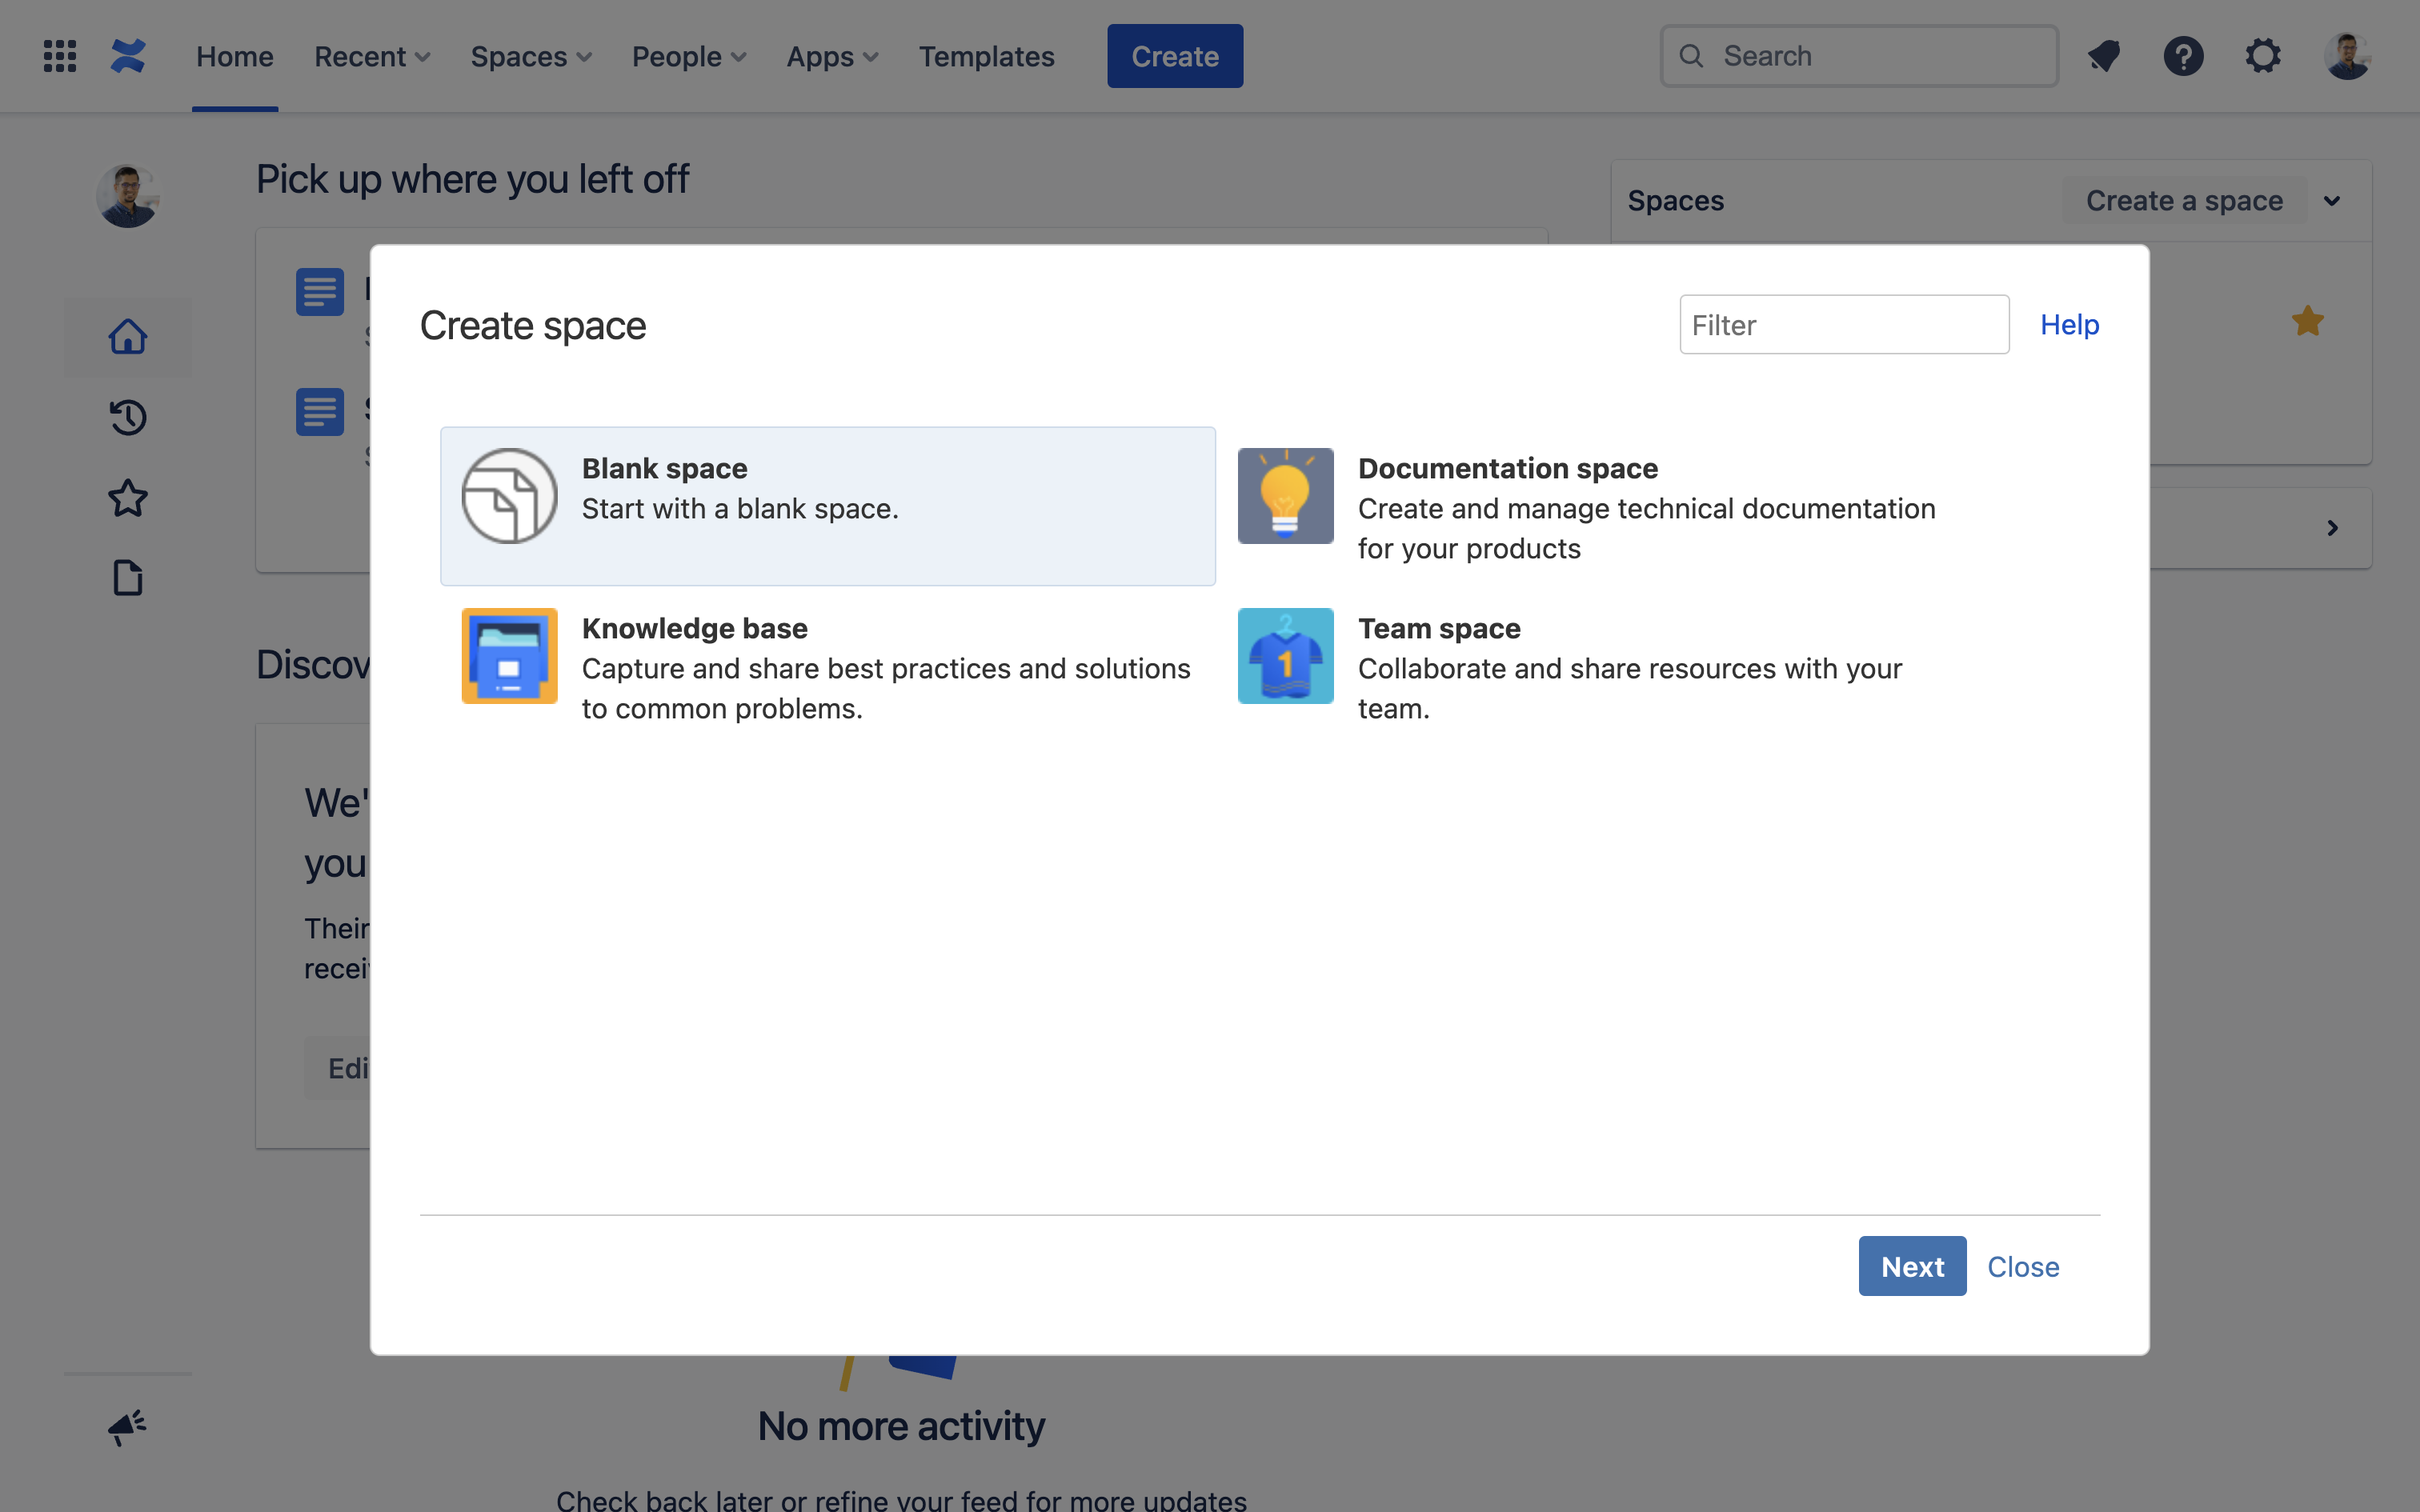
3 |
In the following step, select Blank space and click Next.
ℹ️ Info: It may feel counterproductive to use the Blank space instead of the Documentation space template. But the former is a better choice when importing your exiting documentation into Confluence, while the later is best suited for creating your documentation in Confluence from scratch. |
|
|
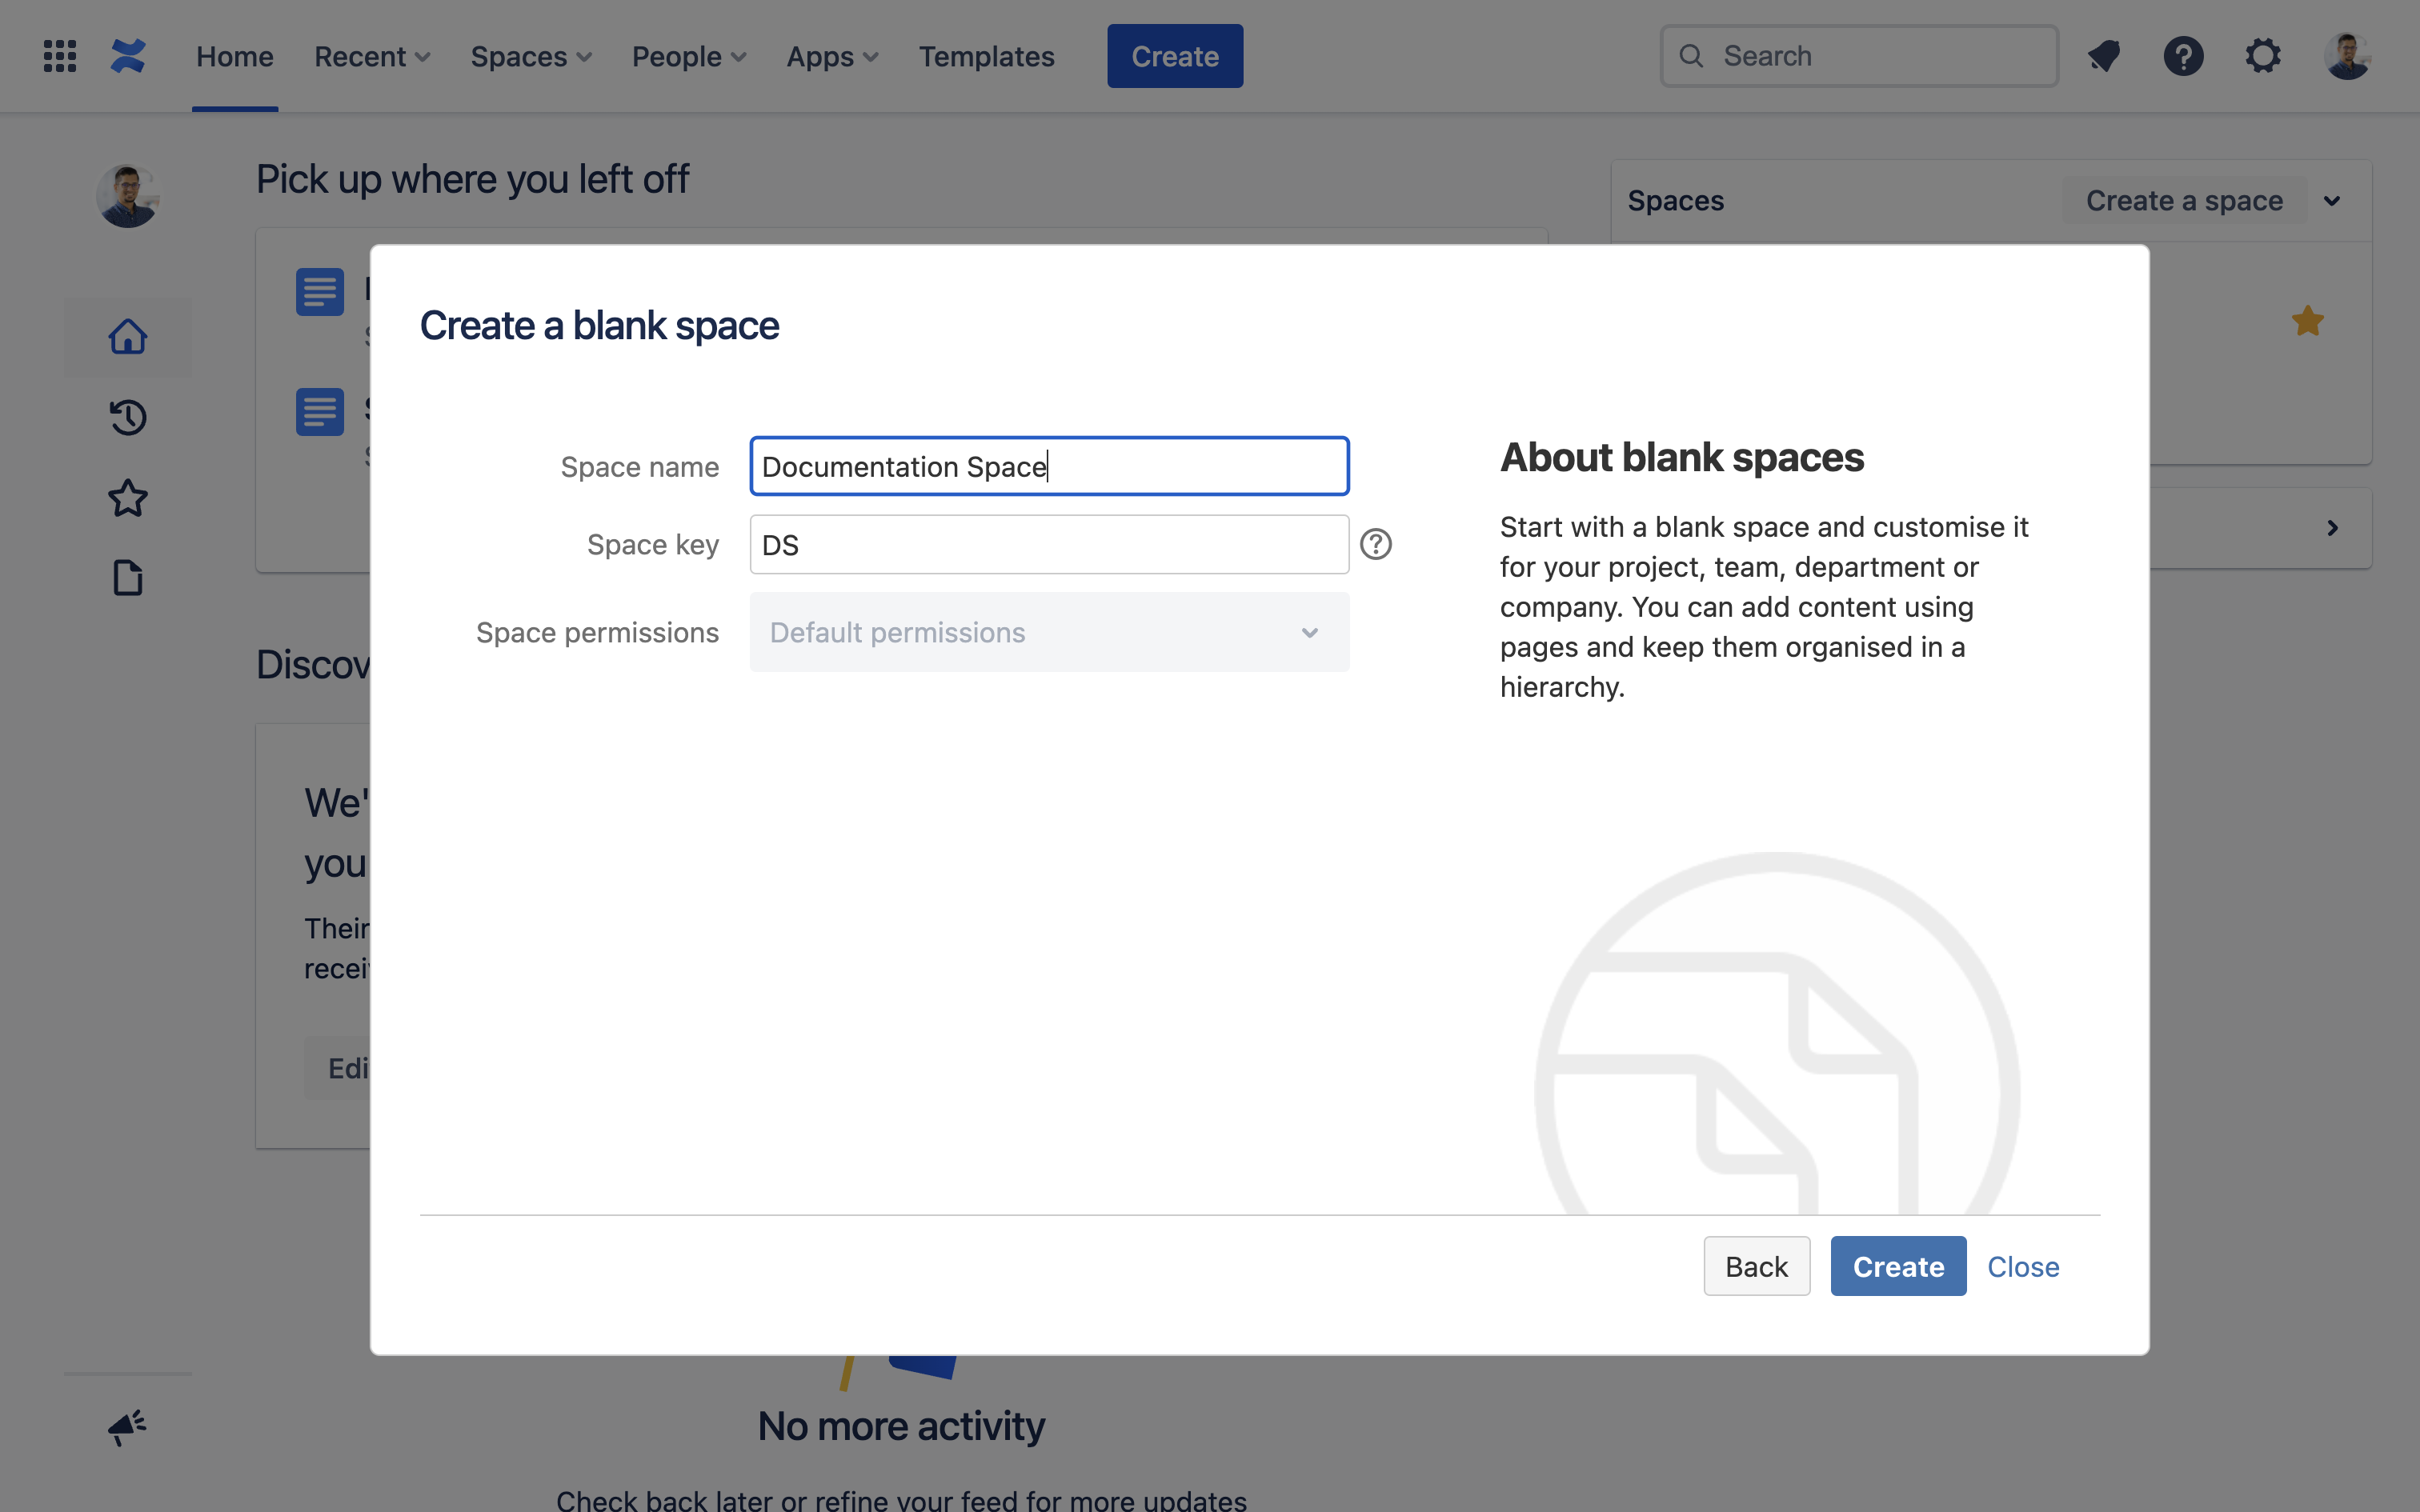
4 |
In the next step, provide a meaningful Space name and click Create. |
|
|
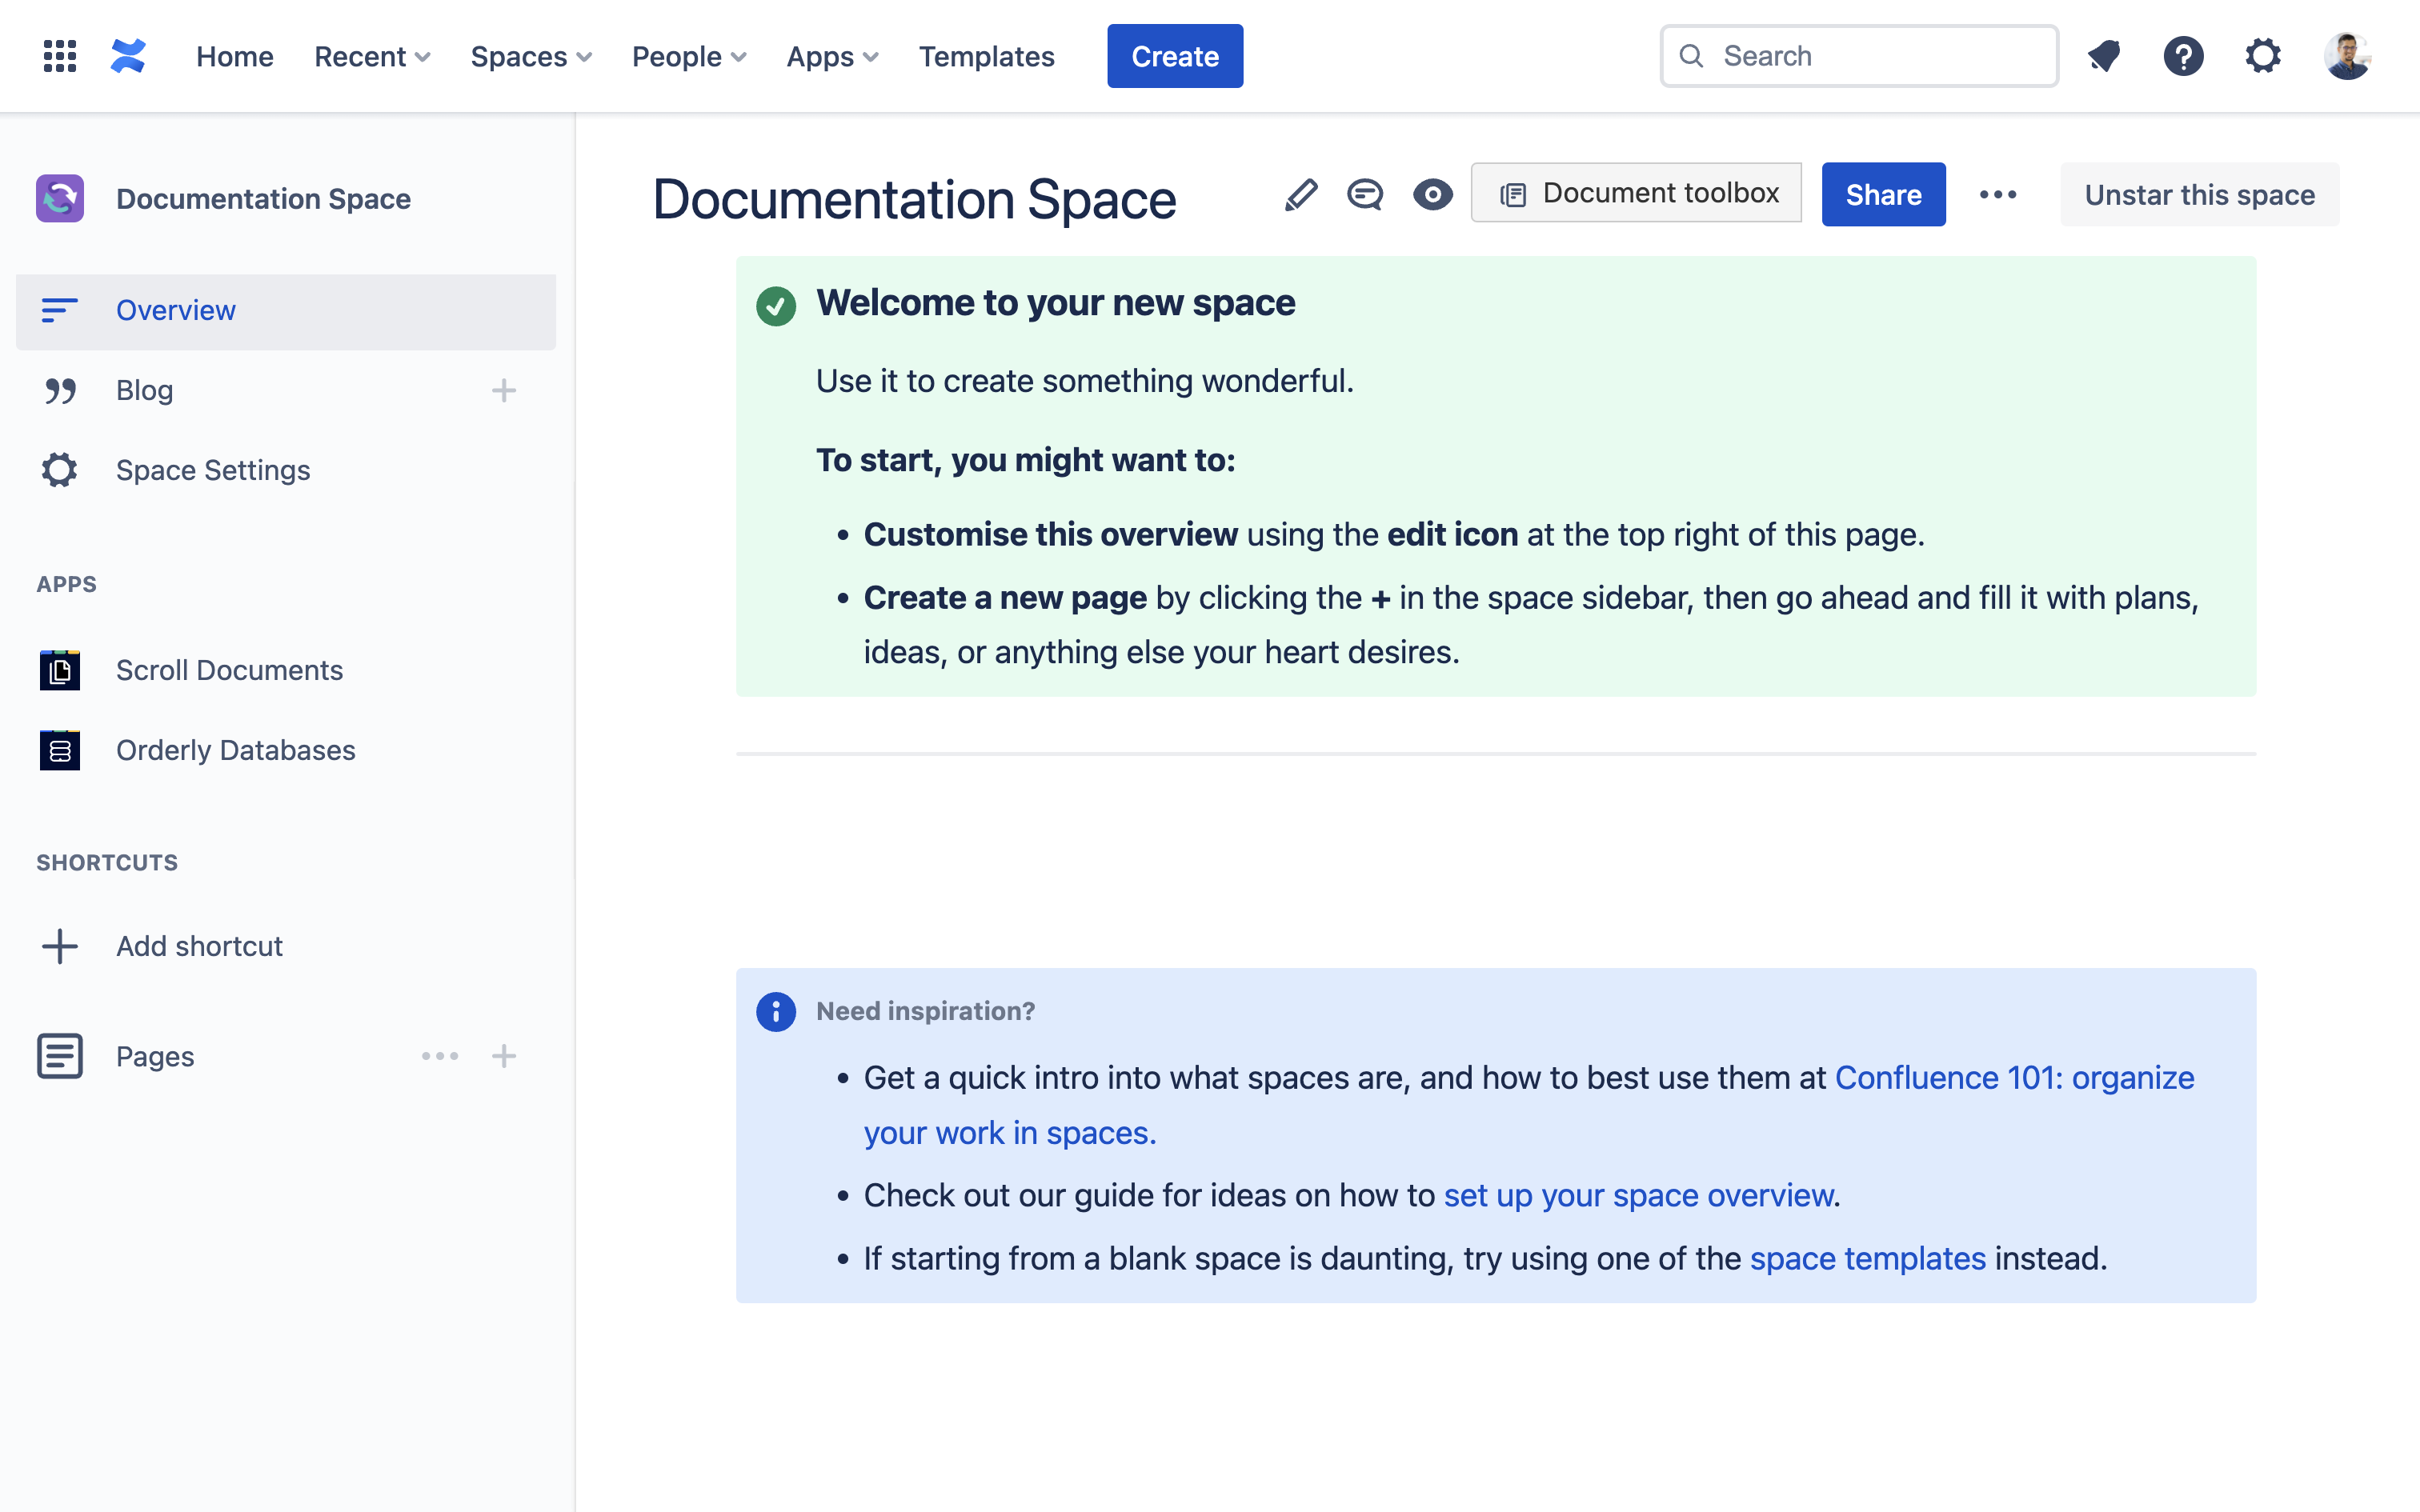
5 |
Congratulations! 🎉 Not only are you one step closer to importing your documentation into Confluence, you also learnt how to create a new Confluence space. In the following step, you will import your word file into the space. |
|
Import your Word file
|
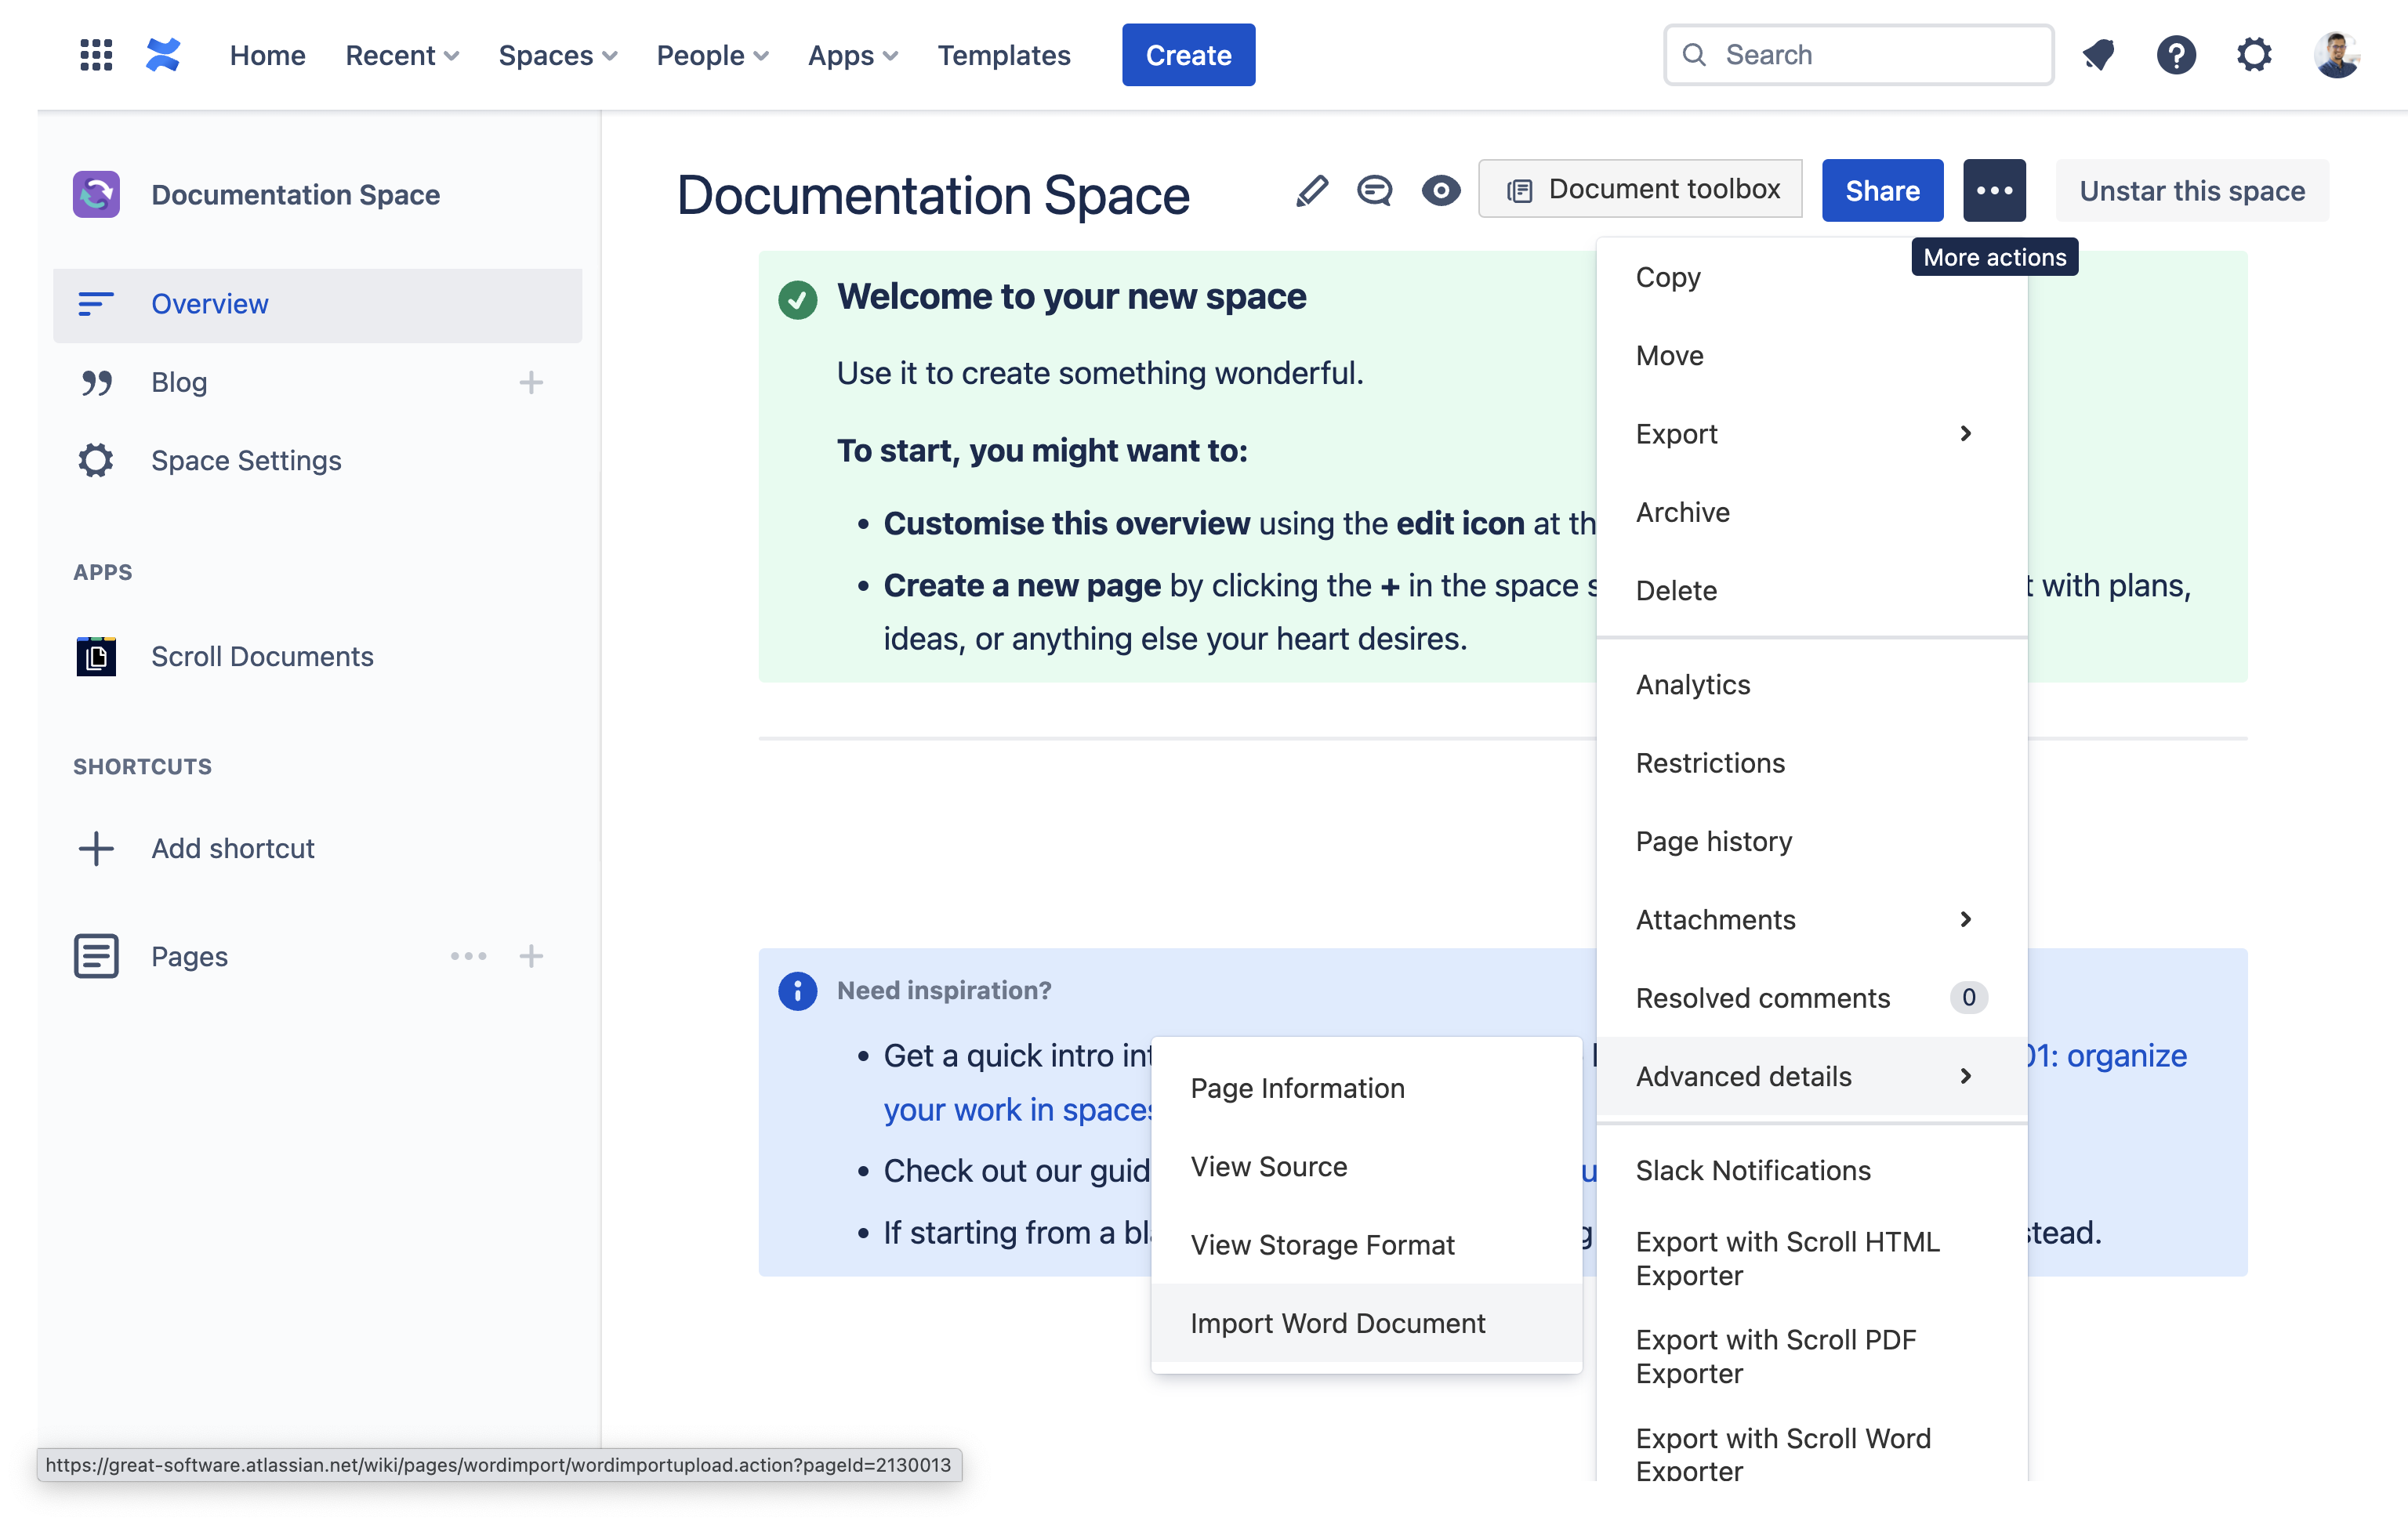
1 |
To start importing your word file -
|
|
|
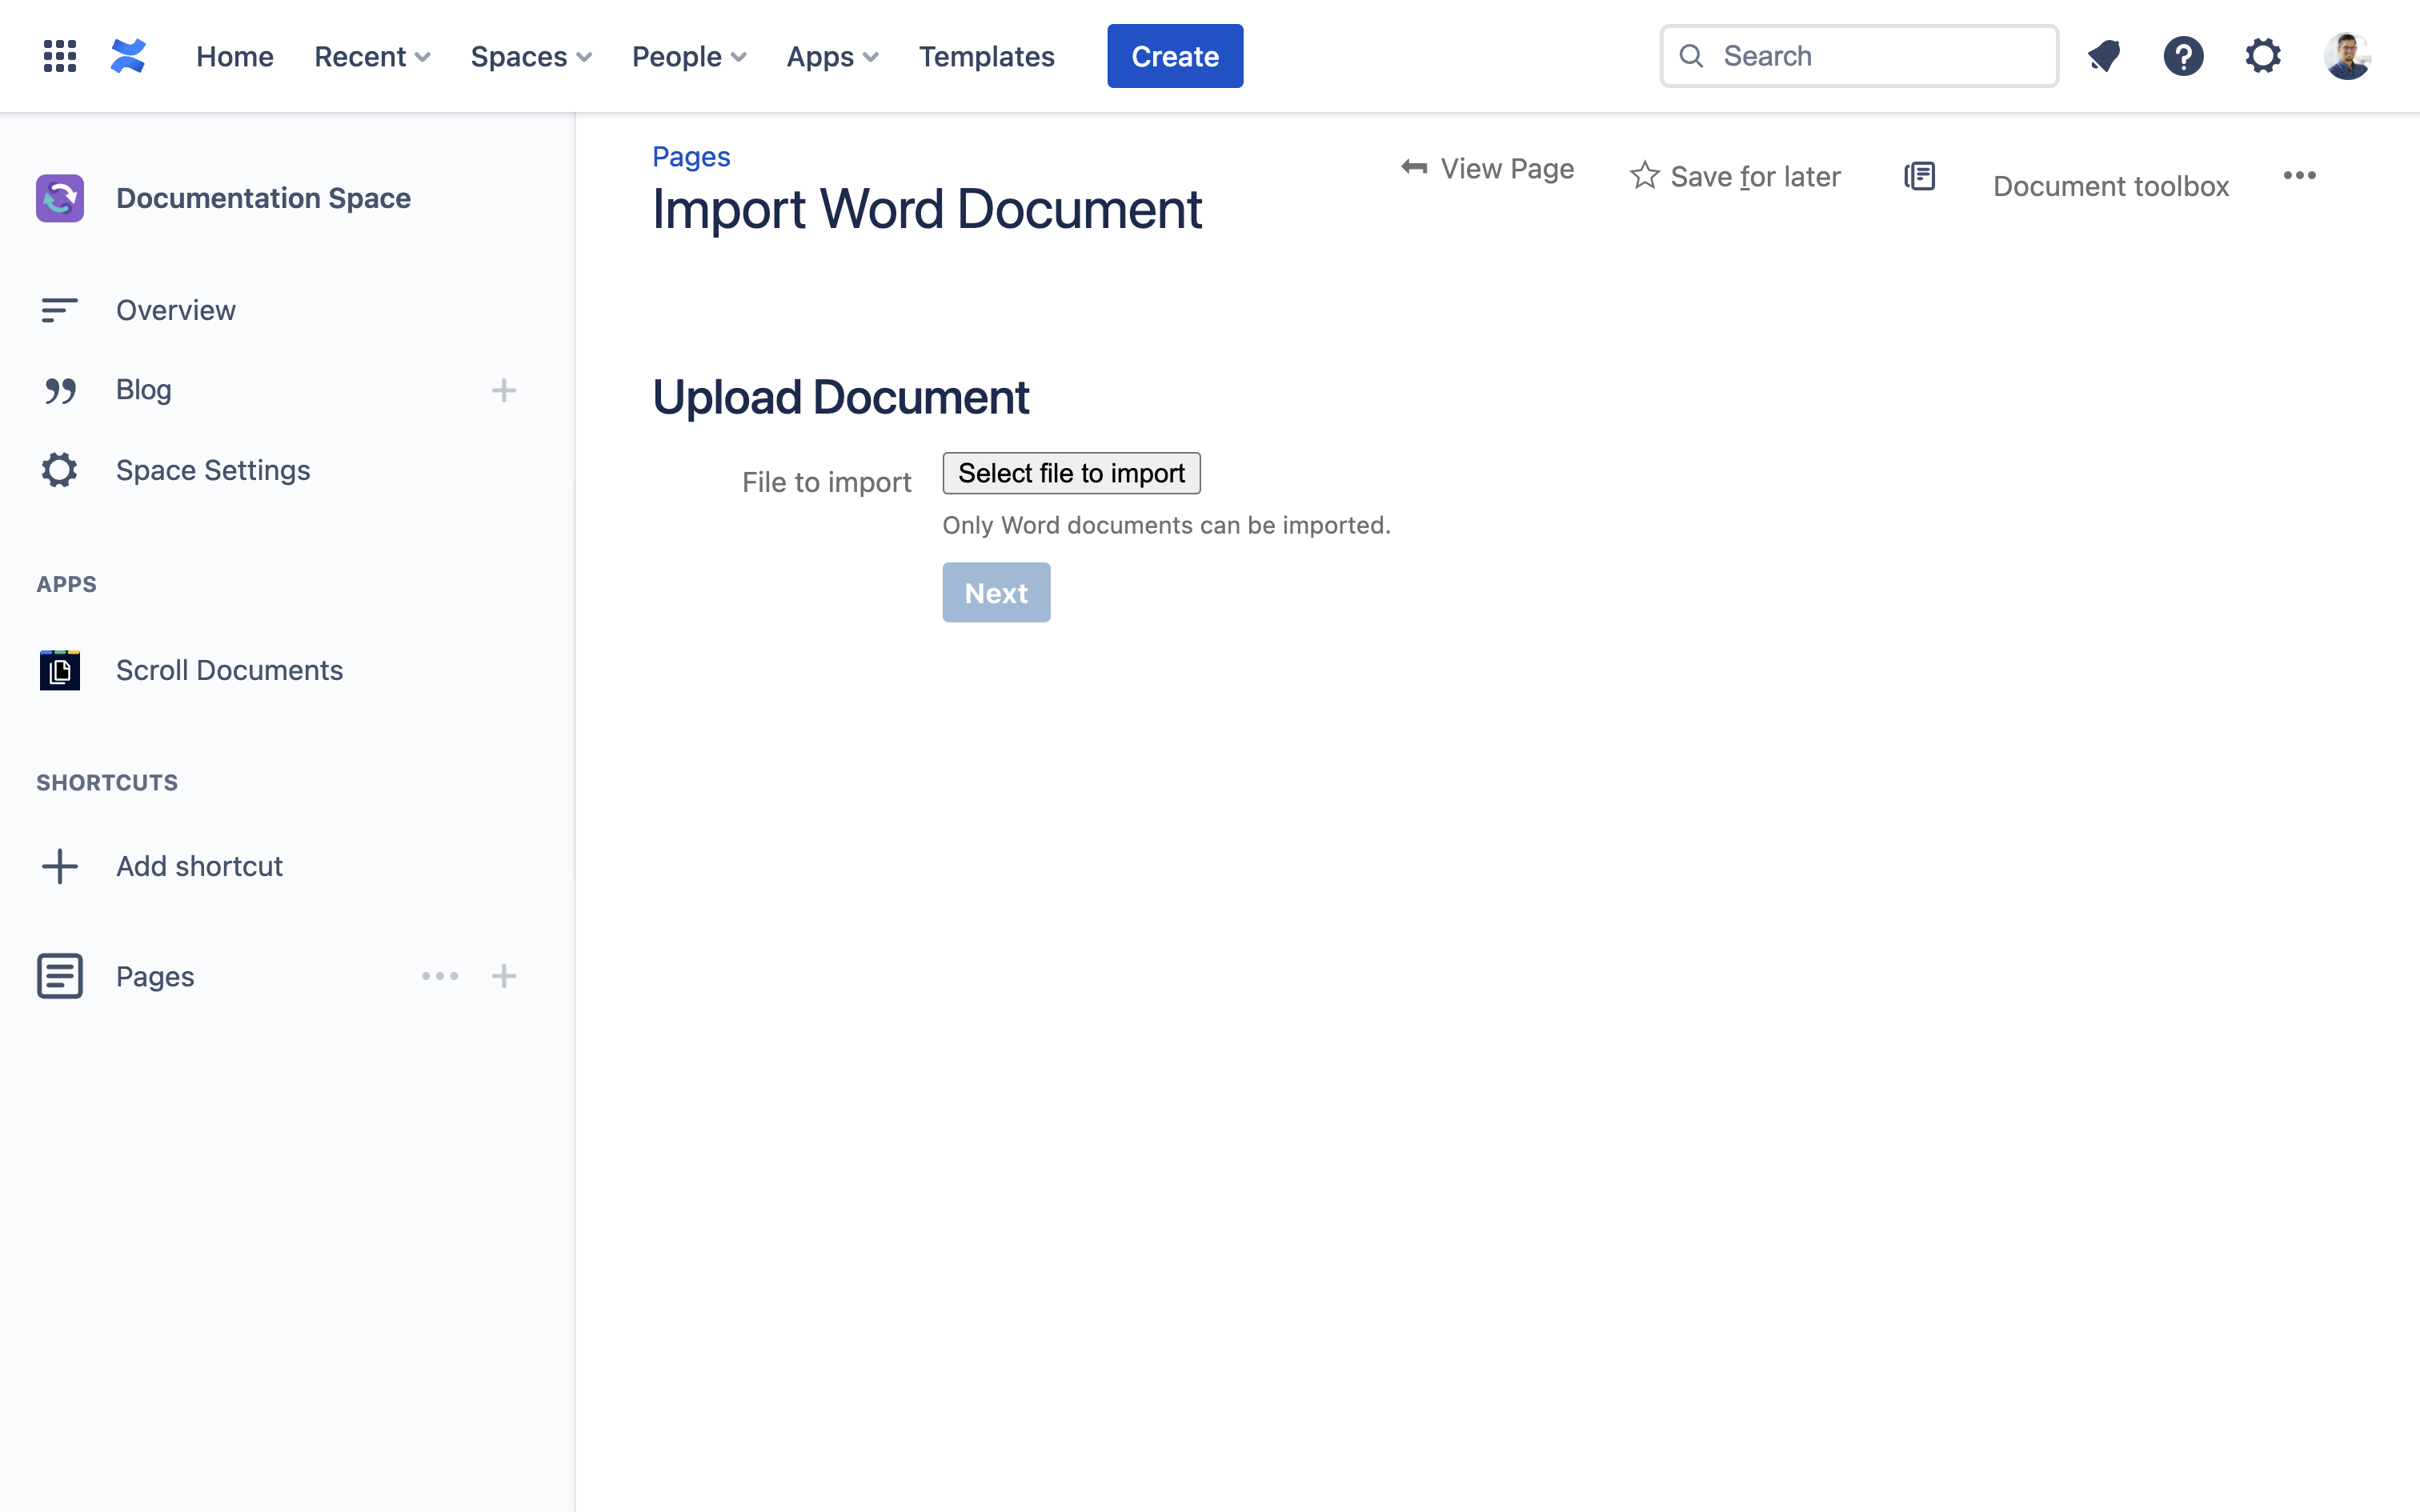
2 |
In the next step, use the file picker to upload your word document and click Next |
|
|
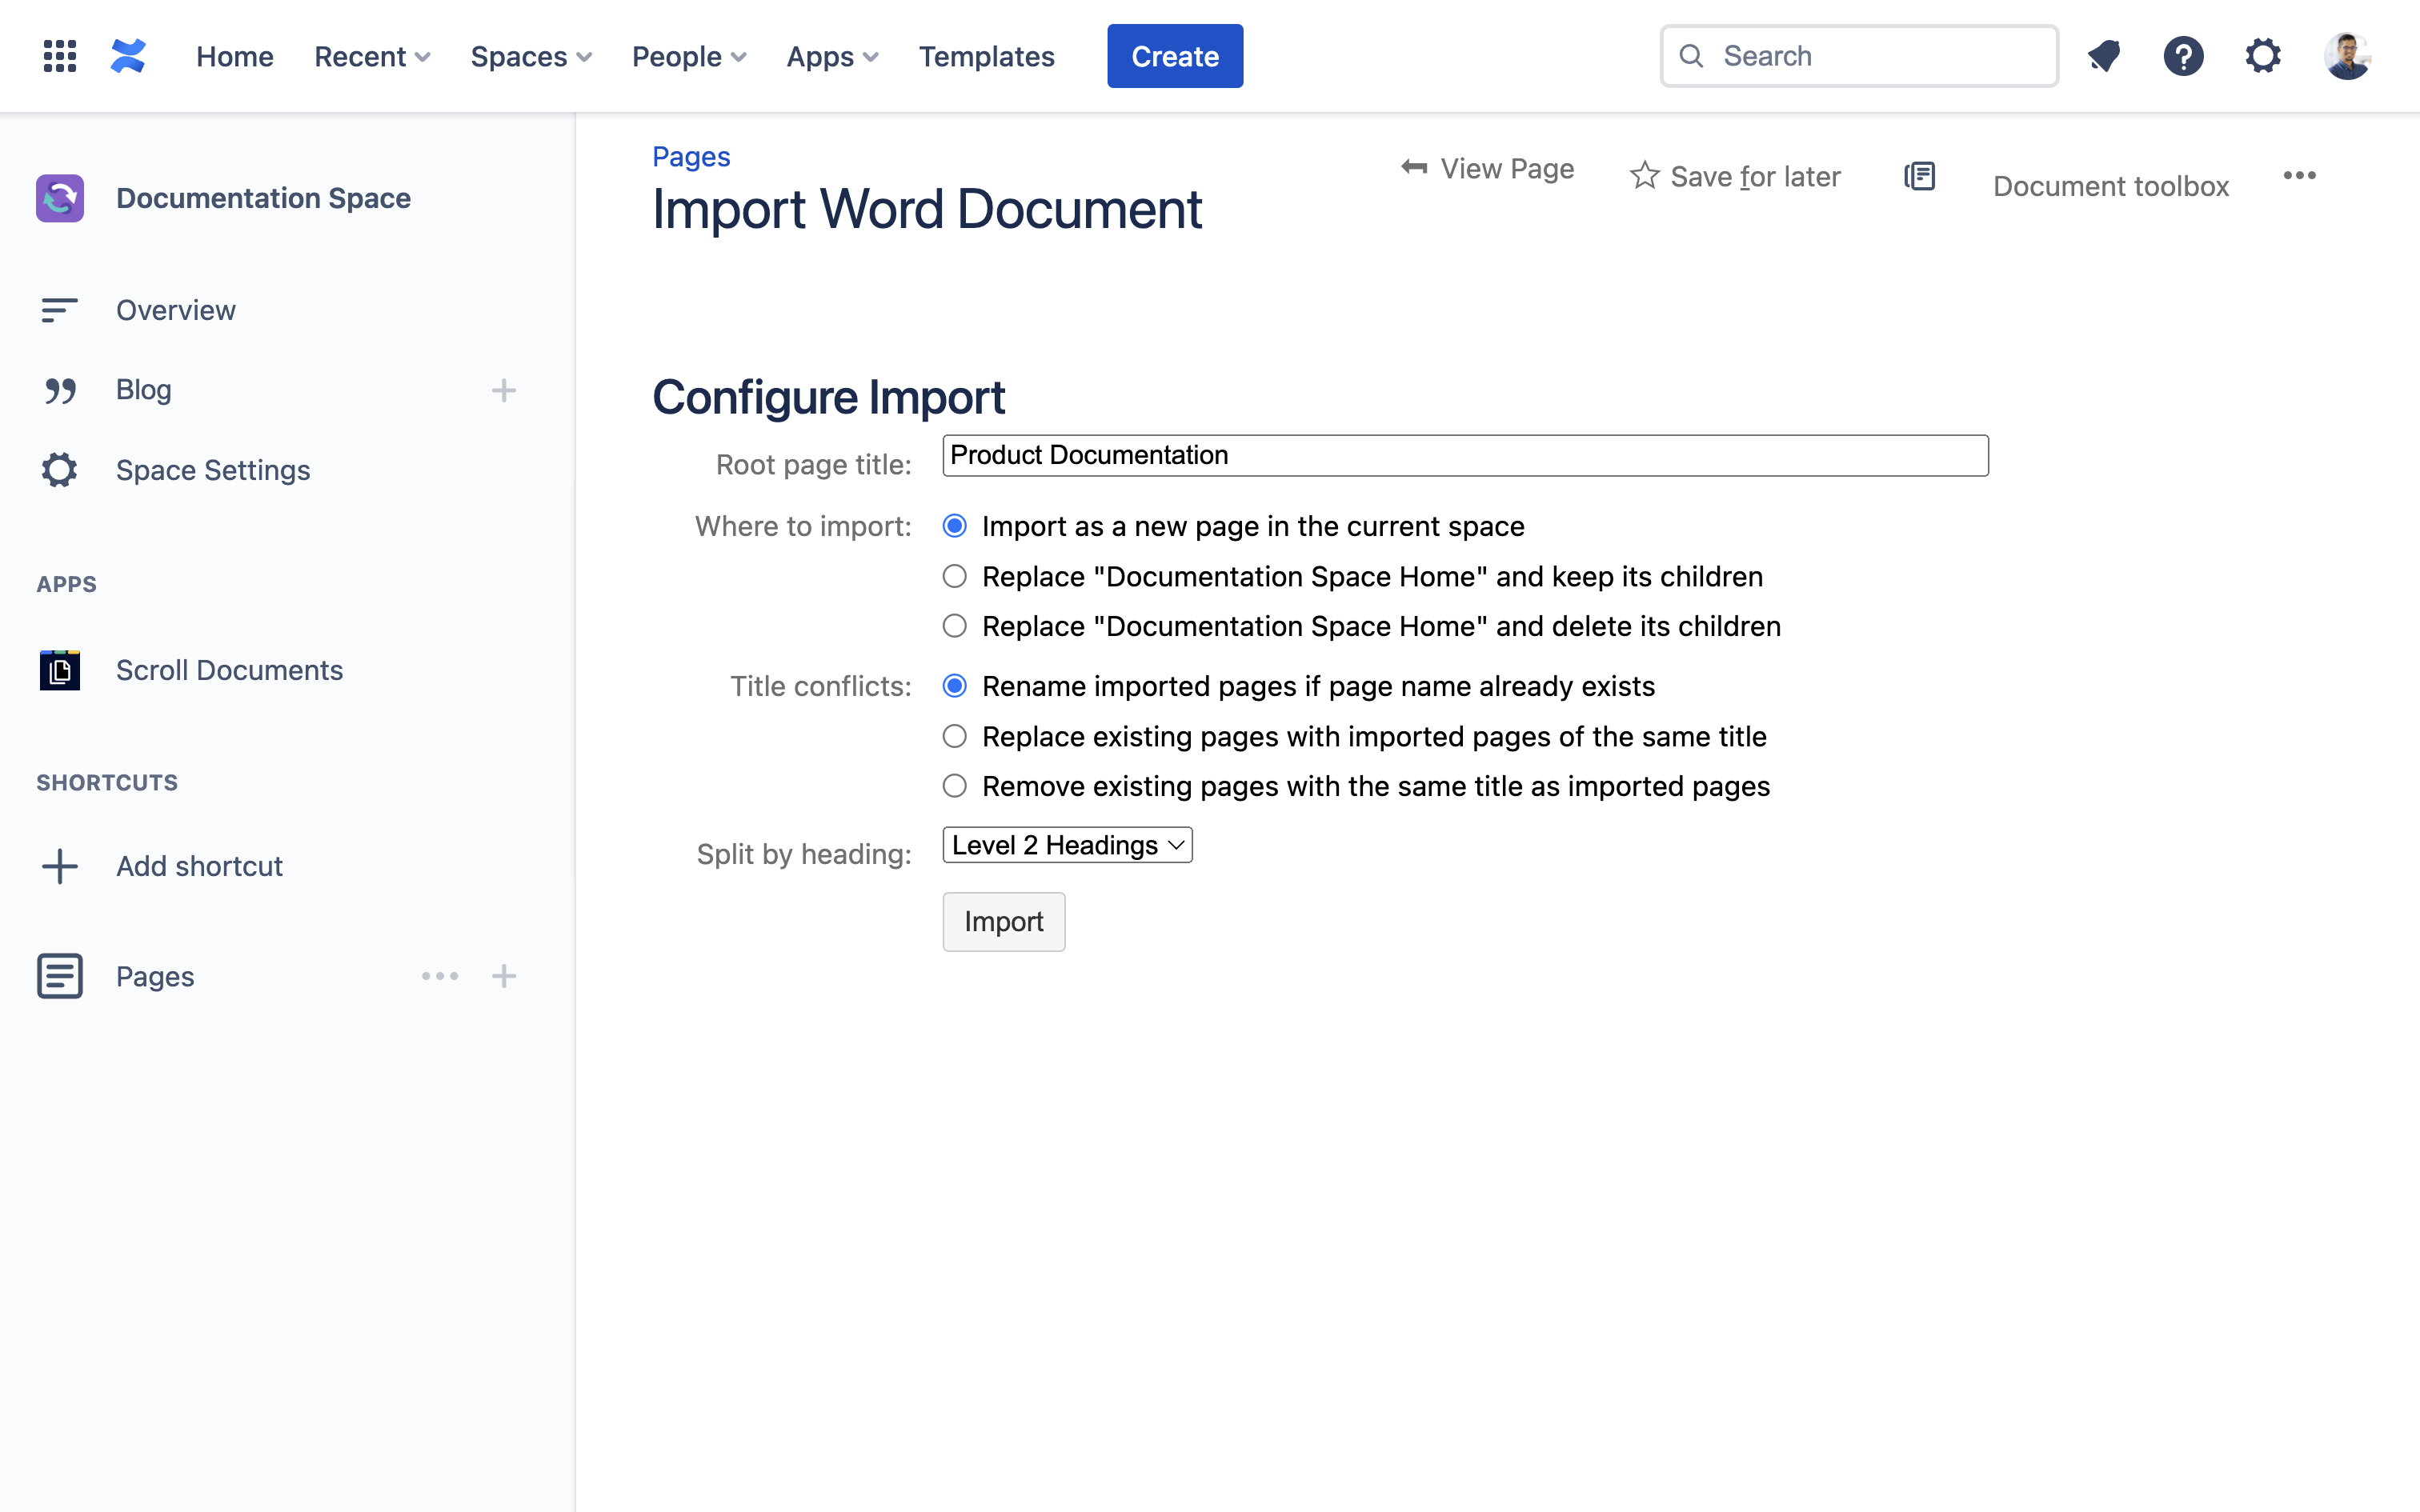
3 |
In the next step, you will specify how your word file should be imported. Here are some recommendations -
One you have configured the import, click Import. |
|
|
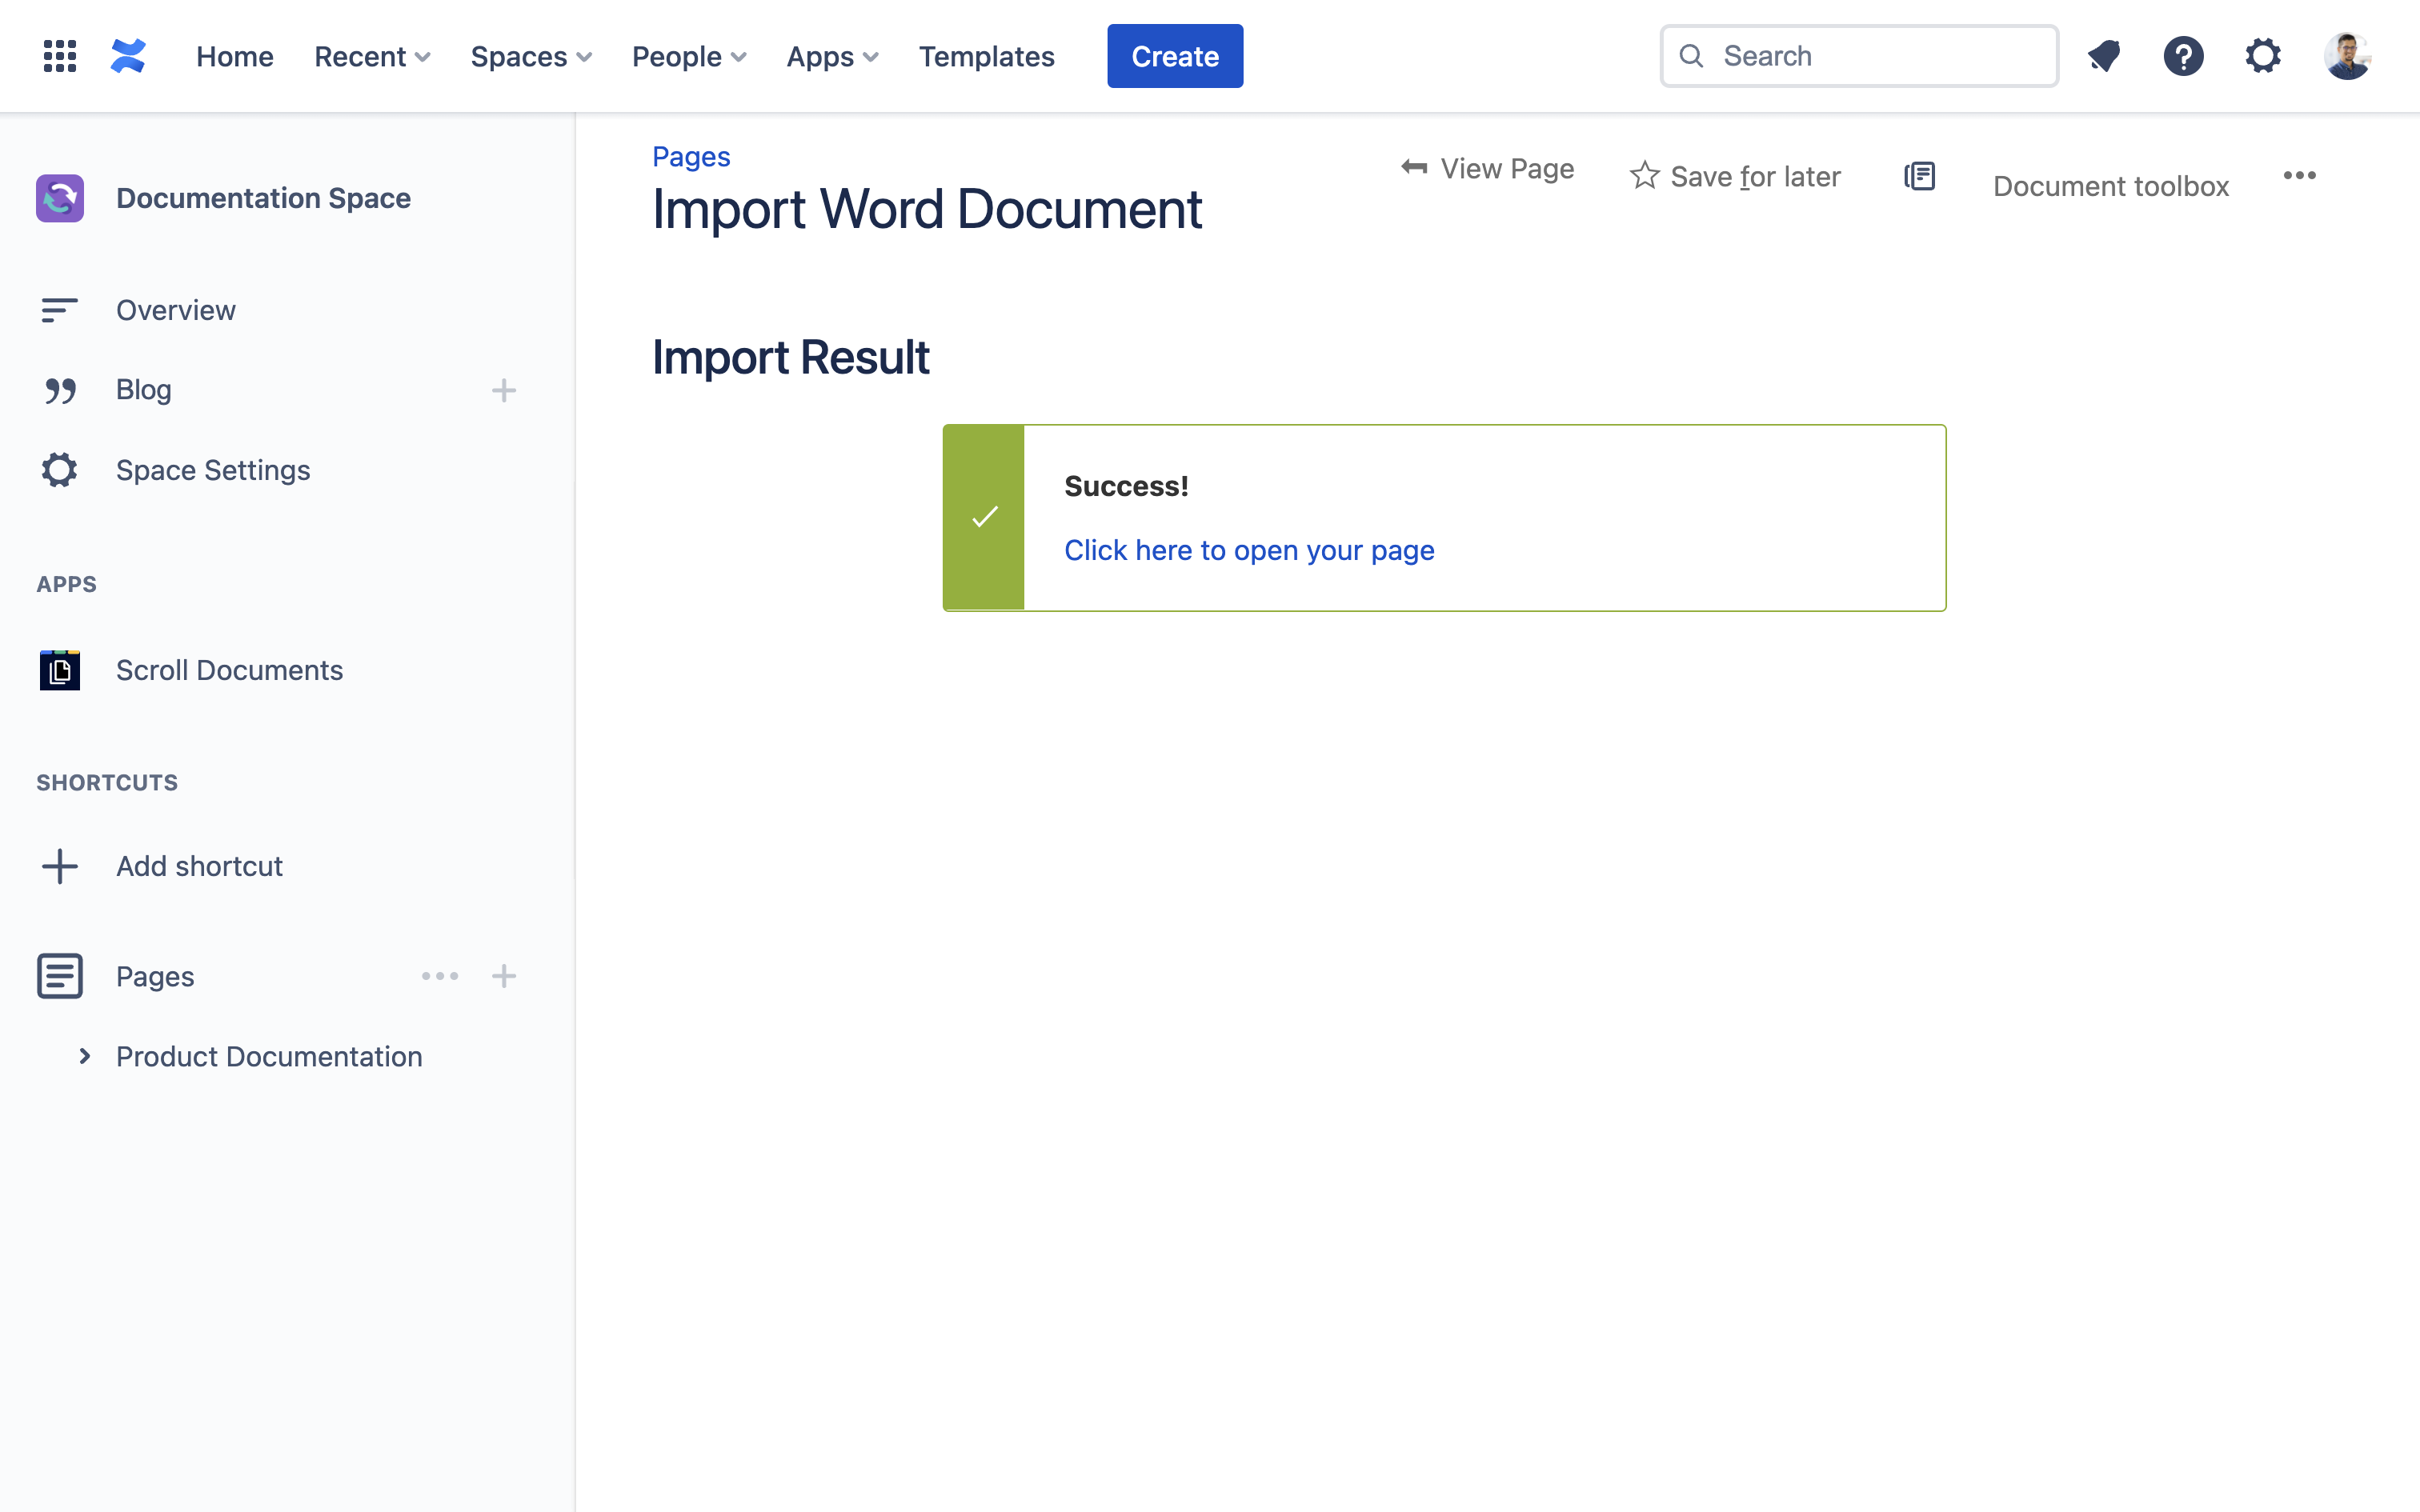
4 |
Once the import is complete, you will see a success message. Click on the link that says Click here to open your page. |
|
Prepare your documentation
|
1 |
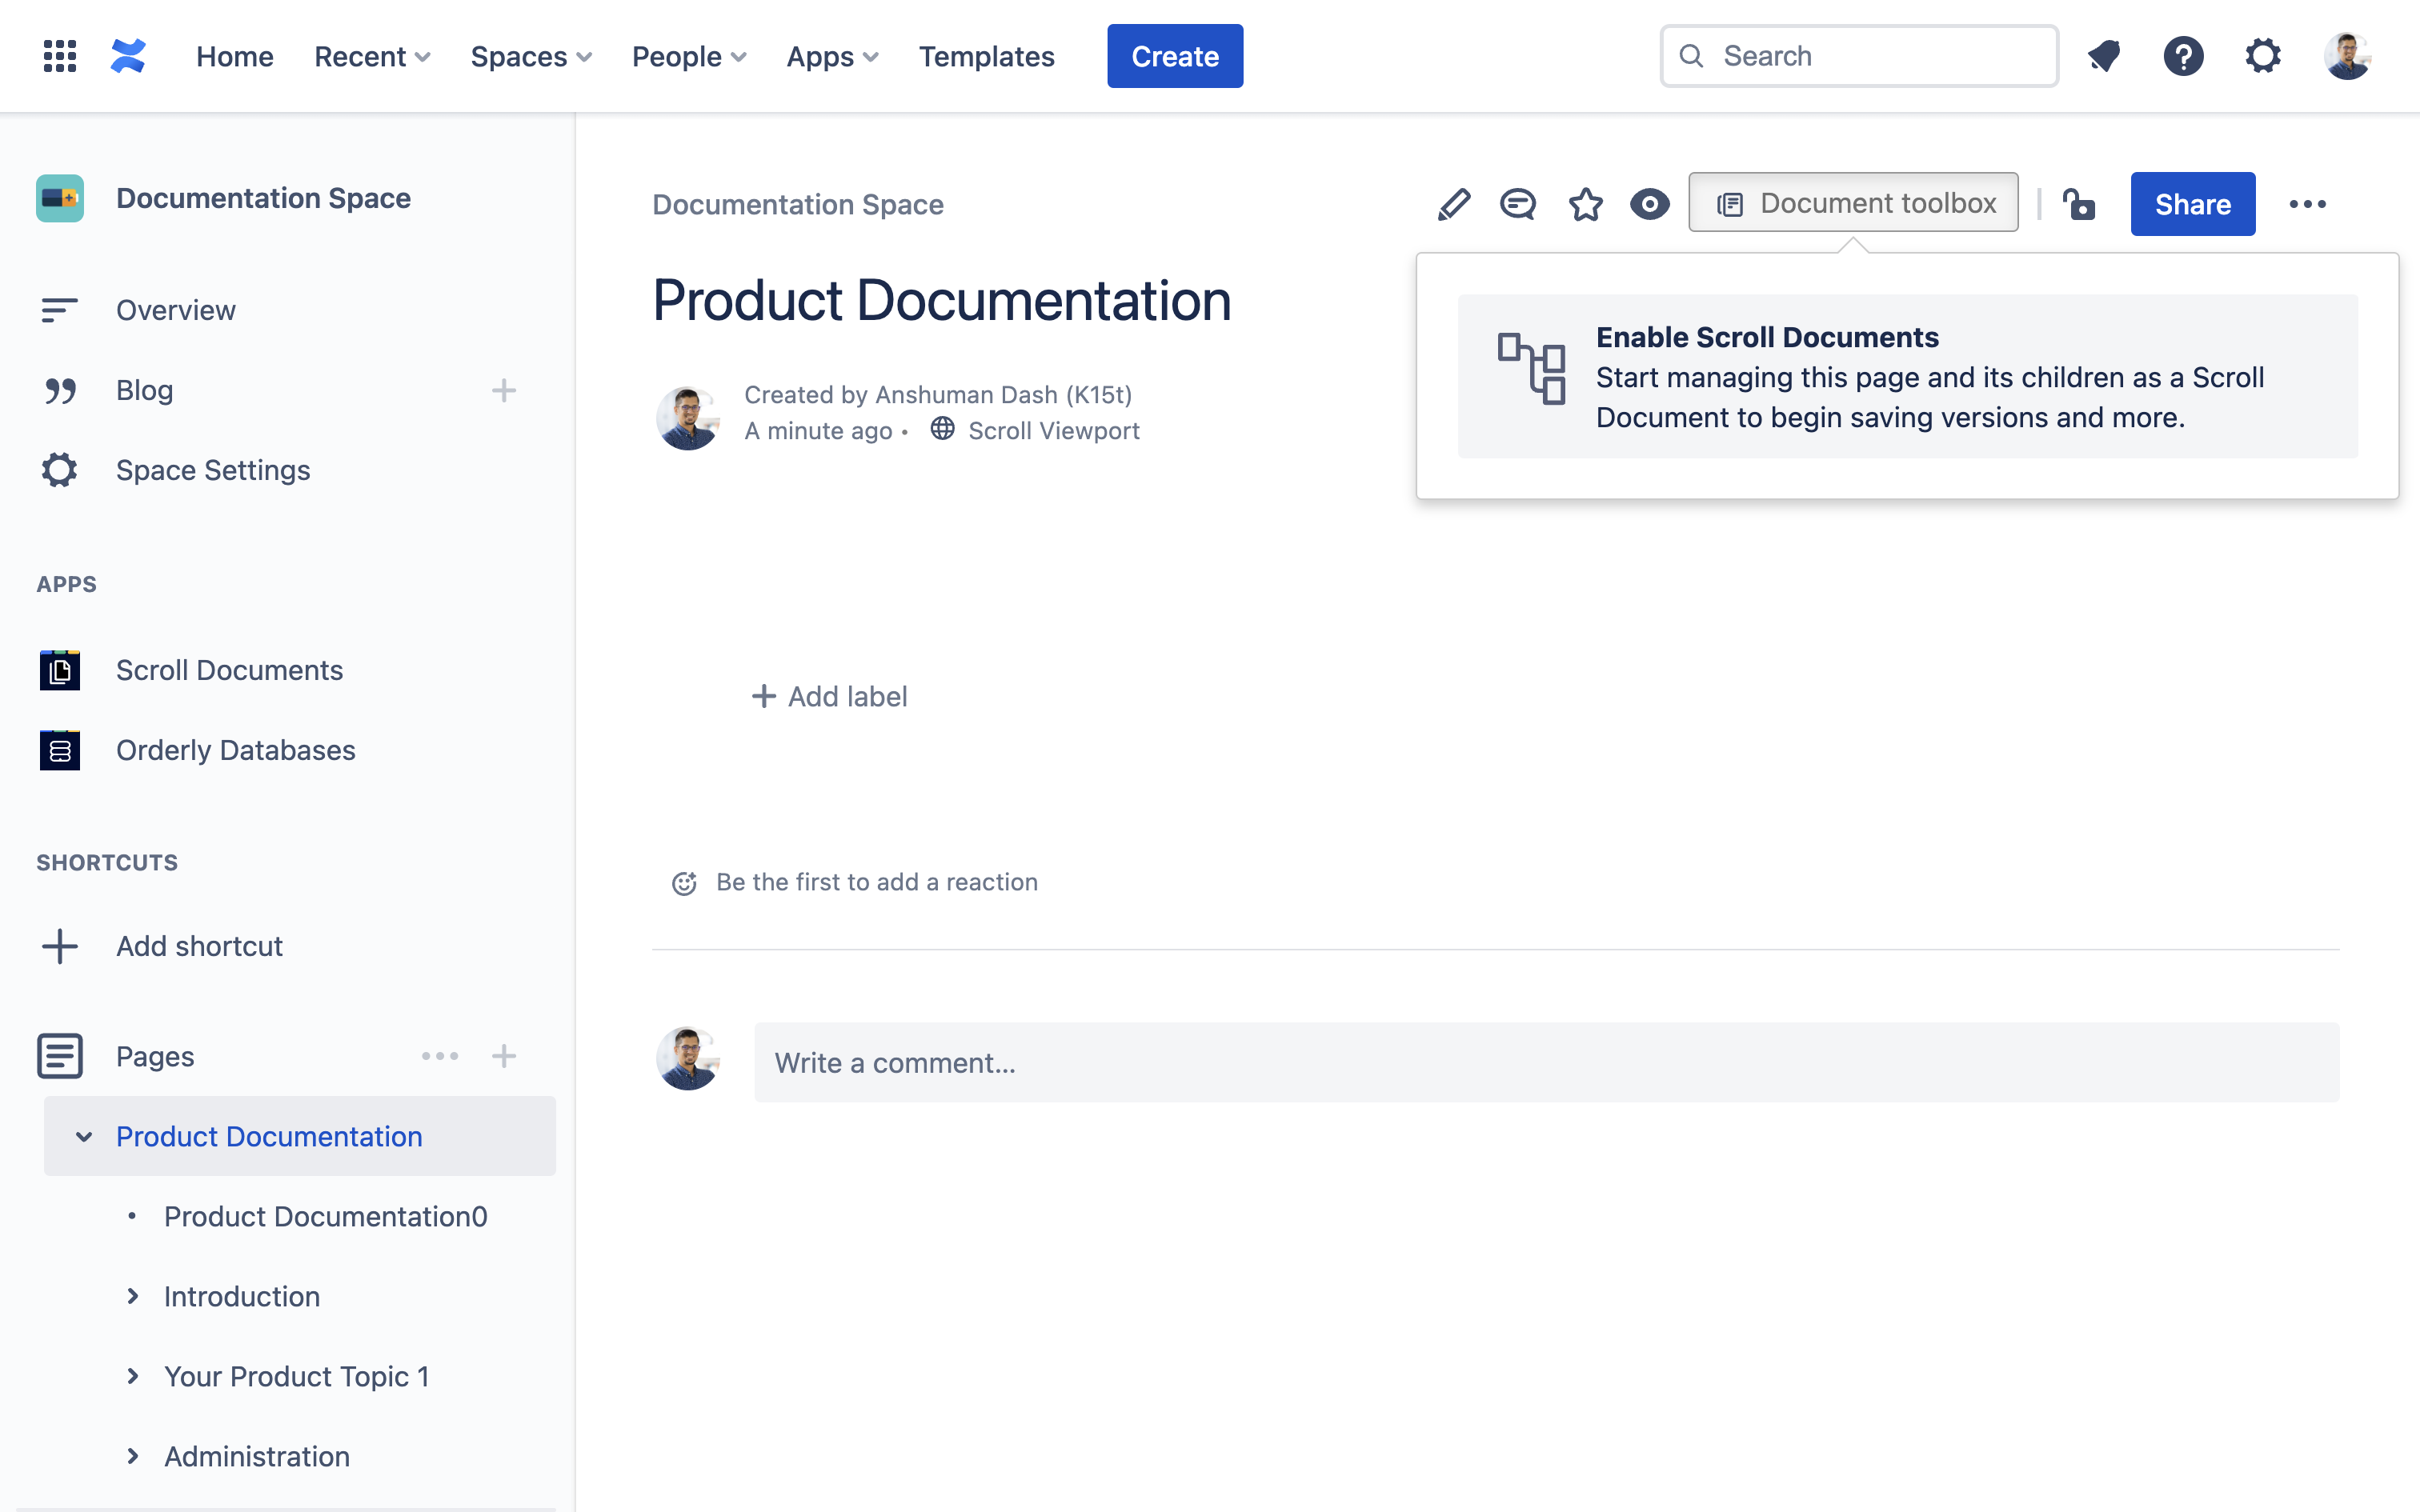
This is what we refer to as the “root page of your documentation” in Confluence. From this page, click Document toolbox → Create document. |
|
|
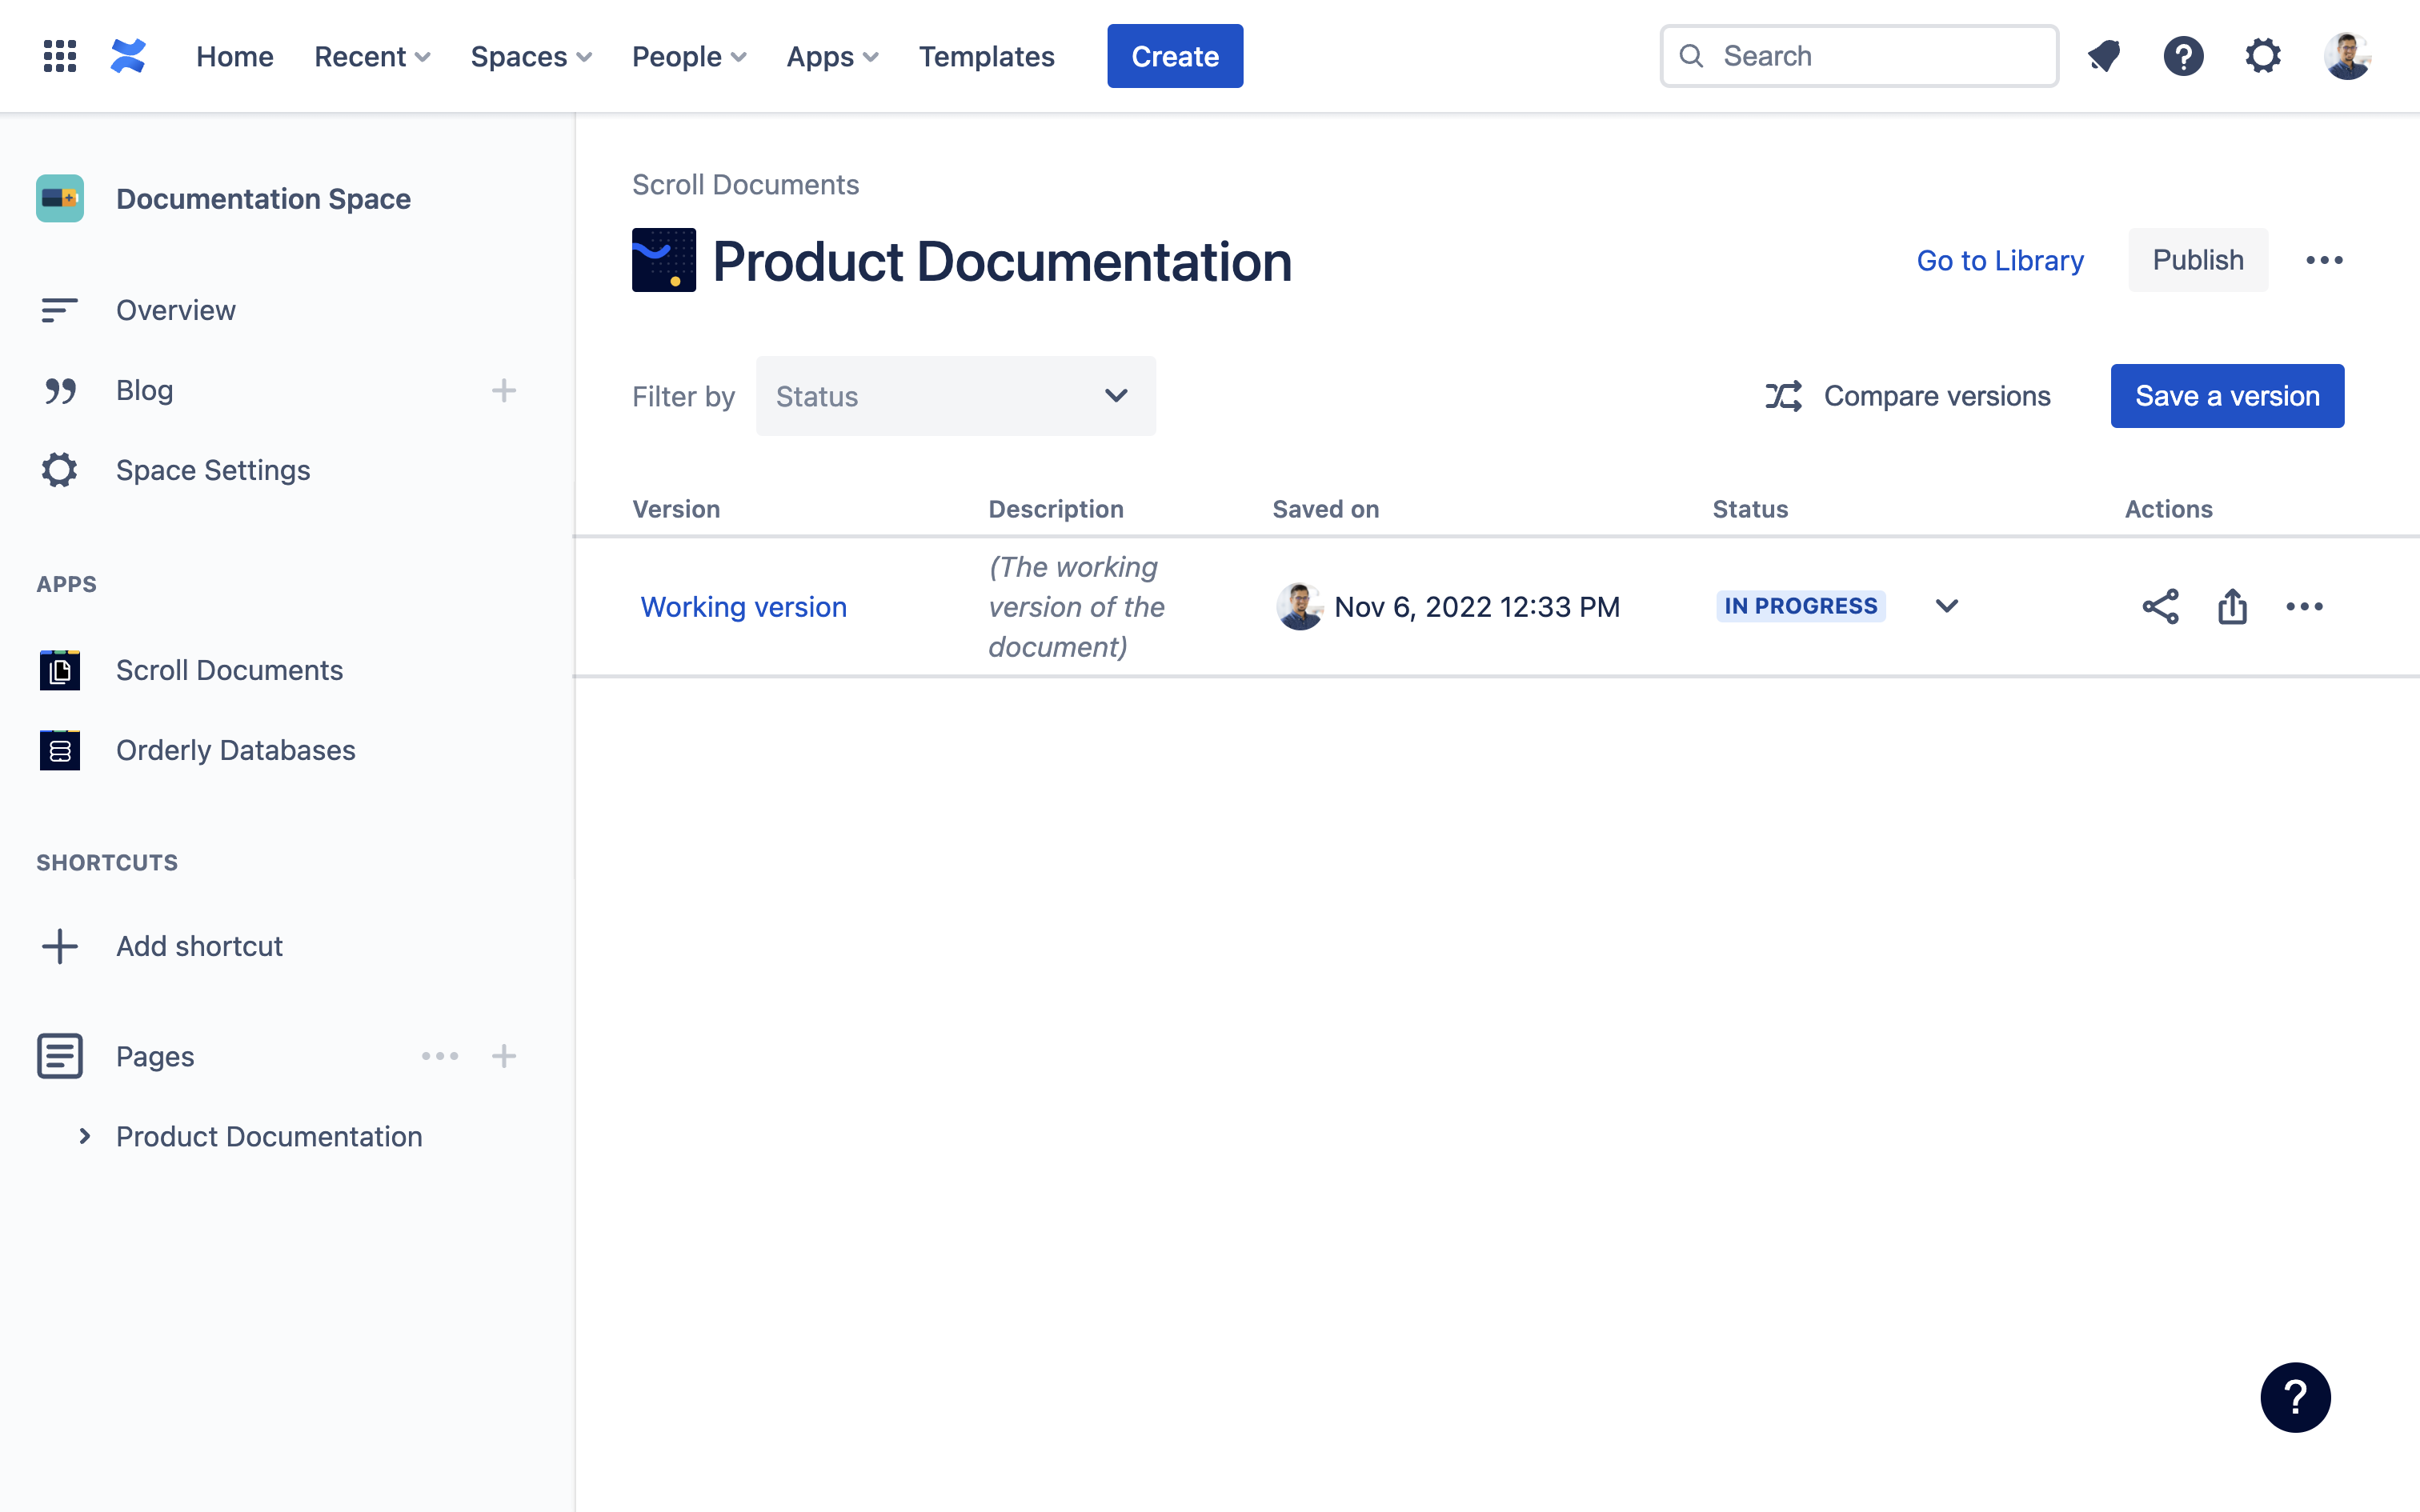
2 |
Once enabled, you will be taken to what we call the “Documentation manager”. ℹ️ Info: We will cover the documentation manager and versioning in a separate tutorial. For now, you are all ready to publish/export your documentation with Scroll. |
|