This page describes how to create an export using the REST API. This might be useful, if you want to automatically create documentation with every nightly build. For more information about using the REST API in Confluence see: Using the REST APIs.
If you want to create an export of thousands of pages, please have a look at the page How Can I get the REST URL before Export?
/*<![CDATA[*/ div.rbtoc1759332322135 {padding: 0px;} div.rbtoc1759332322135 ul {list-style: disc;margin-left: 0px;} div.rbtoc1759332322135 li {margin-left: 0px;padding-left: 0px;} /*]]>*/ Getting the URL Using the URL Authentication curl wget Other Tools Asynchronous Export Exporting without saved Export Scheme Preparing the Export Specification File Performing the Export
Getting the URL
Before you begin: Before getting the URL, you have to export your content to EPUB.
To get the URL:
-
Click Tools > Export to EPUB.
The screen Export to EPUB and the existing export schemes are displayed. -
Select the wanted export scheme and click Start Export.
The progress bar is displayed. -
Click REST URL, copy the displayed URL and click Close.
The REST URL is copied and can now be used in your script, see the curl and wget examples below.
Using the URL
The URL can be used with different tools.
Authentication
You can authenticate yourself for the REST APIs in three ways.
We recommend using the basic HTTP authentication protocol, as it offers the best password security.
-
Log in to Confluence manually You will then be authenticated for the REST APIs for that same browser session.
-
Use HTTP basic authentication (Authorization HTTP header) containing 'Basic username:password'.

-
Using URL parameters You may specify your username and password in the URL using the 'os_username' and 'os_password' parameters. See below for examples.
The user credentials in the URL do not need to come from the admin – they can be from any user with view permissions for the space.
If you want to use some non-browser tool like Creating an Export using the REST API or Creating an Export using the REST API, you probably have to use either HTTP basic authentication or URL parameters.
curl
Curl is a command line tool for transferring data with URL syntax. It is preinstalled on MacOS X and available for all Linux distributions using the package manager. There are also builds for Windows available.
You can use curl using the command line as follows. On MacOS X and Linux please make sure to place the URL in double quotes as otherwise the "&" character inside the URL will break the command.
HTTP basic authentication:
curl --remote-header-name --remote-name -u admin:admin "http://www.example.com/confluence/rest/scroll-epub/1.0/sync-export?exportSchemeId=7F00000101316644174326E600DED2BA&pageId=32769&os_authType=basic"
URL parameter based authentication:
curl --remote-header-name --remote-name "http://www.example.com/confluence/rest/scroll-epub/1.0/sync-export?exportSchemeId=7F00000101316644174326E600DED2BA&pageId=32769&os_username=admin&os_password=admin"
In some cases the colons are replaced with '&3A'. Please check the permalink carefully and edit it if necessary.
If you want to call curl from a script, the "-f" parameter may be interesting as it will make curl return some non-zero return value in case of download errors. See the curl documentation for more info.
wget
wget is another command line tool for transferring data with URL syntax. It is available for all major platforms.
You can use wget using the command line as follows. On MacOS X and Linux please make sure to place the URL in double quotes as otherwise the "&" character inside the URL will break the command.
HTTP basic authentication:
wget --content-disposition --http-user=admin --http-password=admin "http://www.example.com/confluence/rest/scroll-epub/1.0/sync-export?exportSchemeId=7F00000101316644174326E600DED2BA&pageId=32769&os_authType=basic"
URL parameter based authentication:
wget --content-disposition "http://www.example.com/confluence/rest/scroll-epub/1.0/sync-export?exportSchemeId=7F00000101316644174326E600DED2BA&pageId=32769&os_username=admin&os_password=admin"
Other Tools
If you use other tools, you can compose the URL as described below.
HTTP basic authentication:
[http://www.example.com/confluence/rest/scroll-epub/1.0/sync-export?exportSchemeId=7F00000101316644174326E600DED2BA&pageId=32769&os_authType=basic]
URL parameter based authentication:
[http://www.example.com/confluence/rest/scroll-epub/1.0/sync-export?exportSchemeId=7F00000101316644174326E600DED2BA&pageId=32769&os_username=admin&os_password=admin]
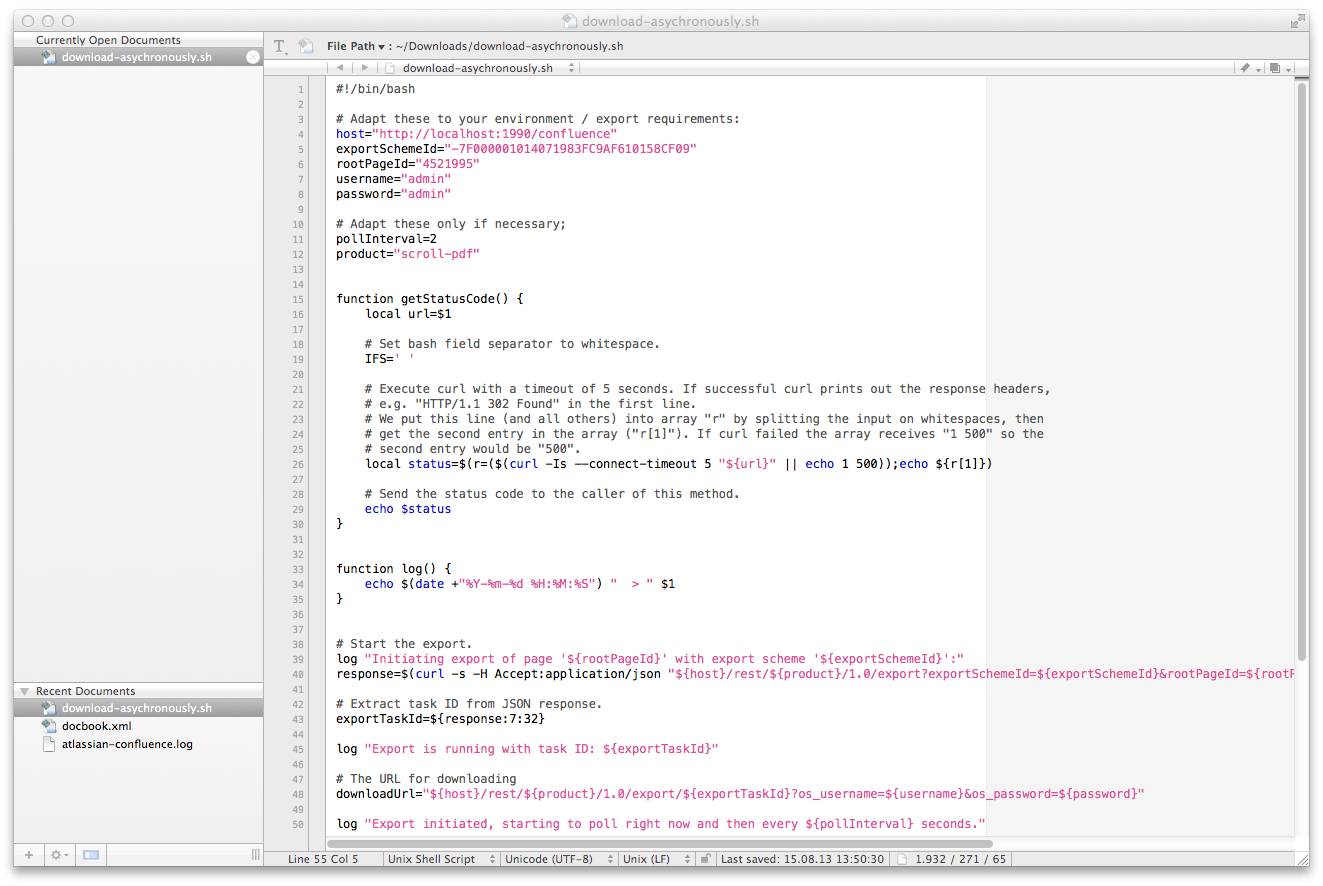
Asynchronous Export
Sometimes it might be necessary to asynchronously trigger the export. While this is not officially supported, there is an example bash-script available.
To asynchronous export your content:
-
Download the
example bash-script
.
-
Open the bash-script with a text-editor.
-
Edit the following values:
Value
Description
hostEnter your Confluence server URL.
exportSchemeIdEnter the exportSchemeId.
rootPageIdEnter the Id of the page you want to start the export from.
usernameEnter the username of the user performing the export.
passwordEnter the password of the user performing the export.
productEnter the plugin-key of your exporter:
scroll-epub
versionId
This value only works when Scroll Versions is also activated in the space
Enter the Id of the version you would like to export
variantId
This value only works when Scroll Versions is also activated in the space
Enter the Id of the variant you would like to export.
Or use variantId=all for all variants.
-
Save the file.
You can now use this script to automatically start your exports.
Exporting without saved Export Scheme
You can also perform an export without saving an Export Scheme first. This is helpful if you do not want the specific Export Scheme to appear on the Confluence UI, or if your export settings are generated dynamically.
This works by POSTing the Export Scheme data to the export REST endpoint, instead of specifying a saved Export Scheme.
To do that:
-
Prepare a file with the export details - the export specification.
-
Use curl to perform the export with the export spec.
Preparing the Export Specification File
The Export Specification File must be stored in JSON format and must contain the root page of the export, the Export Scheme data and (optional) details from Scroll Versions / Scroll Translations to export the correct version, variant, or language.
To prepare the Export Specification File:
-
Create a temporary Export Scheme with your settings and save it for now.
-
Get the ID of the temporary Export Scheme from the REST URL as described in the
section above
.
-
Download the Export Scheme as file using the following curl command:
curl -H "Accept:application/json" "http://localhost:1990/confluence/rest/scroll-epub/1.0/export-scheme/-C0A81178014CC162A59E7BAB1D2F8FBA" --output export-scheme.json
-
If you do not need the temporary Export Scheme, delete it.
-
Create your Export Specification File as a new text file with the following content:
{
    "rootPageId": "<ROOT_PAGE_ID>",
    "versionId": "<VERSION_ID>",
    "variantId": "<VARIANT_ID>",
    "languageKey": "<LANGUAGE_KEY>",
    "exportScheme": <EXPORT_SCHEME_DATA>
}
-
Enter the details in this file:
-
Replace <ROOT_PAGE_ID> with the ID of the Confluence page that your export should start on.

-
Replace <VERSION_ID>, <VARIANT_ID> and <LANGUAGE_KEY> with the respective values from the REST URL.
-
Replace <EXPORT_SCHEME_DATA> with the contents of the export scheme file.
Your export spec file should now look like this:
-
{
    "rootPageId": "10158113",
    "versionId": "AE5345ASFD3231",
    "variantId": "CF34B56543AED1",
    "languageKey": "en",
    "exportScheme": {
        "id": "C0A81178014CC162A59E7BAB1D2F8FBA",
        "name": "My temporary Export Scheme",
        "pageSelectionStrategy": { ... },
        "pageBuilder": { ... },
        "exporter": { ... },
        "exportAdhocPublishedOnly": false
    }
}
Performing the Export
Use curl to perform the export and specify the Export Specification File to upload using the following curl command:
curl -H "Content-Type:application/json" --data-binary @/path/to/export-spec.json --remote-header-name --remote-name -u admin:admin "http://localhost:1990/confluence/rest/scroll-epub/1.0/sync-export?os_authType=basic"
This posts the data from the referenced Export Specification File to the REST endpoint and performs the export with these settings.