Scroll Word Exporter allows you to define up to eight levels of numbered and bulleted lists. You can control the indentation, define the bullets and numbering format, change font-size or font-style, and much more. To control the output of lists you have to create a new style for every level as described below. The following table gives an overview about the name of the styles in your Word template:
|
List Level |
Name of the list style |
|
|---|---|---|
|
Numbered List |
Bullet List |
|
|
1 |
Scroll List Number |
Scroll List Bullet |
|
2 |
Scroll List Number 2 |
Scroll List Bullet 2 |
|
3 |
Scroll List Number 3 |
Scroll List Bullet 3 |
|
4 |
Scroll List Number 4 |
Scroll List Bullet 4 |
|
5 |
Scroll List Number 5 |
Scroll List Bullet 5 |
|
6 |
Scroll List Number 6 |
Scroll List Bullet 6 |
|
7 |
Scroll List Number 7 |
Scroll List Bullet 7 |
|
8 |
Scroll List Number 8 |
Scroll List Bullet 8 |
Adding Numbered List Styles
|
Steps |
Word Template |
|
|---|---|---|
|
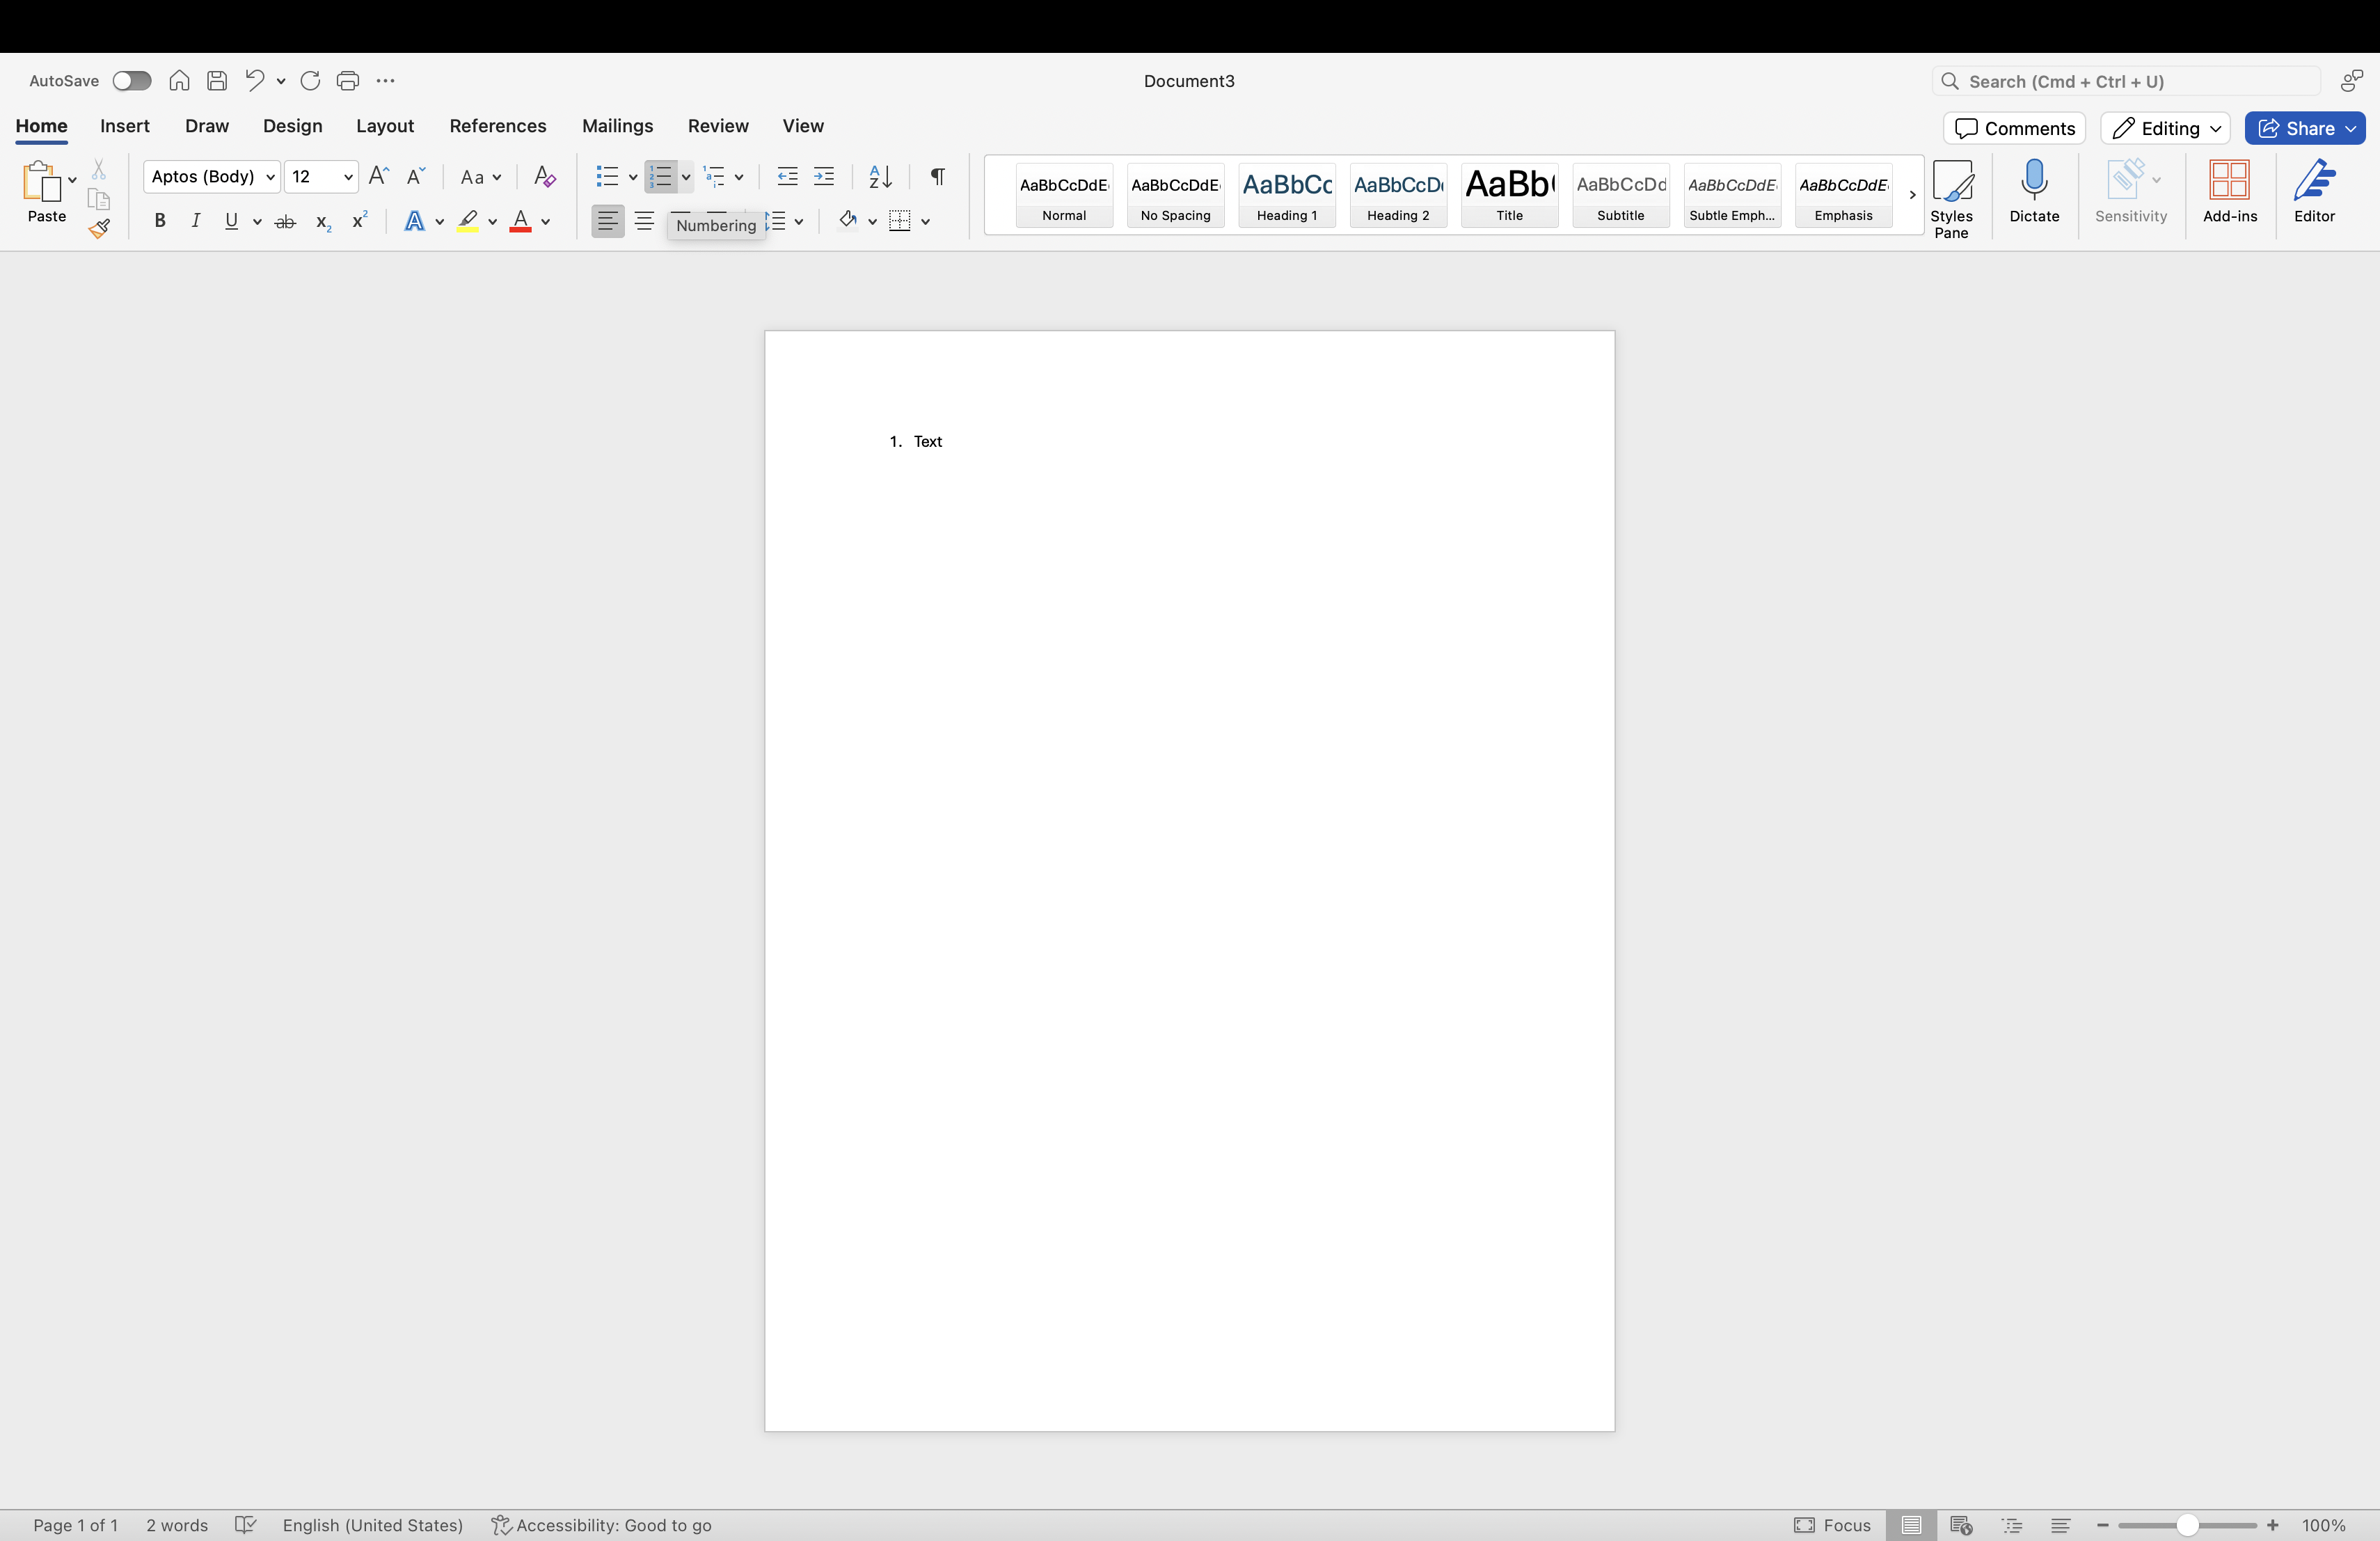
1 |
Open your Word file template, insert a numbered list style from the toolbar and add some text |
|
|
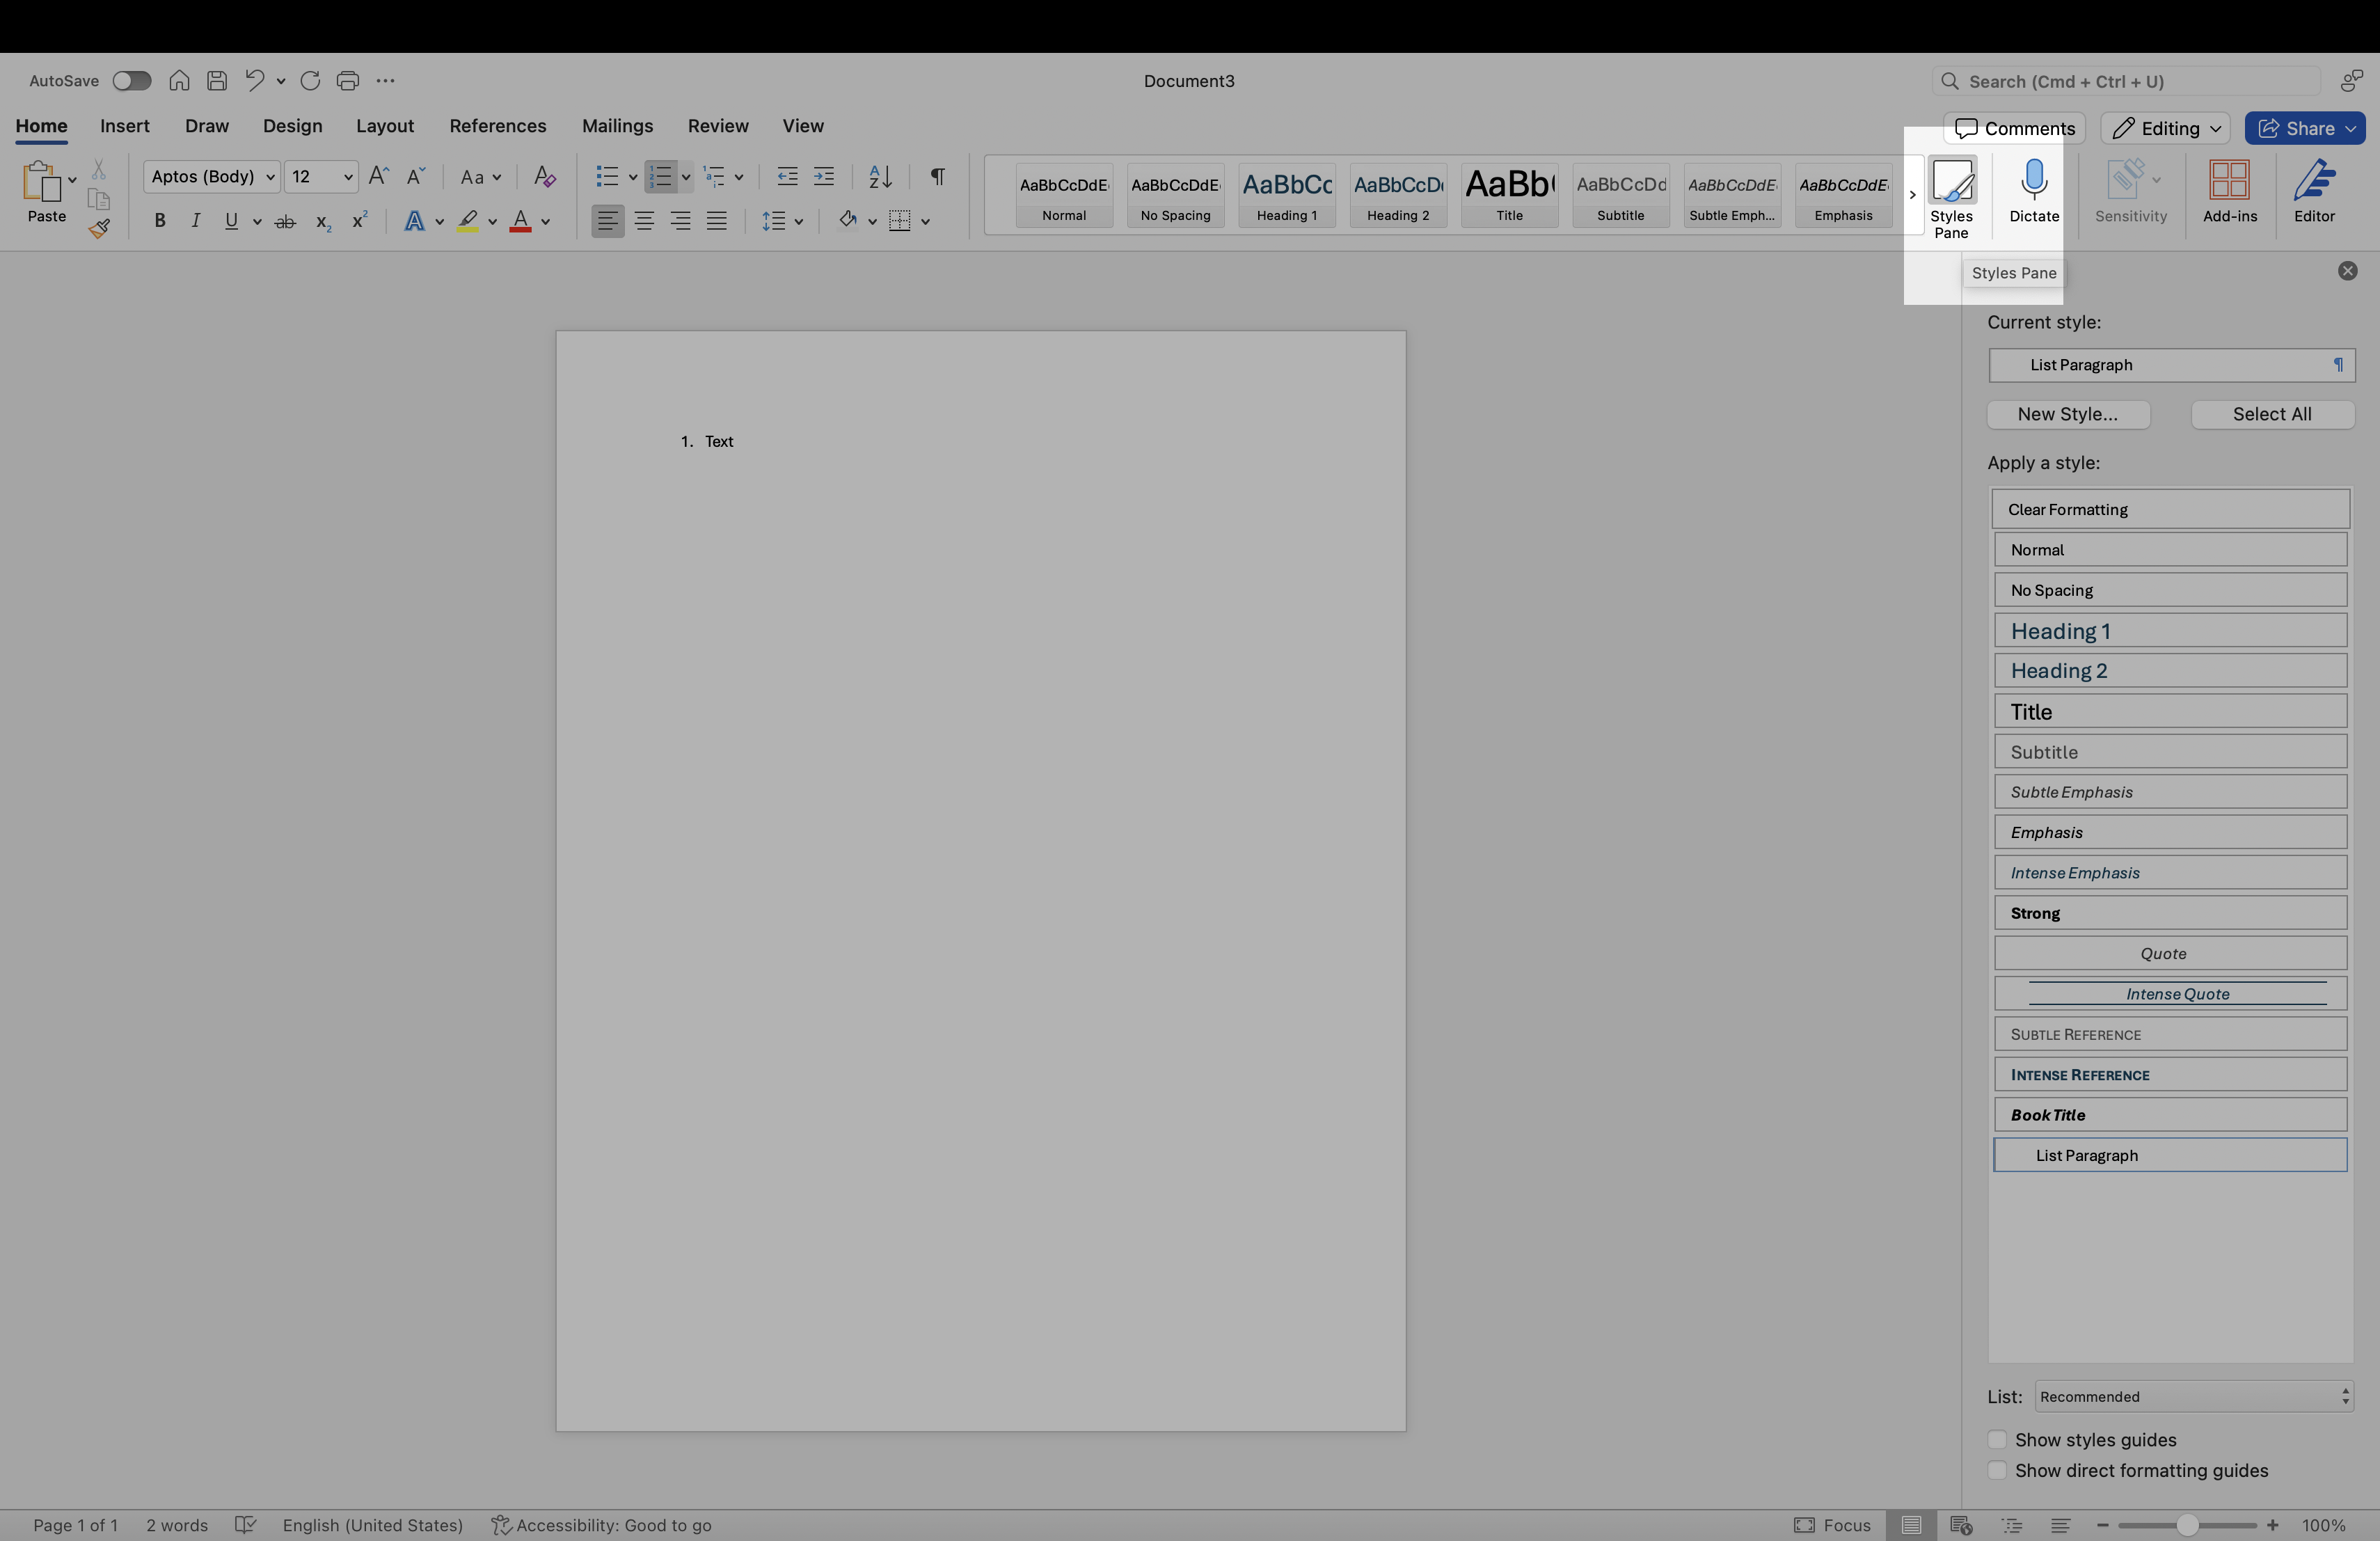
2 |
Click the Home tab and select the Styles Pane option |
|
|
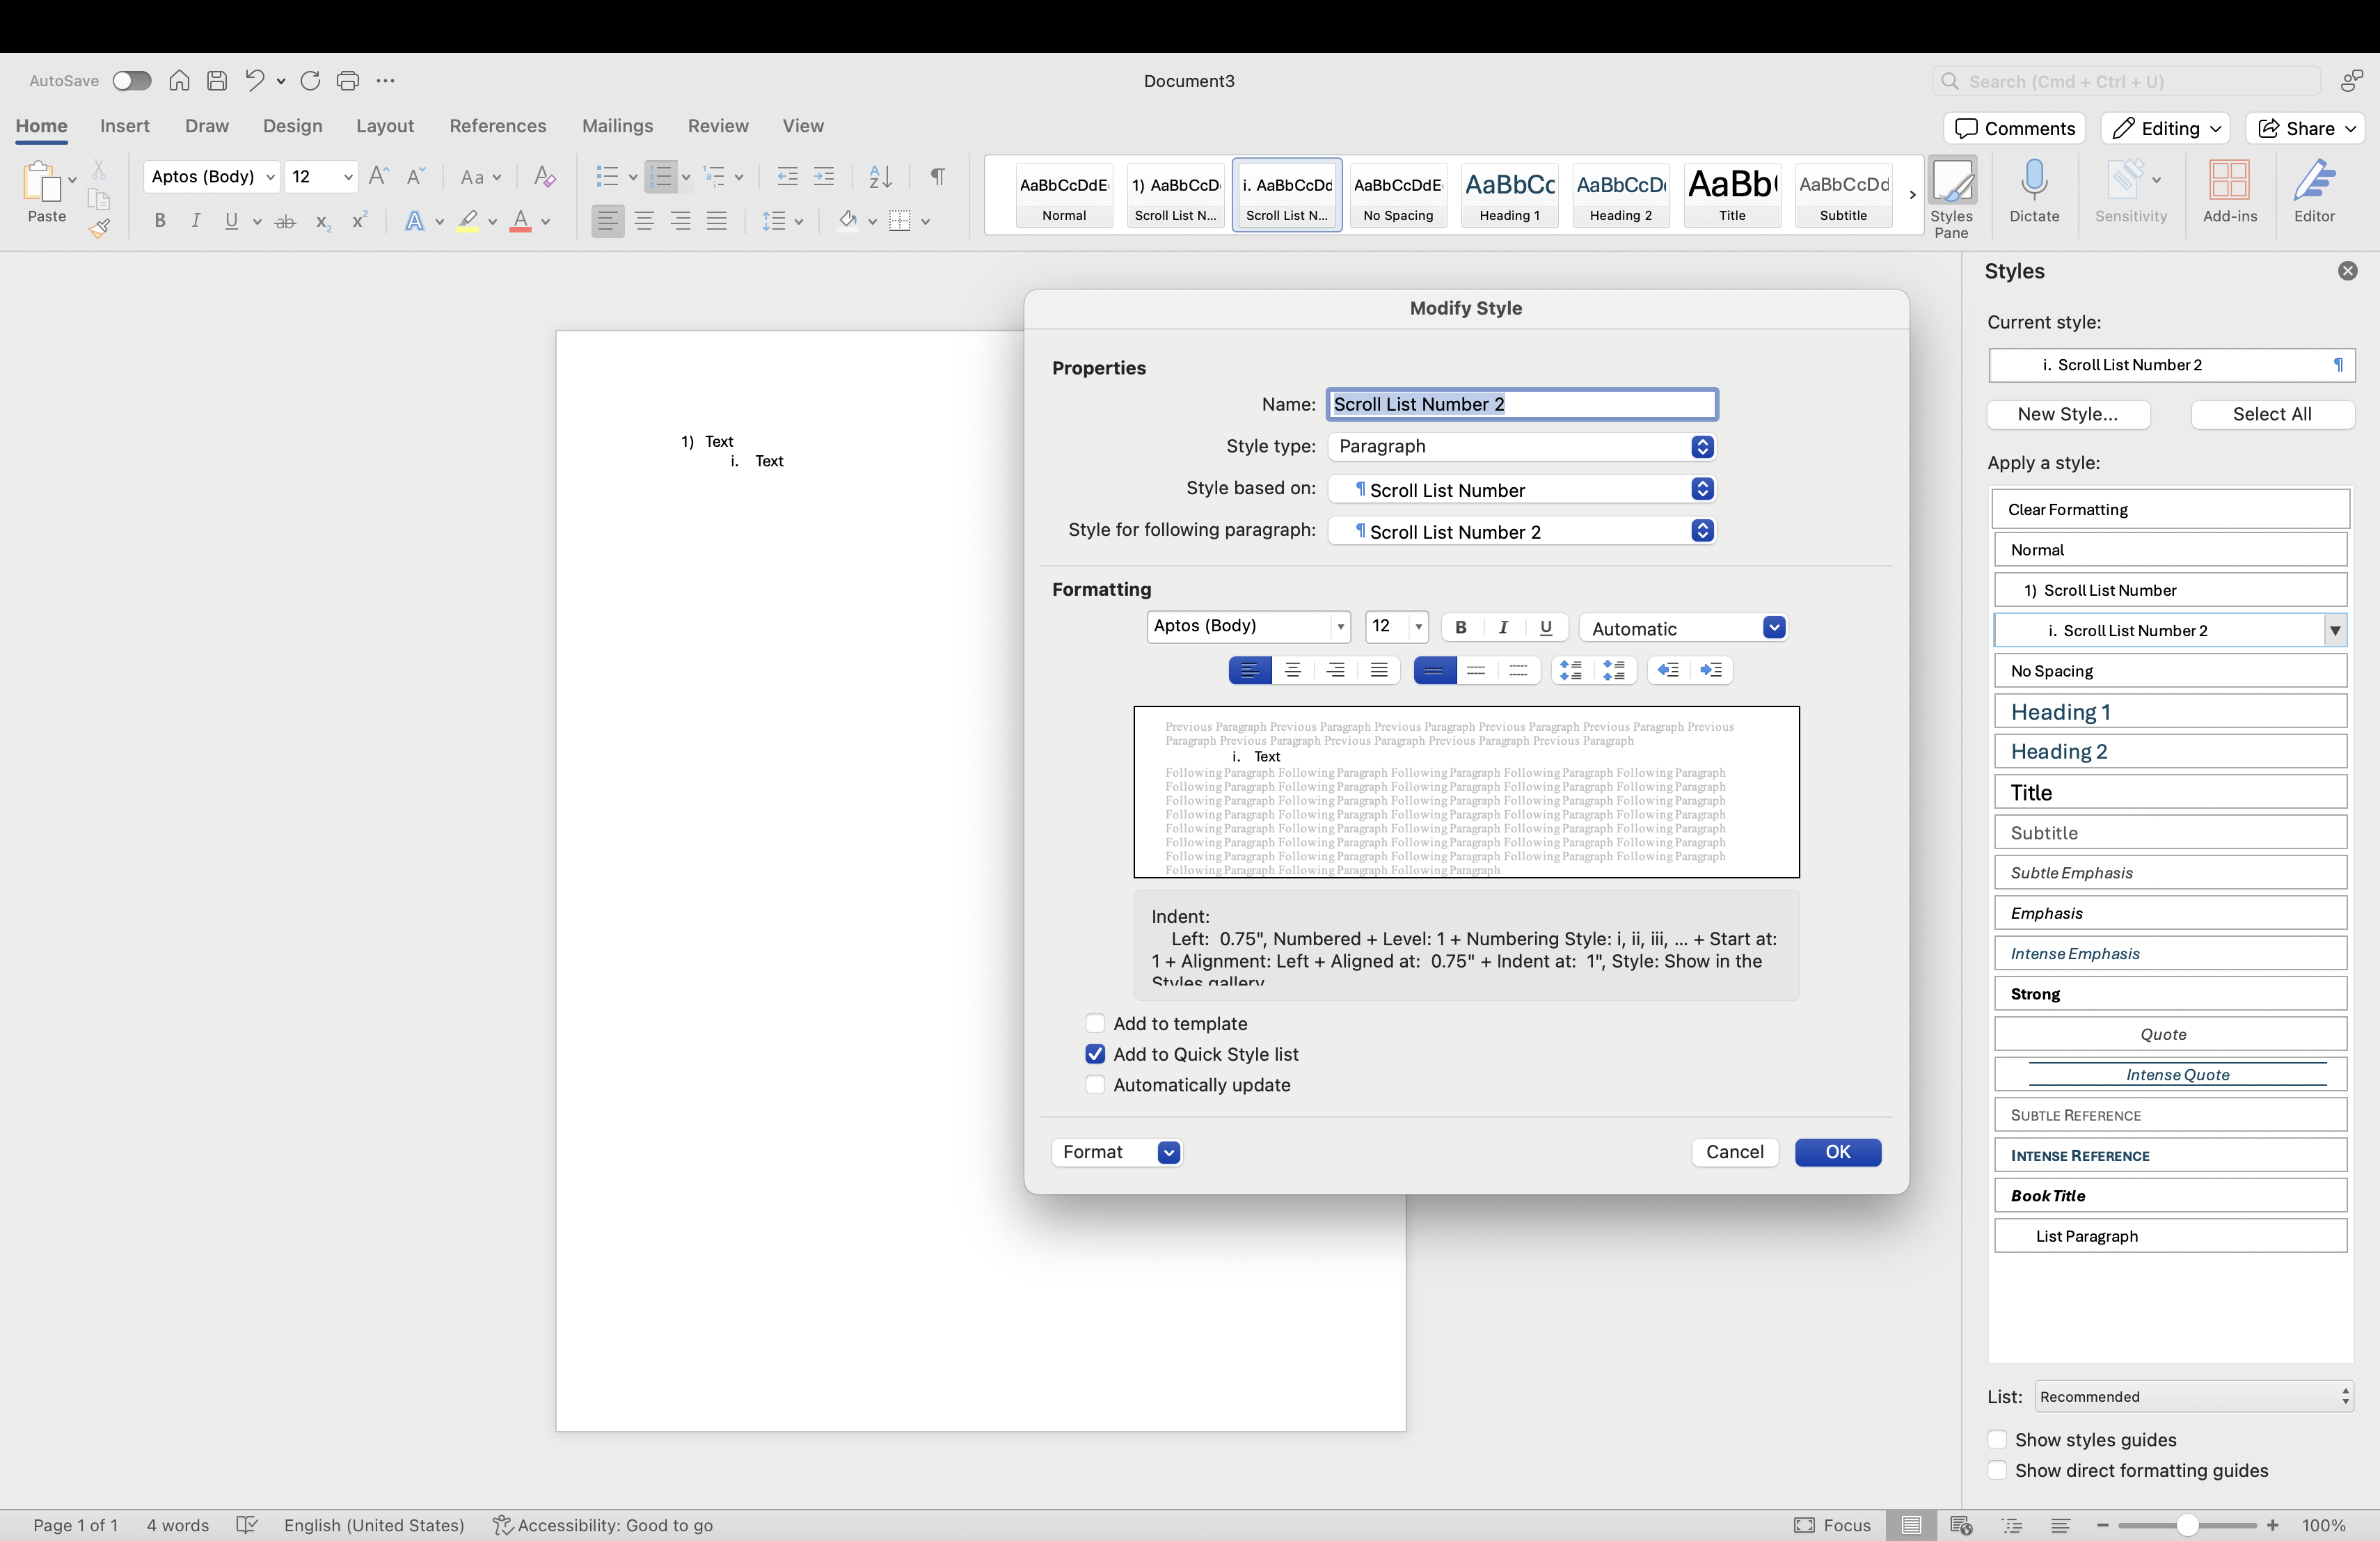
3 |
Within the Styles section, click New Style |
|
|
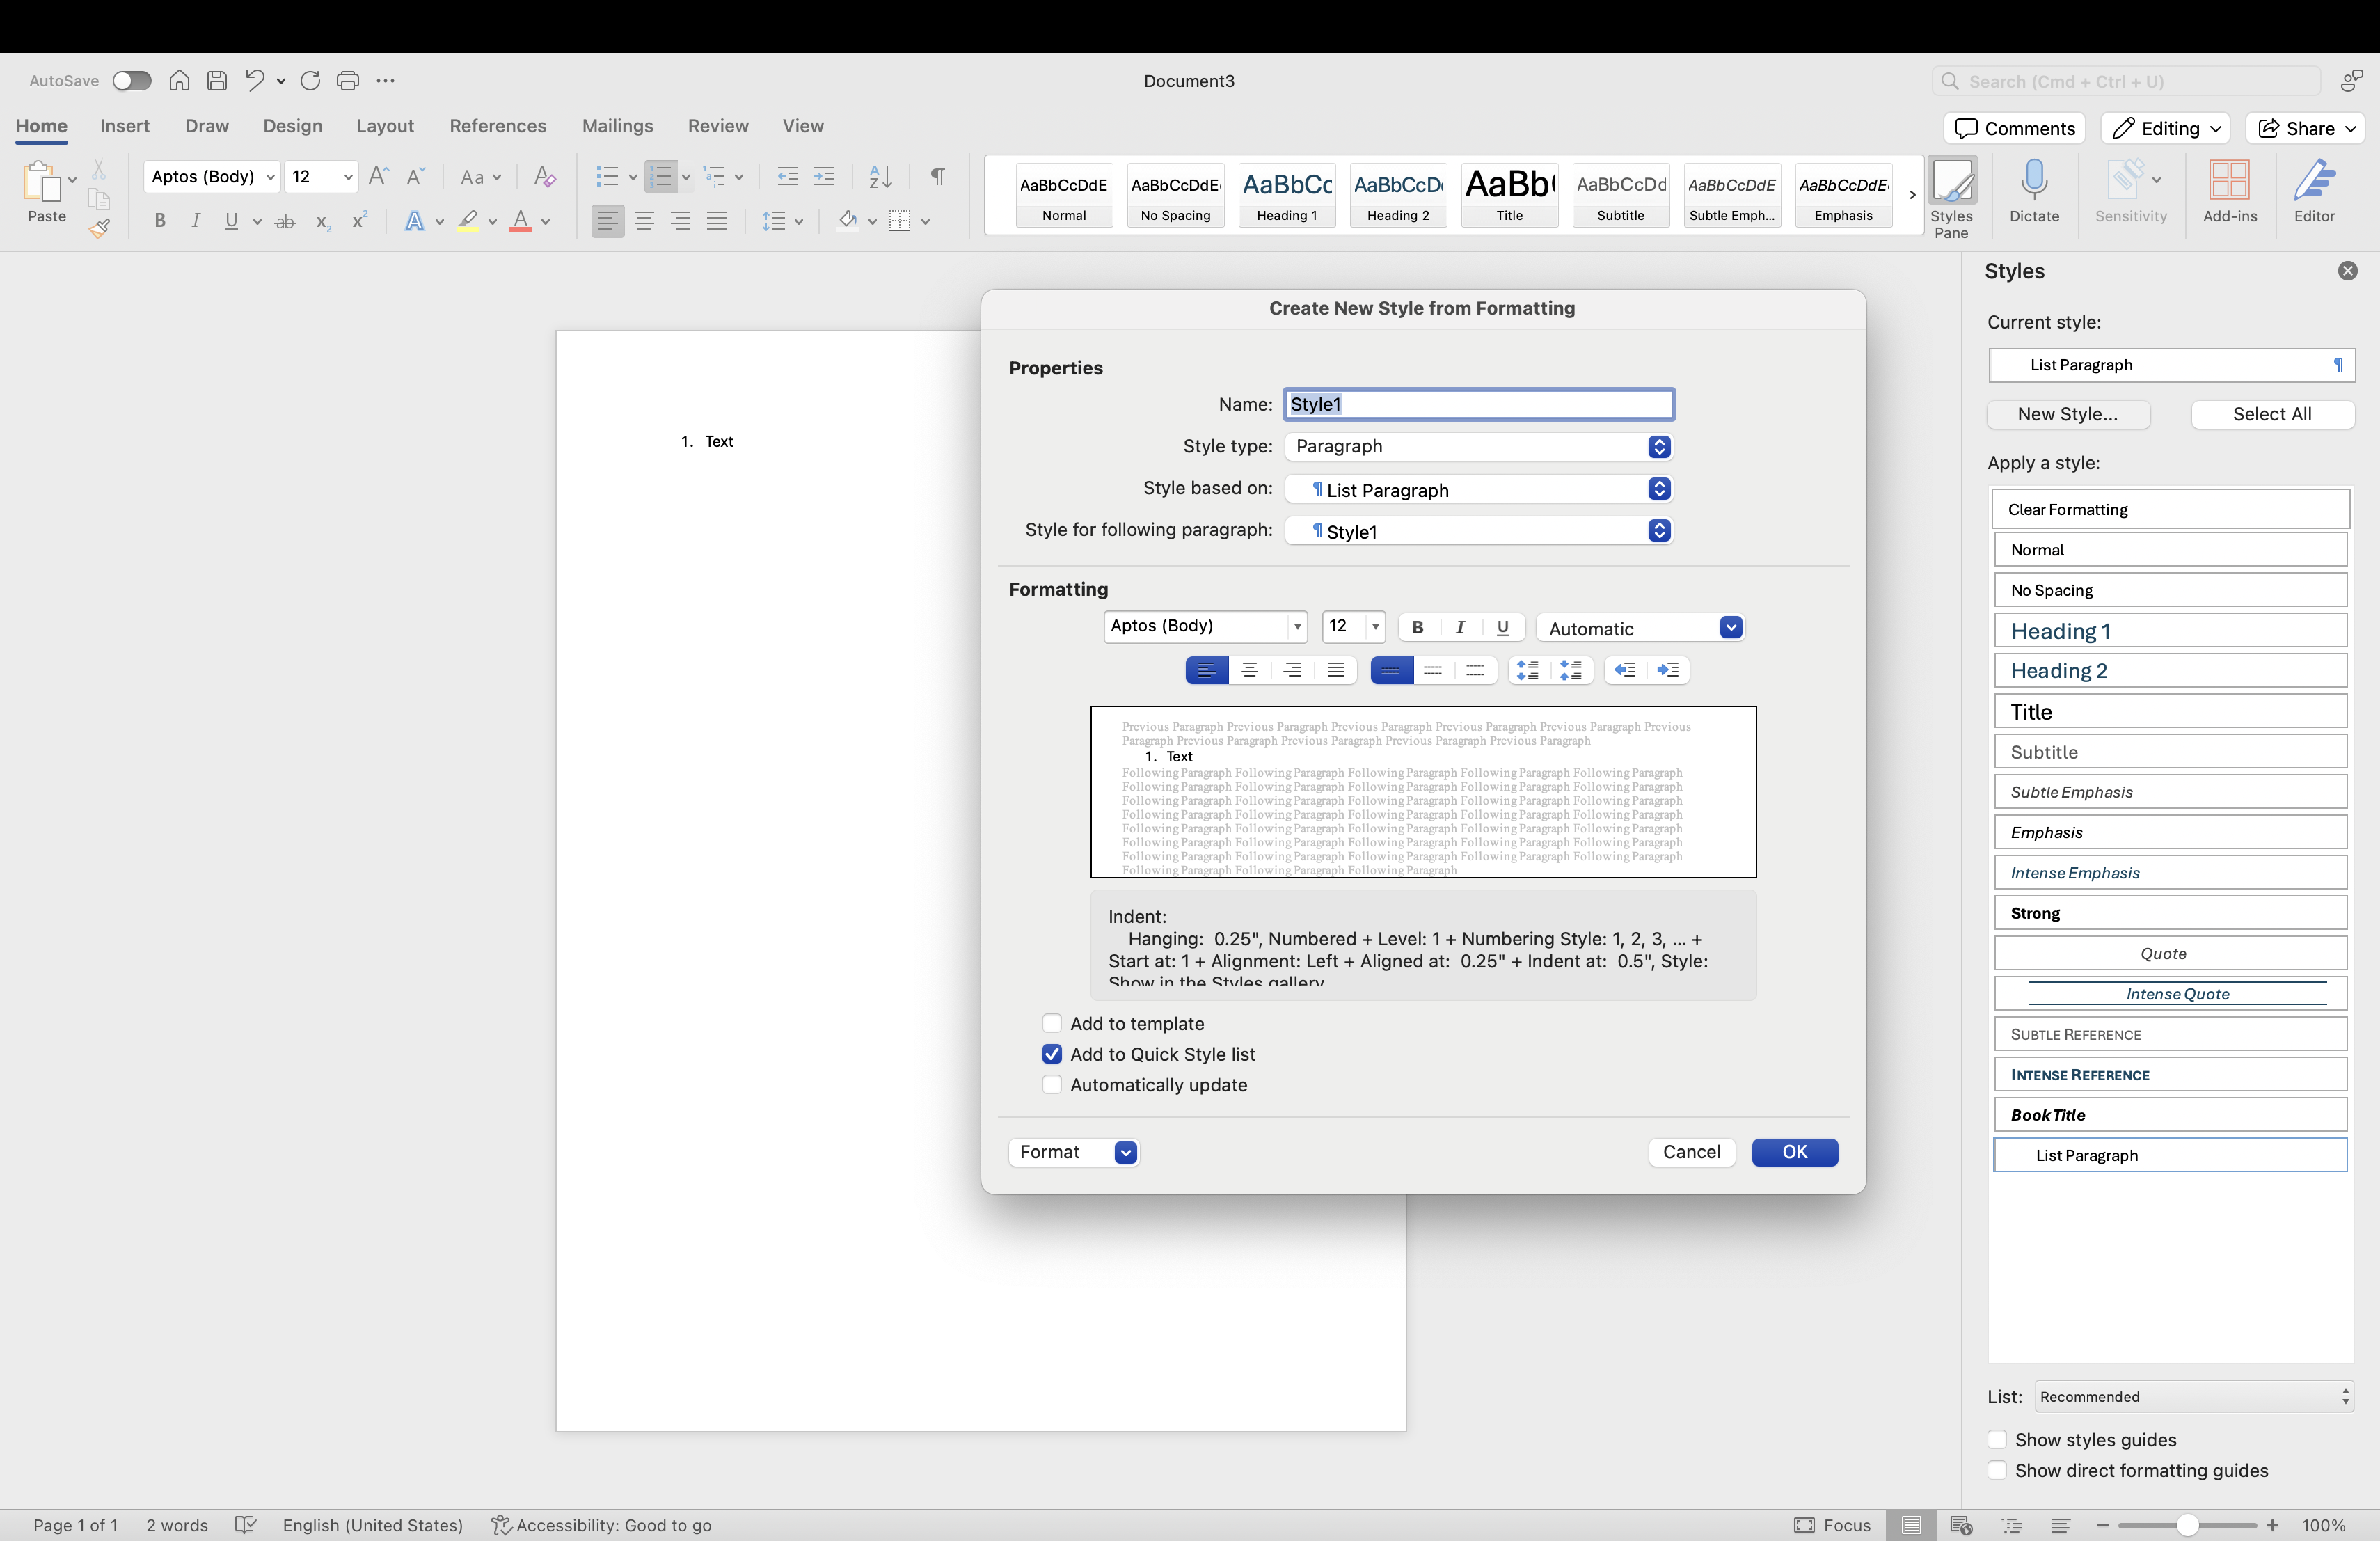
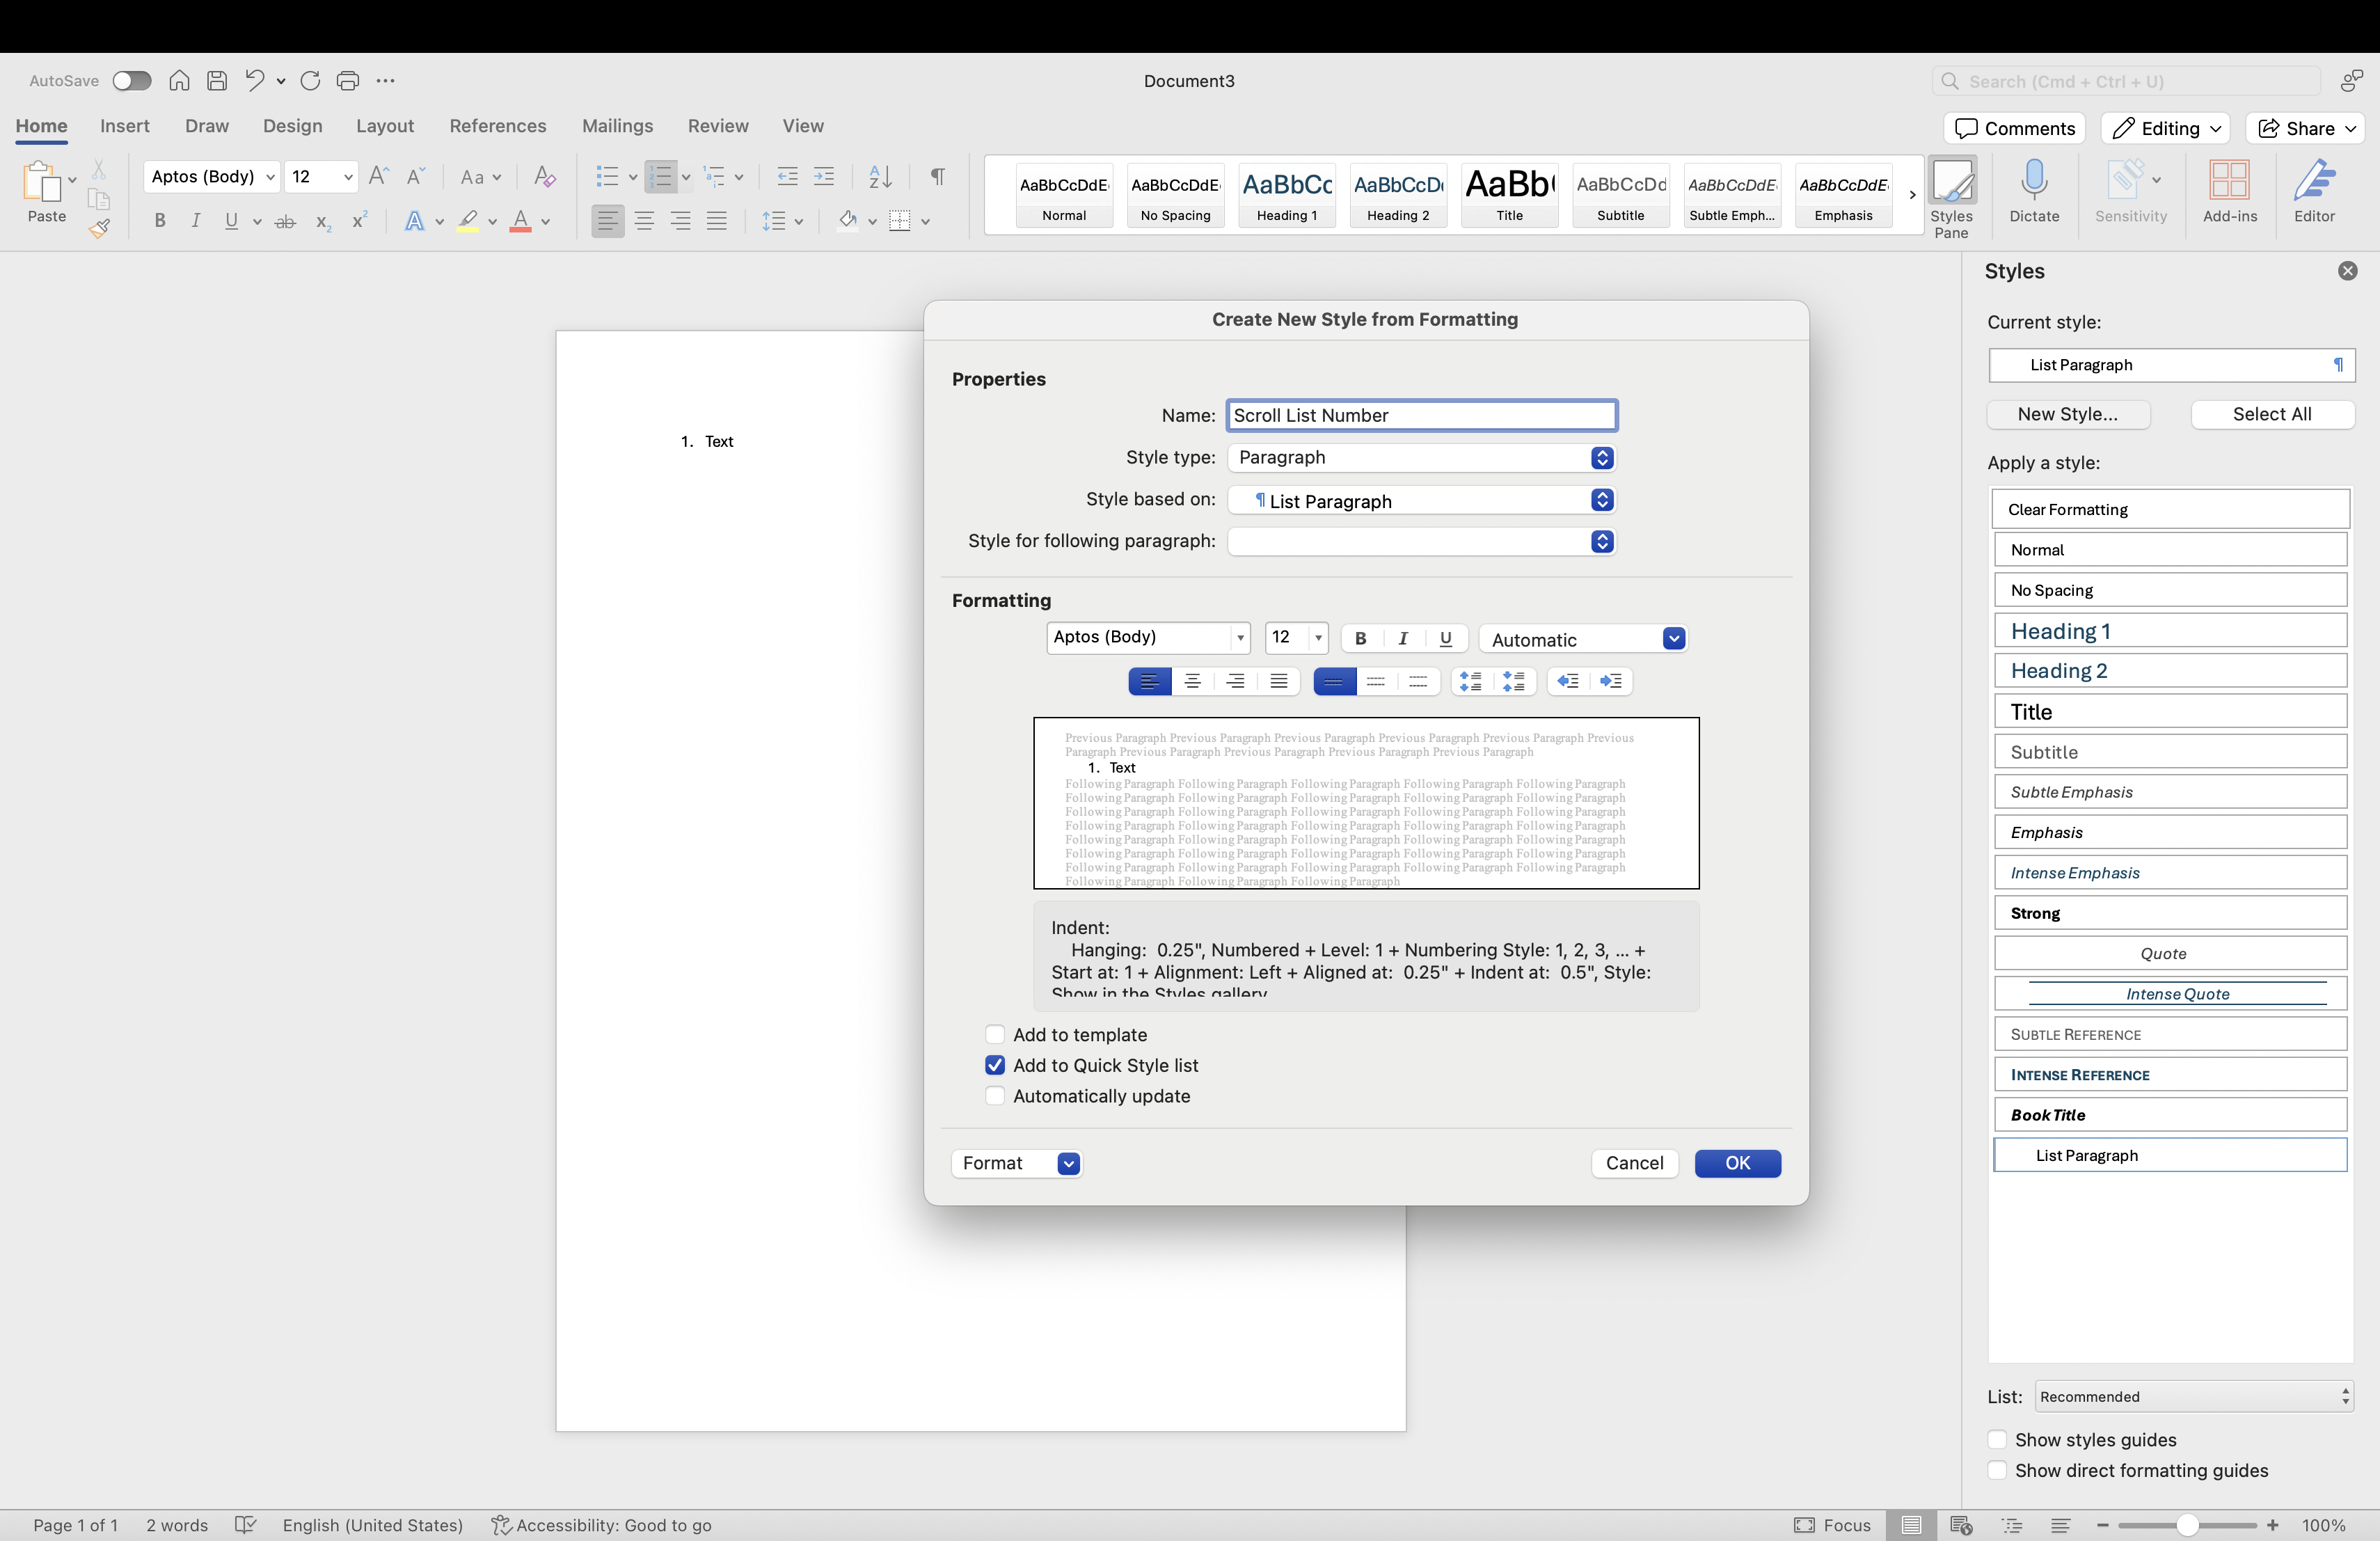
4 |
Within this section:
|
|
|
5 |
In the Format drop down, select Numbering |
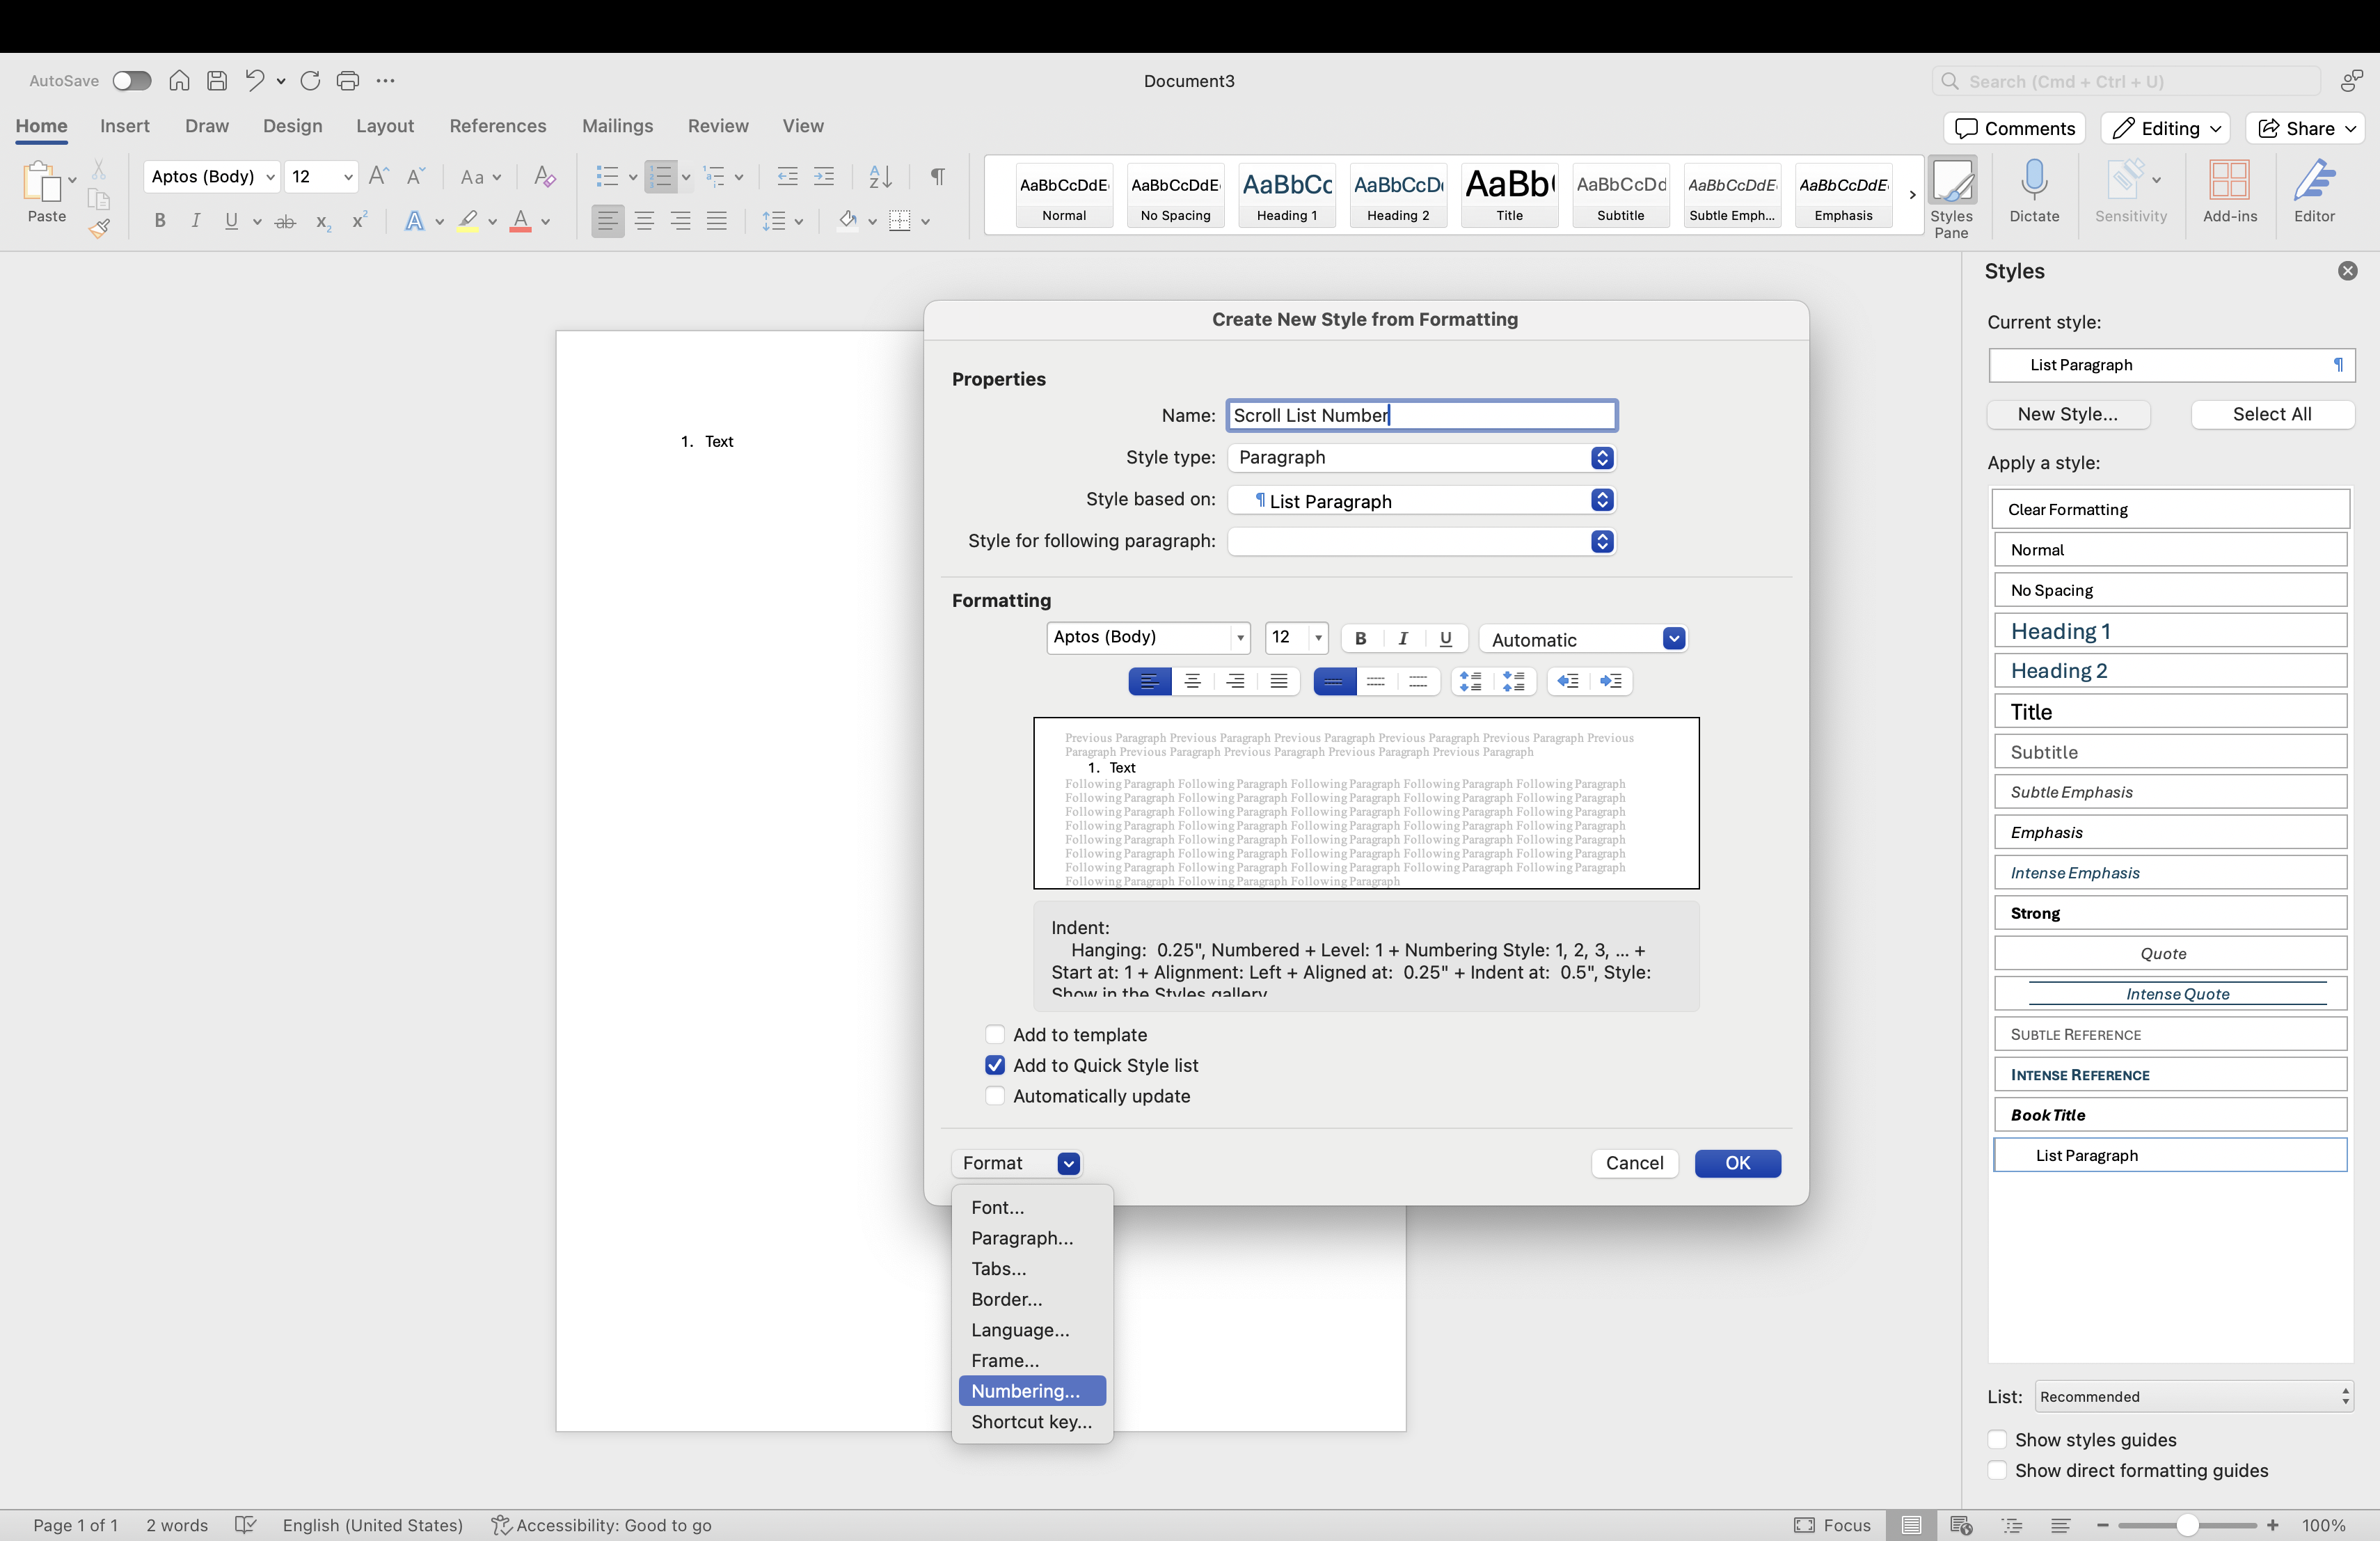
|
|
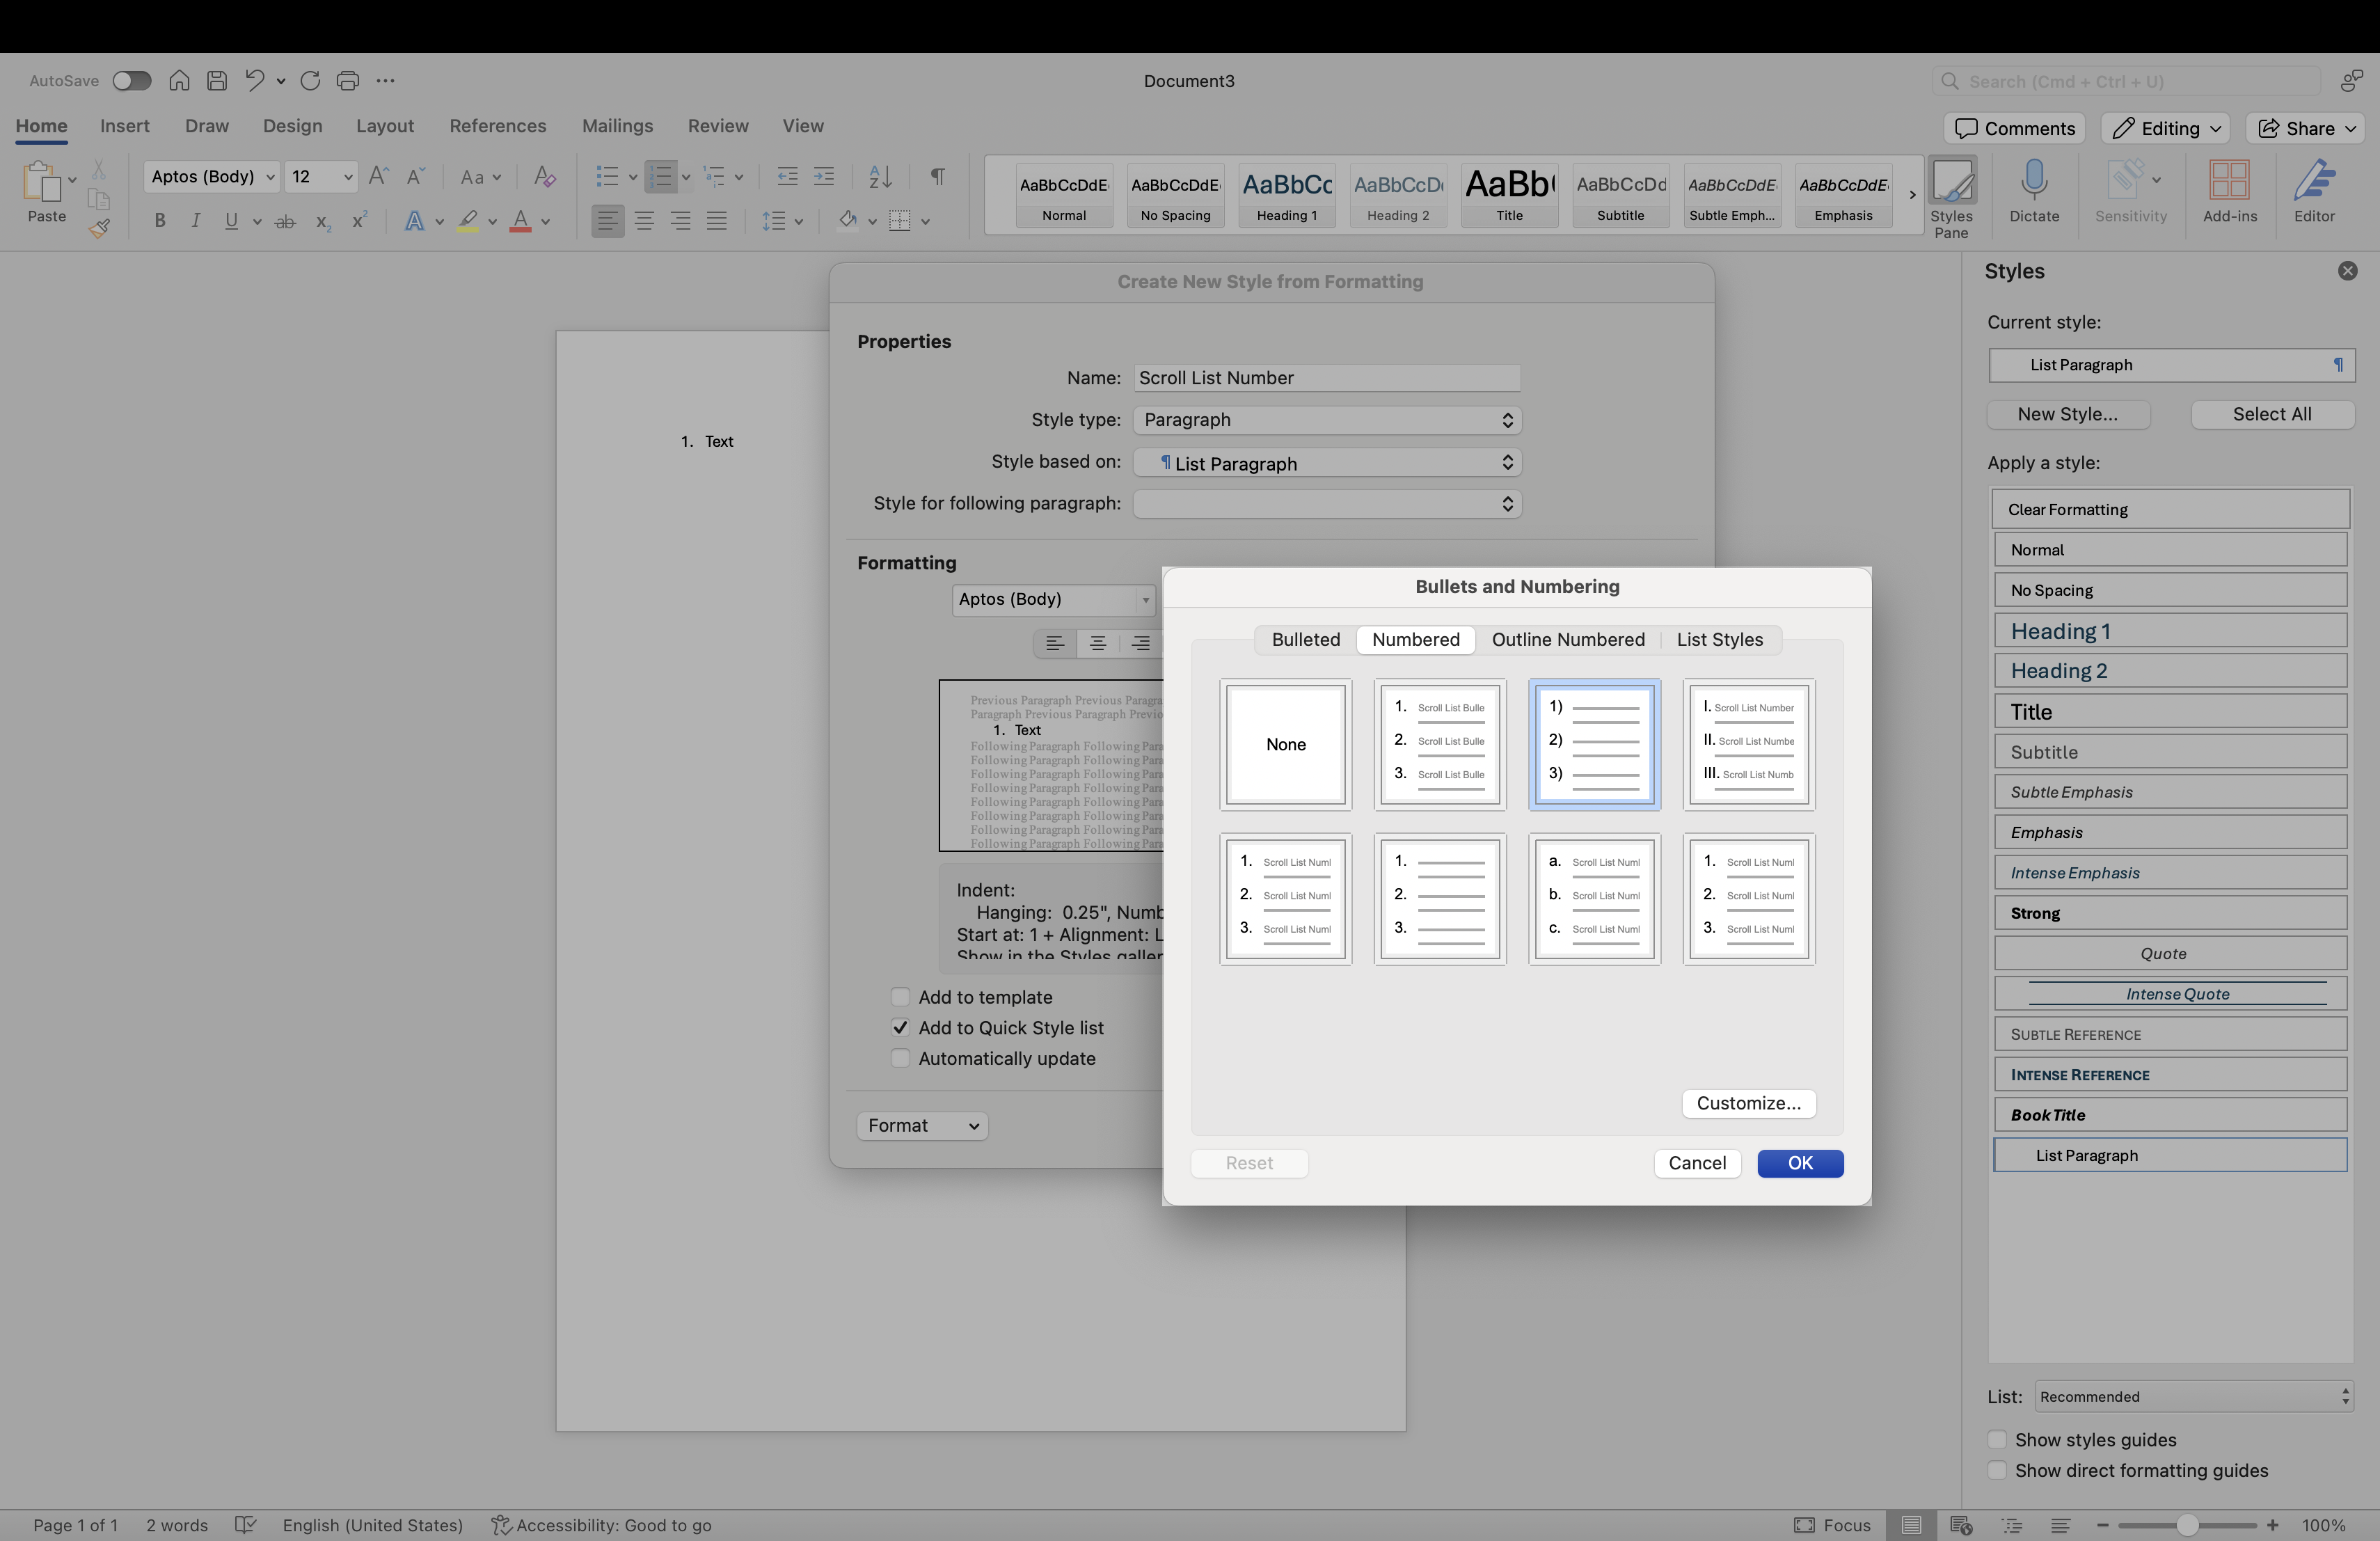
6 |
Within the Numbered section, select the numbering style defined for the specific list level, and confirm by clicking ok
|
|
|
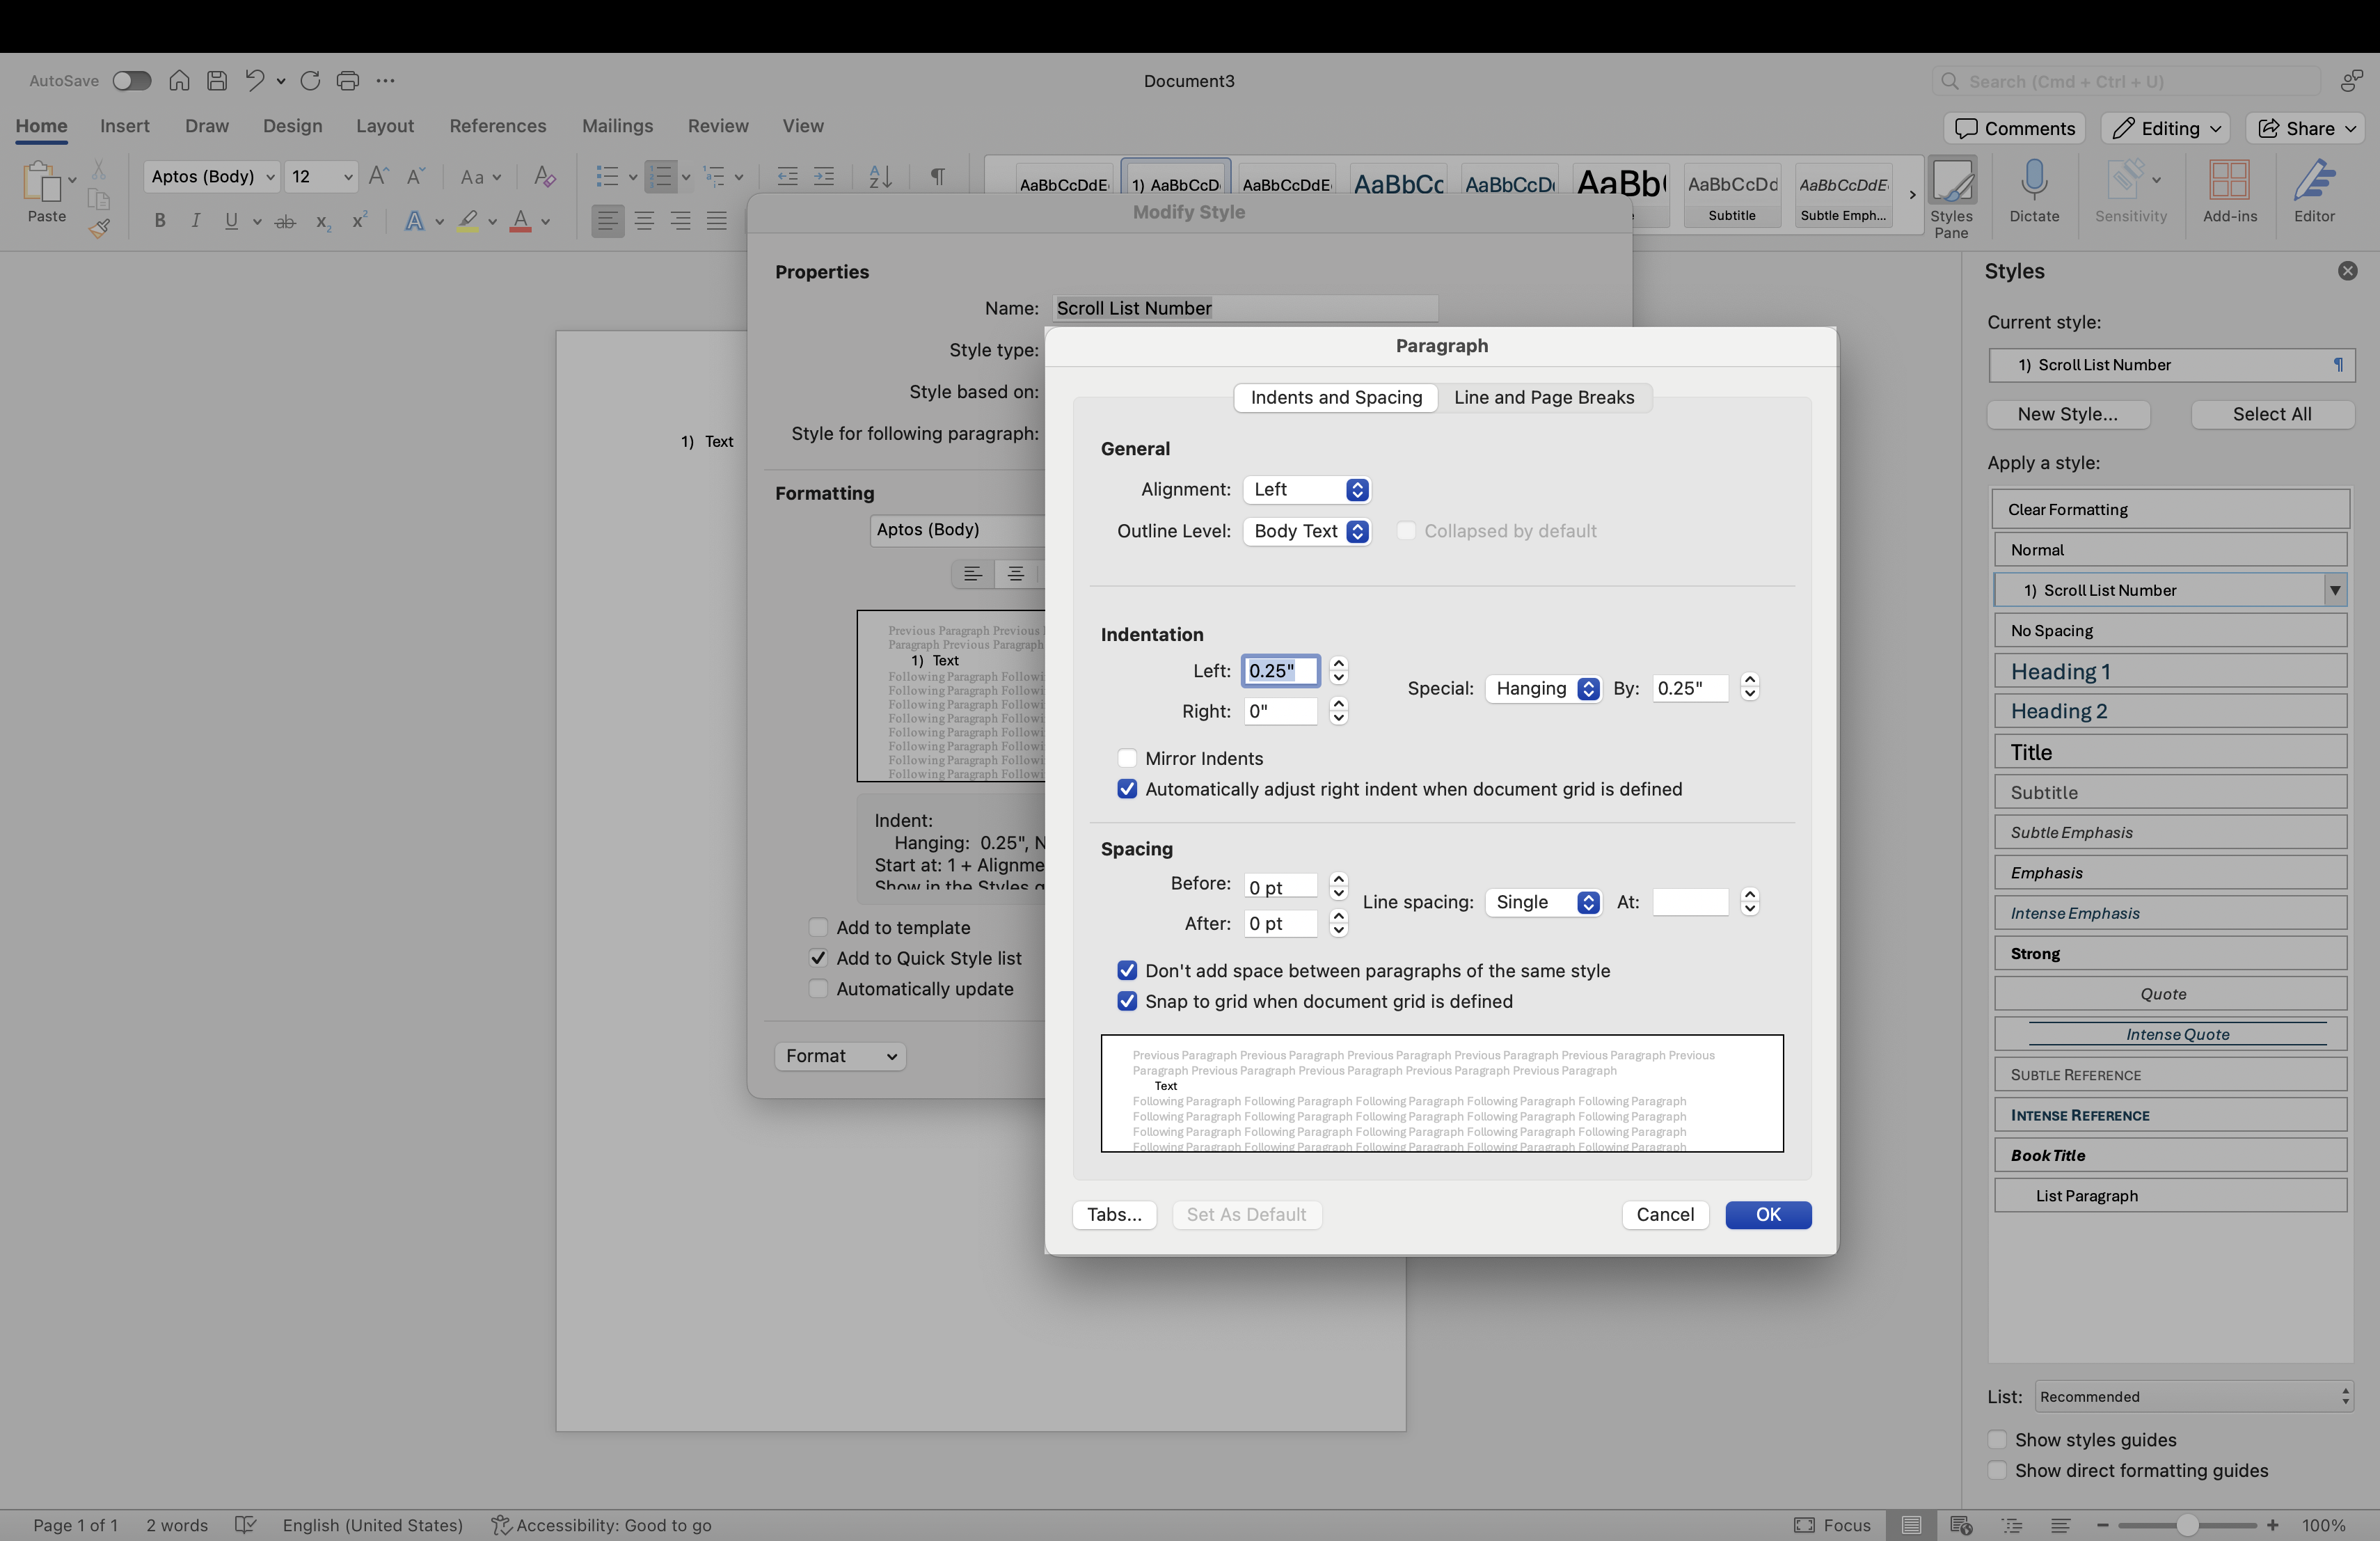
7 |
In the Format drop down, select Paragraph and define any further changes to alignment, indentation and spacing, and confirm by clicking ok |
|
|
8 |
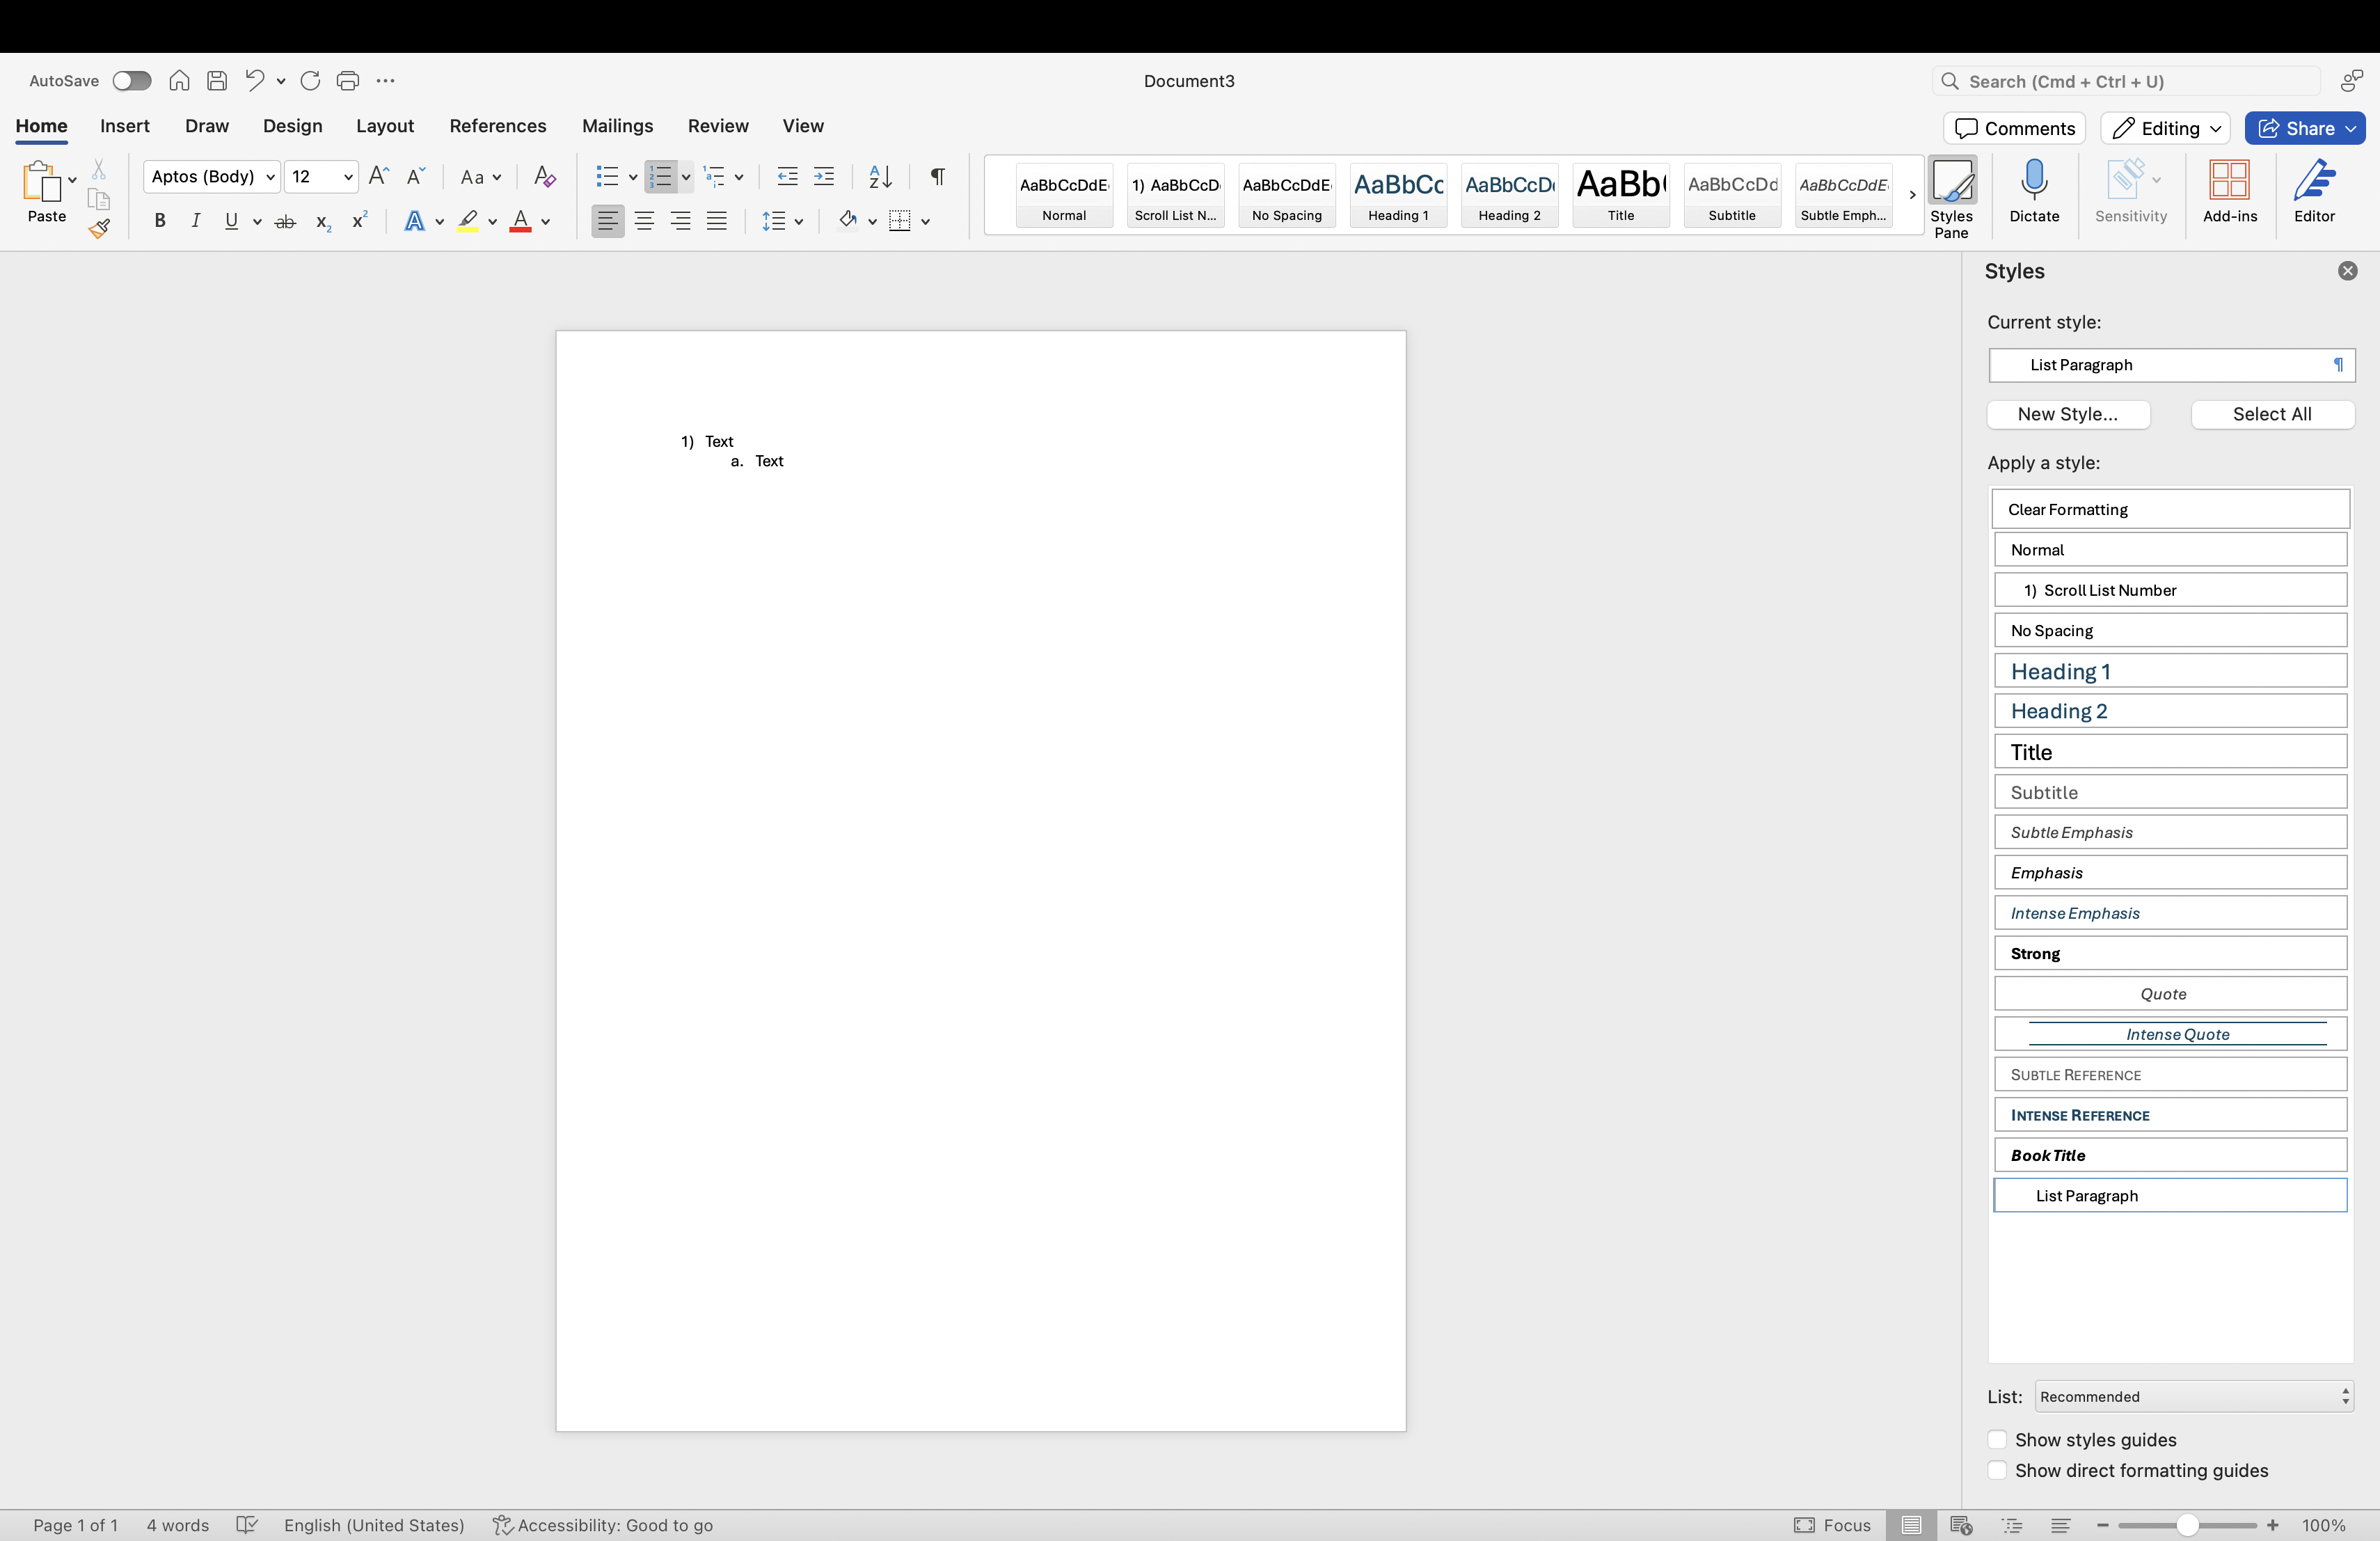
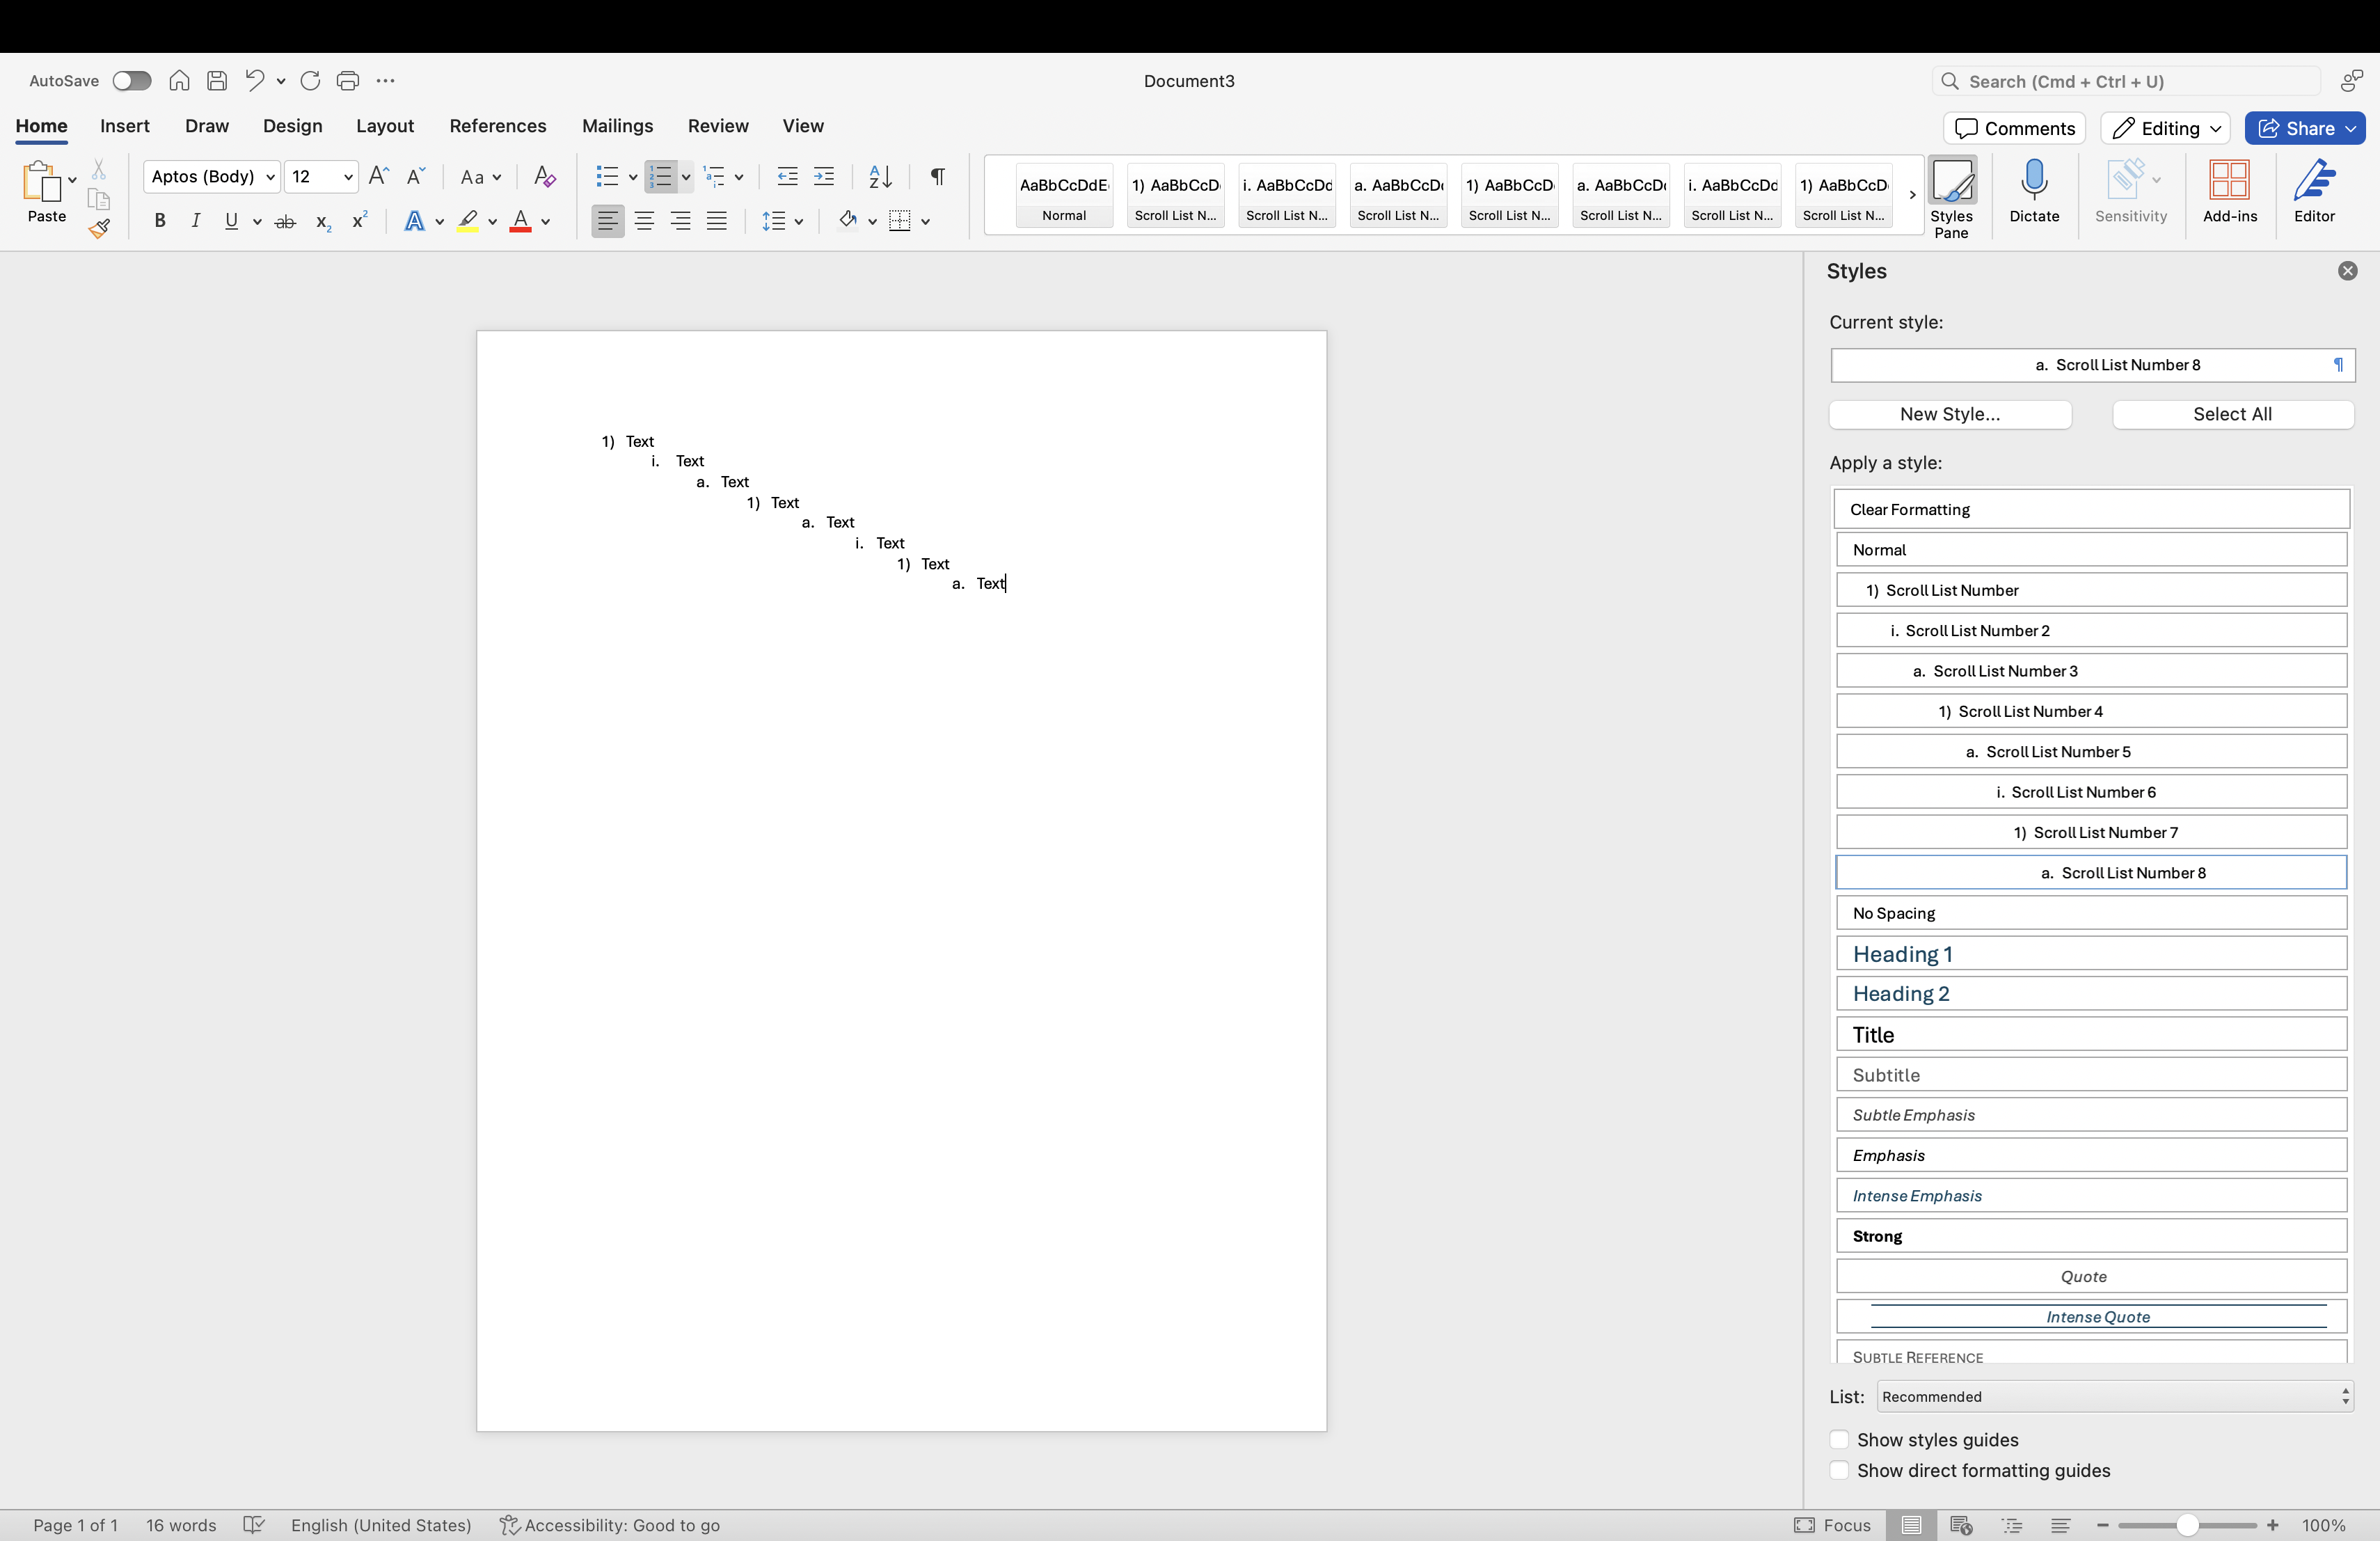
Next, add the second list level by selecting enter (initiate a line break) and then the tab key to move to the next list level depth. After this, add some text. |
|
|
9 |
Then repeat the same steps from 2 to 6 to define the list style for Scroll List Number 2. |
|
|
10 |
After this, continue to follow the same set of steps for all remaining list levels (ie. Scroll List Number 3, Scroll List Number 4, etc.) Then, delete the inserted list element and save your template. After the template is uploaded to your Confluence system it can be used to export your content to Word with the desired list formatting. |
|
Adding Bulleted List Styles
The same steps described above can be used to add/define bulleted list styles to your Word file template. To do this, simply amend the following steps:
-
Step 1 → Insert a bulleted list style from the toolbar
-
Step 4 → In the field Name enter the name of the Scroll style for your chosen bulleted list level, for example Scroll List Bullet
-
Step 6 → Within the Bulleted section, select the bullet style defined for the specific list level, and confirm by clicking ok
-
Step 9 → Repeat the same steps from 2 to 6 to define the list style for Scroll List Bullet 2 (and the remaining list levels)
Change already defined list level styles
-
First, ensure the Scroll named List levels are added to the Word template
-
For each style (eg. Scroll List Number 1), go to Modify style, select Numbering from the drop-down - for Scroll List Number styles click the Numbered tab / for Scroll List Bullet styles click the Bulleted tab
-
Now, click the list style desired for the level being modified, eg. 1) 2) 3) or I. II. III.
-
Then click Customise...
-
You can then further configure the numbering/bulleted style for that level
-
After this, click Ok and confirm the changes you made
-
Lastly, repeat the process for all further levels of the style - eg. Scroll List Number 2, Scroll List Number 3, etc