Not all fields, e.g. for third party app fields, can be synchronized out of the box by Backbone Issue Sync. In this article, you will learn how to synchronize those fields using Jira Automation
How to Use Jira Automation for Unsupported Fields
In this example, we’ll take the field ‘Parent Link’ from advanced roadmaps. You can follow these steps to synchronize the parent link from Project A to the parent link in Project B:
-
Create a new single line text field, e.g. named ‘Parent Link Text’ on both Jira instances
-
Go to the project A > Project settings > Automation
-
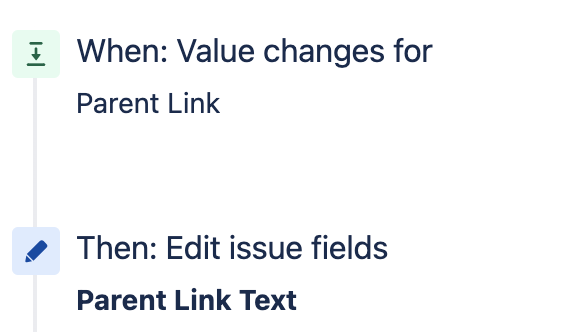
Create an automation which copies the ‘Parent Link’ into ‘Parent Link Text’ every time the value changes:
-
When: Field value changed for ‘Parent Link’
-
Change type: “any changes to the field value“
-
-
Then: Edit issue fields
-
Choose the ‘Parent Link Text’, use as value {{issue.Parent Link}}
-
-
-
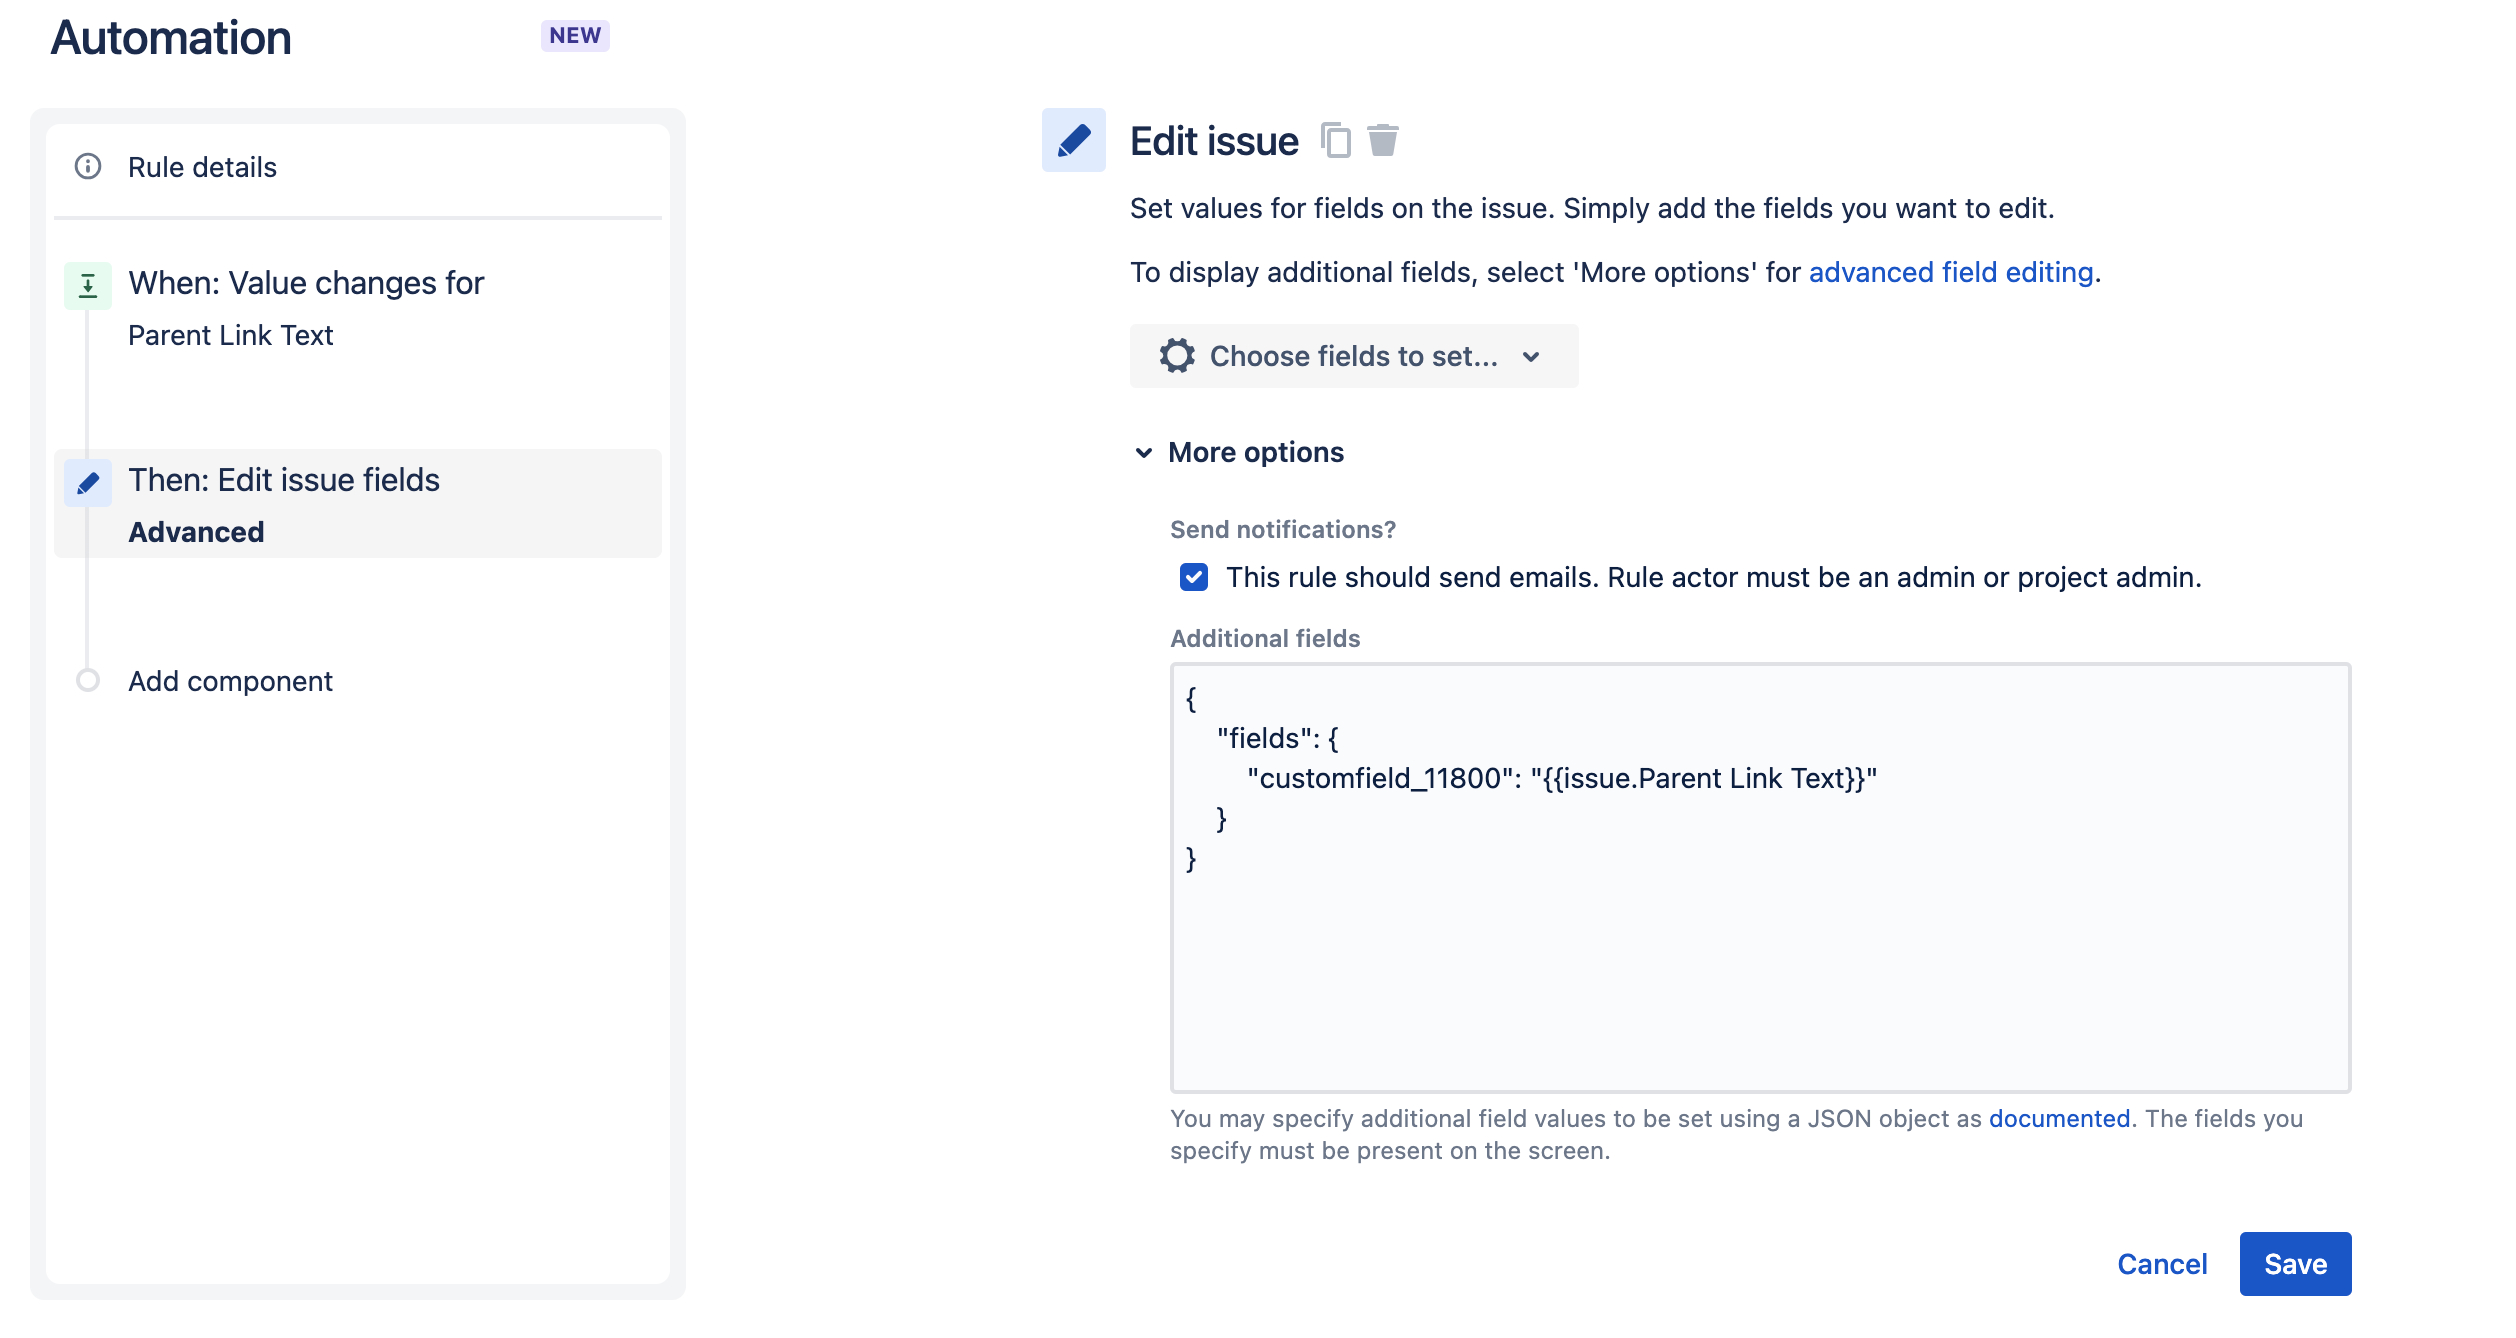
Go to Project B and create another automation which copies the ‘Parent Link Text’ into ‘Parent Link’ every time the value changes:
-
When: Field value changed for ‘Parent Link Text’
-
Then: Edit issue fields
-
Expand “more options” to use the advanced syntax and provide a JSON like this where customfield_11800 refers to the Parent Link field. You can find the custom field ID as described in this article.
{
    "fields": {
        "customfield_11800": "{{issue.Parent Link Text}}"
    }
}
-
-
-
Go to the synchronization and set up a field mapping from Parent Link Text to Parent Link Text
-
Optionally: if you also want the parent link synced from Project B to project A, you need to repeat those steps and add the same automations for the other project.
Now, when the parent link is set in Project A this will be copied to a text field in Project A by the first automation. Backbone will sync this text field from project A to B. In project B, the text value is then copied to the parent link by the second automation. This same logic can be applied to other fields.
How to Use Jira Automation for Asset Object Fields
This procedure works if the sync is between two projects on the same instance and this workaround makes use of issue-linking the source and remote issue together in order to reference their Asset object values.
Step 1: Automatically link the source and remote issue
-
Establish the sync connection and enable the advanced setting sync.correlationFieldId and set the same customfield for both projects
-
Setup two Automation Rules, one for each project
-
When: Issue is created
-
If: Reporter is “insert Syncuser”
-
Then: Link Issue with
This issue relates to {{customfield_xxxxx}}
(use the id of the customfield that was used for sync.correlationFieldId)
-
Step 2: Set the Asset Object Field via Linked Issue Loop
-
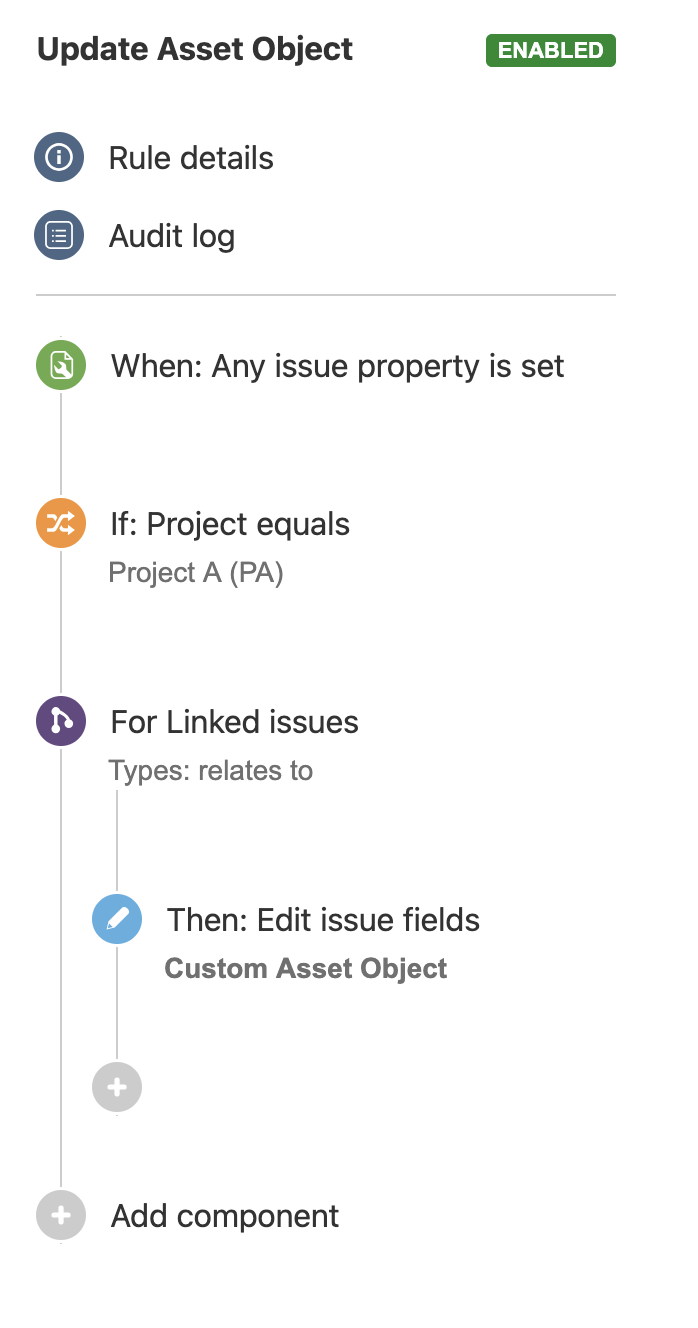
Setup two Automation Rules, one for each project
-
When: Issue Updated or Field changed
-
If: Project equals Project A / Project B
-
Branch: For each linked issue of type “relates to”
-
Then: Copy Asset Field value from Trigger Issue
-
With these rules in place, the following will happen:
-
Once an issue is created on either project A or B, a remote issue is created and the issues are automatically linked together with the linked attribute being set to “relates to”.
-
As the issues are now linked, Jira Automation can now pick up on the issue changes which will then trigger the “sync” of the Asset field object that is currently set on the triggered issue and apply it on all linked issues with the linked attribute “relates to”
-
This also means that the linked attribute “relates to” should only be applied automatically by the sync user and should not be used by user agents.
-
-
With the rules being set up individually for both directions, the Asset field can now be synced from both project sides.