When using export templates provided by K15t’s Template Library it is important to understand what has already been defined in the template, so it that it becomes easier to edit these templates for your own use-case.
Get to know the Document Sections
The Document Sections tab in the template editor is the place where the building blocks that define the structure of your templates is decided and you can uniquely style and format each section that you add.
Use Before and After Content Sections
For any section in your template you can add static content to the Body – Before Content and Body – After Content elements on any of your sections. This feature allows you to achieve unique exports that only include content either immediately before, or after the Confluence content. This is great if you want to add something but not want it to appear on on every page in the export.
Add Additional Sections
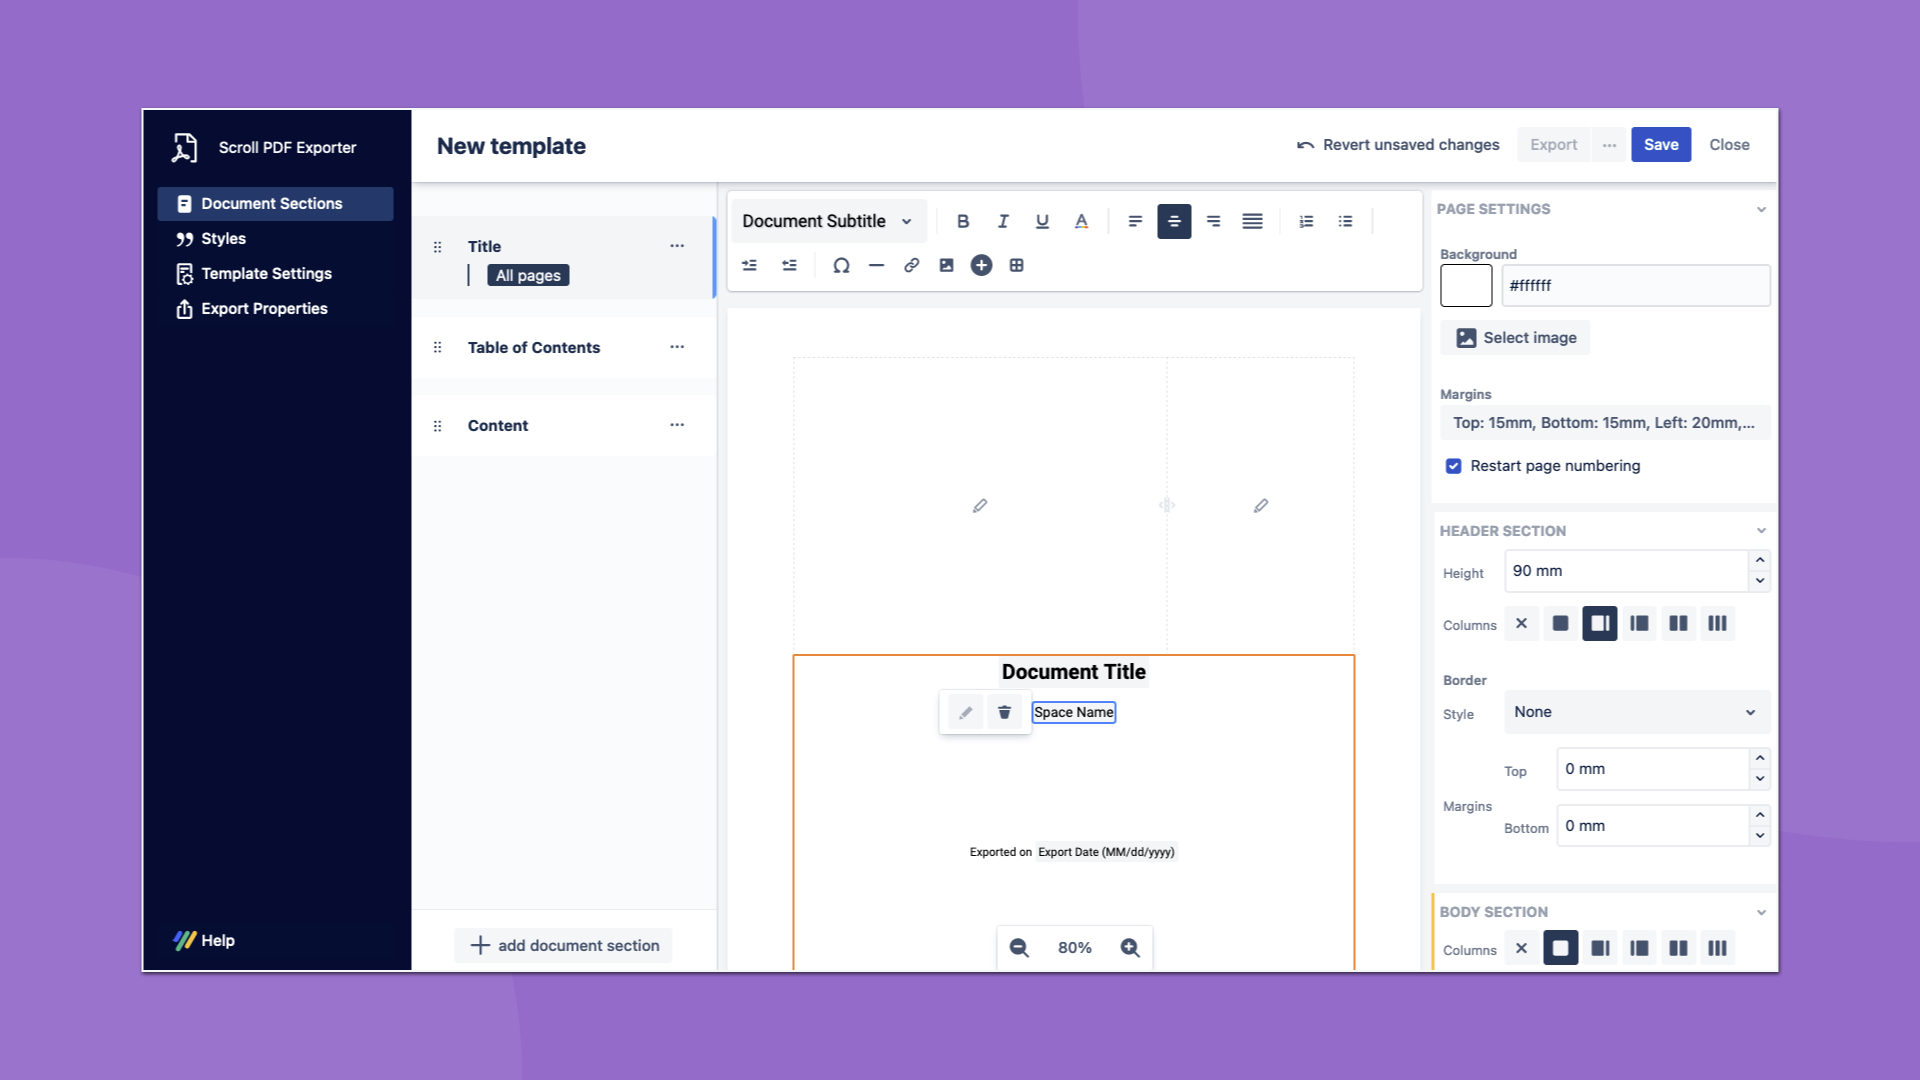
Using the + add document section button you can easily add new sections to your template, and include additional content such as text, placeholders, tables and images to achieve the desired output for your PDF’s. After this, you can reorganise the sections to decide which sections should come before the exported Confluence content, and which sections should come after. For instance, maybe you want to add a Copyright section at the start of your document, or alternatively, maybe you need to add some Company information at the end of your export. Of course, you can also remove any unwanted sections and just stick to only having the Content section - the choice is yours.
Fine-tune your Sections
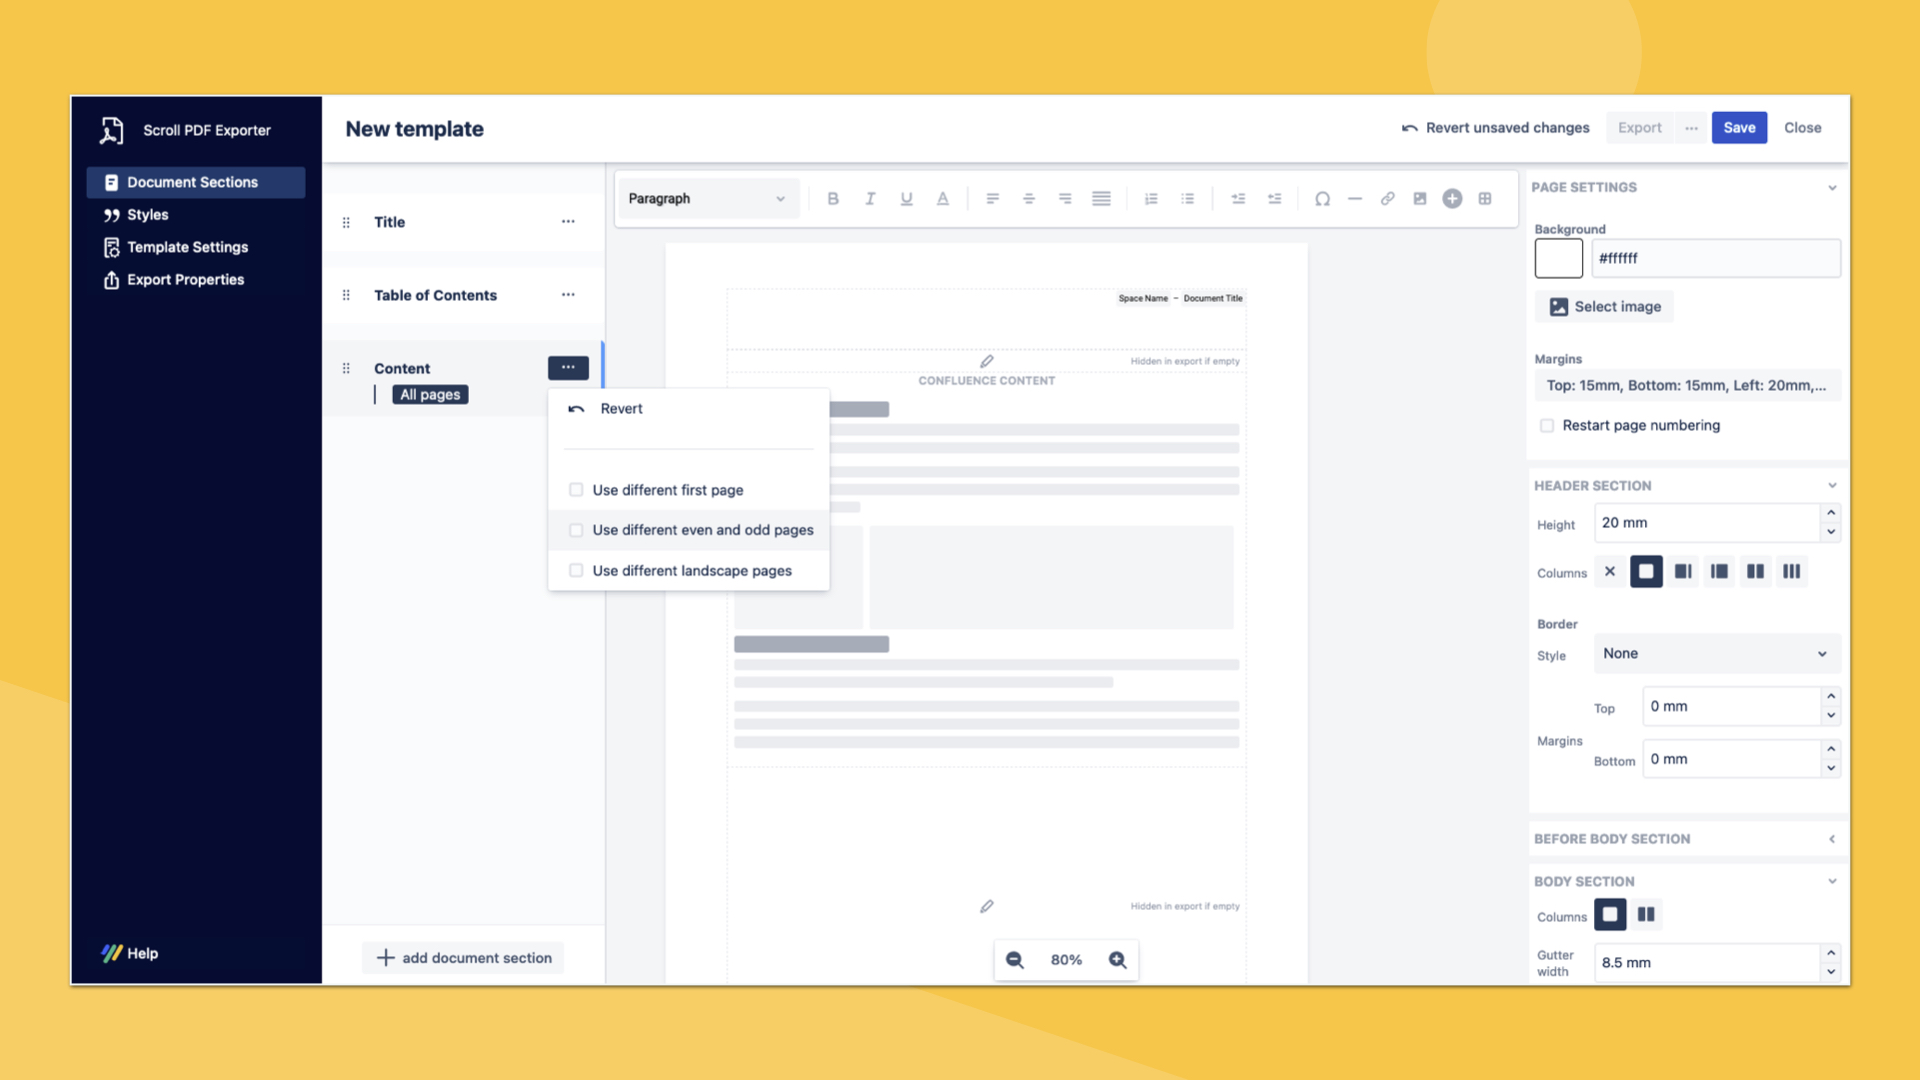
Each section provides additional options via the ••• actions menu. For instance, it may be that you need a different configuration for the pages in your PDF based on whether the page is an odd number or an even number - this is particularly useful for printed content like hard-bound booklets or manuals. Alternatively, maybe you need your exported content to start on a page that has a different layout to the rest of the document, this can easily be achieved by enabling the Use different first page option ( learn more ).

Does the Export Template Contain Placeholders?
Adding placeholders to your export template is a great way to ensure that specific space, page or export information can be added to your PDF’s without needing to actually write this information down somewhere. You add placeholders via the Document Sections in the template editor (learn more here ).

Special Placeholders
For the most part you can simply add placeholders to your template and Scroll PDF Exporter will handle everything else, ensuring that the relevant information is printed in the generated PDF.
However, some placeholders require additional configuration, such as;
-
Scroll Documents Placeholders - these placeholders require Scroll Documents to be installed and for the pages being exported to be a part of a created Scroll Document.
-
Page Property Placeholder - this placeholder requires the Page Properties macro to be added to the your Confluence page. This placeholder has a block and inline mode which can be configured, you can learn more about this here .
-
Comala Document Management Placeholders Data Center only - these placeholders require Comala Document Management (CDM) and Comala Document Management for Scroll Exporters to be installed and for the pages being exported to be a part of a CDM workflow. Learn more about this here .
Tips & Tricks
-
Some placeholders can be configured further by simply clicking on it and choosing the pencil icon
-
Use the / shortcut character in the Document Sections to quickly add a placeholder
-
Use the Include Page placeholder to add the content from a page in a different space to your exports
What Template Styles do you Need?
Export templates allow you to control the format of your PDF documents by defining a vast range of styles that will either map to Confluence styles on your page(s), or will be added to the additional sections in the export. You can learn more about the template’s Styles section here .

Lesser-known Styles
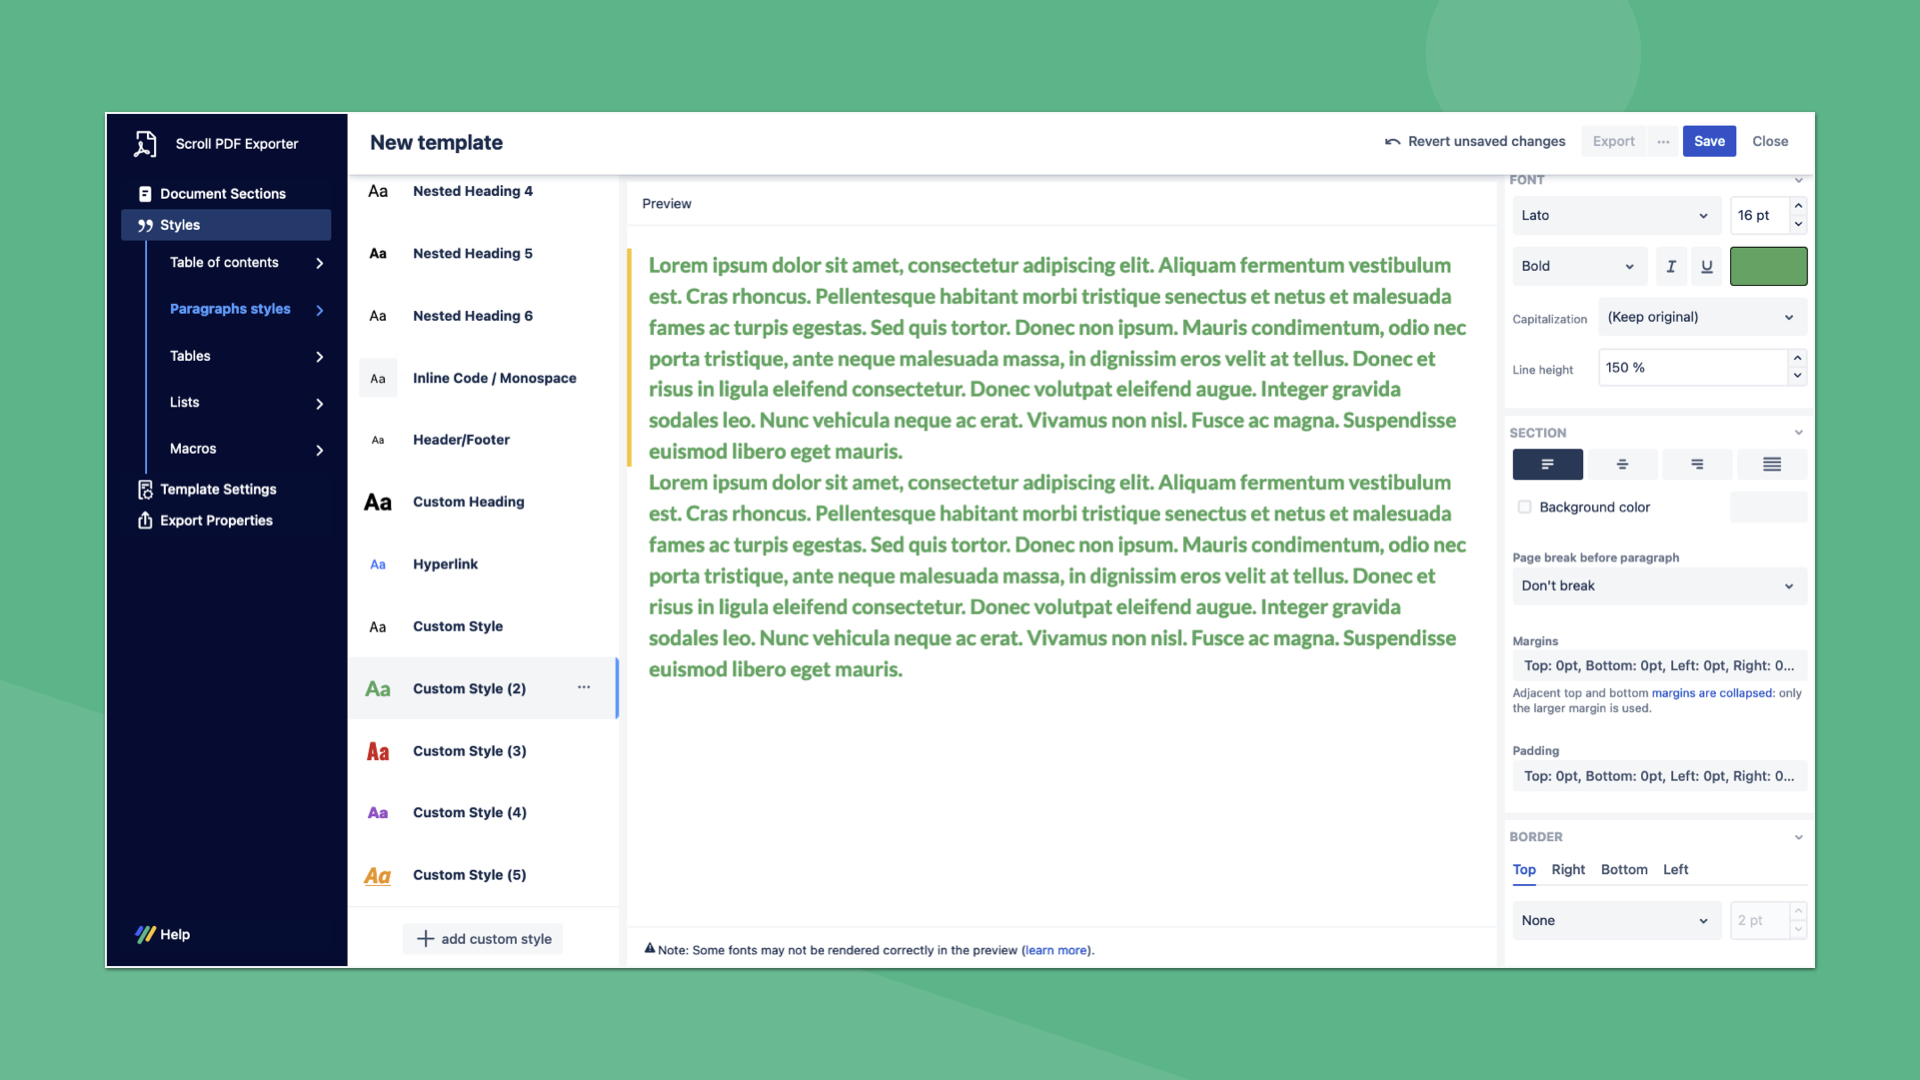
Creating custom paragraph styles and defining styles, like Nested headings, open up further customization possibilities for your generated PDFs.
-
Custom Paragraph Styles - by defining custom styles in your export template you can then apply these styles to static text included on your different sections in your template. If you haven’t created custom styles before you can follow the steps here .
-
Nested Heading Styles - defining Nested heading styles allows you to control the output for heading level content defined on your Confluence page(s) within macros and/or tables. You can configure these styles within the Styles > Paragraph styles tab of the template editor.
-
Custom Table Styles - you can also create custom table styles and either apply this custom style to a table in your Document Sections, or apply the specific style to a table on your Confluence page via the Scroll Table Layout macro .
Tips & Tricks
-
Nested heading levels are not included in the Table of Contents
