Upgrade any Scroll Viewport site that you are still using productively (e.g. you make regular updates to it or it’s receiving regular traffic)
This page will outline the process to start and complete an automated replication of the site in Scroll Sites.
Start the Upgrade (Creates an Unpublished Copy of Your Site)
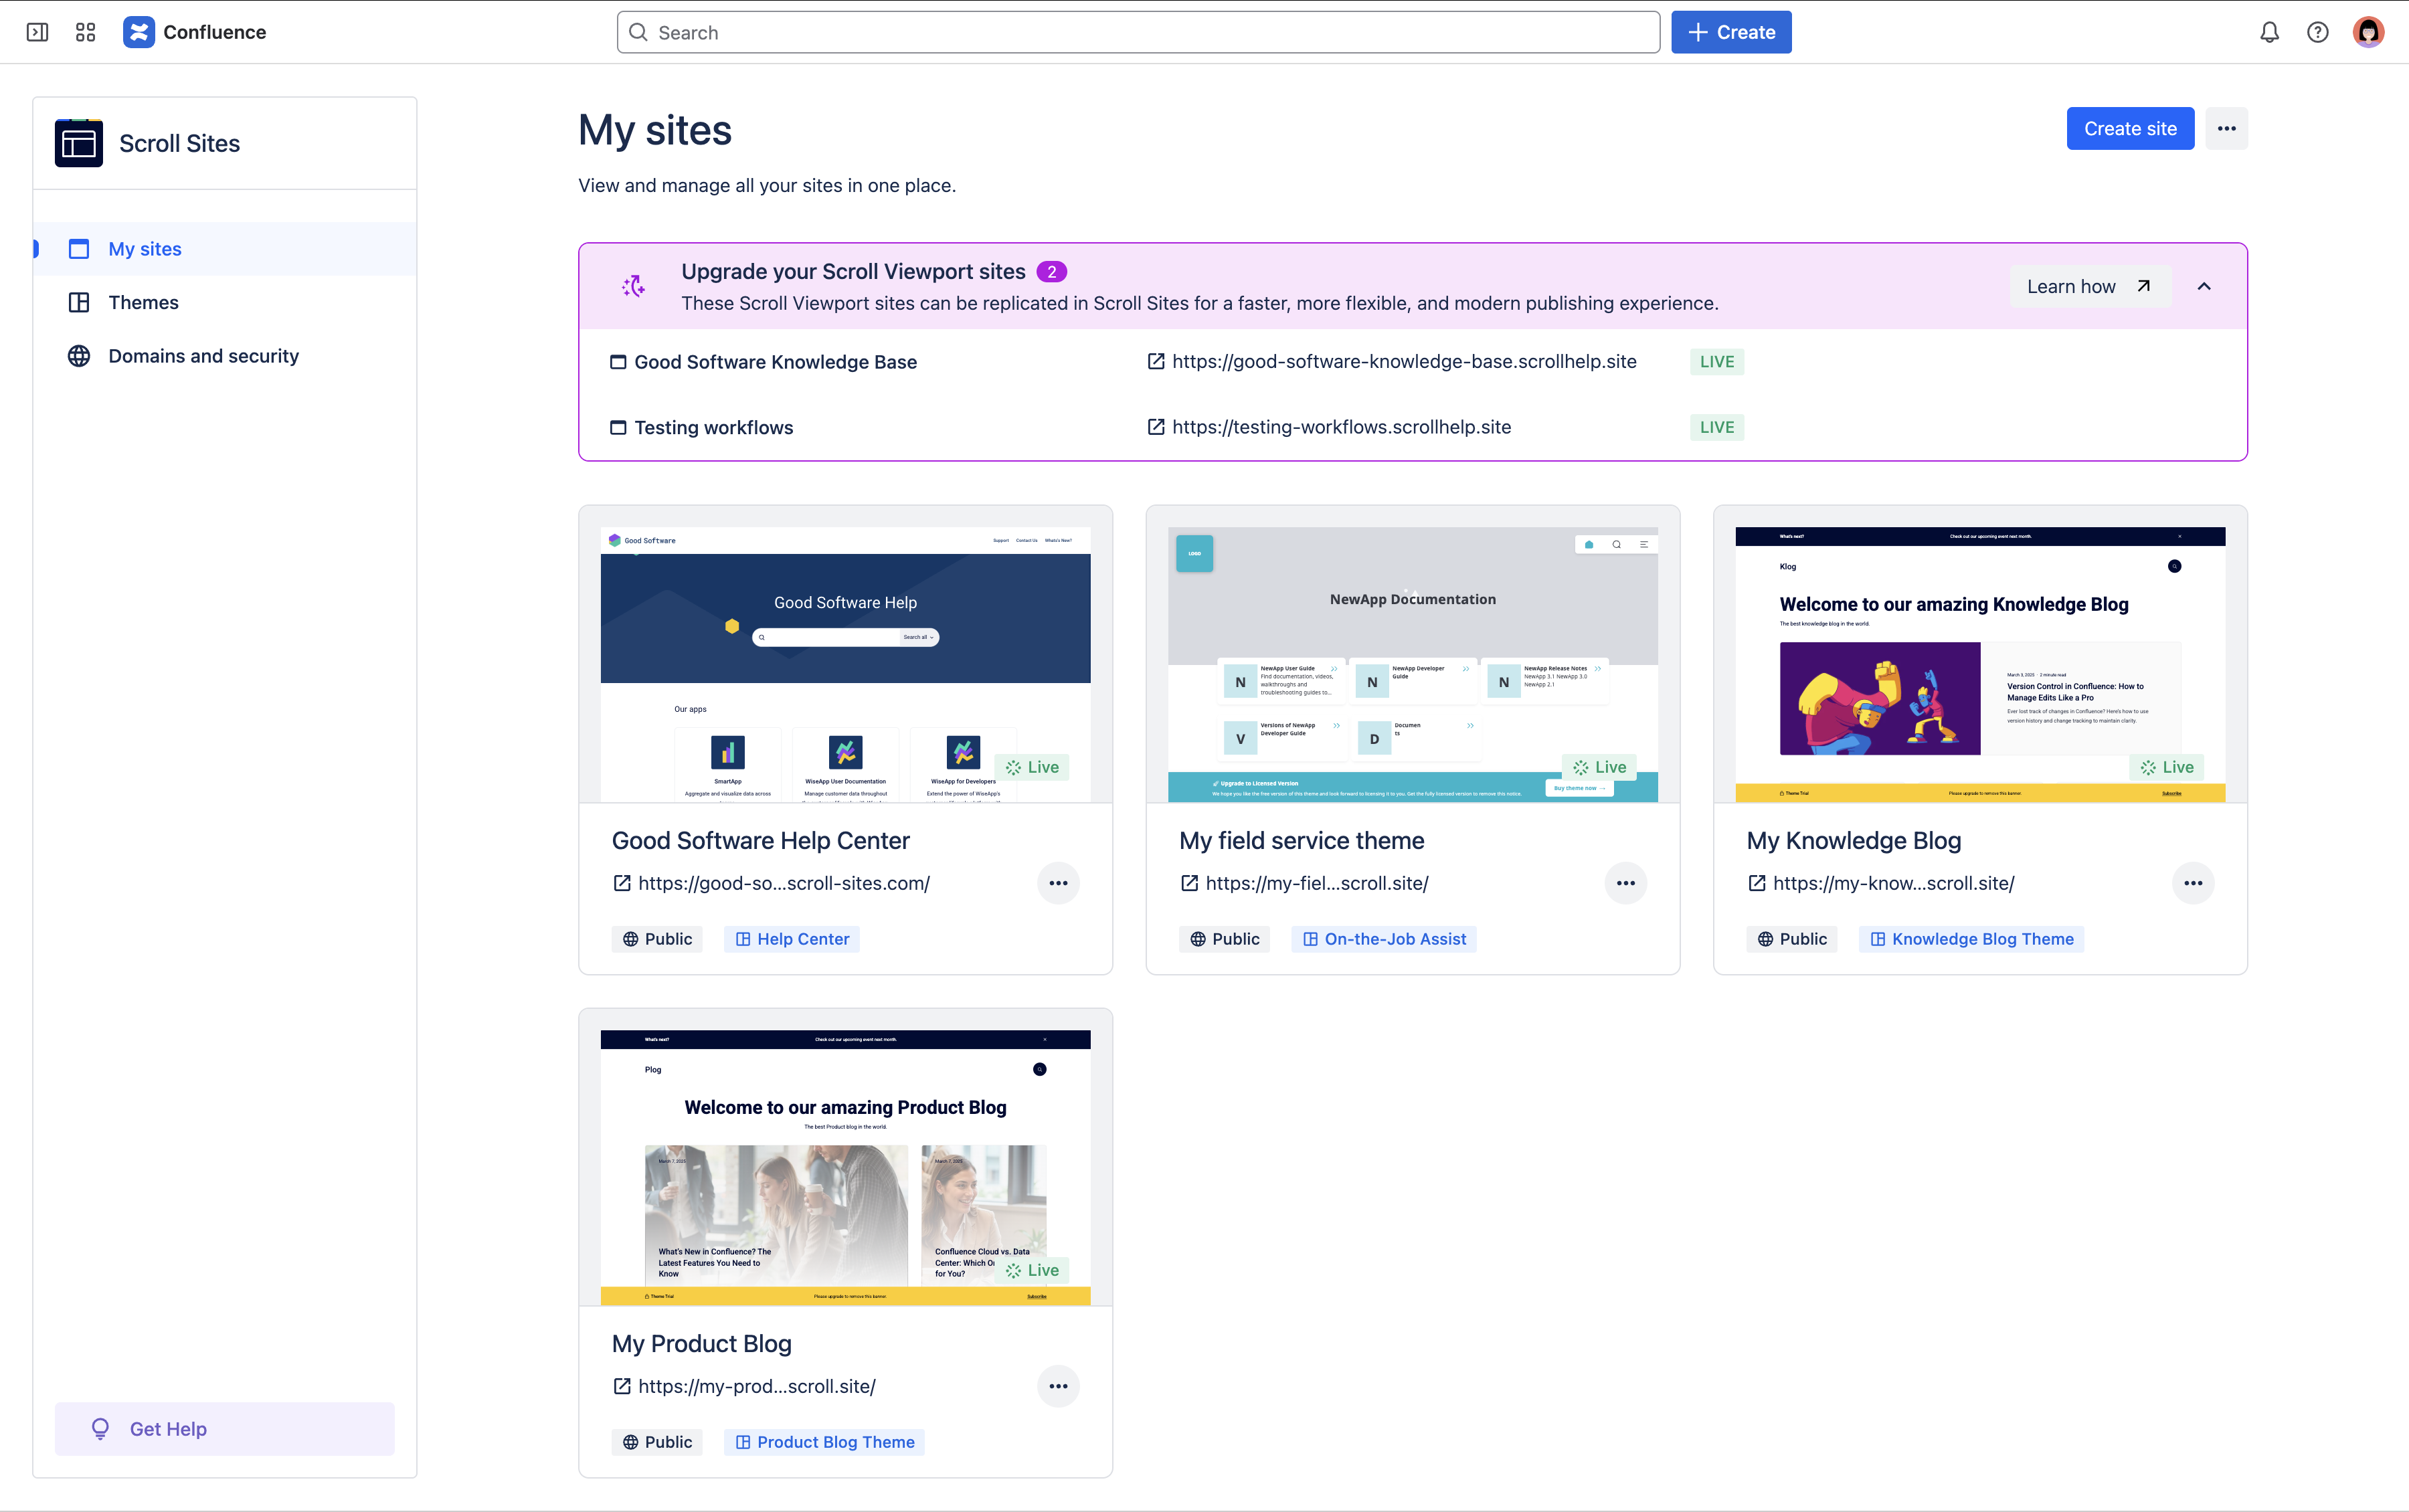
From the purple box in the My sites screen:
-
In the list, look for the site you want to upgrade and hover over it.
-
Click Upgrade site.
-
In the confirmation dialog, click Upgrade site again.
Scroll Sites will now fetch all the files from your Viewport site and start building the site. Once the site is available, it will show in the My sites list in Scroll Sites. -
Find and click into your site from the My sites list or click Review site from the toast message that appears at the bottom of the screen. You will land in the Site settings screen for the site, which is still in an unpublished state.
A site in ‘unpublished’ state is only available and visible to you through the links provided in the Scroll Sites app and won’t be accessible outside of it.
On top of the Site settings screen, you’ll see a purple Upgrade summary box. This box lists all the settings that couldn’t be copied over automatically. Before you can publish your site, you will need to adjust all the listed settings manually.
Review Upgrade Using the Upgrade Summary
Go through the items in the Upgrade summary box in the same order that they are listed in the box:
-
Click the first item in the list. You will be scrolled down to the respective site settings.
-
Open the setting and adjust it to reflect your Viewport site. Use the table below to help you make the adjustments.
-
Scroll back to the Upgrade summary box and use the tickbox to check off the item you’ve adjusted.
-
Repeat for all items in the list.
References on how to adjust individual site settings
Use the table below to help you make the manual adjustments required to complete the replication of your site in Scroll Sites. Make sure to leave custom domain and site access setting to the very end.
|
Setting |
How to adjust |
|---|---|
Look and Feel
Some files couldn’t be collected from Scroll Viewport. Review your theme configuration and upload missing files. |
To add missing files, navigate in Scroll Sites to Site settings > Look and feel > Customize theme. Click through all of the tabs in the left hand side and identify any Upload file fields that are empty and upload the respective files. |
Redirects
|
To quickly migrate all your existing redirects from Viewport, navigate in Scroll Sites to Site settings >Redirects > Advanced Redirects and copy paste all your redirects from Viewport into the editor. |
Custom CSS
Copy your injected CSS code from the Viewport site and possibly adjust some of the tokens, HTML attributes, components etc. |
Go to your old Viewport site and navigate to Edit theme > Templates > Custom CSS/Custom JavaScript. From the code editors, copy the custom code and paste it into the custom code fields of your new Scroll site (Site settings > Look and feel > Customize theme > Code). To identify which parts of your custom code need to be re-written, please refer to Migrate Custom Code From Scroll Viewport to Scroll Sites |
Custom JS
Copy your injected Javascript code from the Viewport site and possibly adjust some of it. |
|
AI search
Add your AI integration credentials to enable AI Search. |
To add your OpenAI API key, go to https://platform.openai.com/api-keys and copy paste the same key you used in your Viewport site into the OpenAI API key field under Site settings > AI. |
Move your domain and site access settings
Once you've checked off all the items in the Upgrade summary box, you can move your domain and site access settings over to the new site.
Your live site will remain live and continue to point to your Scroll Viewport site until you click Complete upgrade in the next step — you won't experience any downtime.
Only start the transfer once you've already adjusted and reviewed all your other settings.
From the purple Upgrade summary box on top of the Site Settings:
-
Click ‘Start transfer’
Don’t make any changes to the domain or any other settings while using the upgrade wizard, as it will break the automatic domain transfer.
Scroll Sites will transfer your domain and site access settings.
--> This can take some time ~10 minutes.
Complete the Upgrade (Go Live With Your New Site)
Once the domain and site access settings have been transferred successfully, you can complete the upgrade. This is the step that points your live domain (and site protection) to the new Scroll site.
In the Domain & site access settings transferred successfully box at the top of Site settings, click Complete upgrade.
Your domain is now connected to the newly created Scroll site, including the site access strategy from your existing Scroll Viewport site.
It might take around 5 minutes for the View site link to appear.
Please note that the help center theme in Scroll Sites is not identical to the one in Scroll Viewport.
Differences between Scroll Viewport’s and Scroll Sites' Help Center theme
-
🎨 Visual changes. There are some small visual differences between the Help Center theme in Scroll Sites and the one in Scroll Viewport that are expected. Visual tweaks include font sizes, size of components, images etc.
-
📏 Banner images are centered. The banner image in Scroll Sites' help center theme is centered (both vertically and horizontally) while the one in Scroll Viewport is aligned to the top. We recommend you review and adjust your banner image file as needed.
-
🗑️ Removed icons from the portal and content source pages. The small material icons were removed from Scroll Sites' help center theme due to technical reasons. An improved solution will be coming.
-
📑 TOC now considers H2 to H6. The table of contents in Scroll Viewport’s help center theme only showed heading levels 2 to 4. Scroll Sites' help center theme will include headings up to level 6.
-
No support for legacy pages. While Scroll Viewport never officially supported pages created with the legacy editor, some of its content still rendered in acceptable ways. Since Confluence is deprecating the legacy editor soon, Scroll Sites is no longer rendering its content correctly. We recommend to auto-convert all your pages to the new editor. Read more on Convert pages to the cloud editor.
Pick Your Update Strategy
By default, your replicated Scroll site's update strategy is set to Manual updates, to mirror the behavior of your Viewport site as closely as possible (content changes are published on demand by clicking a button).
In Scroll Sites you also have the option to switch to Live updates. If you'd like your content changes to reflect almost instantly in your site (no additional action required on your part), check out this new option from Site settings > Update strategy.
Done with your upgrade?
It’s now time to proceed and delete the original Viewport site.