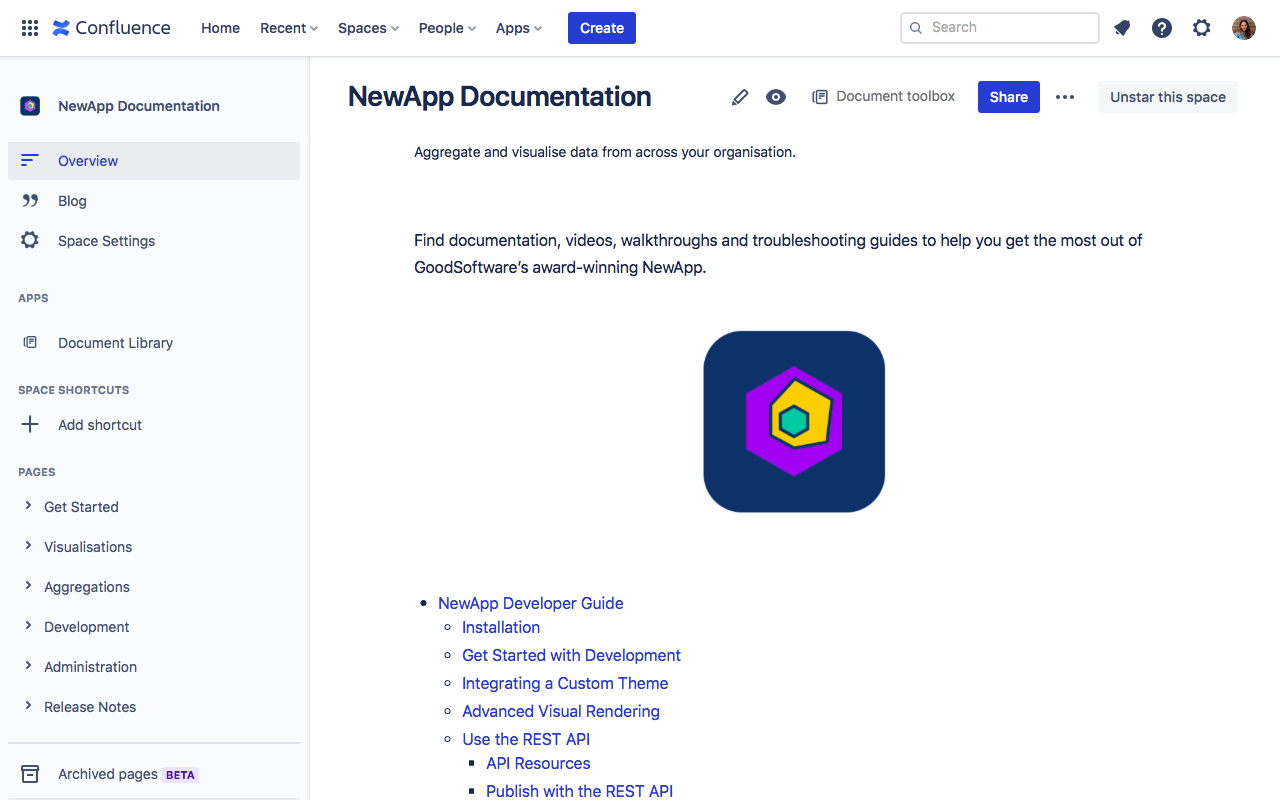
Already have a live site with a Confluence space as a content source? To unlock additional content control options, you can convert your site's content sources from spaces to Scroll Documents.
Enable Scroll Documents on your space home page
To begin, find the space you want to convert in your site's Content source table.
-
Click the space name to navigate to the home page of your space

-
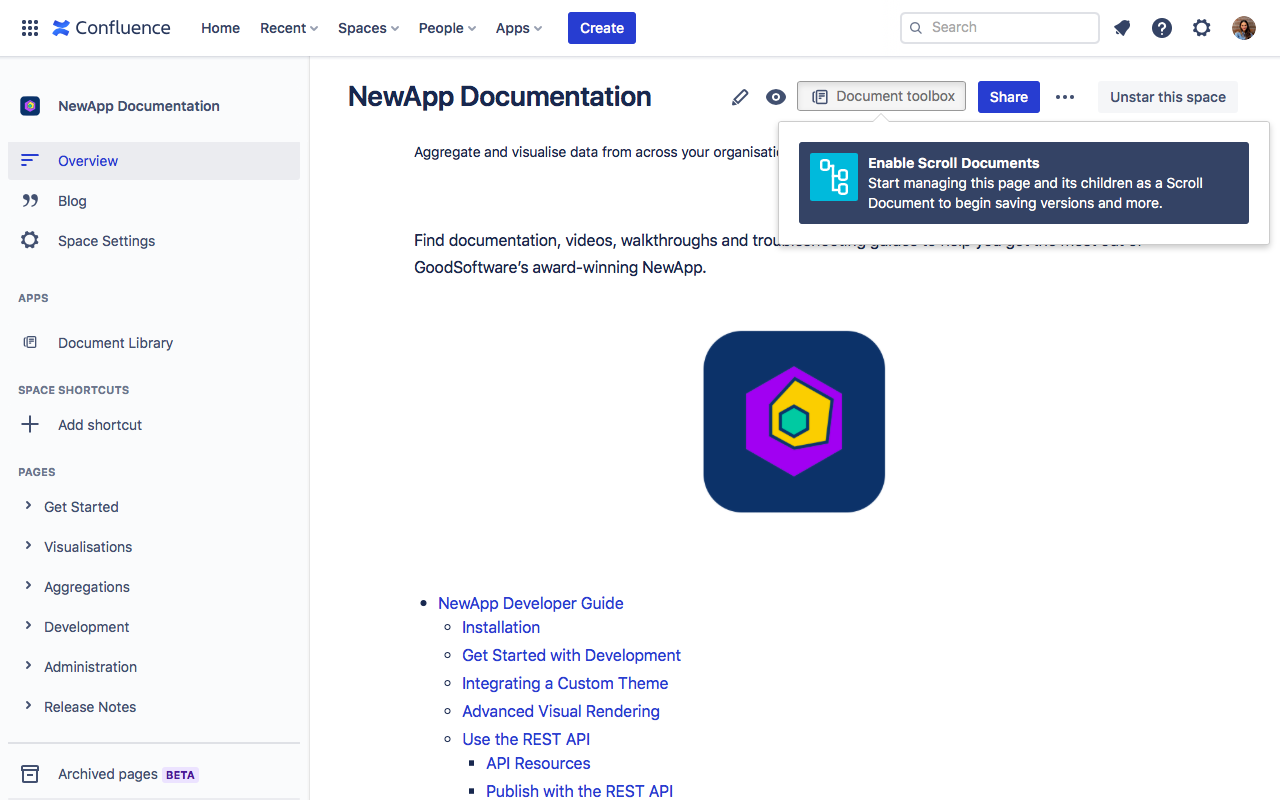
Open the Document toolbox located at the top of the page between the watch and share icon.

-
Click Enable Scroll Documents.

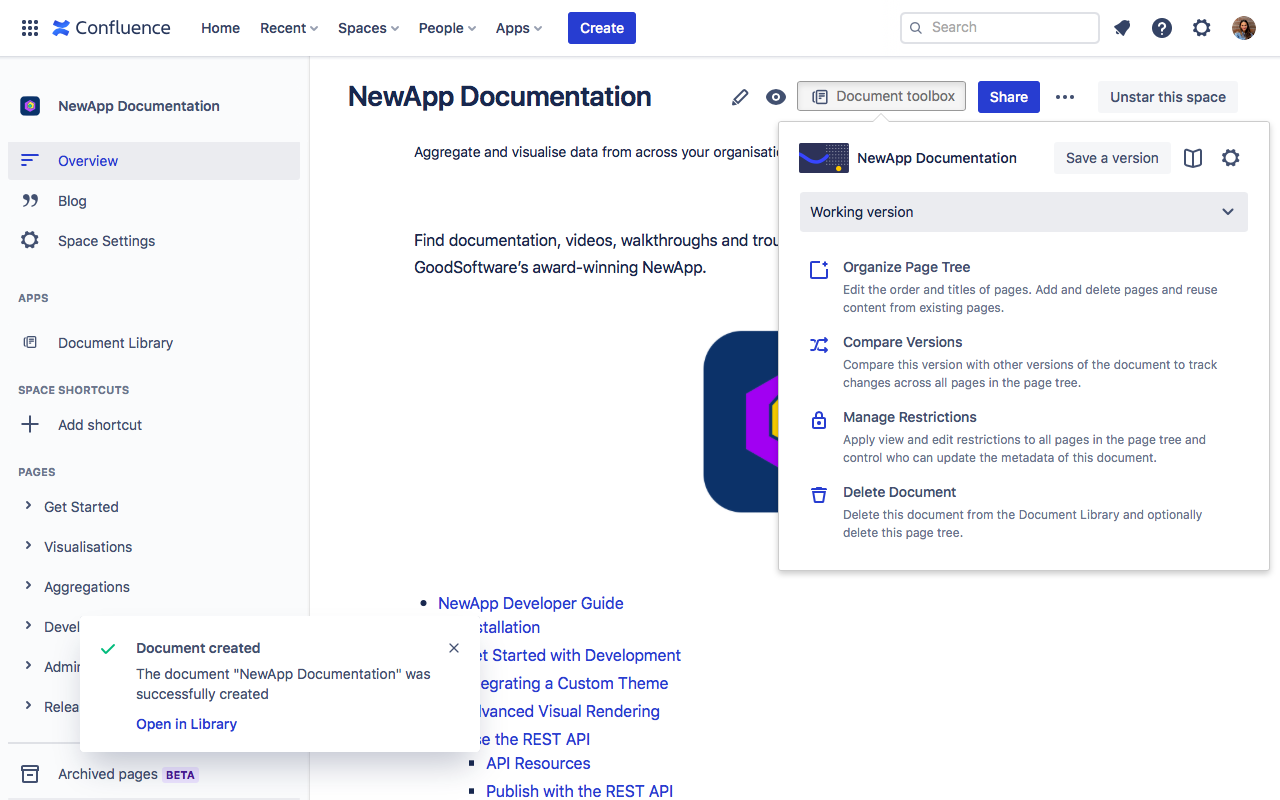
All of the pages in your space are now part of a single Scroll Document.
The document will have the same name as the title of your space home page. You can change the name of your document from Edit details in the Document Manager.
Pages that are located above the space root page in the hierarchy are not part of your newly created Scroll Document.
Note that for all the versions you save for your newly created document Scroll Documents will create page trees outside of your visible space page tree.
To access the version page trees, use the links provided in Scroll Documents' version list.
You can now go to your single site overview screen and select your newly created Scroll Document as a content source. Learn more.
If you’re looking to switch out a space for a Scroll Document on an existing Viewport site, make sure you read through the checklist at the end of this page before you go live.
Enable Scroll Documents only for a sub-section of your space
Depending on your space organisation, it might make sense to define only a subsection of your space as a document (instead of your entire space). This can be particularly helpful if:
-
you would like to publish only a subset of pages from your space to a Scroll Viewport site
-
you would like to publish different sections of your space to different Scroll Viewport sites
-
you would like to manage the content of different section of your space separately (e.g. only some content needs be versioned or versioned in seperate cycles)
To enable Scroll Documents only for a sub-section of your space:
-
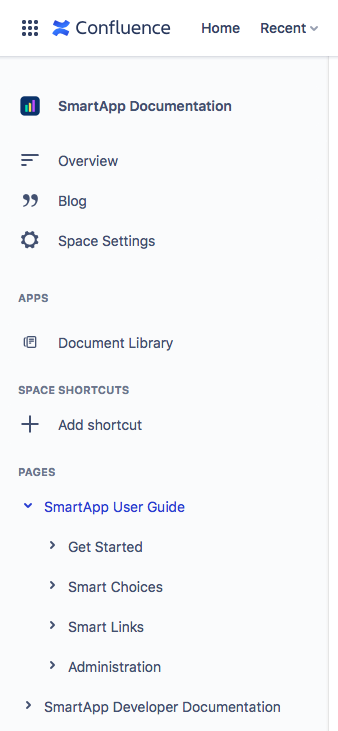
In your space sidebar, find the page tree that makes up your subset of pages.

-
Click to open the parent page of your page tree.
-
Open the Document toolbox located at the top of the page between the watch and share icon.
-
Click Enable Scroll Documents.
All of the pages located below that page are now part of a single Scroll Document.
The document will have the same name as the title of your parent page. You can change the name of your document from Edit details in the Document Manager.
You can now go to your single site overview screen and select your newly created Scroll Document as a content source. Learn more.
Checklist: Replacing a Confluence space with a Scroll Document
-
Before adding your document to your live site, we recommend that you remove the space that you converted from as it now duplicates your document's content. Learn how to remove a content source.
-
If you decide to remove your space, make sure you replace any links that point to your removed content sources or that you have previously shared with others.
-
If your Scroll Document uses include page macros that point to pages outside of the document, the content will only render if you add the space or Scroll Document of that original page as a content source to your site. We recommend that you apply the exclude label to exclude the inclusions content visibly from the site and avoid duplicate content.
-
If you enabled Scroll Documents only for a sub-section of your space, make sure you de-select any images in the theme editor that were uploaded to the space overview page. Upload them to the root page of one of your documents (working version) instead and select the newly uploaded images in the theme editor.
