Learn how to take your existing Scroll Viewport sites to the new Scroll Sites app.
Why Upgrade?
Scroll Sites is the next generation of Scroll Viewport. This new app will eventually replace Scroll Viewport. We recommend that you take your existing Scroll Viewport sites to Scroll Sites as soon as you can, in order to benefit from the new features and improvements.
Scroll Viewport will no longer be usable after September 2026.
Migrate your sites to Scroll Sites before September 2026 to avoid losing access.
Learn more about the timeline here →
How does the launch of Scroll Sites effects you as a Viewport Cloud user?
Office Hours: Upgrade to Scroll Sites
Missed our Office Hours session? Watch the recording for a walkthrough of the upgrade process, a tour of new capabilities in Scroll Sites, and answers from our team.
What Does the Upgrade Process Look Like?
The upgrade process to Scroll Sites involves replicating each of your existing Scroll Viewport sites as a new Scroll site. This new Scroll site will then eventually replace your existing Viewport site.
-
Upgrade your existing Viewport site to a Scroll site
-
Review upgrade of your site and adjust settings
-
Transfer your domain and site access settings
-
Complete the upgrade to Go Live with your site
-
Delete upgraded site from Scroll Viewport
The site upgrade process itself is automated but needs to be initiated by you manually per existing Scroll Viewport site. For that, we provide you with a handy upgrade wizard that lists out all sites to be upgraded and lets you start the upgrade for your sites or delete any unused or already replicated Viewport sites.
Decide Whether to Delete or Upgrade a Viewport Site in Scroll Sites
Within the Scroll Sites app, we list out all the Viewport sites that can be upgraded in Scroll Sites for a faster, more flexible, and modern publishing experience. For a better overview, we also include a total count of all the sites.
To start, go through the list and decide site-by-site whether you want to proceed with the upgrade process:
-
Open the Confluence sidebar.
-
Expand the menu item Apps.
-
Select Scroll Sites. You will land in the My sites screen where you’ll see a purple box stacked on the very top.
-
Hover over the first site listed in the box and either click Site not needed or Upgrade site.
Upgrade site
Clicking Upgrade site will create a copy of the Scroll Viewport site in Scroll Sites. The original site stays active in Scroll Viewport until you mark the upgrade as complete and delete the site from Viewport.
Choose Upgrade site if this is a site that you are using productively, e.g. you make regular updates to it, it’s receiving regular traffic or you are still building it out.
Initiating the site upgrade process won’t disrupt the availability of your Viewport site.
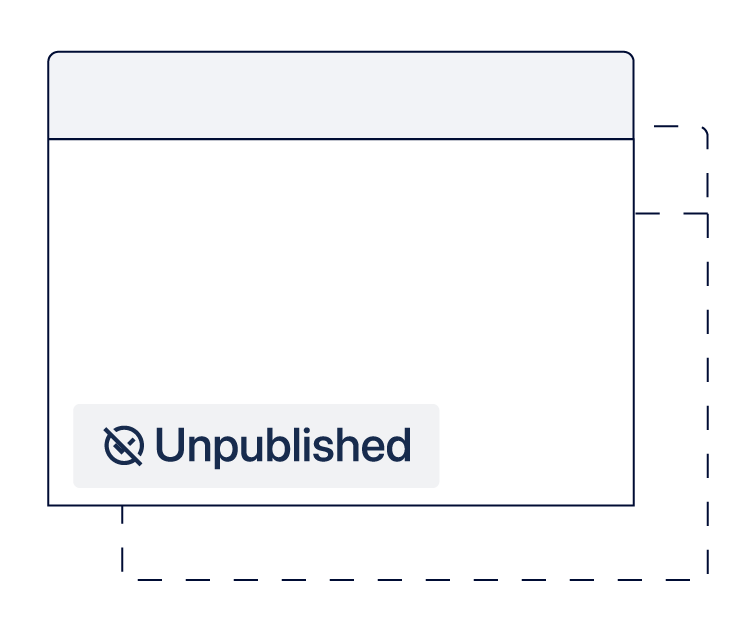
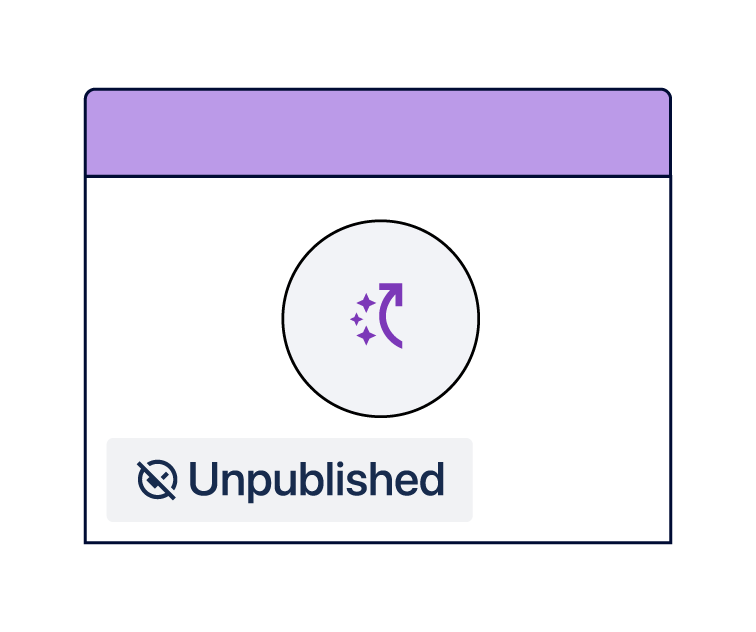
Your new Scroll site will be created in unpublished state at the start using a temporary domain, so you can revise the site before connecting your domain, going live and deciding to take your Viewport site offline.
Site not needed
Clicking Site not needed will delete your Viewport site and all its configuration permanently.
Choose Site not needed if this is a site that you no longer use in Scroll Viewport, e.g it was set up as a testing site in the first place, is already upgraded to Scroll Sites or is for any other reasons no longer needed.
Learn how to upgrade your Viewport site or delete it with the help of following guides:
-
Automatically Upgrade a Scroll Viewport Site To a Scroll Site Upgrade any Scroll Viewport site that you are still using productively (e.g. you make regular updates to it or it’s receiving regular traffic)
-
Delete Any Unused Scroll Viewport Site Delete any Scroll Viewport site that you no longer use (e.g it was set up as a testing site or is already upgraded to Scroll Sites).