Create a Scroll site to start publishing content from your Confluence spaces to the web.
With Scroll Sites, you can easily build a website and publish your Confluence content to share it with your users. You can create as many sites as you want.
In this article, you’ll learn how to select a theme for your site, configure basic settings, and add content to your Scroll site.
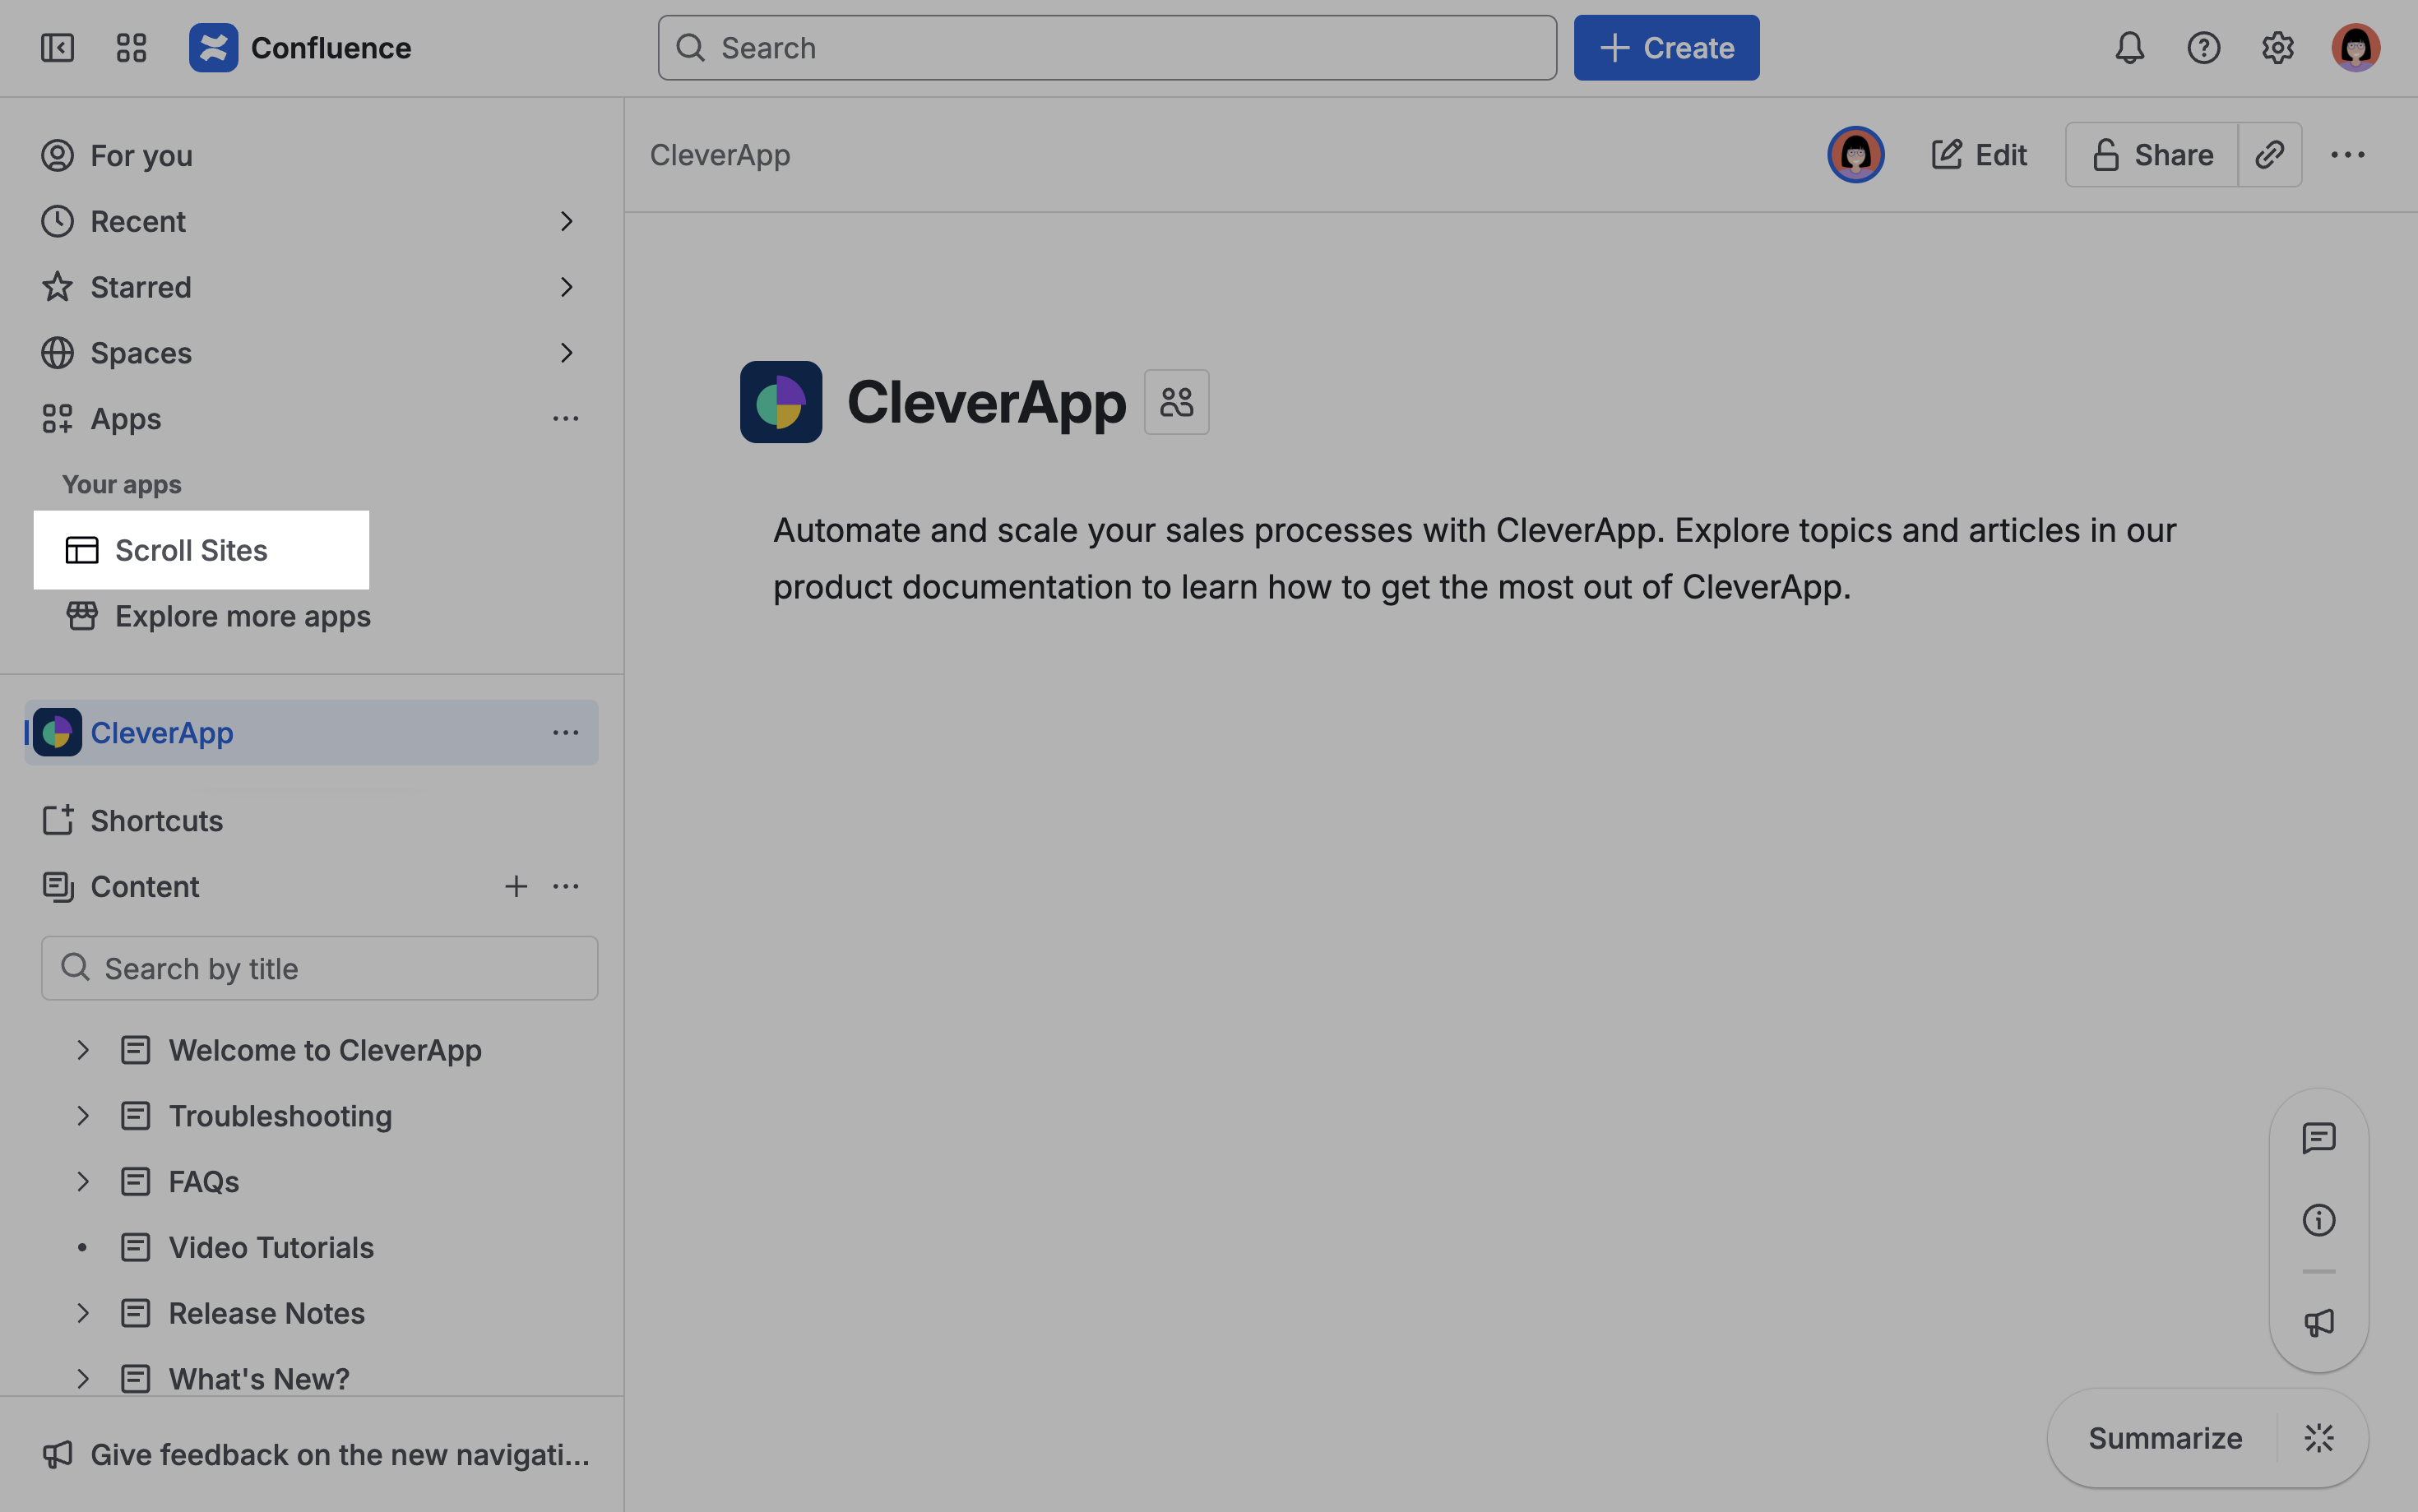
To get started, open the Scroll Sites app from the Confluence sidebar by clicking Apps > Scroll Sites.
To configure Scroll Sites, you must be a Confluence administrator or a member of the scroll-sites-admins group.
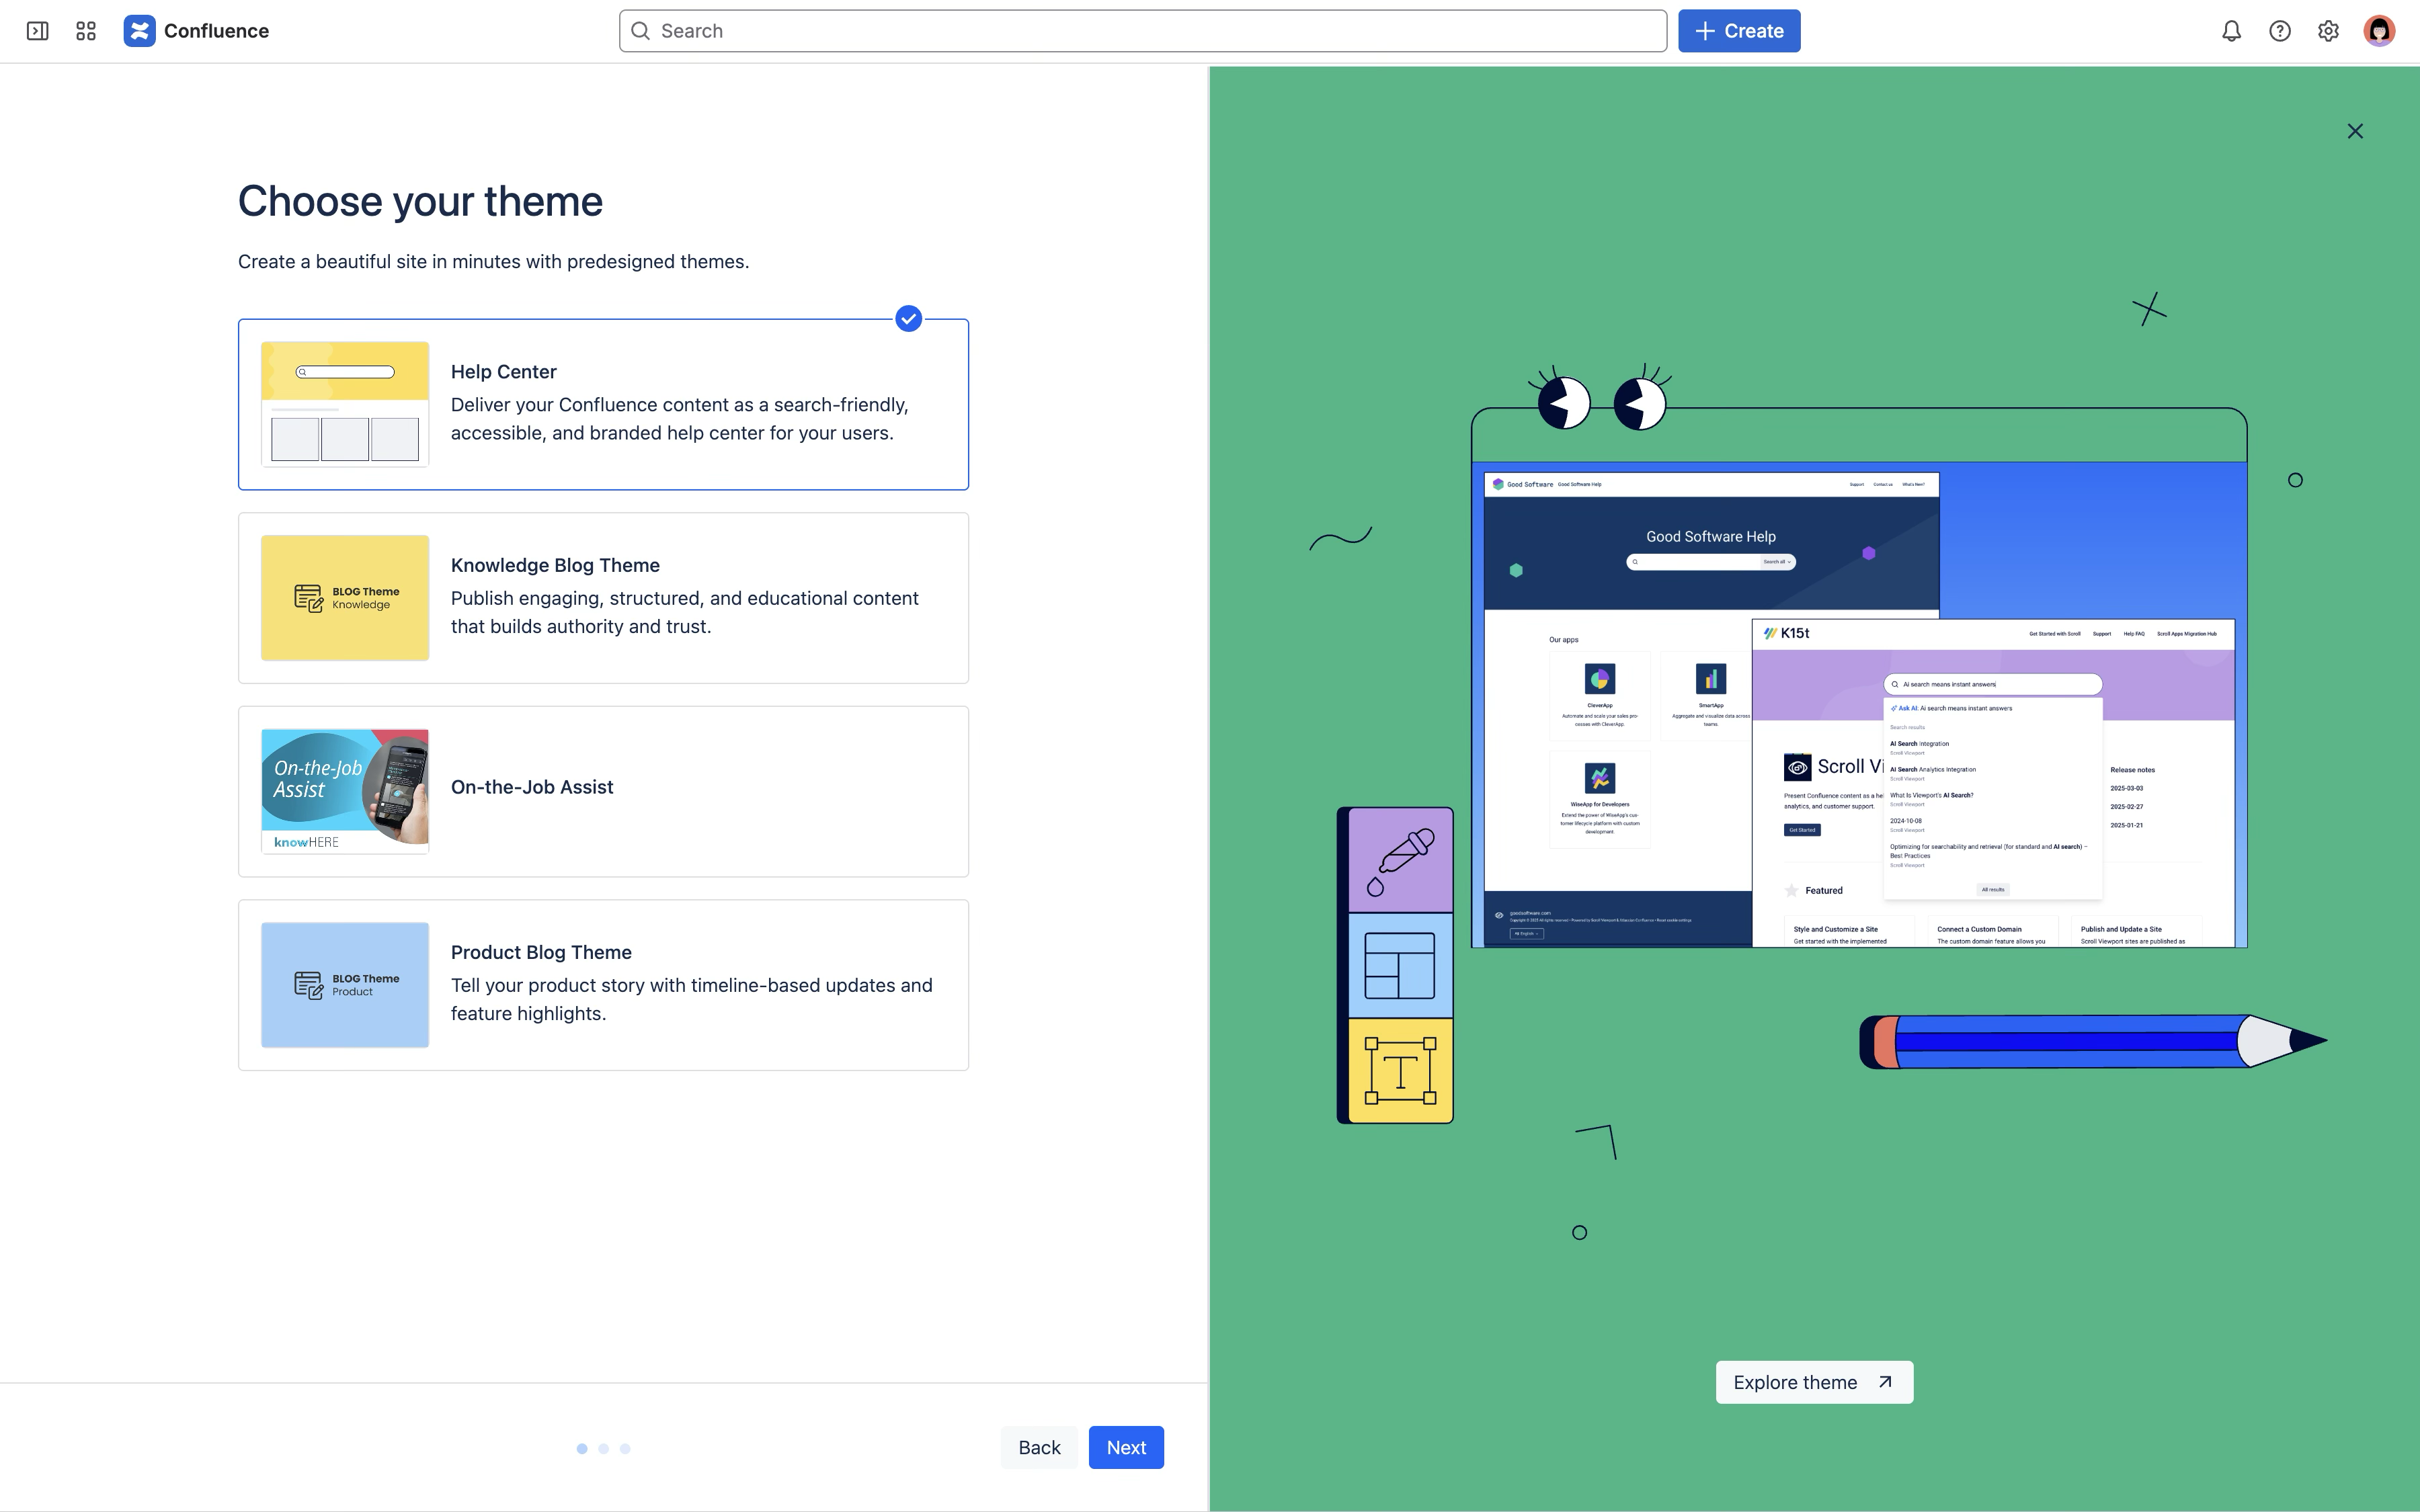
Select a Theme for Your Scroll Site
After you start Scroll Sites, follow these steps:
-
From the My Sites screen, click Create site. The site creation wizard opens.
-
Under Choose Theme, select a theme of your choice.
You can configure the theme’s settings later.
-
Click Next to proceed to site settings.
Configure Your Site Settings
When the Set up your site screen opens, follow these steps:
-
In the Site name field, enter the name for your site - anything you’d like.
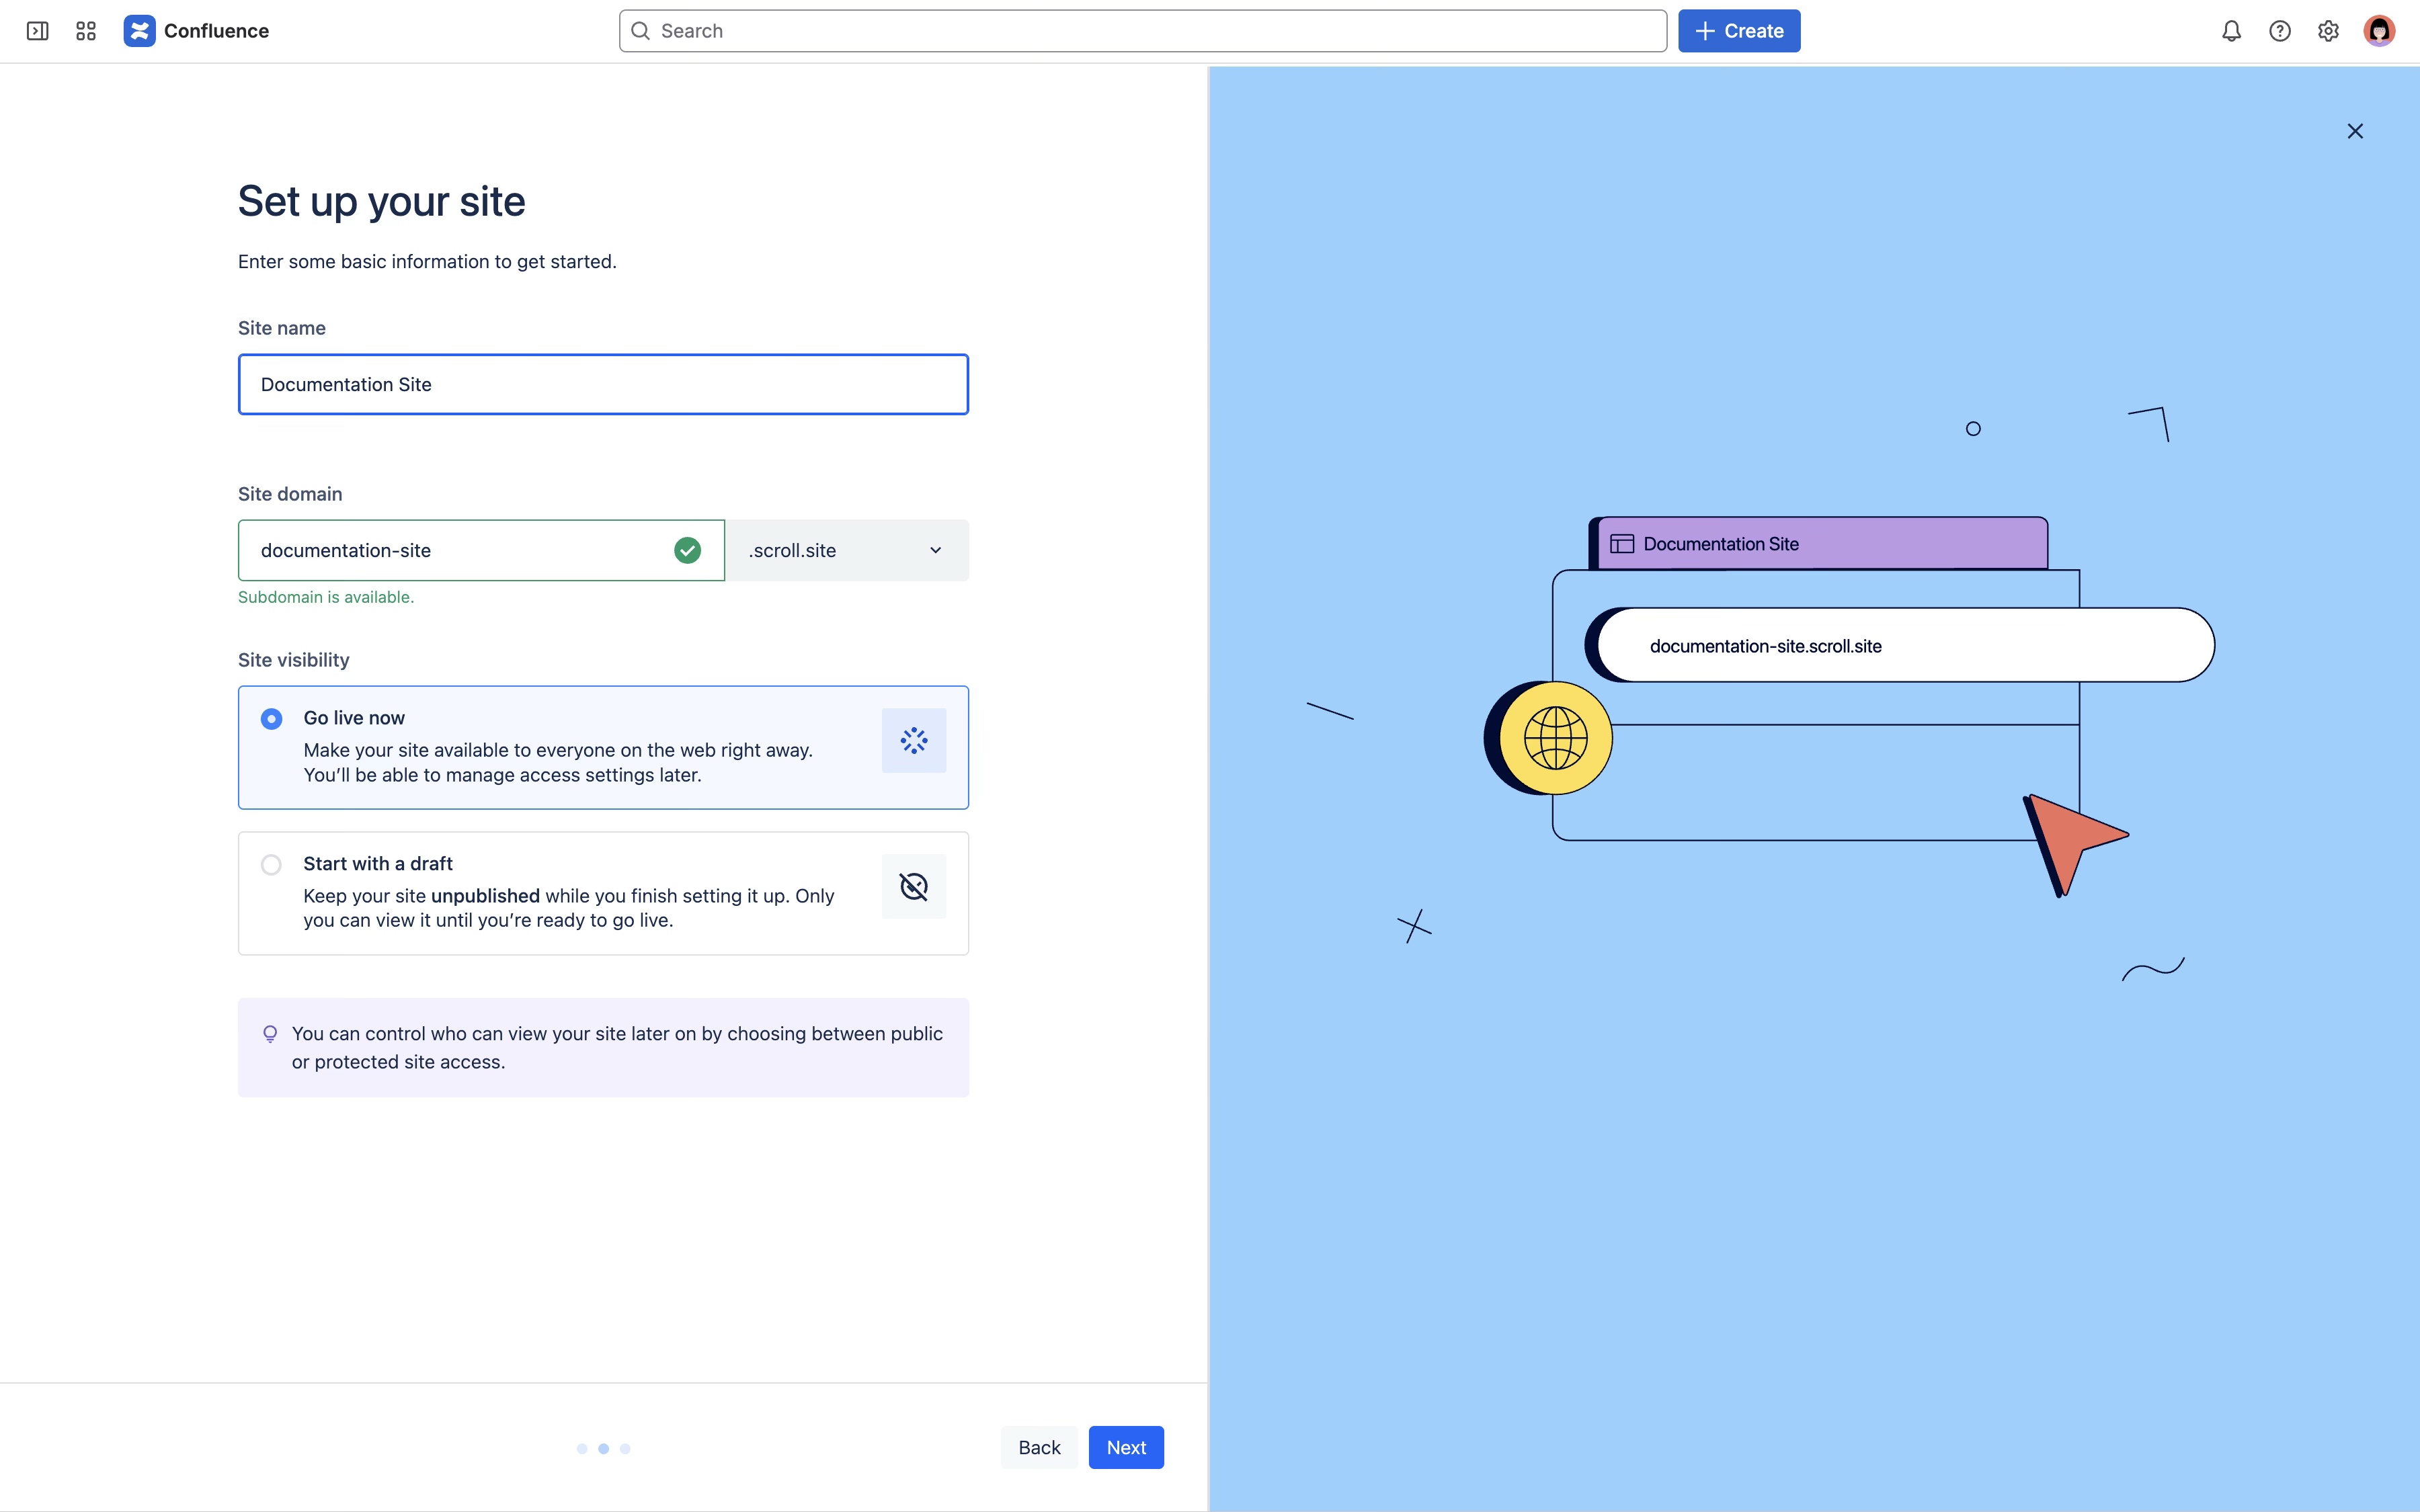
The site name will help you distinguish your site later on in the app and will show in your published site.
-
In the Site domain field, enter the name that should appear as your site’s subdomain.
-
Under Site visibility:
-
Choose Live if you want to make your site public on the internet right away.
-
Choose Unpublished to keep your site private for your and your team.
You can make the site public later or you can also Unpublish a Site.
-
-
Click Next to proceed to adding content to your new Scroll site.
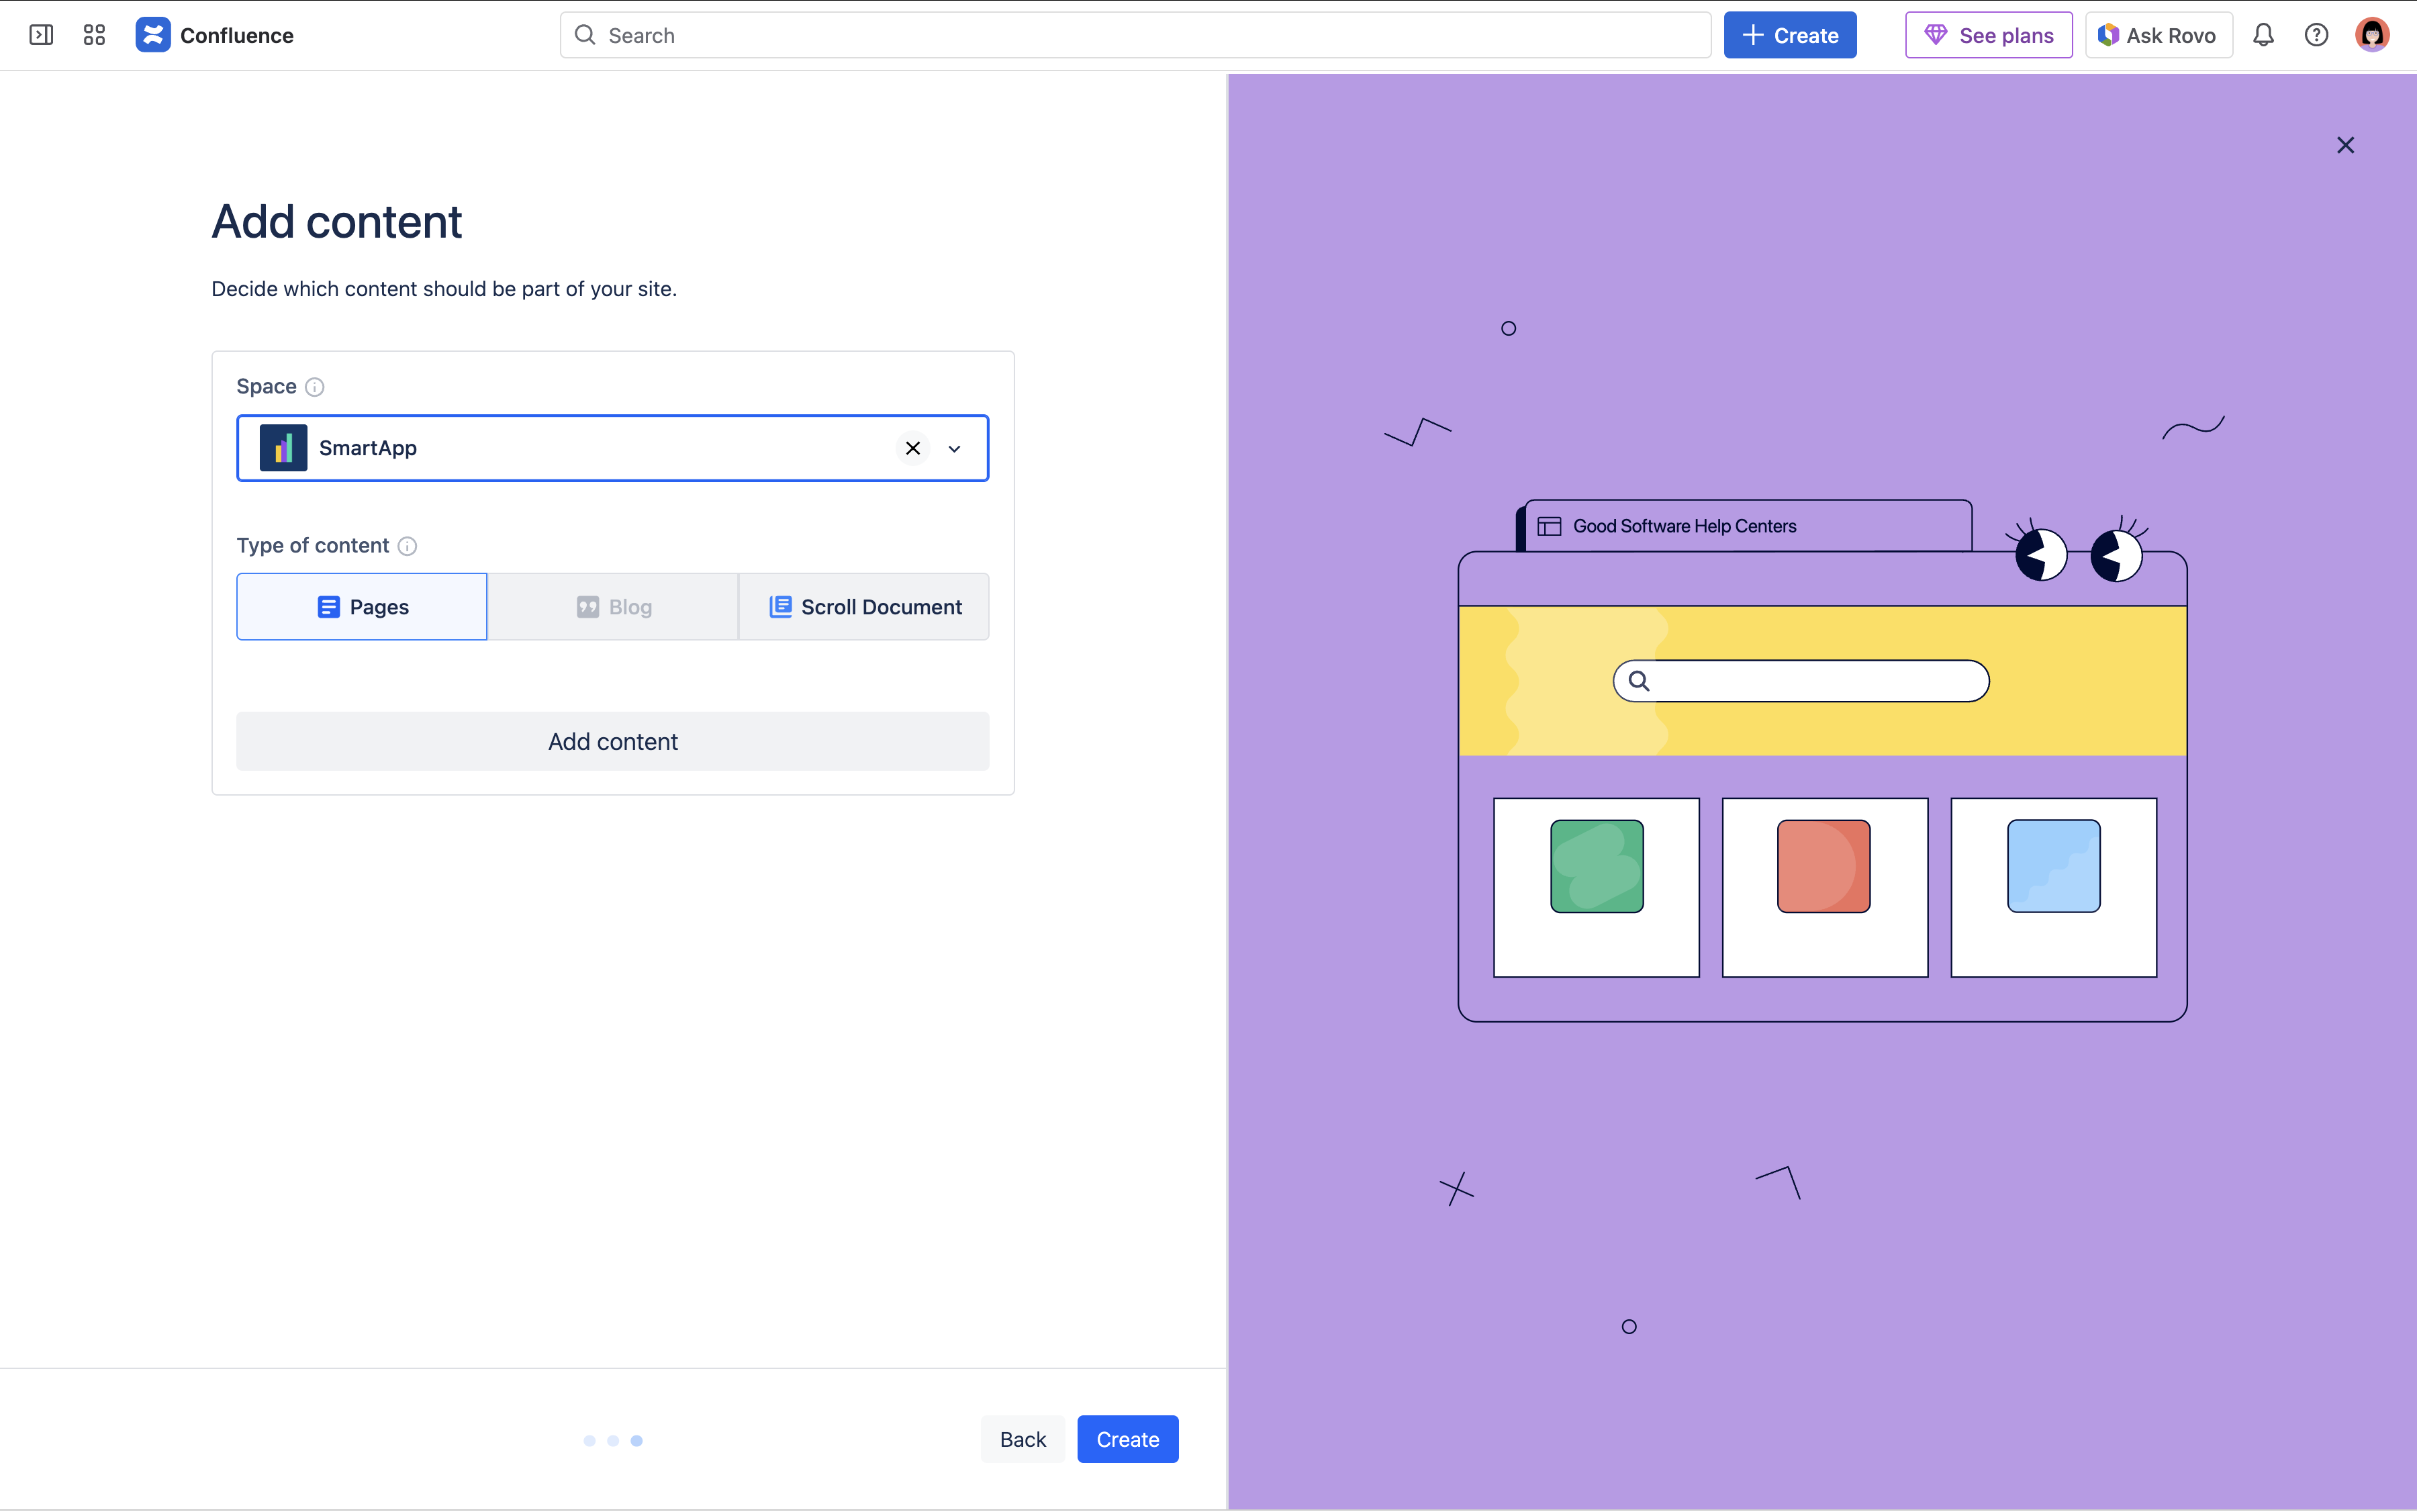
Add Confluence Content to Your Scroll Site
You can add two types of Confluence content to your Scroll site:
-
Confluence space
This adds all pages / blogs from a Confluence space to your Scroll Site (depending on the theme that you selected). -
Scroll Document
A Scroll Document is a selection of pages defined by our other app Scroll Content Manager. This option allows you to add a Scroll document as content source of your Scroll site.
Steps:
-
Under Add content, open the Space drop-down and select the Confluence space in which the content you want to add is located.
-
Under Type of content, select one of the following options to decide which content exactly from the space should be added to the site:
-
Pages: Adds all pages from the selected space (pages do not include blog posts).
-
Blog: Adds all blog posts from the selected space.
-
Scroll Document: Adds only the pages of a specific Scroll Document from the selected space.
-
-
(optional) If you are selecting Scroll Document as Type of content:
From the appearing Scroll Document drop-down, select the Scroll Document you want to add.
-
Click Add content.
-
Click Create.
Your site will now appear as a card on the My Sites screen. From here, click into the card to configure your site further or click Create site to continue creating sites.
You can add multiple Confluence spaces and/or Scroll documents to your site. For more information, see Add and Remove Content Sources.