We're delighted that you have chosen to get started with Scroll Sites for Confluence Cloud.
Scroll Sites lets you deliver Confluence as a fully custom, responsive website in minutes — no code required.
In this practical tutorial you’ll learn how to:
-
Create a first site
-
Customize the look and feel of your site
-
View your site
Before You Begin
Pre-requisites
To complete this tutorial you will need the following:
-
A Confluence instance with Scroll Sites installed. Learn how to install Scroll Sites.
-
A new or existing Confluence space. We highly recommend creating a new space for this tutorial with some content that you would like to publish publicly or to use an existing space that contains such content already.
Important terms
Create a First Site
Let’s get started by creating your very first Scroll site. Creating a new site only takes a few minutes.
For this tutorial, we will be selecting the Help Center theme. This theme transforms your content in Confluence into a branded, searchable, and easy to navigate help center for your documentation.
To create your first site:
-
From the Confluence main navigation, click Apps > Scroll Sites, then select Create Site from the top right corner.
-
Choose theme
-
Under Choose Theme, select Help Center.
-
Click Next
-
-
Set up your site
-
Under Set up your site, in the Site name field, enter a name for your site - anything you’d like.
The site name will help you distinguish your site later on in the app and will show in your published site. -
In the Site domain field, enter the name that should appear as your site’s subdomain. By default, your domain will be .scroll.site.
Don’t worry, you can change this or connect a custom domain later on. -
Under Site visibility, select Go Live now.
This will make your site immediately available to everyone on the web. -
Click Next.
-
-
Add Content
-
Under Add content, open the Space drop down and select the Confluence space where the content you want to publish is located in.
-
Under Type of content, select Pages.
This will add all pages from the selected space to your site. -
Click Add content. Adding one space is sufficient for now. You can add more spaces or even a Scroll Documents later on.
-
Click Create.
-
Well done! 🎊
You have created your first Scroll site using the Help Center theme.
You’ve now landed on the My sites screen from where you can click to configure your site further.
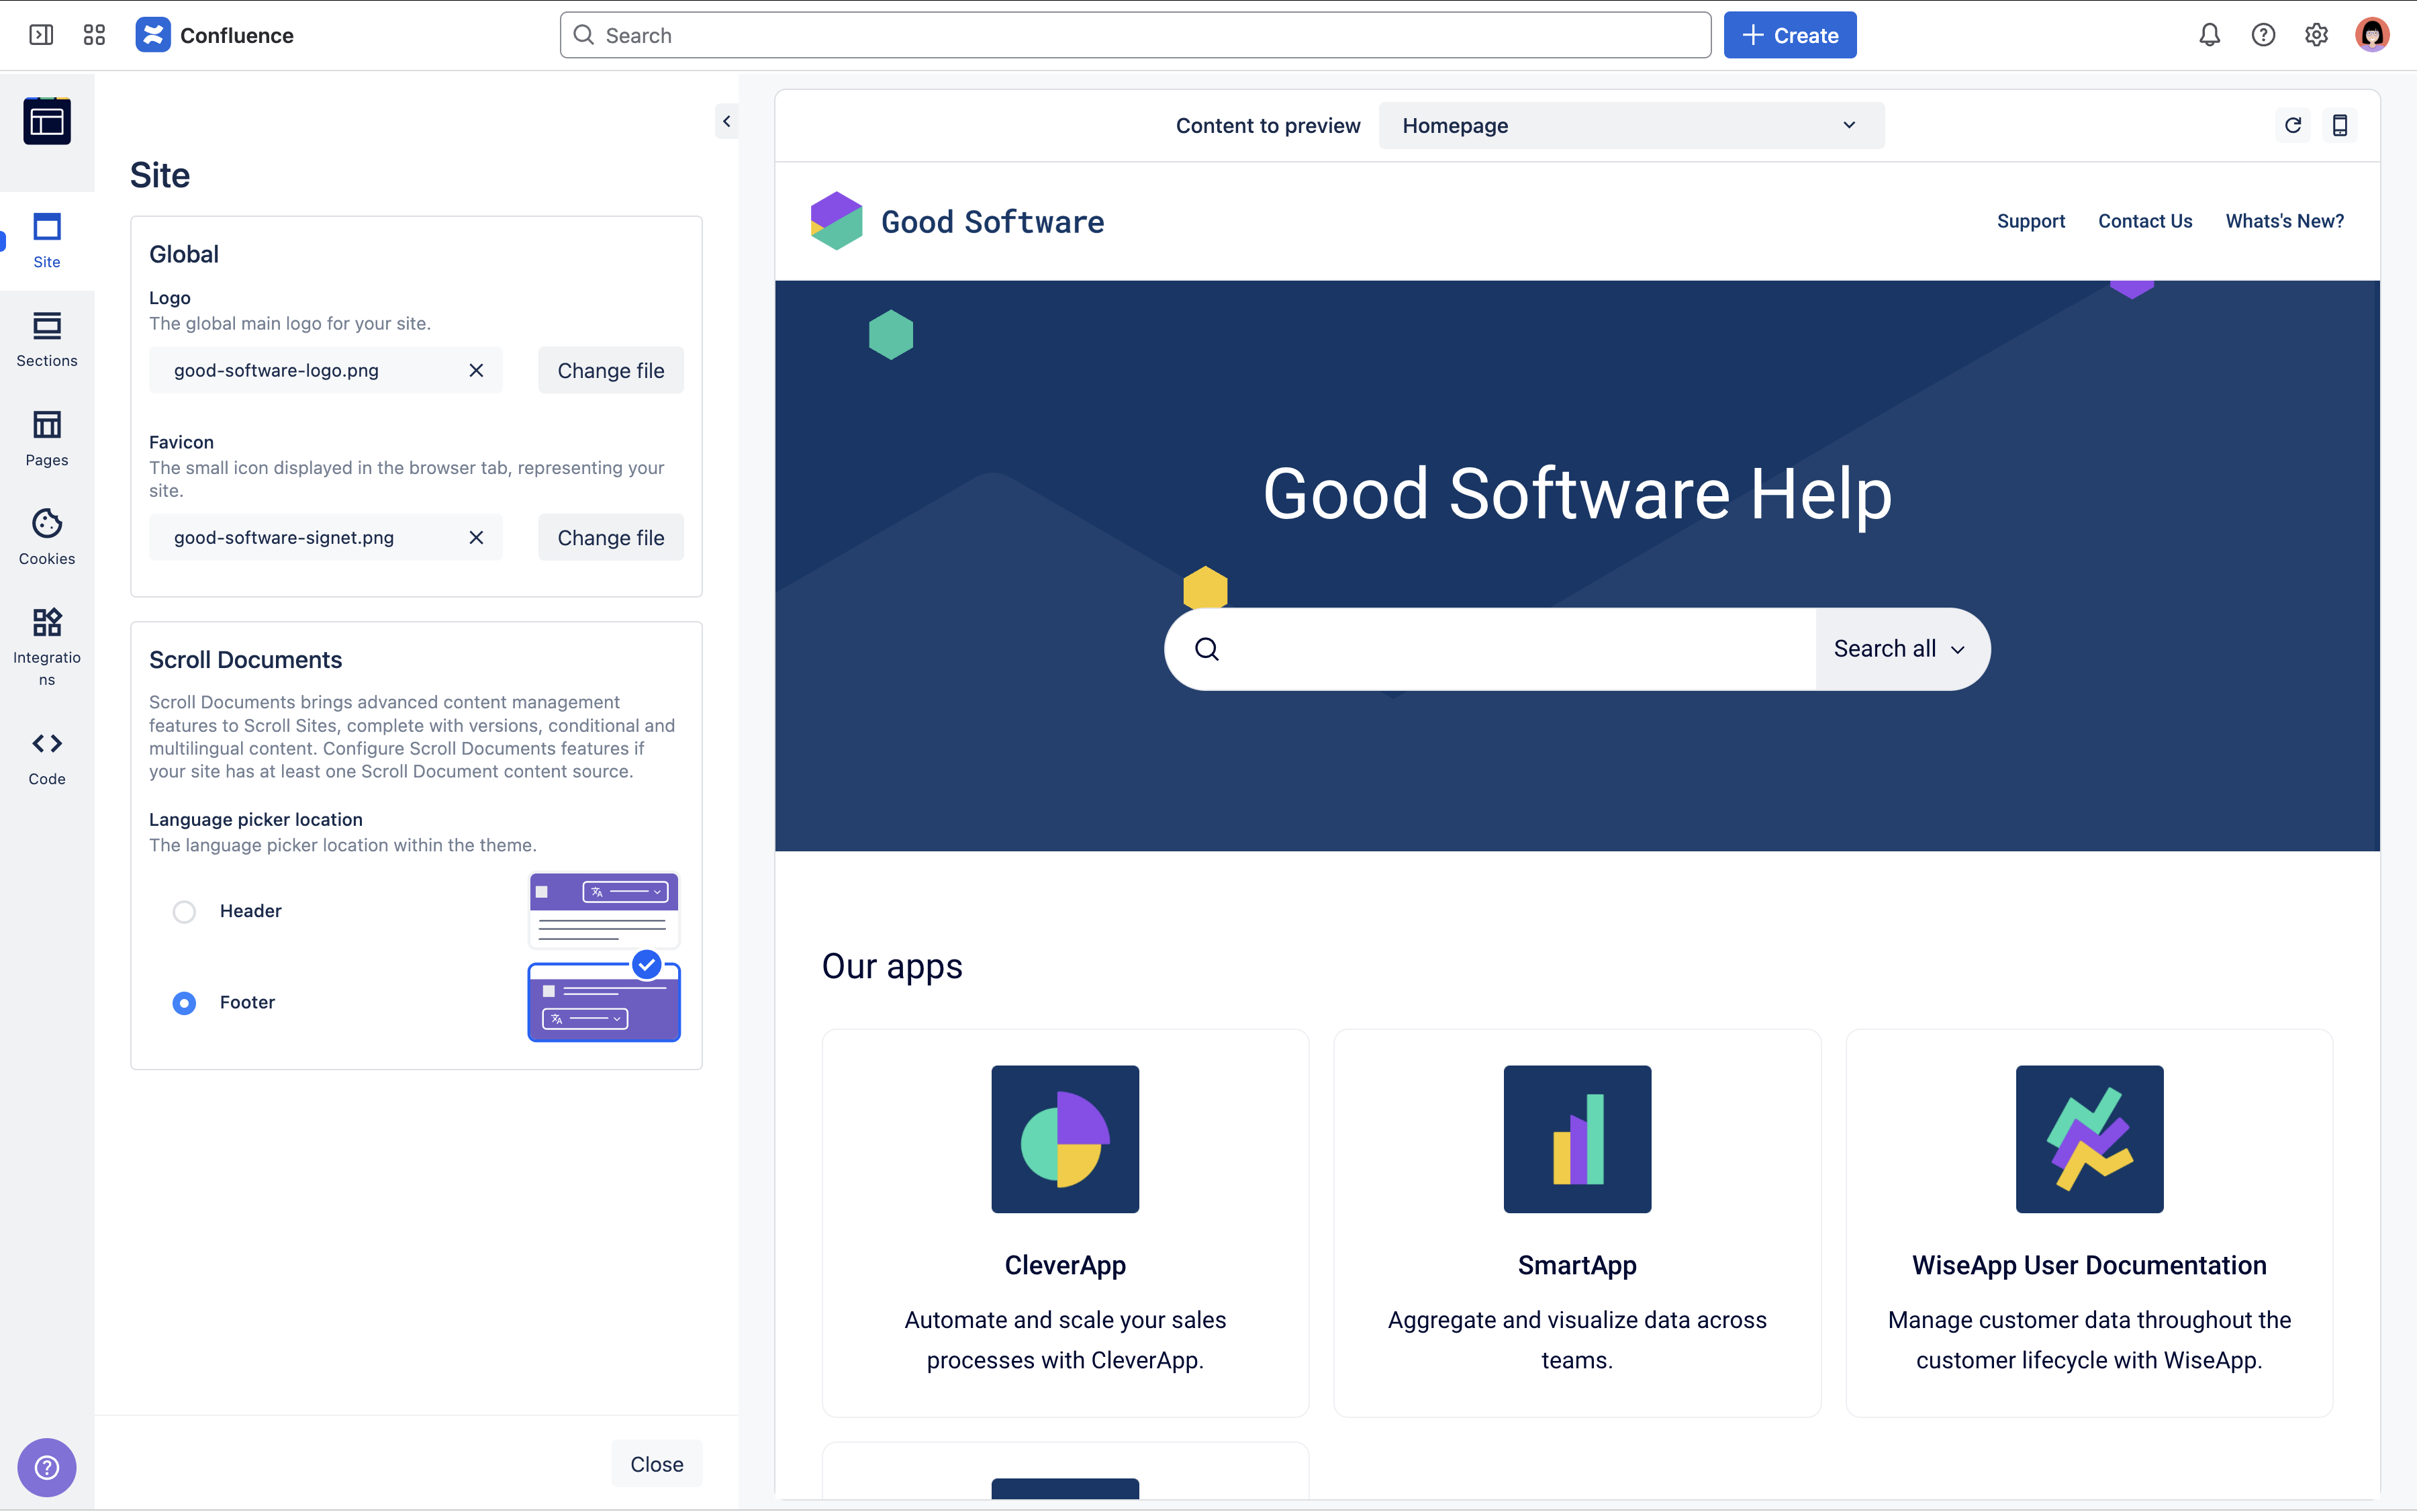
Customize the Look and Feel
In this next part, we will style and customize the selected Help Center theme in order to create a look and feel for your site that fits your brand’s requirements.
To customize the Help Center theme:
-
From the My Sites screen, click the card that has your site’s name.
-
From the left sidebar, click Site Settings > Look and Feel.
-
Under the section Look and Feel, click the button Customize Theme. This will open the theme configurator.
-
From the left sidebar of the theme configurator, click the tab Sections and under Header change the Background color to a color of your choice.
-
Click Save changes and close the theme configurator.
-
From the Site settings screen, click Publish changes in the top right.
View Site
From the left sidebar, you can now click View site to visit the site you have created.
Well done!
Your site is now ready to receive first visitors. Just share the site URL or embed it anywhere it’s needed - for example, in your website or directly in your product.
What’s Next?
This tutorial is just the beginning. You can do much more with Scroll Sites.
Check out our documentation to learn how to:
-
Add more content - include, for example, versioned or translated content.
-
Connect your custom domain - make your site easy to find and keep it true to your brand.
-
Discover more themes - enable more use cases by creating sites with other themes.
-
Follow our best practices - get the most out of your use of Scroll Sites.