Easily and quickly protect access to your site with access tokens. Only users that receive a valid token from you will be able to log into your site.
Once you set up token protection for your site, all traffic to your Scroll site will be directed to a login page.
You can generate tokens for the users of your choice. The tokens will be your users' passwords that they will enter to log into your site and get access to all of your content.
You can also append any generated token as a query parameter to the URL of any of your site’s pages to provide instant access to the pages.
Set Up Token Protection
To set up protected access for a site:
-
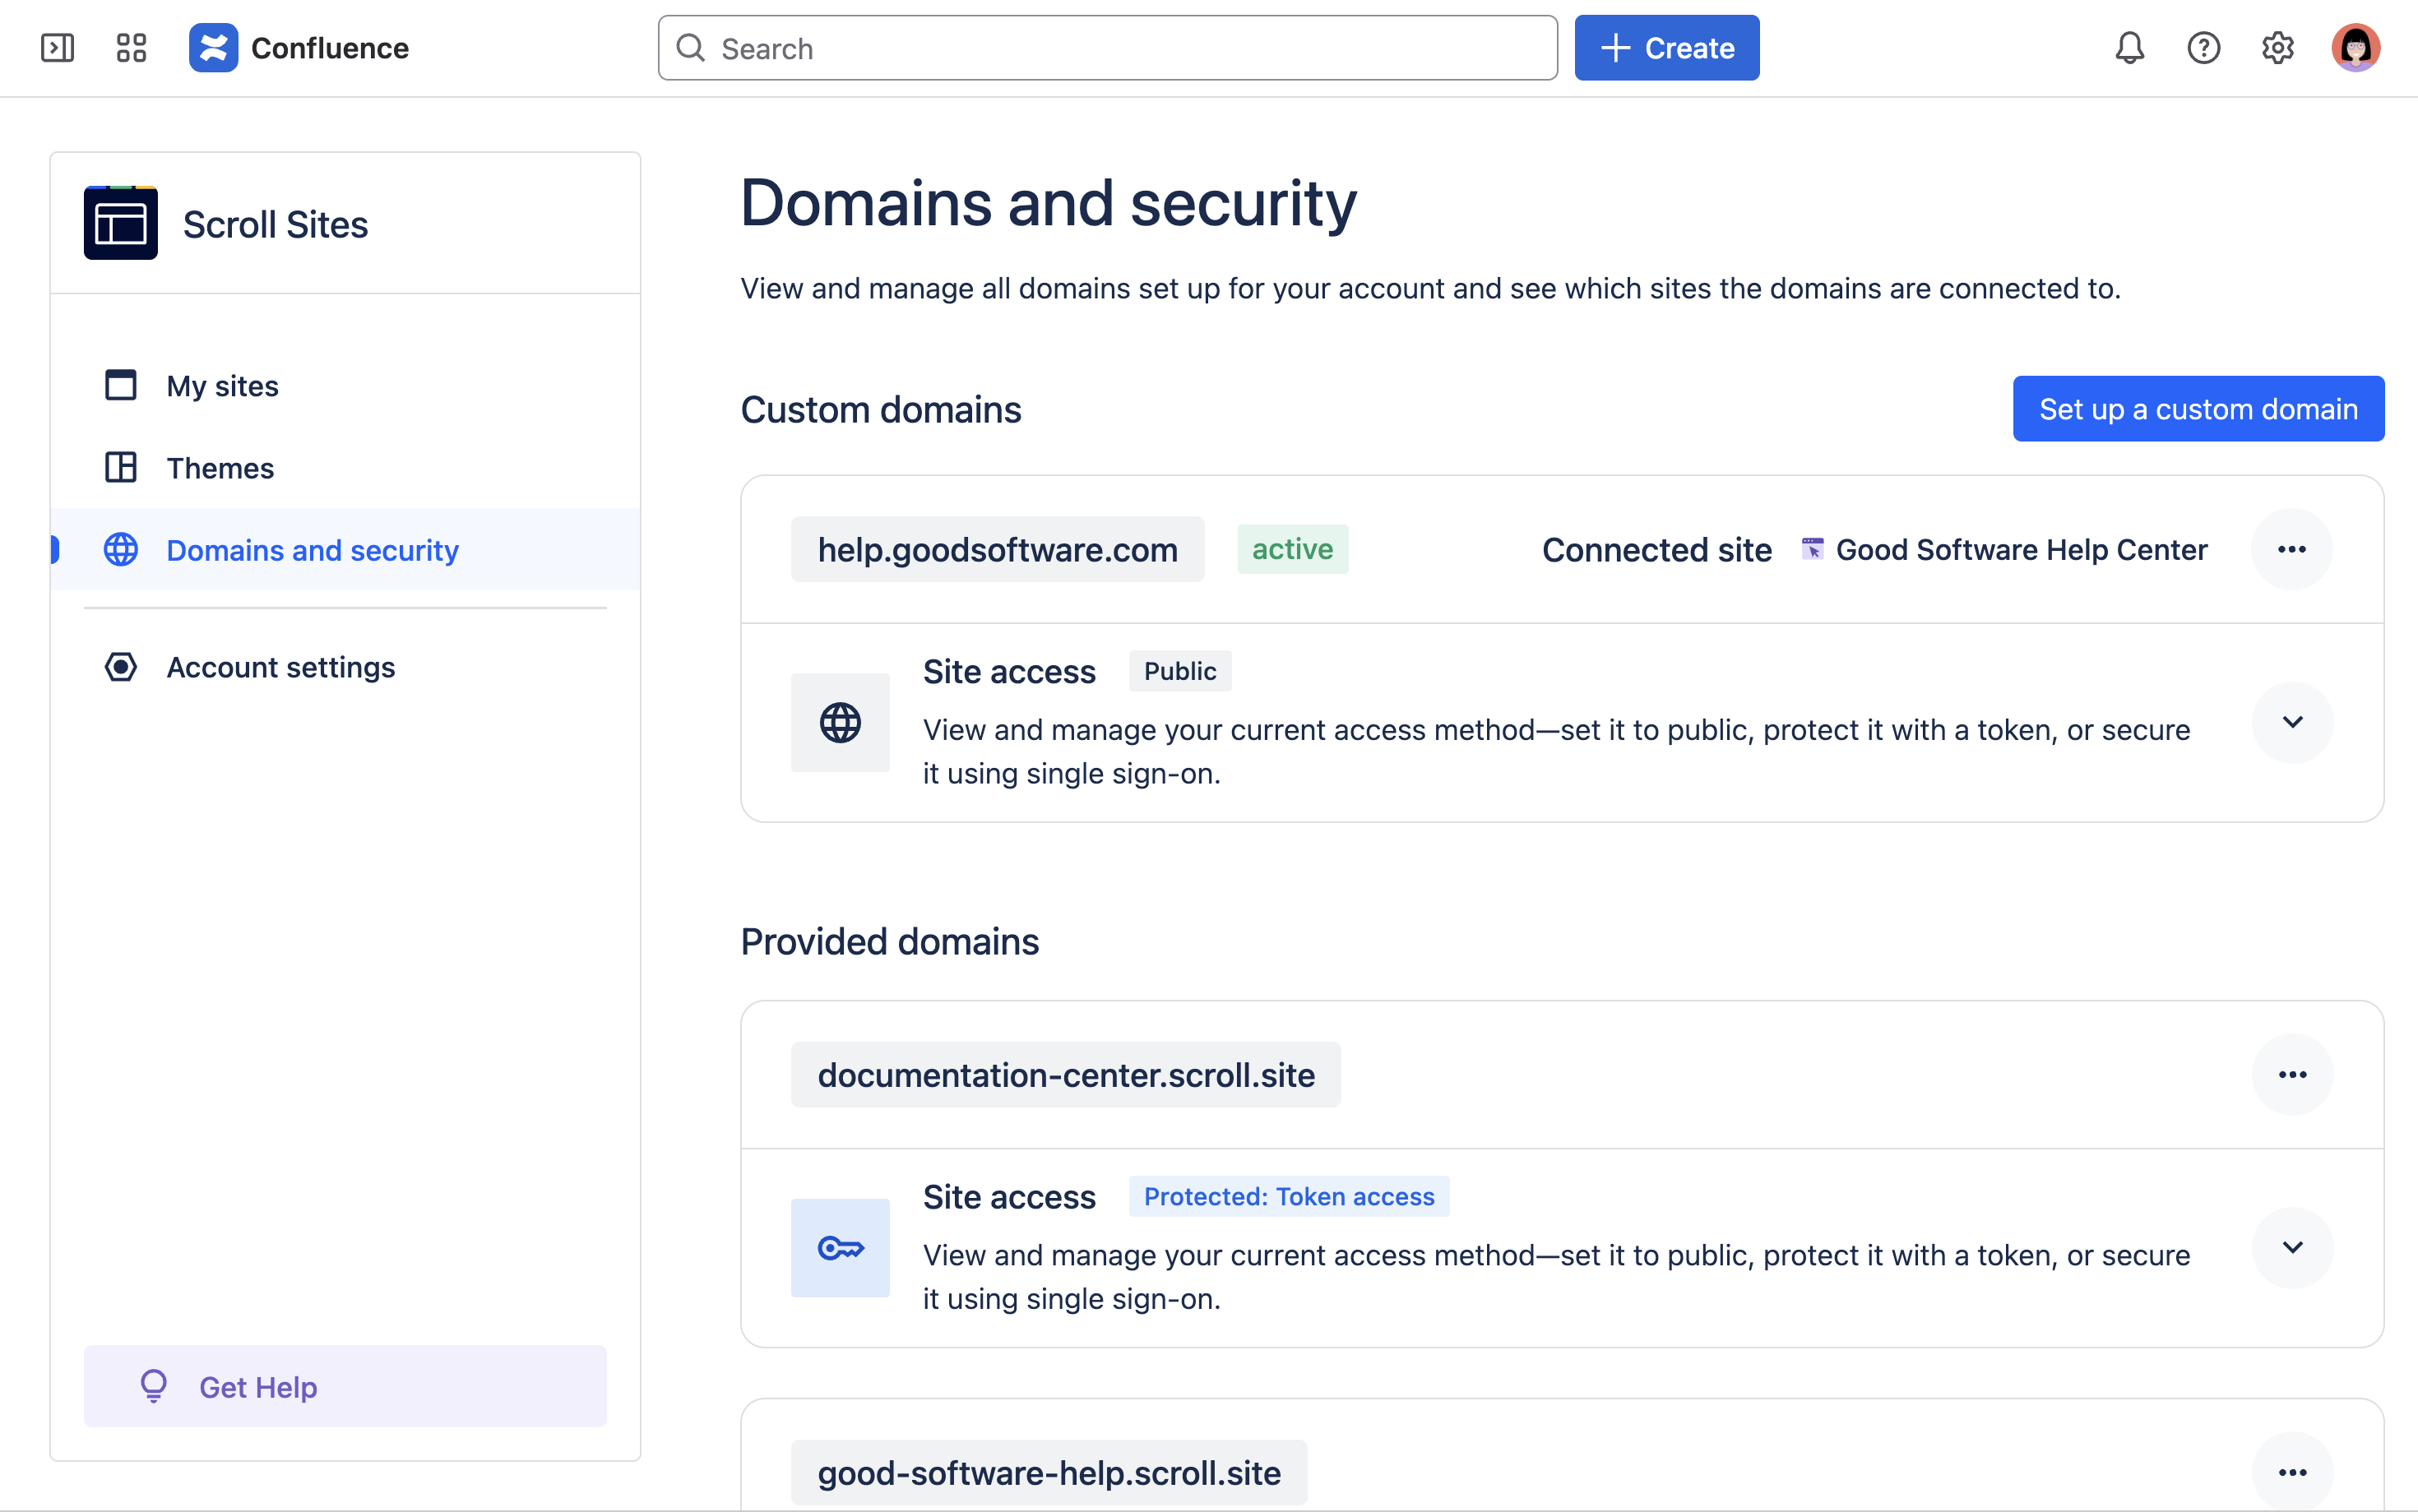
From the Confluence sidebar, click Apps > Scroll Sites.
-
From the Scroll Sites sidebar on the left, click Domains & Security.
-
In the Domains & Security screen, find the domain that is connected to your site.
If you plan to connect your site to a custom domain, we recommend to set up that custom domain and connect it to your site before you proceed with the setup of token protection.
-
From the domain’s card, click the arrow icon in the far right of the card next to Site access. This will expand all site access options.
-
Select Protected: Token access.
-
Click Manage Token. A dialog will open.
-
From the Manage token dialog, click Add token. Another dialog will open.
-
From the Add token dialog, optionally edit the suggested token and enter a description.
-
Click Add. The dialog will close.
-
From the Manage token dialog, click Close.
-
From the Domains & Security screen, click Publish changes.
Your site’s access is now protected with a login page. Your users can use the tokens you created as a password to log into your site.
Manage Tokens
At any time after first setup, you can create more tokens, delete existing ones and edit the description of the existing tokens.
Once a token is deleted, it will no longer grant access to a site if entered on the login page.
Manage your tokens from the Manage Token dialog in the Domains & Security screen:
-
From the Confluence sidebar, click Apps > Scroll Sites.
-
From the Scroll Sites sidebar on the left, click Domains & Security.
-
In the Domains & Security screen, find the domain that is connected to your site.
-
From the domain’s card, click the arrow icon in the far right of the card next to Site access. This will expand all site access options.
-
Click Manage Token.
The Manage Token screen will open with a list of existing tokens along with their descriptions and edit and delete options.
Create new token
To create a token, from the Manage Token screen:
-
Click the button Add token on top of the table of tokens. The Add token dialog will open.
-
Optional: Use the Token field to customize the value of your token. Your token must be at least five characters long and can’t contain spaces.
-
Optional: Use the Description field to specify who uses the token, where the token is used or how it is used. You can add and edit descriptions later on. Example: "JSM portal link" or “Link sharing in support”.
-
Click Add. The dialog will close.
-
From the Manage token dialog, click Copy . Your token is now copied to your dashboard.
-
Click Close.
You can manage and copy all of the tokens you’ve created from the list of tokens in the Manage Token screen.
Edit token
To edit the description of a token, from the Manage Token screen:
-
Find your token in the token table.
-
Click edit next to your token.
-
In the Description field, add or change your description for the token.
To avoid accidentally invalidating a token you’ve already shared, you can only change the value of the token when it is first created. To customize the value of a token, delete your token and create a new one.
Delete token
You can delete any token you have created which will make it invalid.
Deleting a token can be especially helpful when you suspect abuse of a token or if you would like to revoke access to a group of users who are not authorized to access your site anymore.
To delete a token you have created, from the Manage Token screen:
-
Find your token in the token table.
-
Click delete next to your token.
-
Click Delete Token in the confirmation dialog.
After deletion, your token will become invalid immediately. Users who attempt to use the token to login to your site will see the message ‘login failed’ and will not be granted access.
Access a Site with Tokens
Log in with tokens
After successful setup of a token protected site, all users will be directed to a login page and asked to enter a valid token to access your site.
Once the token is entered, the login is stored in a session cookie in your browser. The session cookie is deleted after one hour or if the browser session is completed or the browser closed. After that, the user will need to enter the access token again to access the site.
Accessing a protected site will work exactly the same way when using the in-app help parameter.
Users without a token will not be able to access your site and see a ‘login failed’ message if they enter an incorrect token.
Share a token with any user or user group you would like to grant site access to.
Skip the login page (instant access to the site)
You can append any of your generated tokens as a query parameter to the URL of your Scroll site URLs. When the token is part of the URL, the login process is skipped and users are immediately redirected to the content of the page.
To give instant access, append ?t=mytoken to the end of your site URL. Replace mytoken with a token in your token list. Example:
docs.mycompany.com/contentsource/page-title?t=f76838rw
Using the token in the URL can be helpful in many contexts, for example, if your support team shares documentation articles regularly with your customers and wants to avoid making them go through the login process each time.
Please note, while appending the token to the URL, it’s not possible to direct users to a specific section or chapter in your page, only to the page as a whole.
Remove Token Protection
To remove token protection for a site:
-
From the Confluence sidebar, click Apps > Scroll Sites.
-
From the Scroll Sites sidebar on the left, click Domains & Security.
-
In the Domains & Security screen, find the domain that is connected to your site.
-
From the domain’s card, click the arrow icon in the far right of the card next to Site access. This will expand all site access options.
-
Select any other access option, e.g. Public.
-
From the Domains & Security screen, click Publish changes.
The login page is now removed from your site and your site is publicly accessible again (no token required).
Token Usage and Limits:
Access tokens are not tied to users, you have unlimited sessions per token.
You can use up to 20 tokens per site and they grant site-wide access.
Combining SAML and Token is not possible at the moment. We suggest creating two sites pointing to same Confluence source: one using SAML, one using token(s).