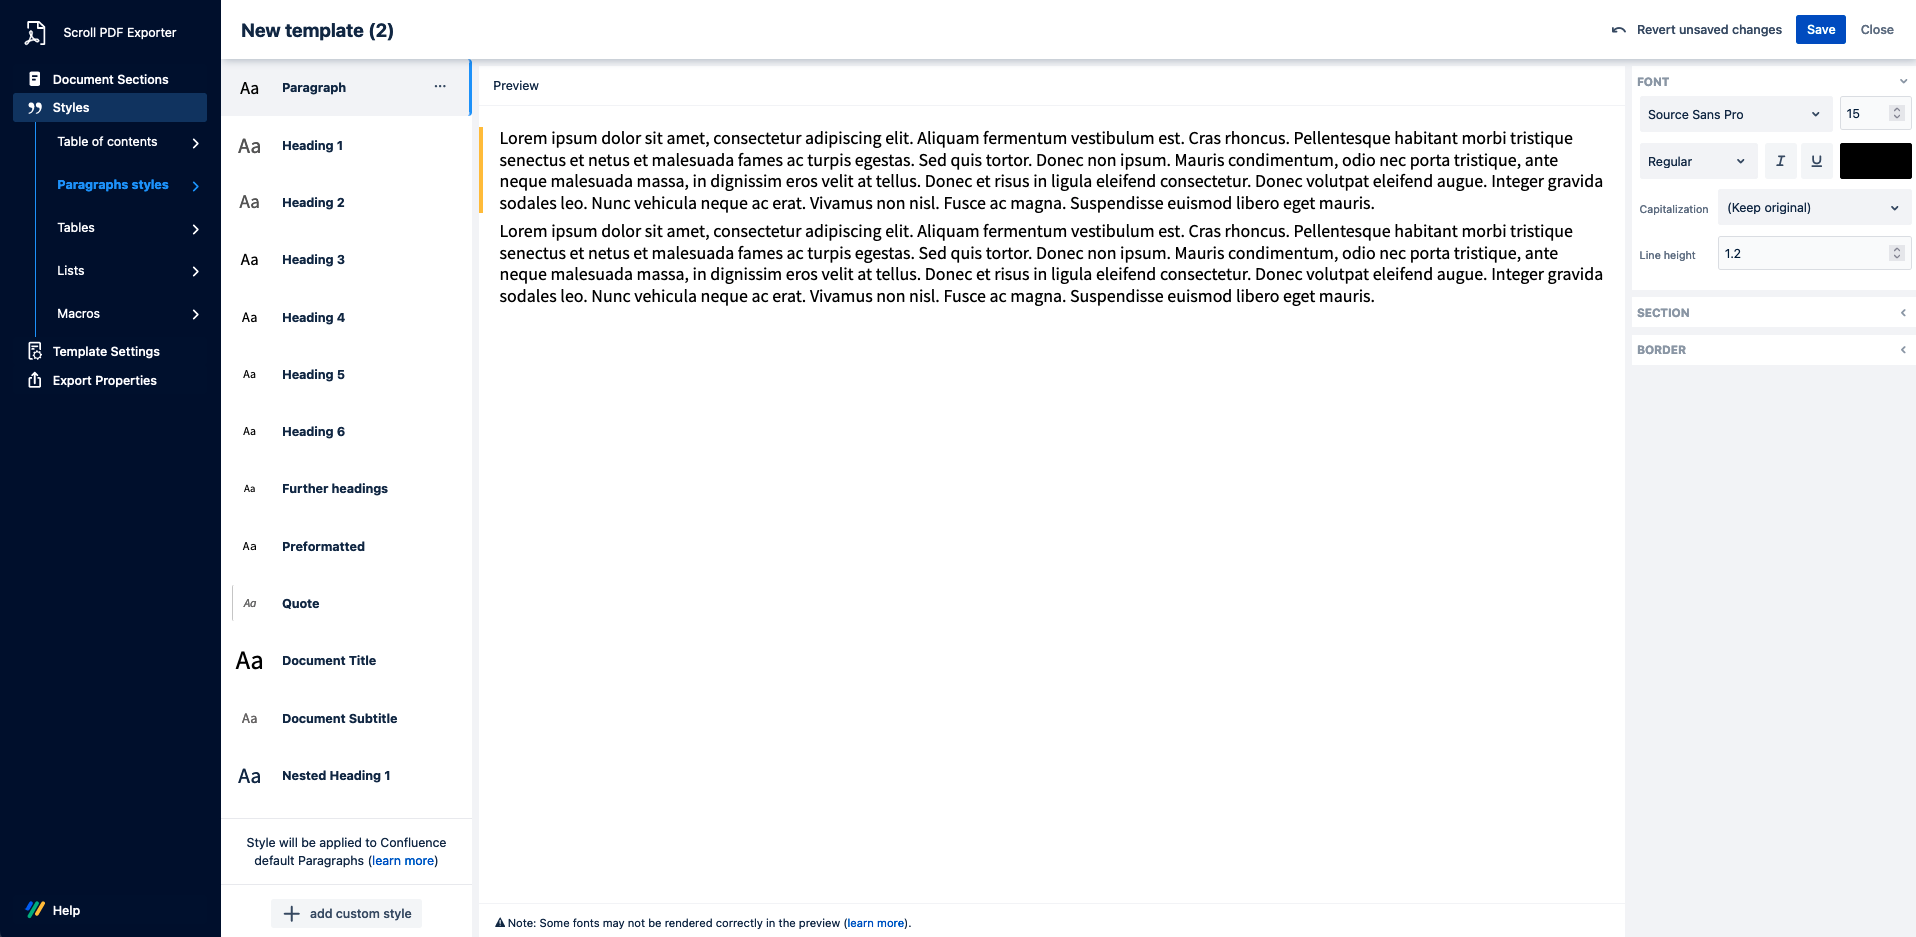
On the Styles tab, you can define how text will be formatted in exports. You can style both text exported from Confluence pages, as well as static text that you manually add to the content boxes in your template.

Style Text Exported from Confluence Pages
In the Paragraphs, List, Tables, and Table of Contents section on the left of the editor, you can define default text styles which directly correspond to all categories of text in Confluence pages. When you export Confluence content, it will be styled in accordance with the styles configured on this screen. For example, if you change the Heading 2 style's color to red, all heading 2 text exported from Confluence will be red. It also remains possible to apply styling to heading levels greater than heading level 6 - you can read more here .
In the section Paragraphs > Nested heading 1-6, you can define default styles for headings levels that are placed within Confluence tables, Panel macros and admonitions (e.g. Note, Warning and Info macros). Furthermore, heading levels that are generated by specific macros, like the Recently Updated macro, can also be styled in this section of the editor. Nested Headings are excluded from the generated table of contents and are not associated with heading numbering. Please note, for heading level content that is simply nested in the Scroll Only macro or Include / Excerpt macros (and not nested within any other element in these macros) this content will be treated as a "normal" heading level style and not a nested level style.
Have you found that the styles set in the export template are not being applied as expected to the heading content in the generated export? If so, this could be due to a number of reasons, including hidden formatting in the page storage format overriding the template style or heading text being treated as a Nested heading (see above). However, it could also be due to the way in which our Scroll Exporter apps handle heading levels in order to create a sensible hierarchy and structure in the export → this involves heading promotion, meaning a heading level 6 on a page can be treated as a heading level 1 in the export. To learn more about this behaviour please see our related documentation .
Style the Static Text in your Template
You can also create new custom styles at Paragraphs > +. Custom styles are not used to format content you export from Confluence – they are only used to style static text you manually add to the content boxes in your template . By default, the template editor includes two custom styles (Small Text & Unnumbered Heading) which can be edited, copied or deleted.
Modify Styles
In the middle of the template editor, the Preview shows you how your style looks, and automatically updates as you make edits. Both custom and default styles can be modified in a number of ways – you can change the following properties:
|
Category |
Property |
Description |
|---|---|---|
|
Font |
Font |
|
|
Style |
|
|
|
Size (pt) |
|
|
|
Color |
|
|
|
Case |
|
|
|
Line Height (%) |
|
|
|
Section
|
Alignment |
|
|
Page break before |
|
|
|
Background color |
|
|
|
Margin (pt) |
|
|
|
Padding (pt) |
|
|
|
Leader |
|
|
|
Indentation |
|
|
|
Border |
Top/Bottom/Left/Right |
|
|
Type |
|
|
|
Strength (pt) |
|
|
|
Border Radius (pt) |
|
|
|
Color |
|
|
|
Level options (lists only) |
Level 1- 6 |
|
|
Level style |
|
|
|
Margins (pt) |
|
|
|
Indent (pt) |
|
|
|
Numbering (headings only) |
Level style |
|
|
Level format |
|
|
|
Indentation |
|
|
|
Prefix |
|
|
|
Suffix |
|
Add Custom Fonts
You require space admin permissions to add custom fonts to a template. When you add a custom font to a template, it is available for all styles in that template.
Add a custom font by clicking Font > Manage custom fonts. You can upload fonts in either .ttf, .ttc, or .otf formats. The template editor supports the following font weights:
-
Extra Light
-
Light
-
Normal
-
Medium
-
Semi-bold
-
Bold
-
Extra-bold
-
Heavy
Revert to the Last Saved Version of the Template
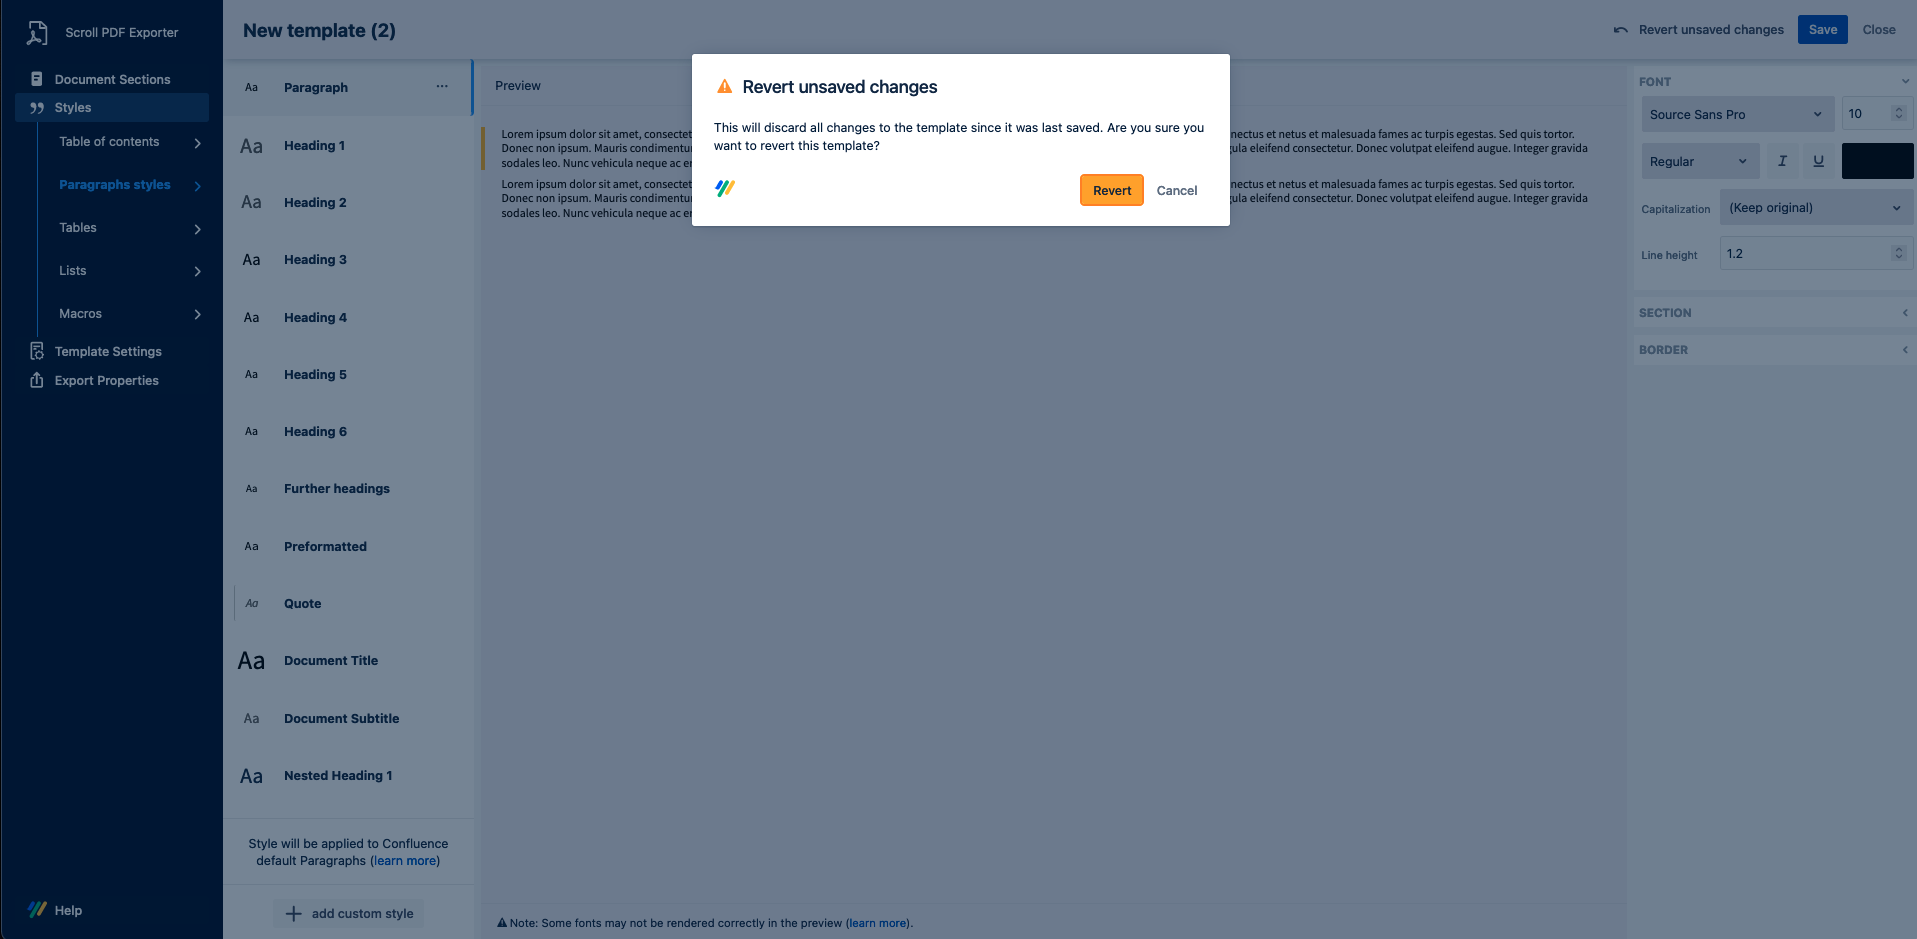
If you make changes to a template which you are unhappy with, you can easily return to the last saved version of the template by selecting the revert option:

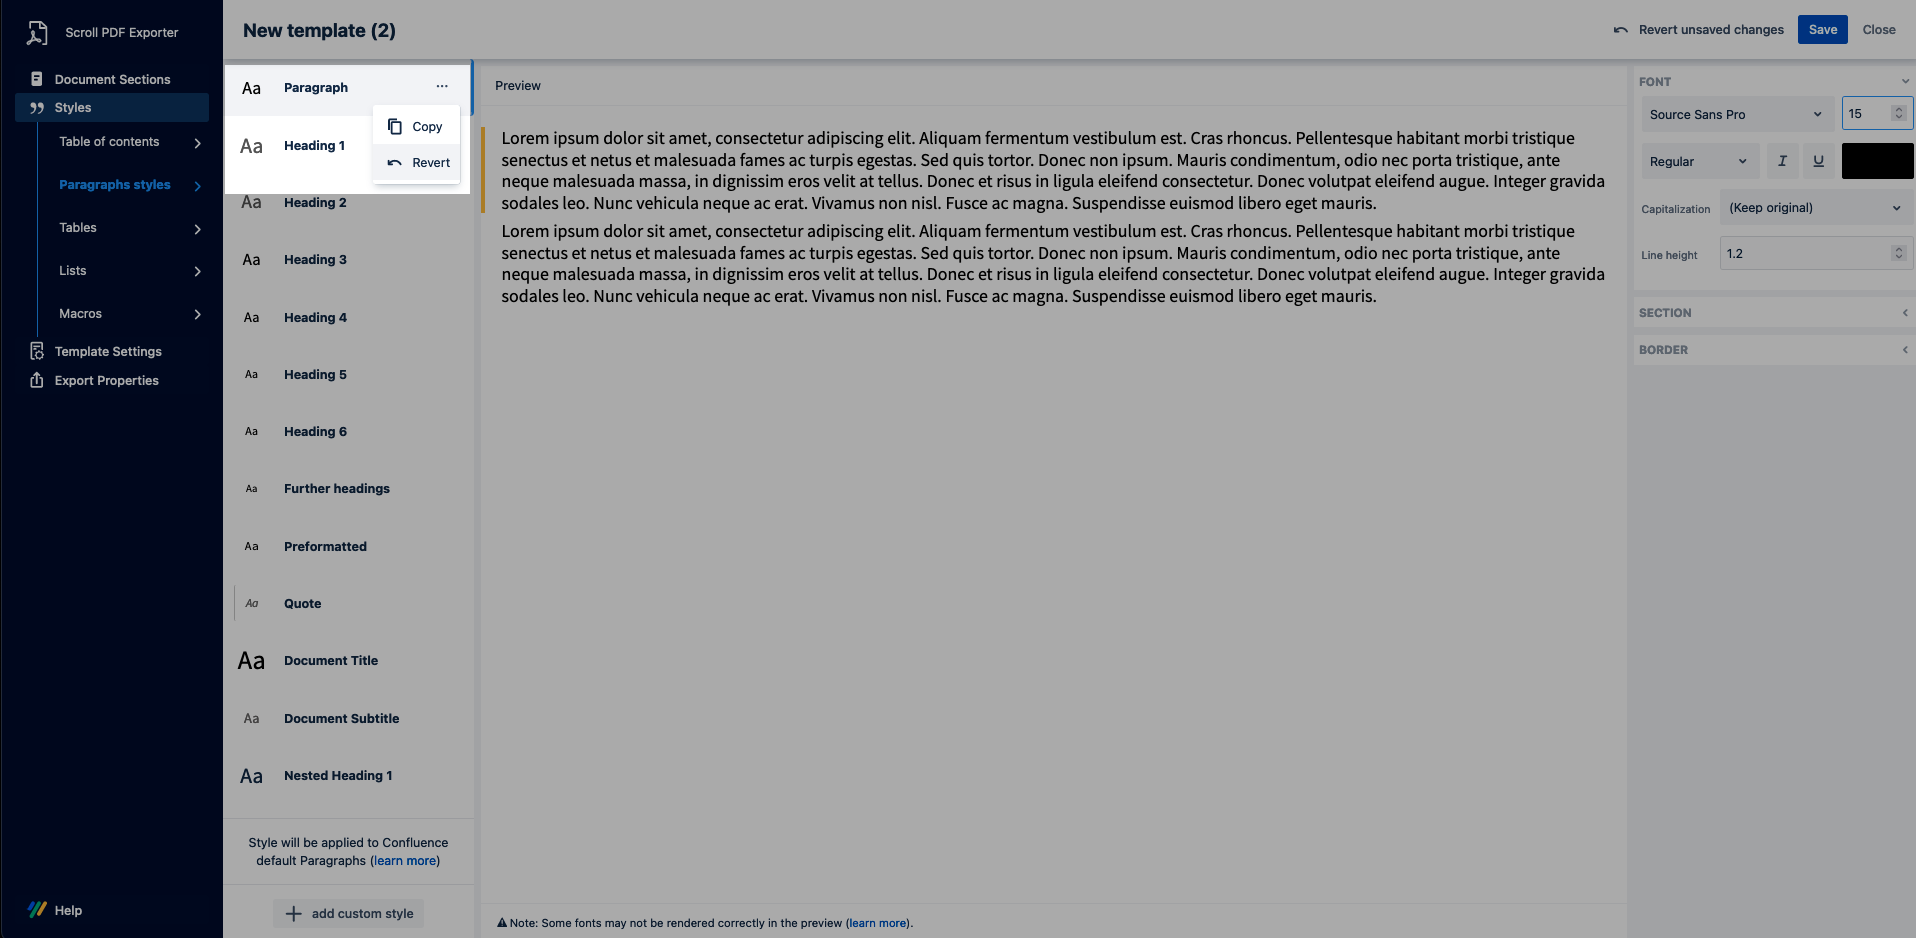
Once you have selected revert, you can confirm that you wish to revert all unsaved changes in the template to the last saved state. Alternatively, you can also simply revert the changes for a particular style from the respective ••• icon:

Next Steps
Now you have styled your text, you can define the structure of your template – and fine-tune the design – on the 'Document Sections' tab .
